RSS Feed

Author Archives: nina in the kitchen

Buttermilk Or Sour Cream Waffles


These recipes are from the Joy of Cooking cookbook. They both are prepared the same way.  Only a few of the ingredients are different. 

My favorite way to eat Waffles is with butter and homemade maple syrup. But they’re also yummy with fruit jam, fruit syrup, or fresh fruit. I usually make the Buttermilk Waffles. We always keep buttermilk in our frig. It’s yummy to drink too! 

Buttermilk reminds me of a drink we had in Istanbul called ayran. It was made with yogurt, water and salt. Served cold it’s refreshing! You can find it anywhere in Turkey and other Arab countries. The basic recipe is whisking together 2 cups Greek yogurt, 2 cups water and 1 teaspoon salt. Yum!

Buttermilk Waffles

  • In a medium bowl whisk together:

1 3/4 cups flour

1/4 teaspoon baking soda

1 1/2 teaspoons baking powder

1 tablespoon sugar

1/2 teaspoon salt

  • In a medium bowl beat together until thick and lemon colored with a hand mixer:

2 egg yolks

  • Add and beat in:

2 cups buttermilk

6 tablespoons butter, melted

  • Combine the 2 mixtures with a few quick strokes
  • In a small bowl beat until stiff:

2 egg whites

  • Fold egg whites into batter
  • Drop by large spoonfuls onto hot waffle iron 
  • Use about  1/2 cup batter per waffle 


Sour Cream Waffles

  • In a medium bowl whisk together:

3/4 cup flour

1 1/4 teaspoons baking powder

1/8 teaspoon salt

1 teaspoon sugar

1 teaspoon baking soda

  • In a medium bowl beat until thick and lemony:

3 egg yolks

  • Add and combine:

 2 cups sour cream

  • Combine the 2 mixtures together with a few quick strokes
  • In a small bowl beat until stiff:

3 egg whites

  • Fold egg whites into batter. With a large spoon add about 1/2 cup batter to a hot waffle iron to make 1 waffle

Raw Corn and Veggie Salad with Buttermilk Dressing


Fresh corn is usually sweet here in the Midwest. This raw corn salad has red pepper, Persian cucumbers, shallot, parsley, fresh dill and a buttermilk and yogurt dressing. Add the dressing at the table, as little or as much as you like

I found this recipe at Food52. It had a lot of likes and the raw corn and Persian cucumbers were new to me and sounded yummy. I usually quickly blanch  corn before using it in salads. I liked eliminating this step!

In a large bowl combine:

1 clove fresh shallot, sliced thin, rinsed in cold water, drained and blotted in paper towel 

3 ears fresh corn, kernels sliced off with a sharp knife

4 Persian cucumbers, (these are like English cucumbers with thin skins but only 5 inches long) quartered lengthwise and cut crosswise into a 1/4 inch dice

1 long red pepper, diced

1 handful fresh dill, minced

1/4 cup chopped parsley or cilantro 

Feta cheese as desired. You can mix it in or place it on top of the salad in large pieces

Raw Salad without the dressing:


Dressing:

Combine with a whisk in a small bowl:

1/4 cup buttermilk

2/3 cup European style plain thin yogurt

1 tablespoon white wine vinegar, the better the quality the better the taste I like a white balsamic or a champagne balsamic from out local oil and vinegar shop, Mercato di O & V, in Midland MI

3 tablespoons minced sweet onion

1 clove garlic minced with 1/4 teaspoon salt

Add with a whisk slowly in a steady stream:

1/4 cup olive oil

Add salt and pepper to taste

Serve the dressing on the side with the fresh salad

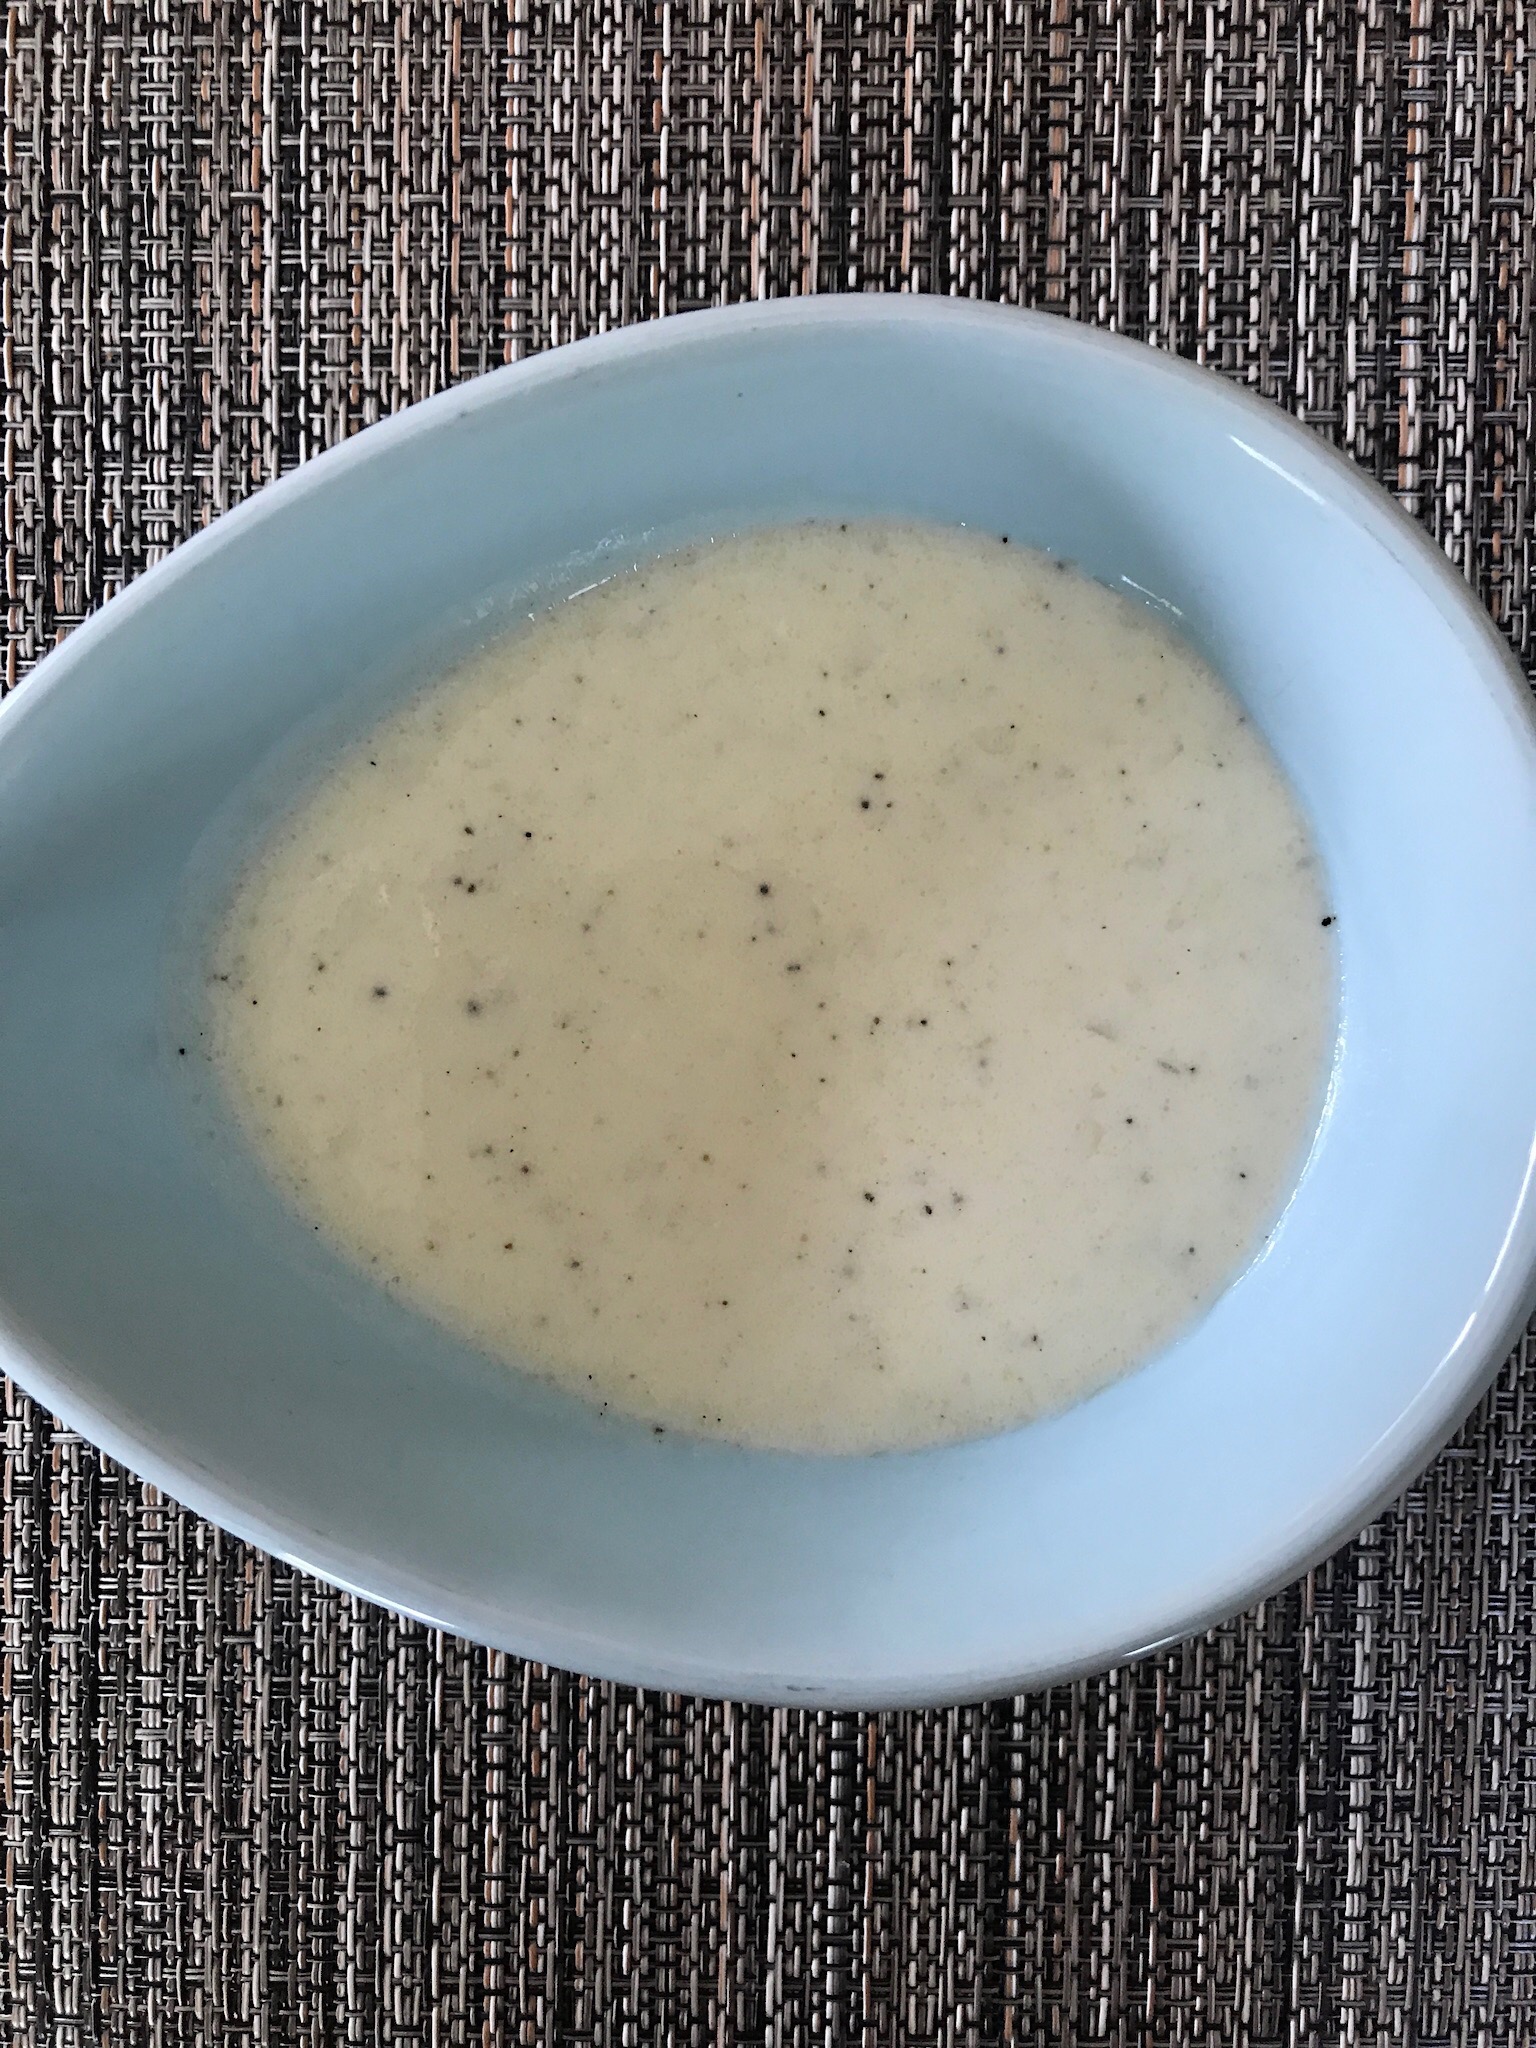
Buttermilk Dressing:

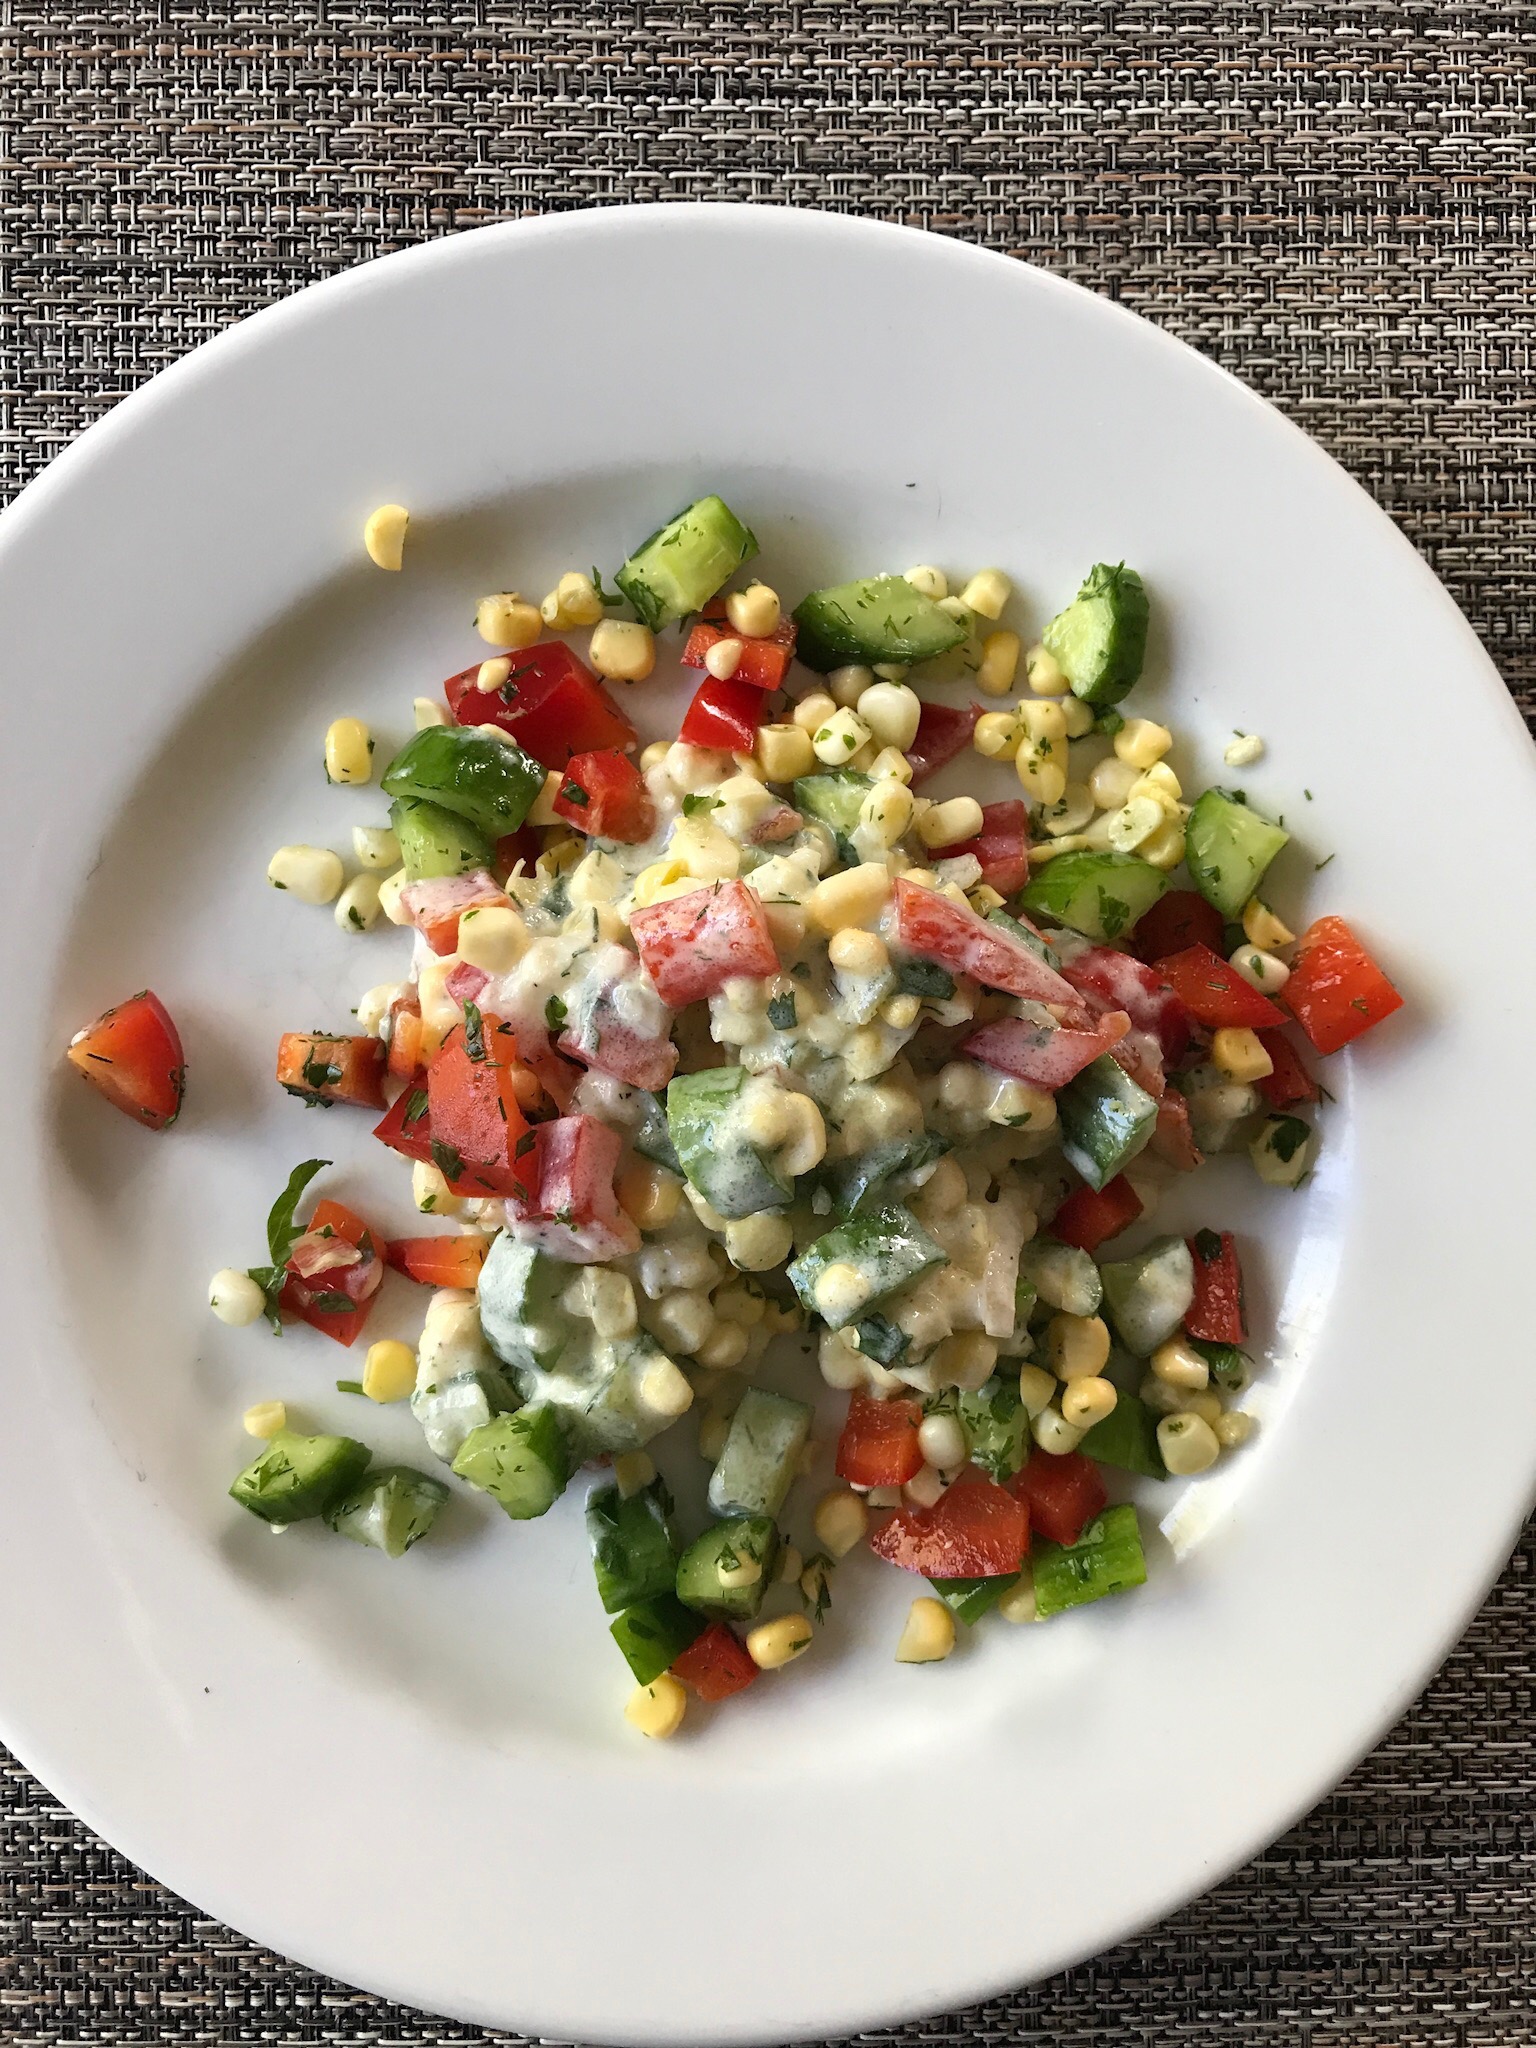
Raw Salad with Buttermilk Dressing:


Voila!

Cheese and Tomato Lasagna


This is a full of flavor lasagne that’s not glorpy or heavy! It’s similar to the light lasagne of Italy which is all about the pasta, not the thick sauce! 

Look up the recipe at Cooks Illustrated or America’s Test Kitchen. These two links will both take you there. You do need a subscription to have access to their recipes. If you don’t have one, take advantage of their one month free offer! I love these sites! They are a great source for recipes, testing and product recommendation, and will always provide interesting background info!

I often double the recipe and make 2 lasagnas. I freeze one before baking. Then I thaw it before baking.

Ingredients

1/2 pound pecorino Romano cheese

1 pound fontina cheese

2 cups cottage cheese

1/2 cup heavy cream

1 head garlic, minced, separated

2 teaspoons cornstarch

Salt

Pepper

1/4 cup olive oil

1 yellow onion, chopped medium

1 – 28 oz can whole tomatoes or crushed ( prefer whole San Marzano Italian tomatoes)

1 – 15 oz can chopped tomatoes

1/4 cup tomato paste

1 1/2 teaspoons sugar

1 teaspoon oregano or more

1/2 teaspoon hot pepper flakes, optional

1/2 can anchovies (I always add these)

1 pound box Barilla lasagne pasta or Barilla Oven Ready lasagna pasta

Instructions

Cheese Sauce

  • In a medium bowl whisk together 

4 oz or 2 cups grated Pecorino Romano cheese

2 cups cottage cheese

1/2 cup heavy cream

2 cloves garlic minced

1 teaspoon cornstarch

1/4 teaspoon salt

1/4 teaspoon pepper
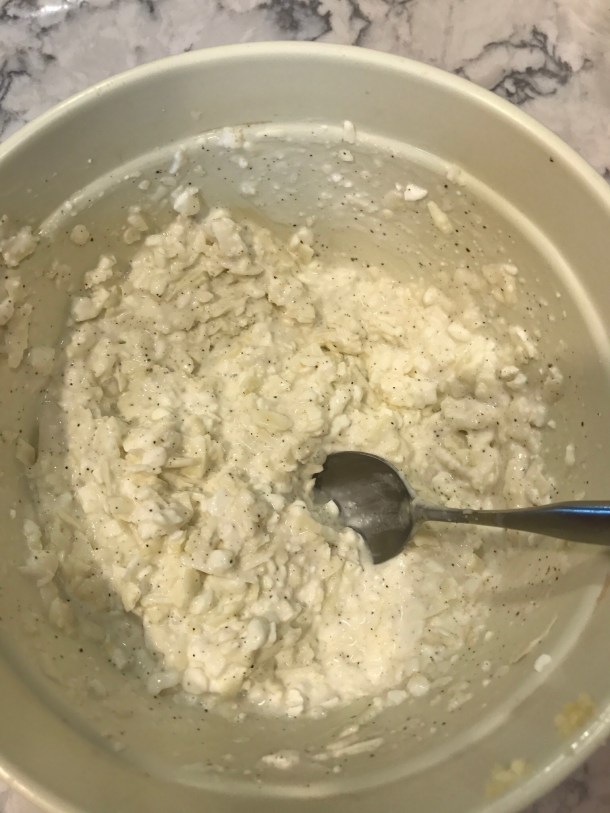
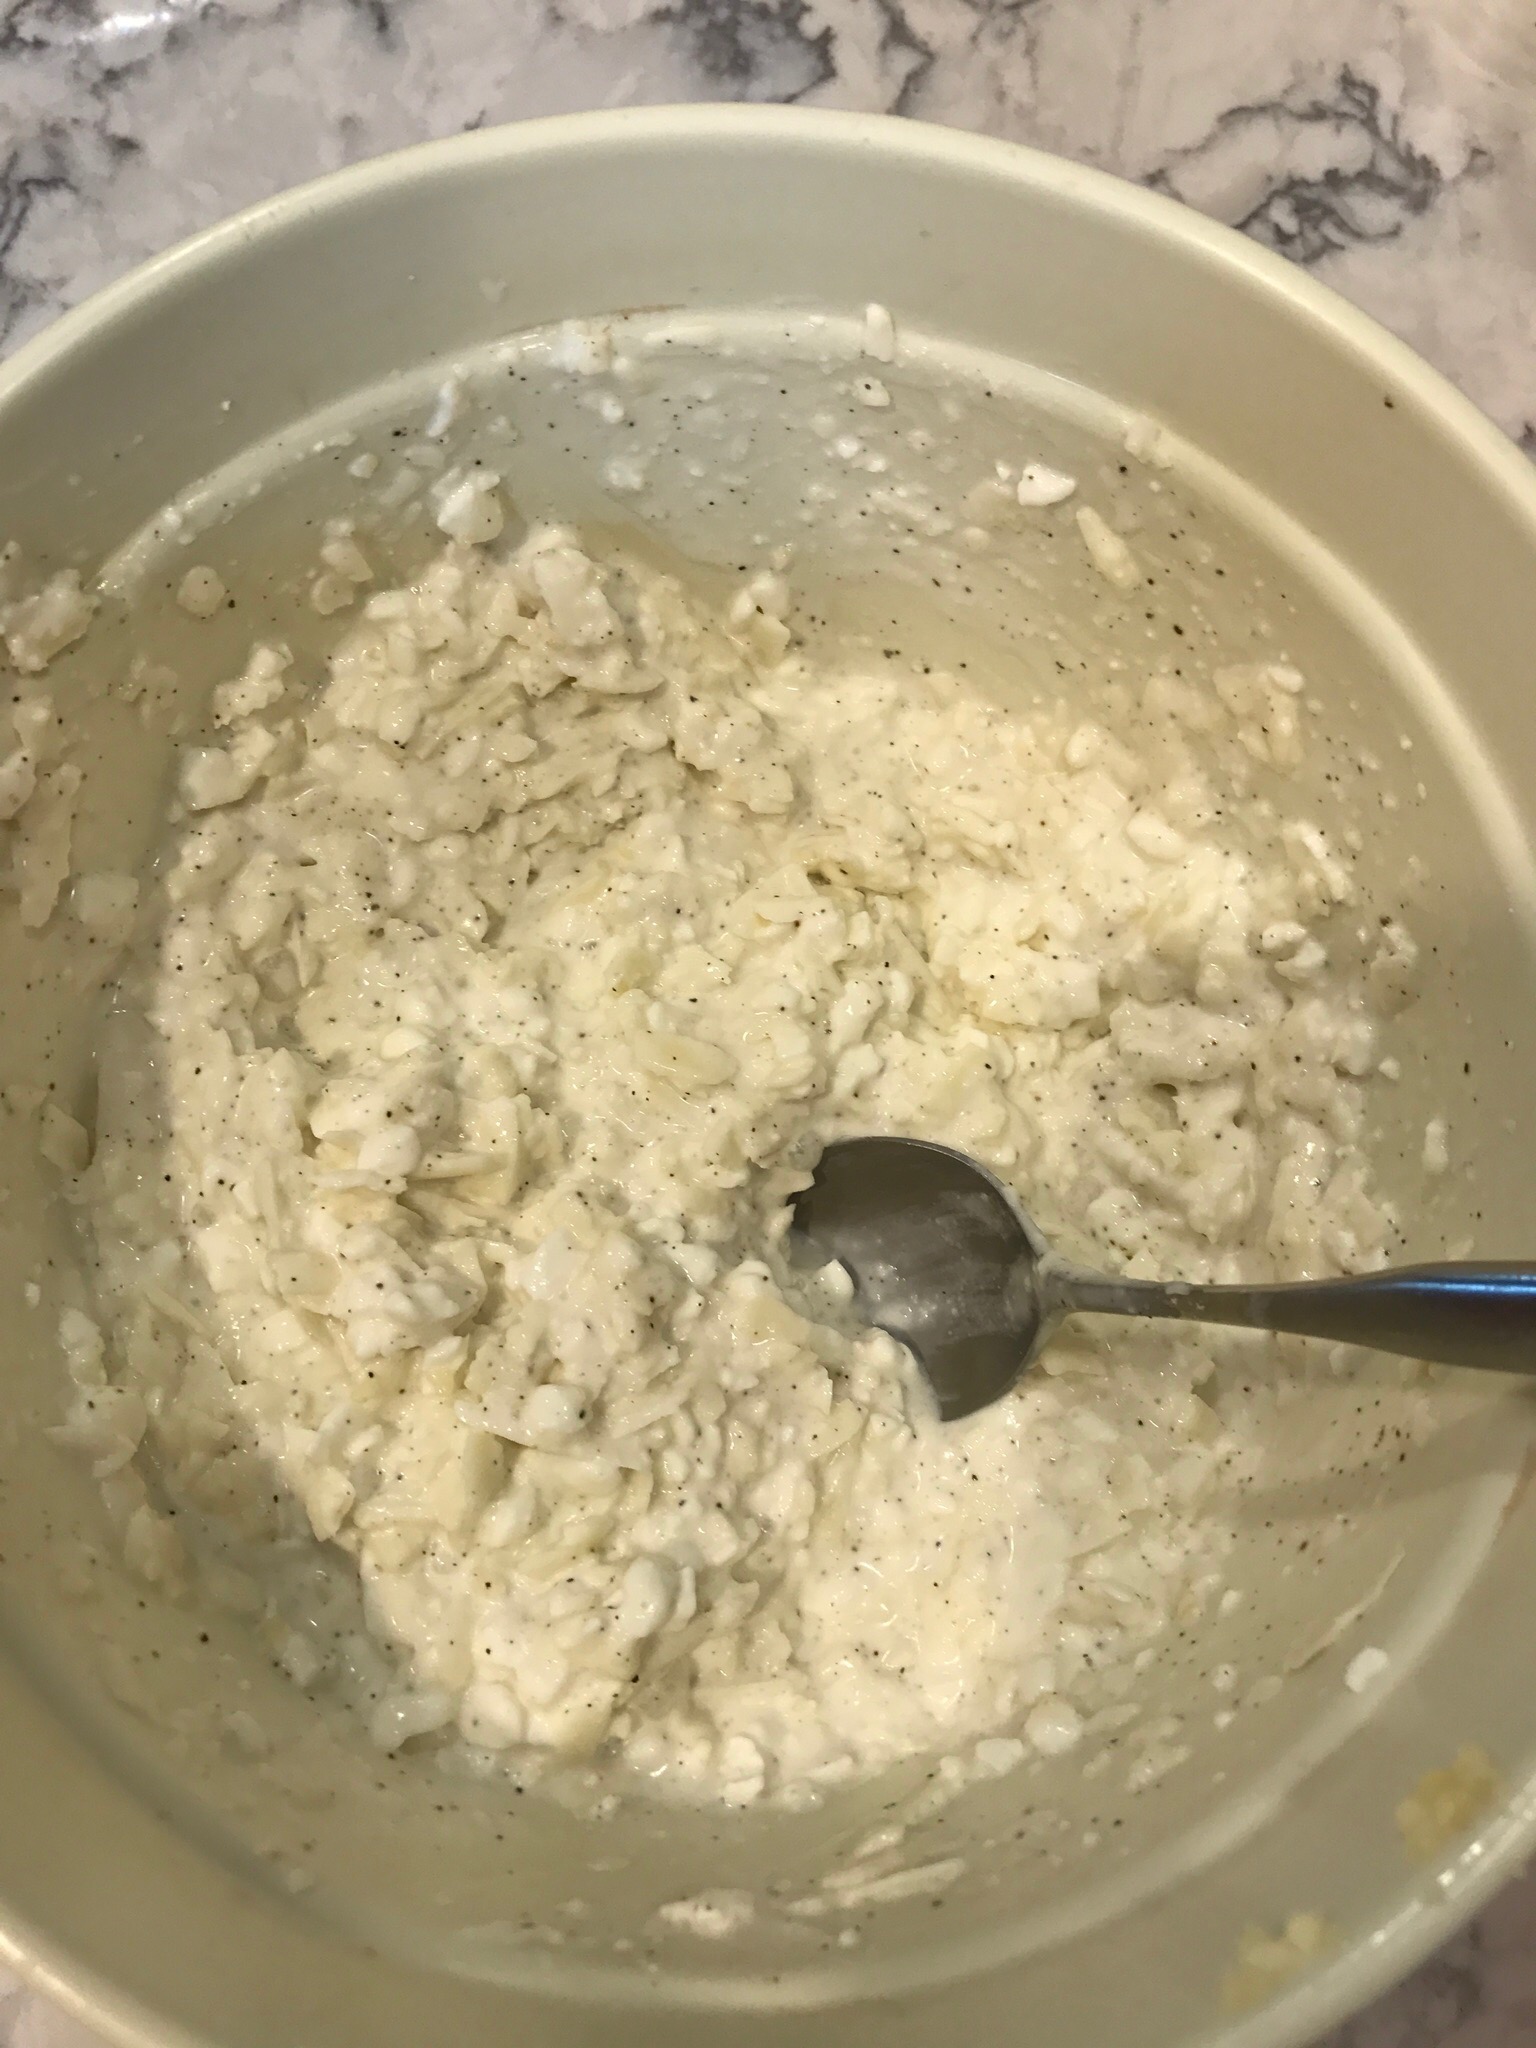
Cheese Sauce

Tomato Sauce

  • In a skillet heat

1/4 cup olive oil

  • Sauté

1 chopped onion.

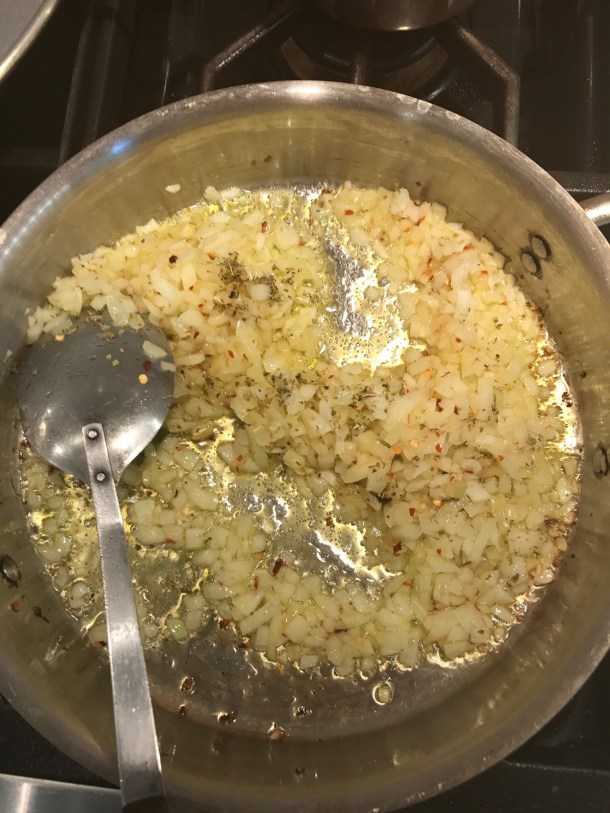
  • Add and sauté together until onions are softened:

1 1/2 teaspoon sugar

1 teaspoon oregano

1/2 teaspoon red pepper flakes, optional if you don’t want spicy

  • Add and cook about a minute:

4 cloves garlic, minced

8 or more anchovy fillets, rinsed, patted dry and minced, optional but it adds a nice earthy flavor!

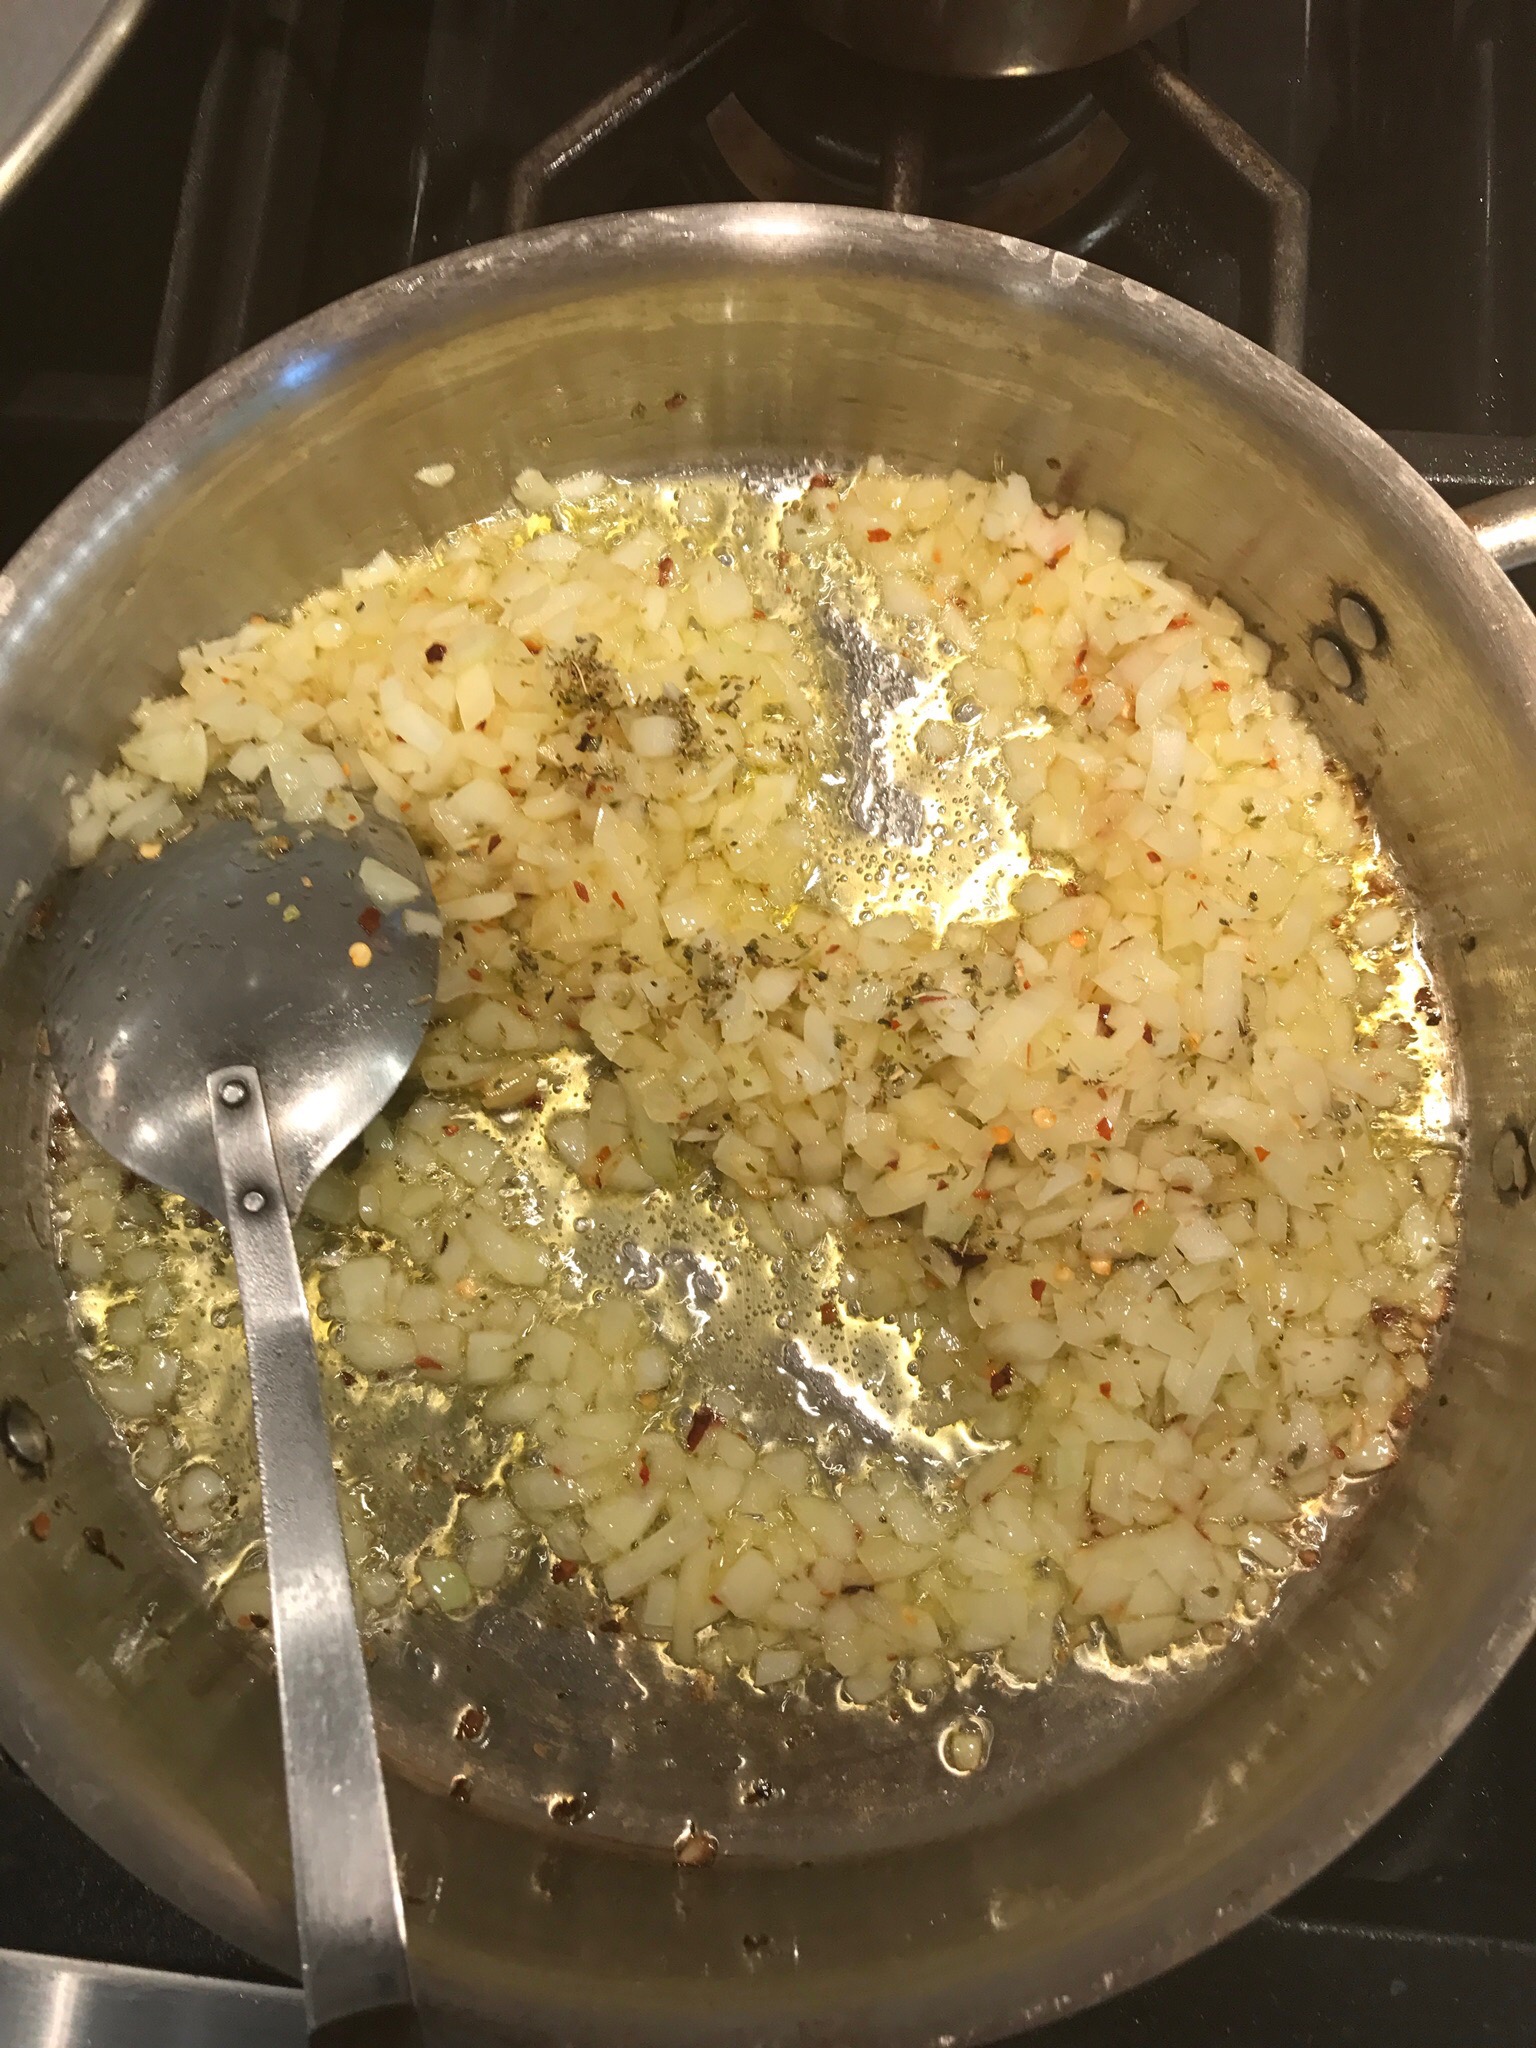
Sautéed onion and herbs:
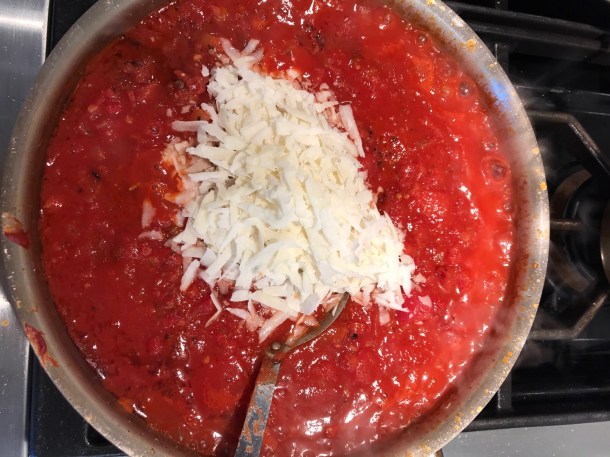
  • To the onion add and simmer 20 minutes:

28 oz can crushed tomatoes

14.5 oz can diced tomatoes

1/4 cup tomato paste

1/2 cup Pecorino Romano cheese

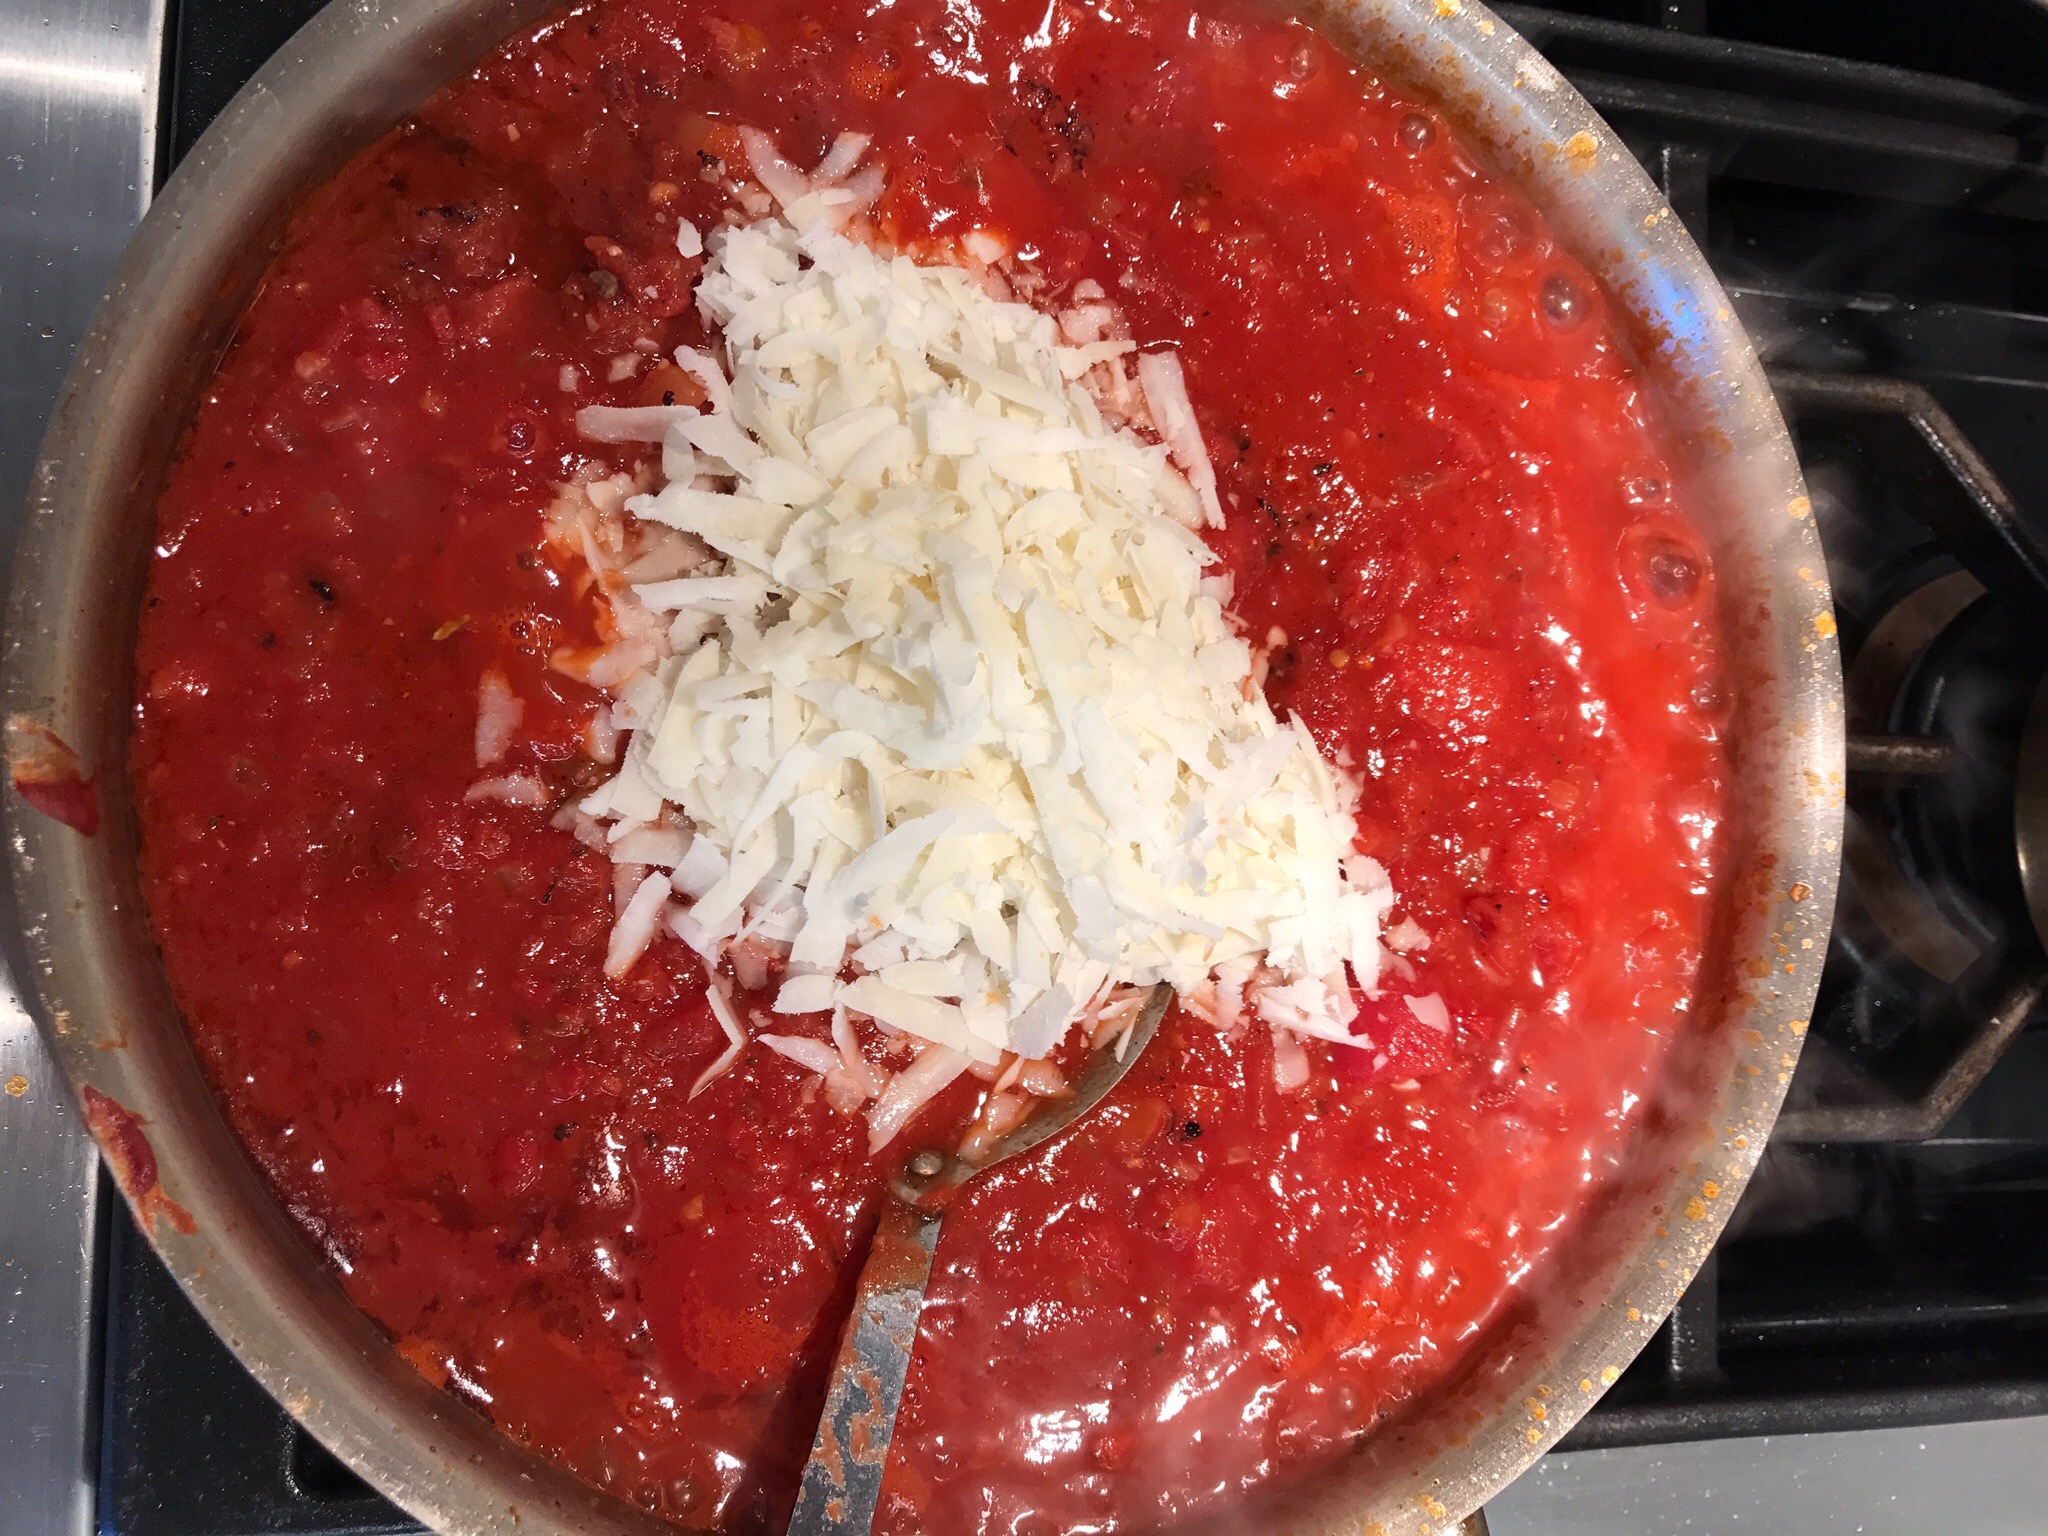
Tomato sauce nearing completion:
Lasagna

You will need:

16 Oz or 14 curly type regular lasagne noodles, such as Barilla OR

2-9 oz boxes Barilla Oven Ready Lasagne

12 oz or 3 cups fontina cheese, grated

1/2 teaspoon cornstarch (to keep grated cheese from sticking together, I don’t add this)

1/2 cup Pecorino Romano 

  • If you use regular lasagne pasta, don’t cook it! Instead soften them! Use the curly variety 
  • Place 14 noodles in a 9×13 inch baking pan. Pour hot tap water over the noodles to cover them
  • Use the tip of a sharp knife to keep the noodles separated 

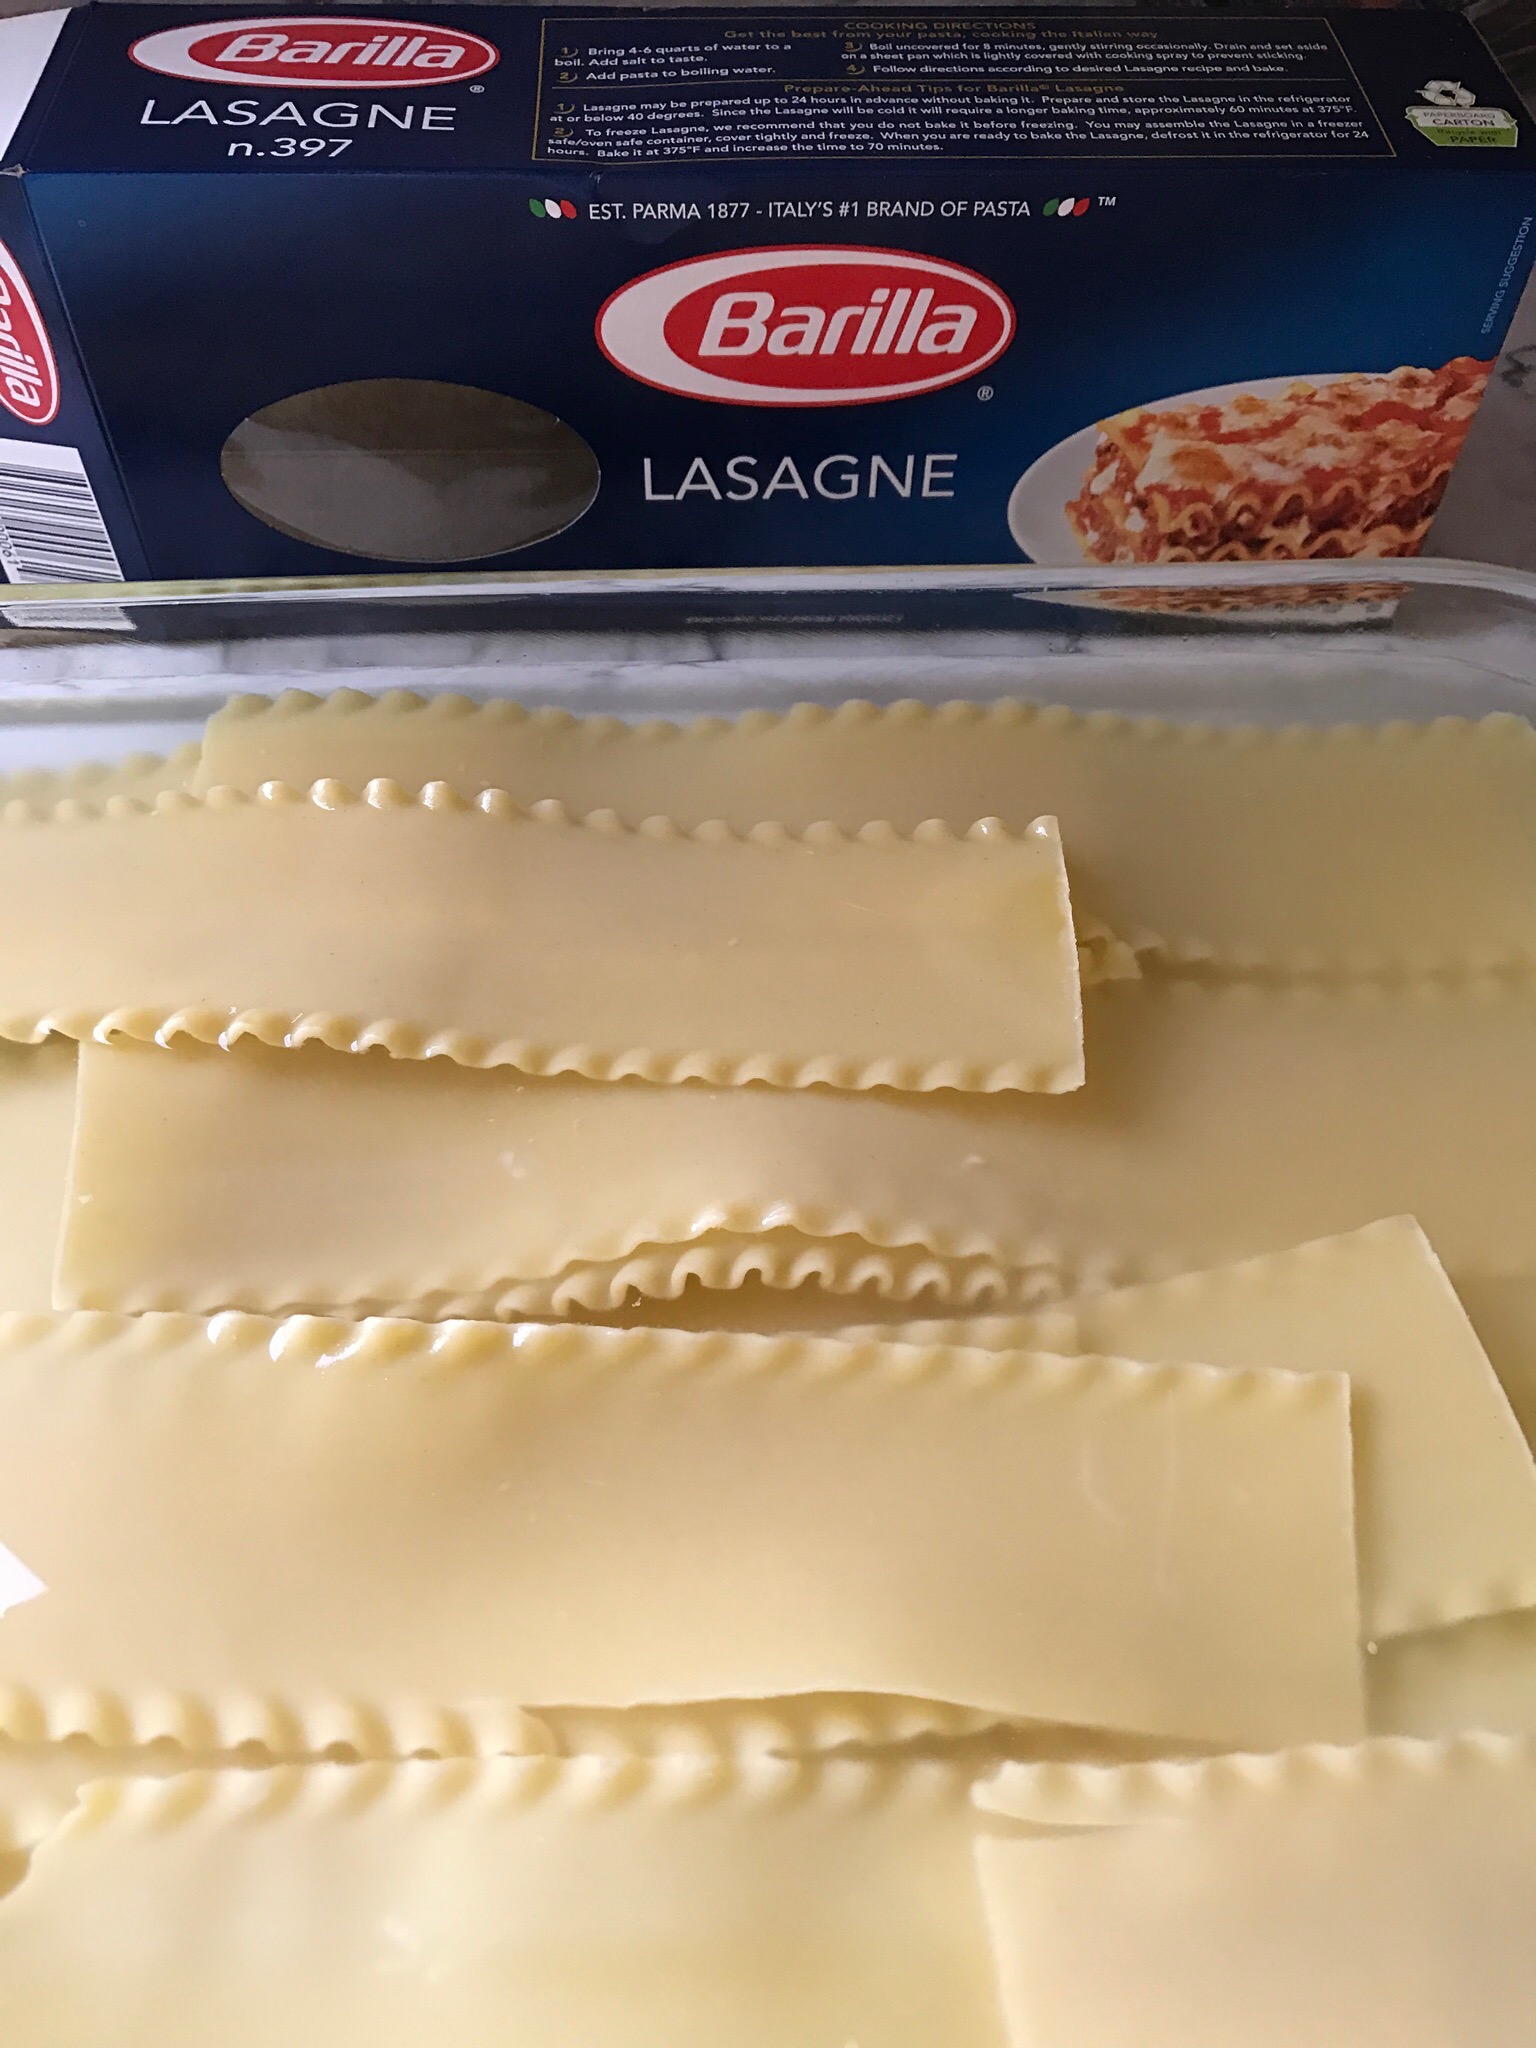
This is the pasta brand used and the pasta soaking in boiling water:

  • When the pasta are bendable, drain or lift them out of the water and place them on towels to dry.

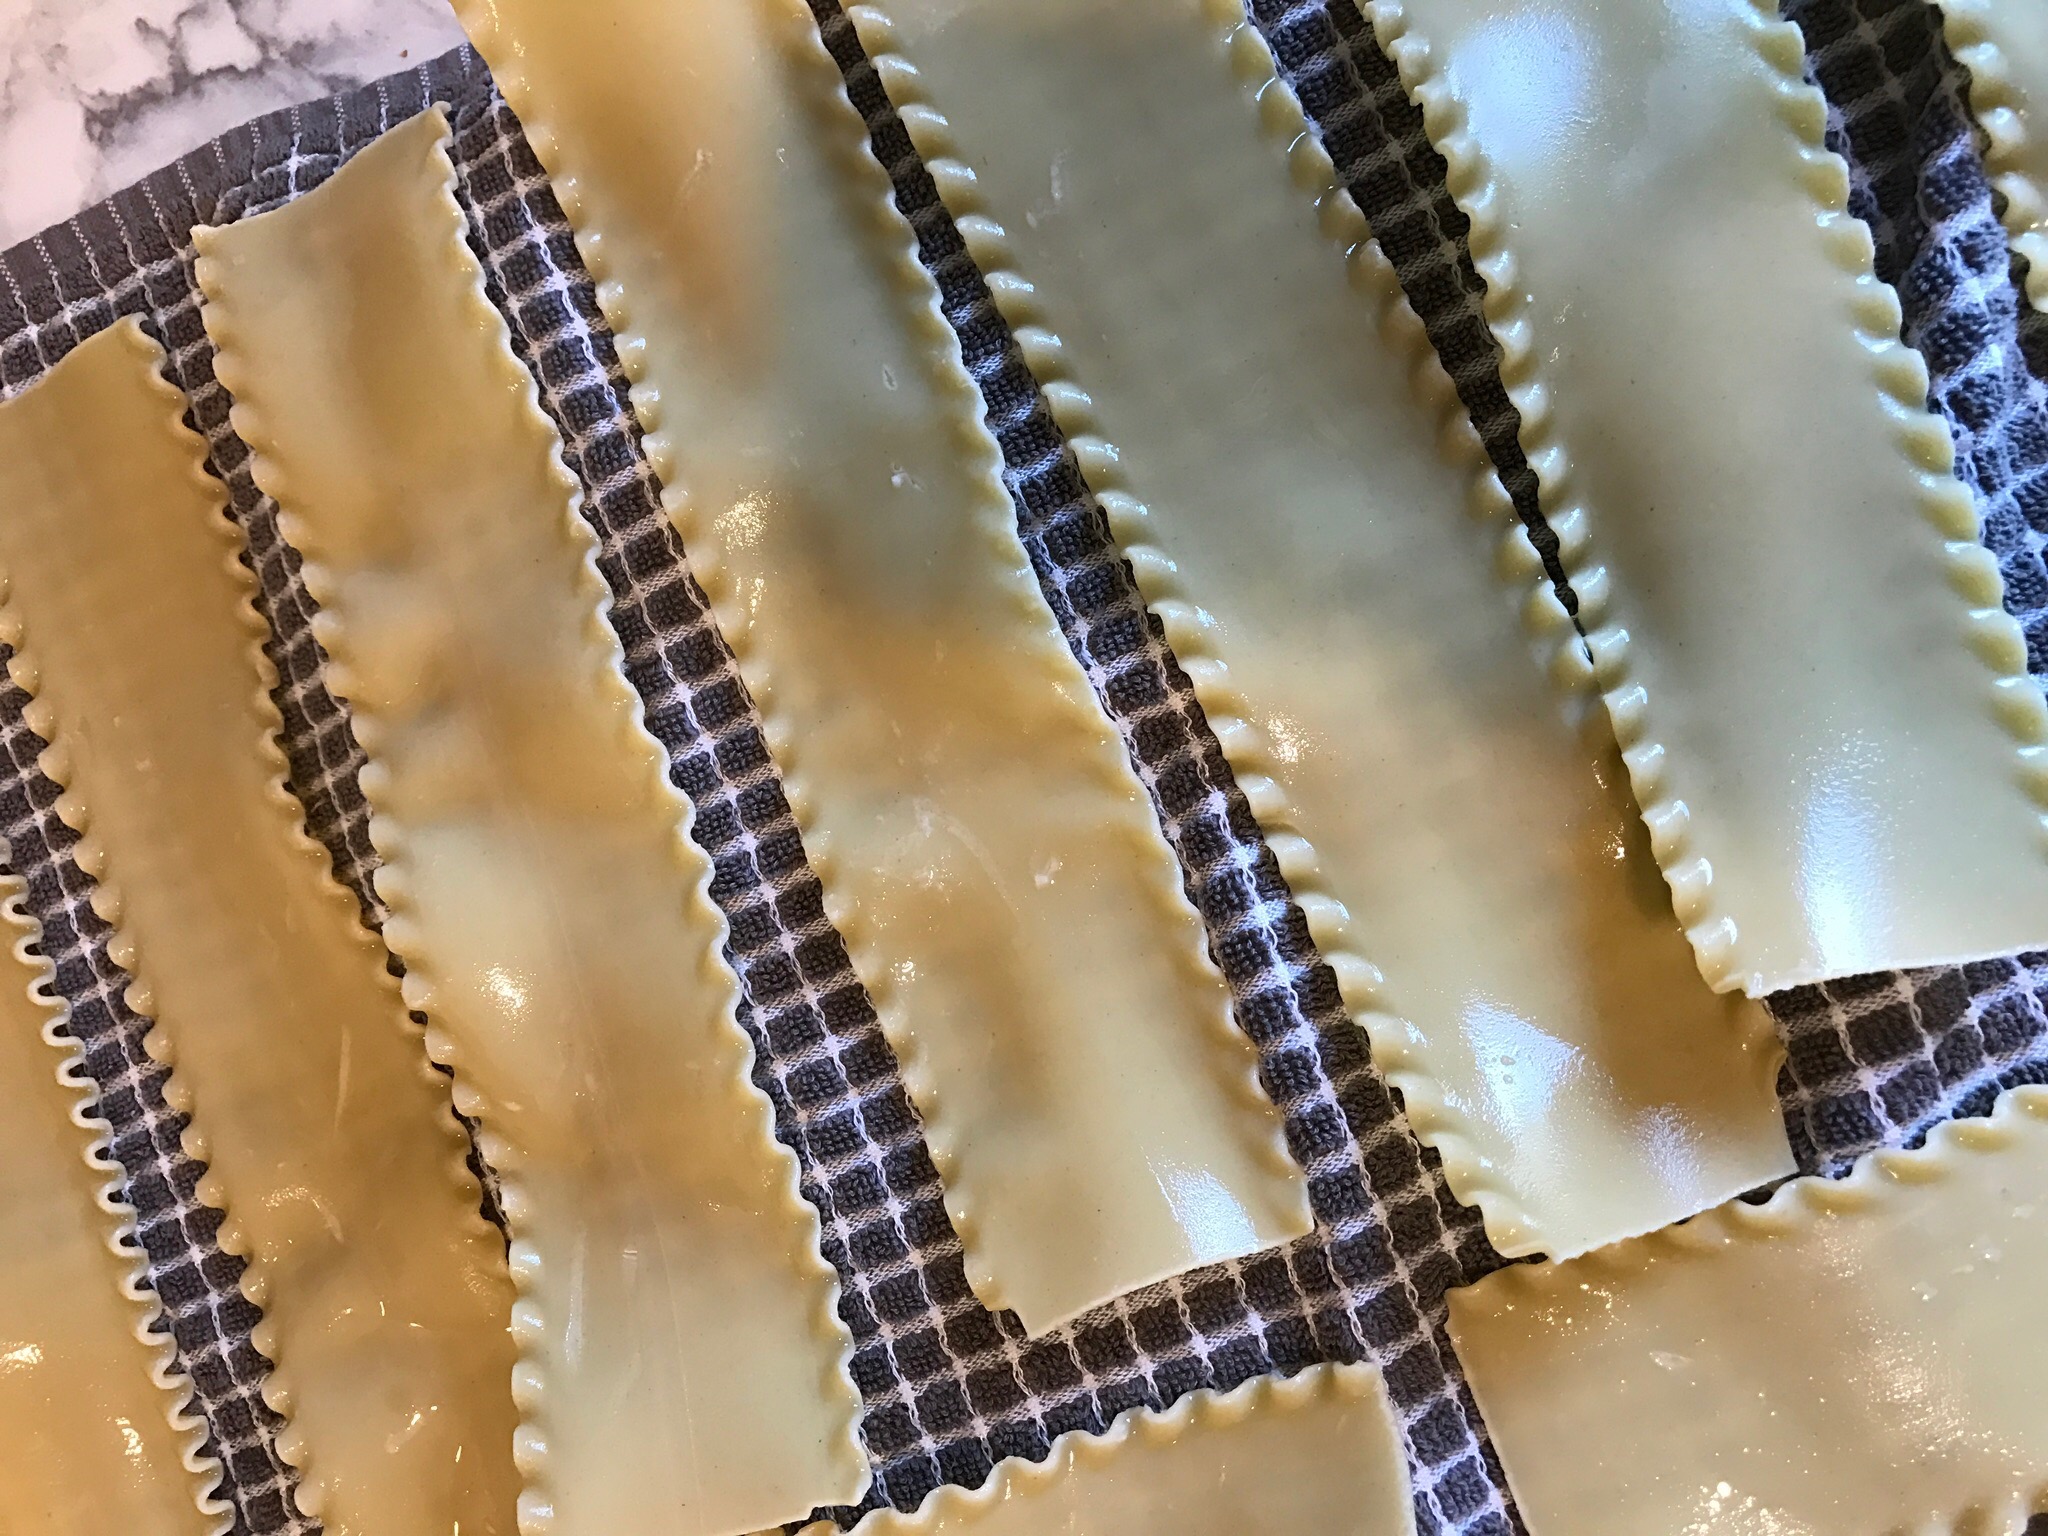
Pasta drying on kitchen towels:
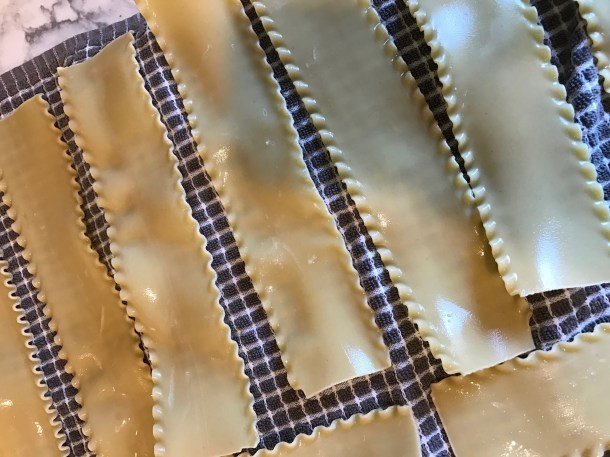
Here is the Oven Ready Lasagne: No soaking or boiling needed. Just layer them in! They are quite thin in comparison though. I don’t like these as much as traditional pasta.

  • Preheat oven to 350 -375 degrees with a rack in the middle of the oven (350 if using a glass baking pan as I do)
  • Place 1 1/2 cups tomato sauce in the bottom of a 9×13 inch baking pan or a 9x14x3 inch pan. If you use a larger deeper pan like I do you can add an extra sheet of lasagna to each layer. You end up using most of the box of pasta.
  • Cut 2-4 noodles in half crosswise and set aside.
  • Layer 3-4 full noodles lengthwise over the sauce with one end up next to the short end of the pan.
  • Place 1 – 2 half noodles at the other end of the pan perpendicular
  • Spread half of cheese sauce over noodles
  • Sprinkle 1/2 cup grated fontina cheese over cheese sauce
  • Layer noodles next in the same manner but switch the half noodle to the other end of the pan
  • Spread 1 1/2 cups tomato sauce over the noodles
  • Sprinkle 1/2 cup fontina cheese over sauce
  • Place 3rd layer of noodles with 3-4 noodles, again switching the 1-2 short noodles to the other end from the last time
  • Spread remaining cheese sauce and then 1/2 cup fontina 
  • Layer 3-4 noodles and again switch their placement. This is to make the layers an even height. Again add 1 – 2 half noodles to end
  • Spread the remaining sauce over the noodles.
  • Mix 1 cup fontina with cornstarch and sprinkle it on (I don’t add the cornstarch)
  • Finally layer the remaining grated Pecorino Romano over the top
  • Spray a sheet of foil with oil and place it oil side down on the lasagne (I don’t find this necessary)
  • Bake at 350 or 375 for 25 minutes
  • Remove lasagne from oven
  • Increase temp to 450 and remove foil. 
  • Return lasagne to the oven and bake 5-10 minutes until lightly browned
  • Remove from oven and let sit 20 minutes before serving
  • I have made this lasagne ahead and refrigerated it before baking. Bring it to room temperature before placing it in the oven for baking

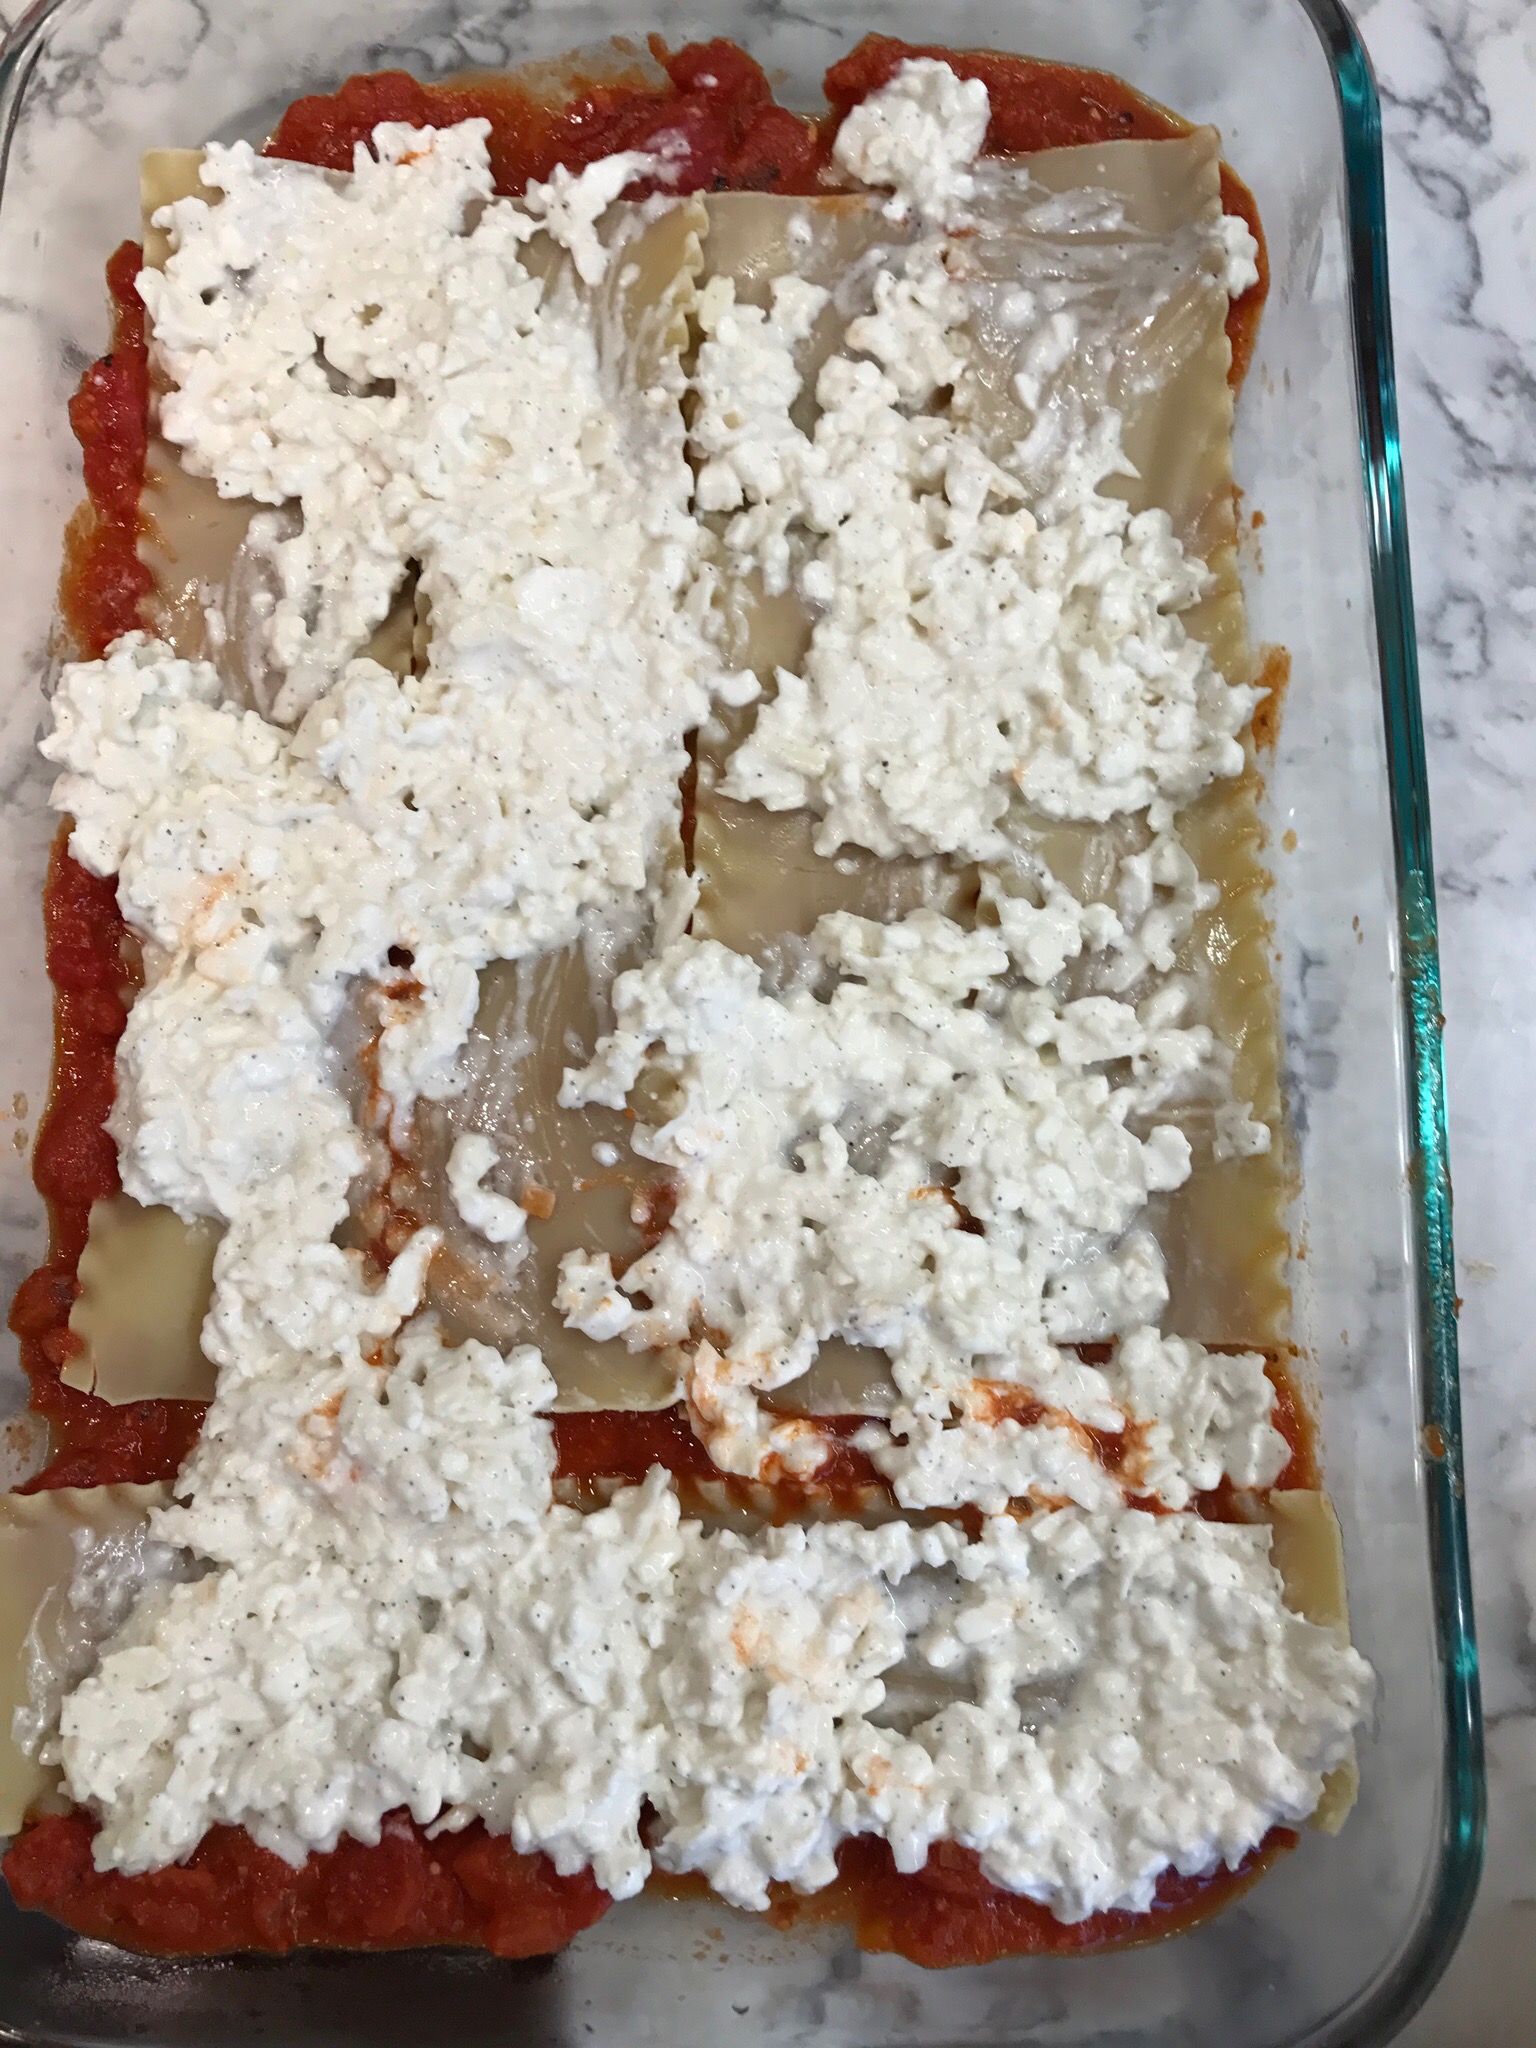
Cheese Sauce layered over first layer of pasta:

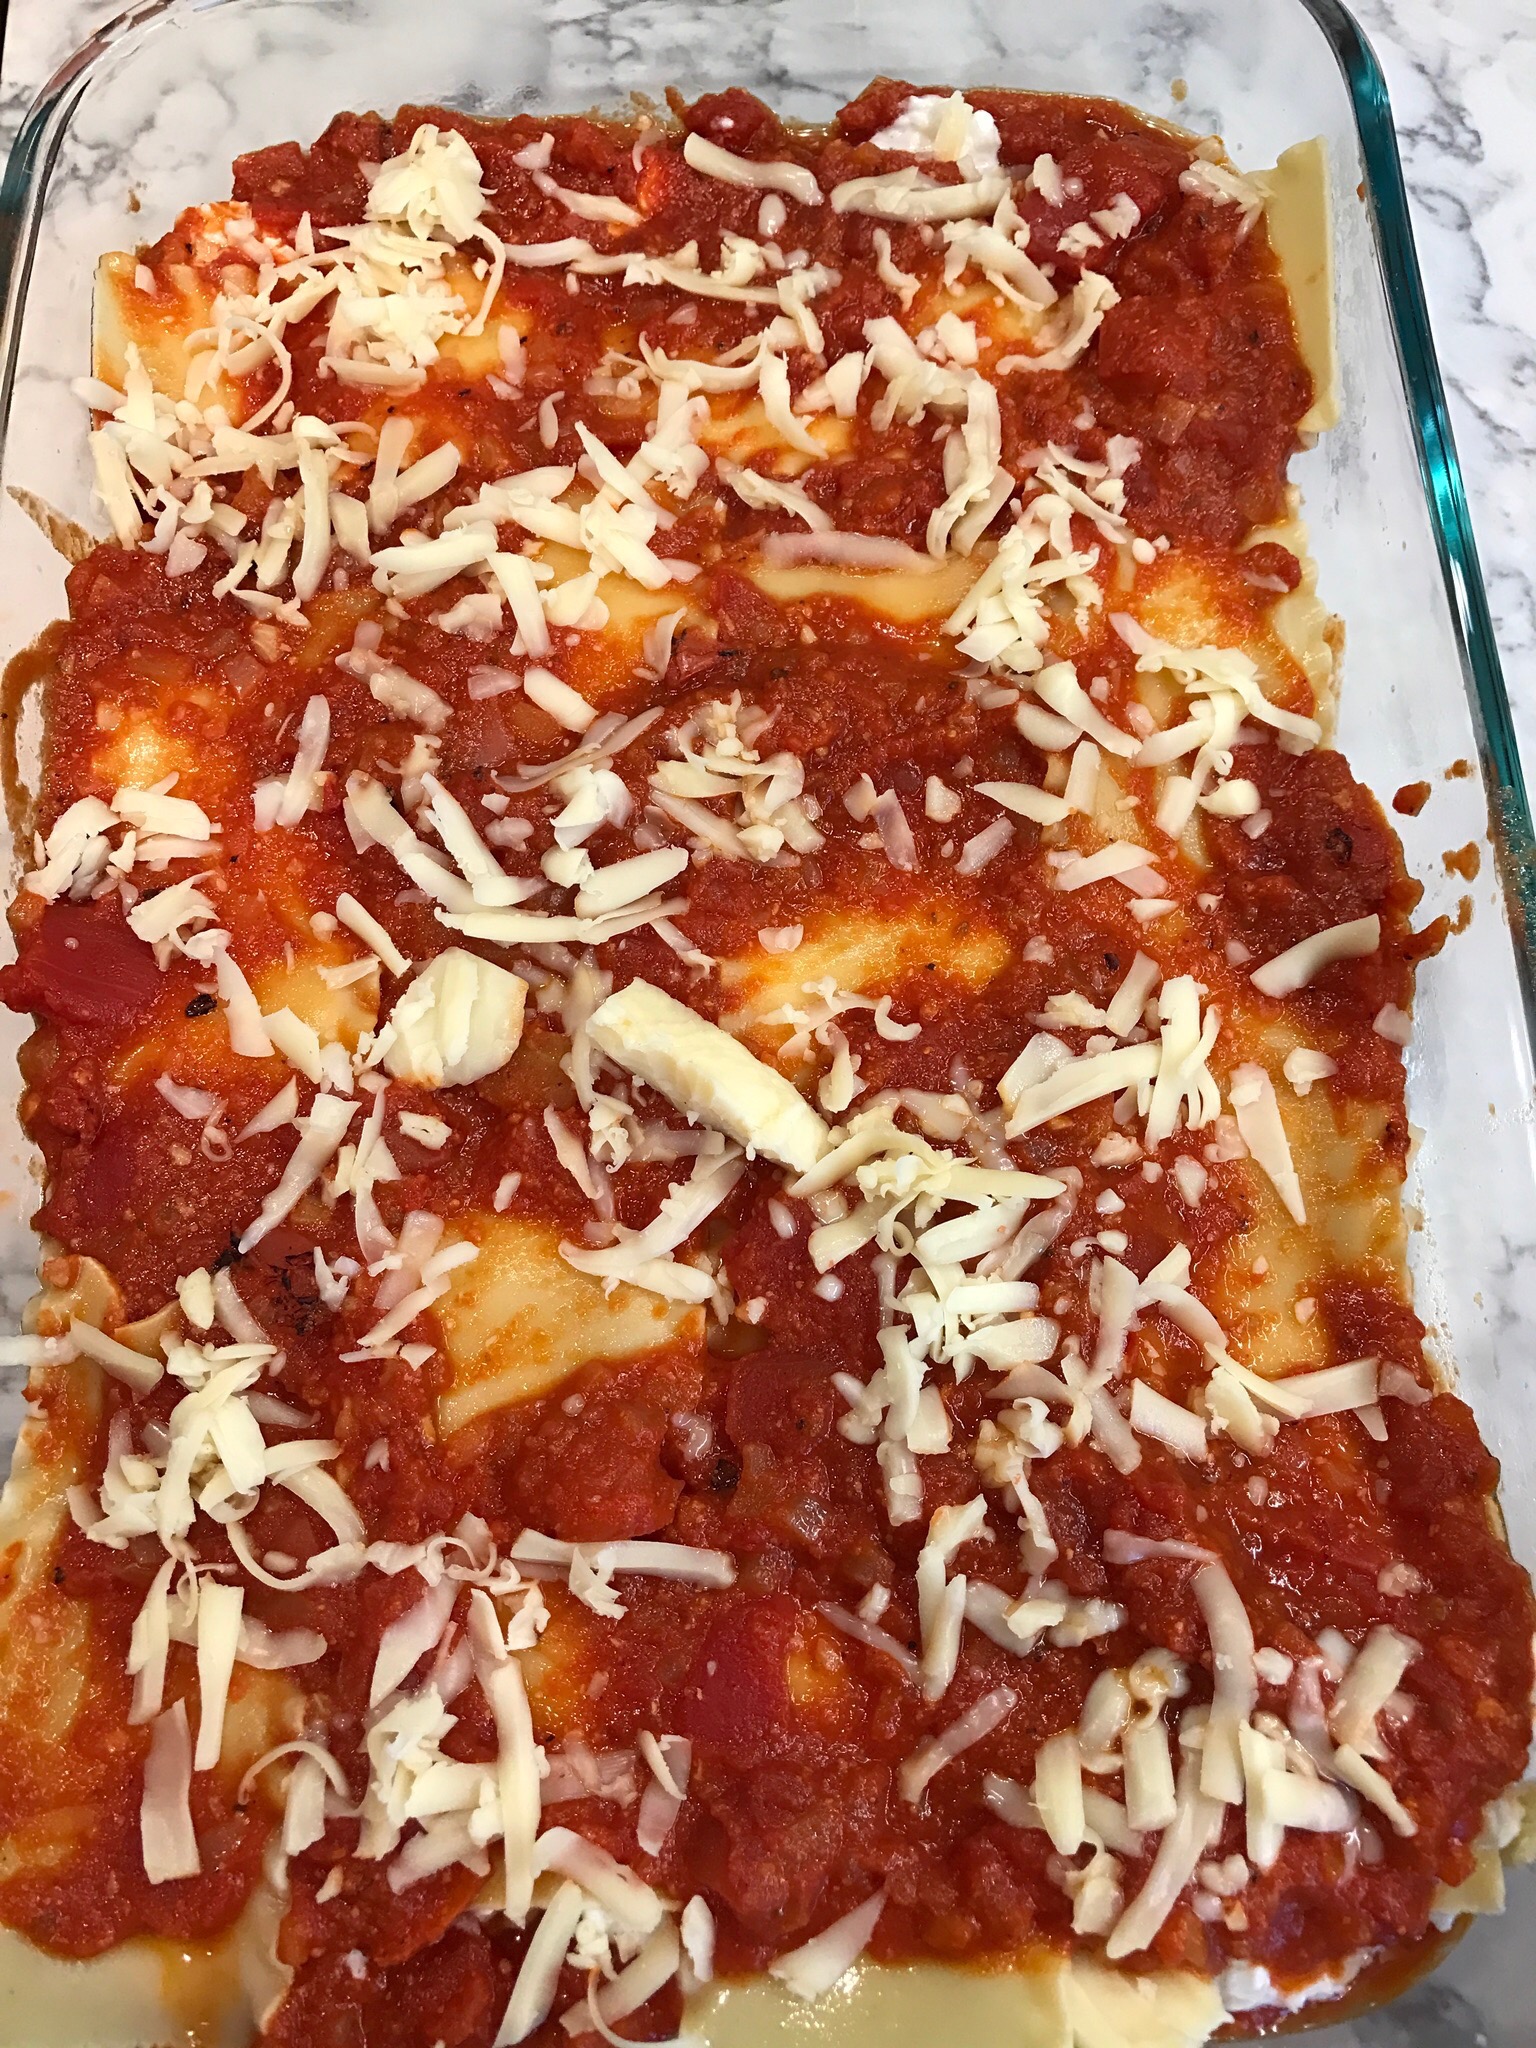
Fontina layered over tomato sauce:
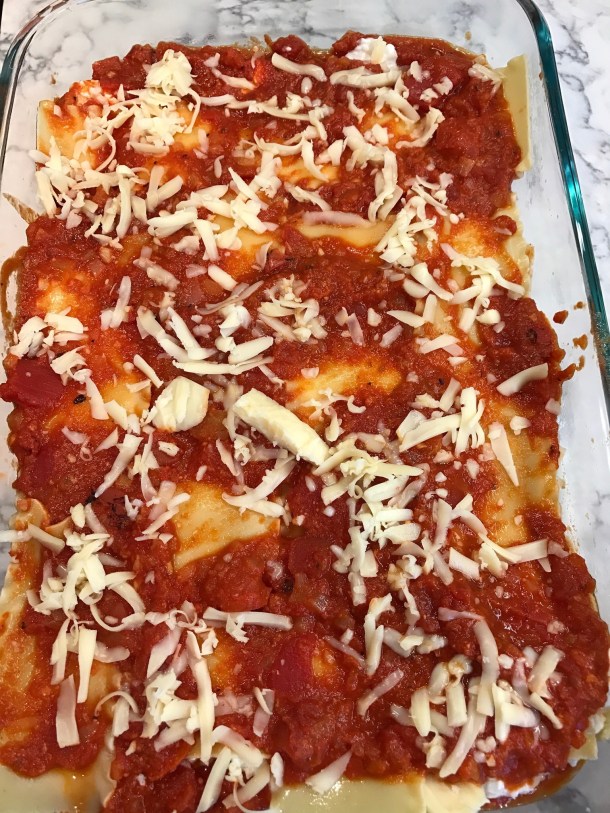
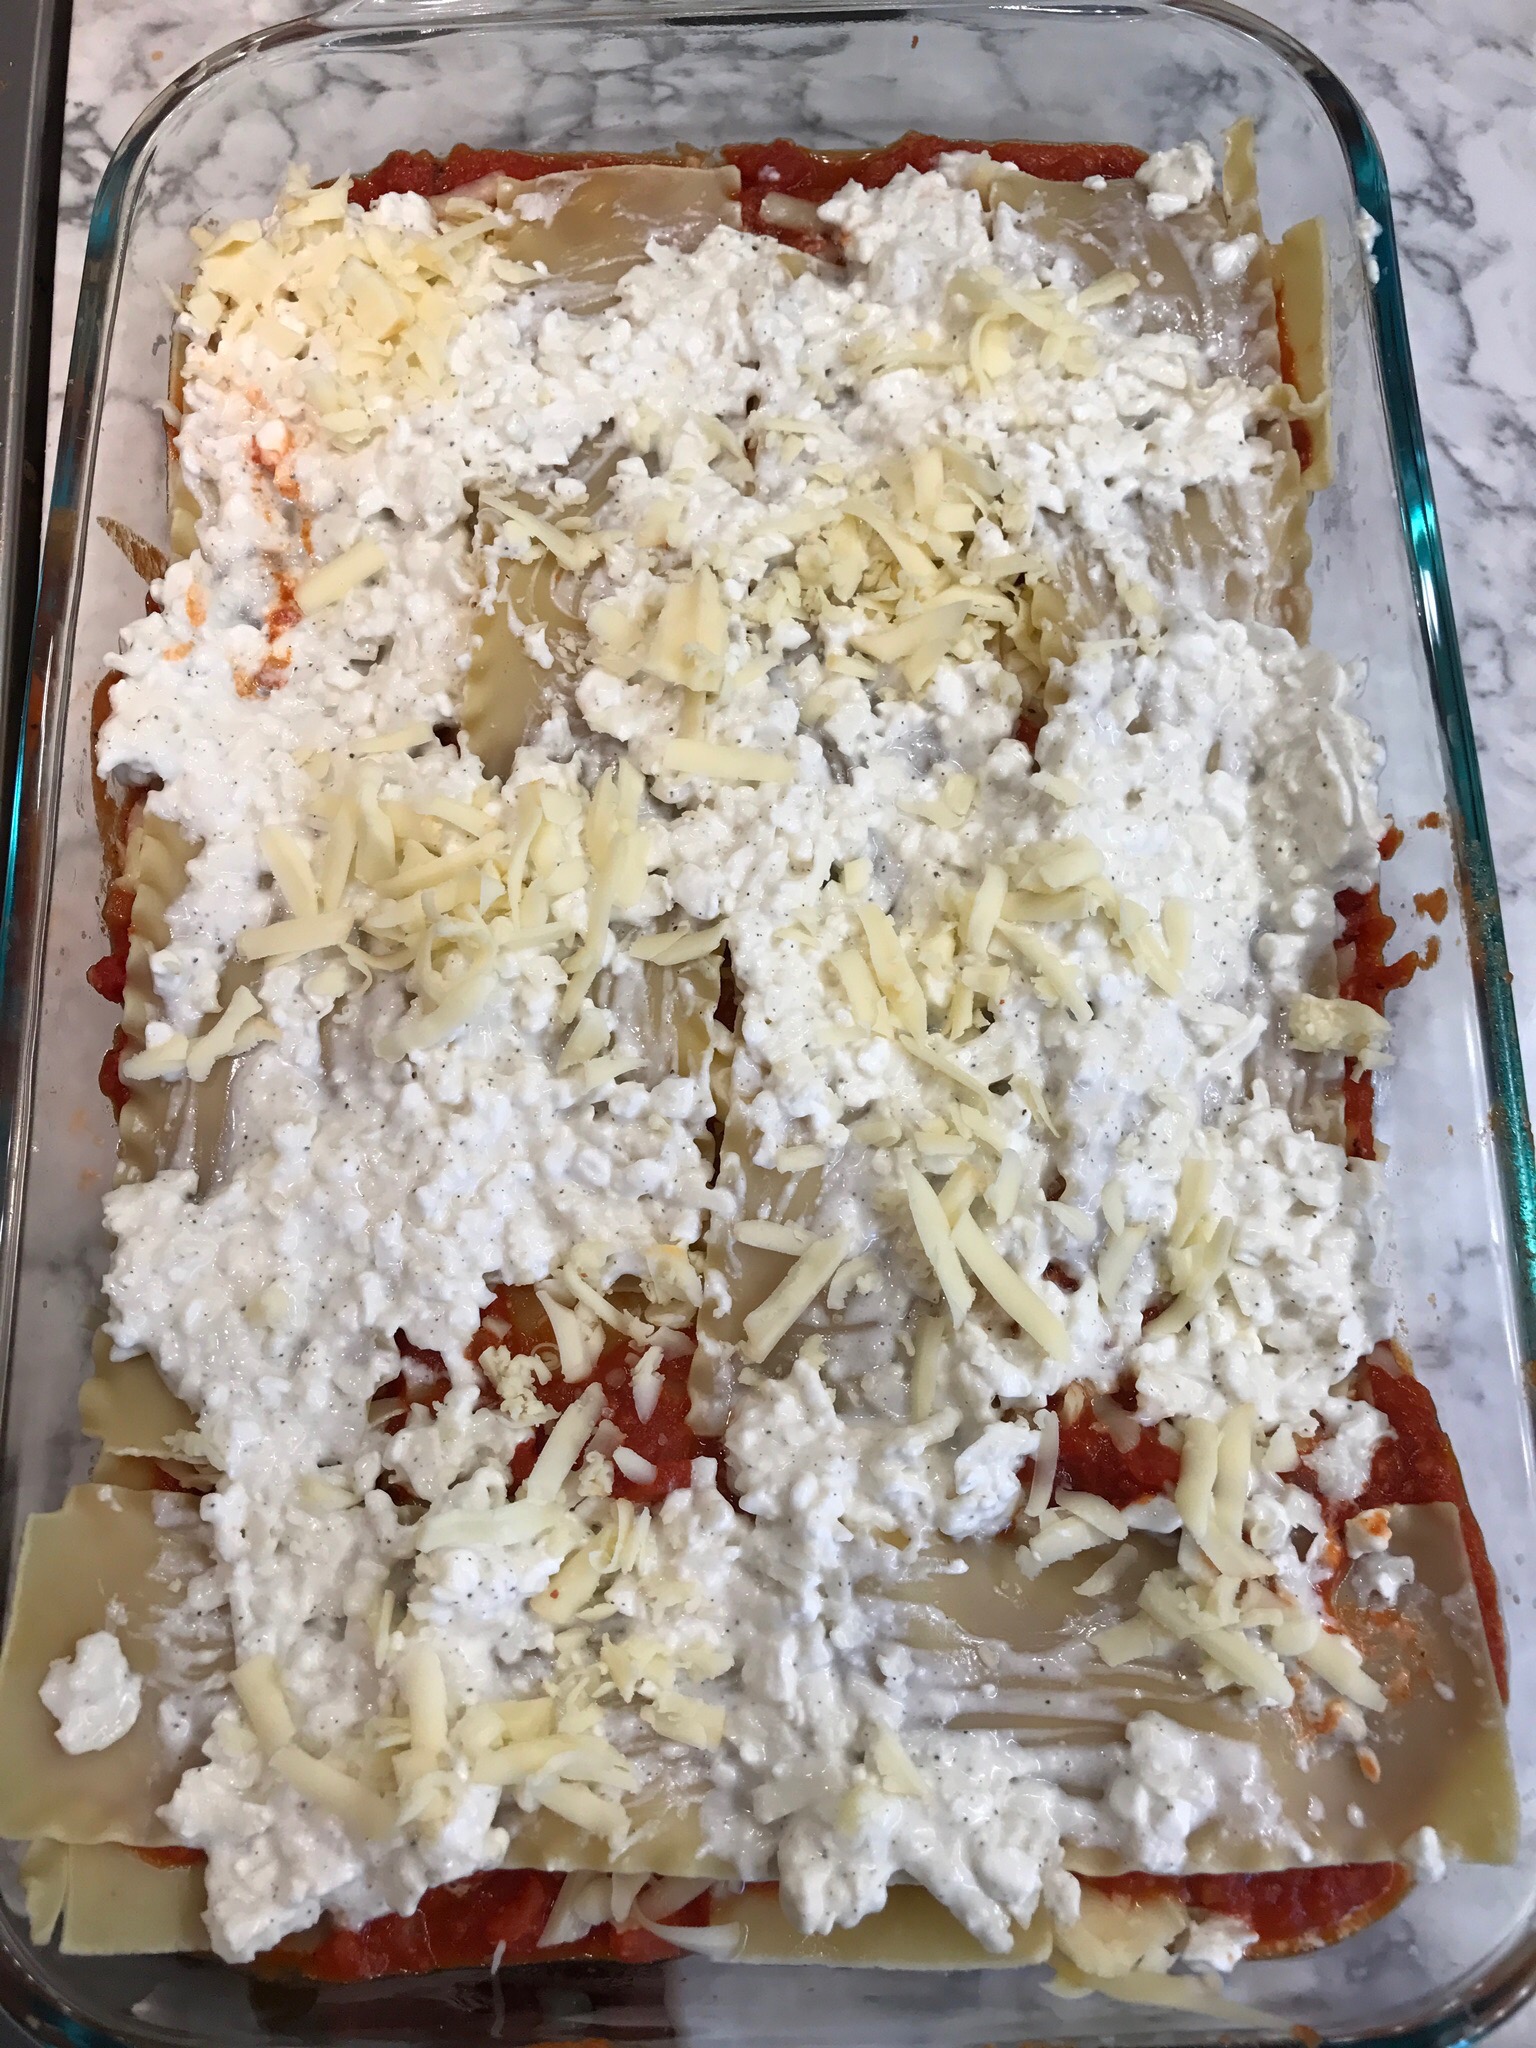
Fontina layered over cheese sauce:
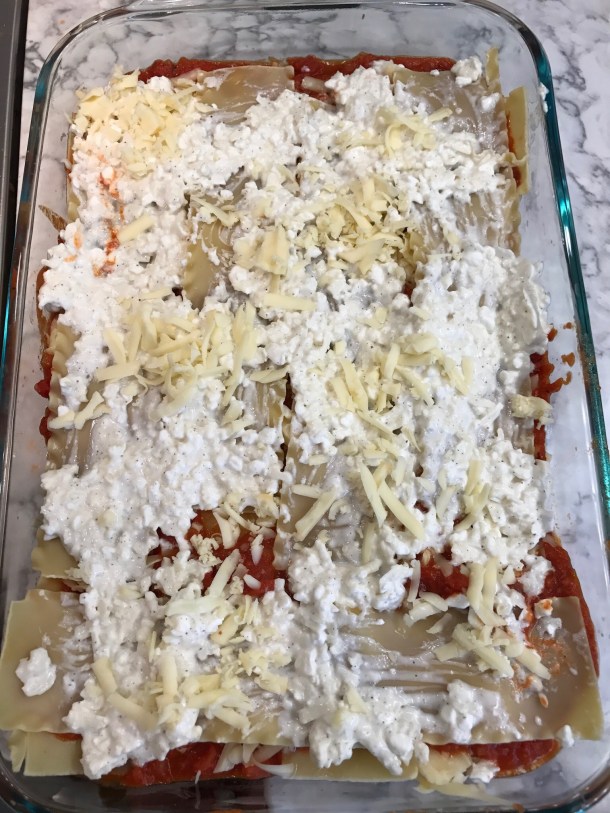
Final layer of the lasagna: Pecorino Romano!

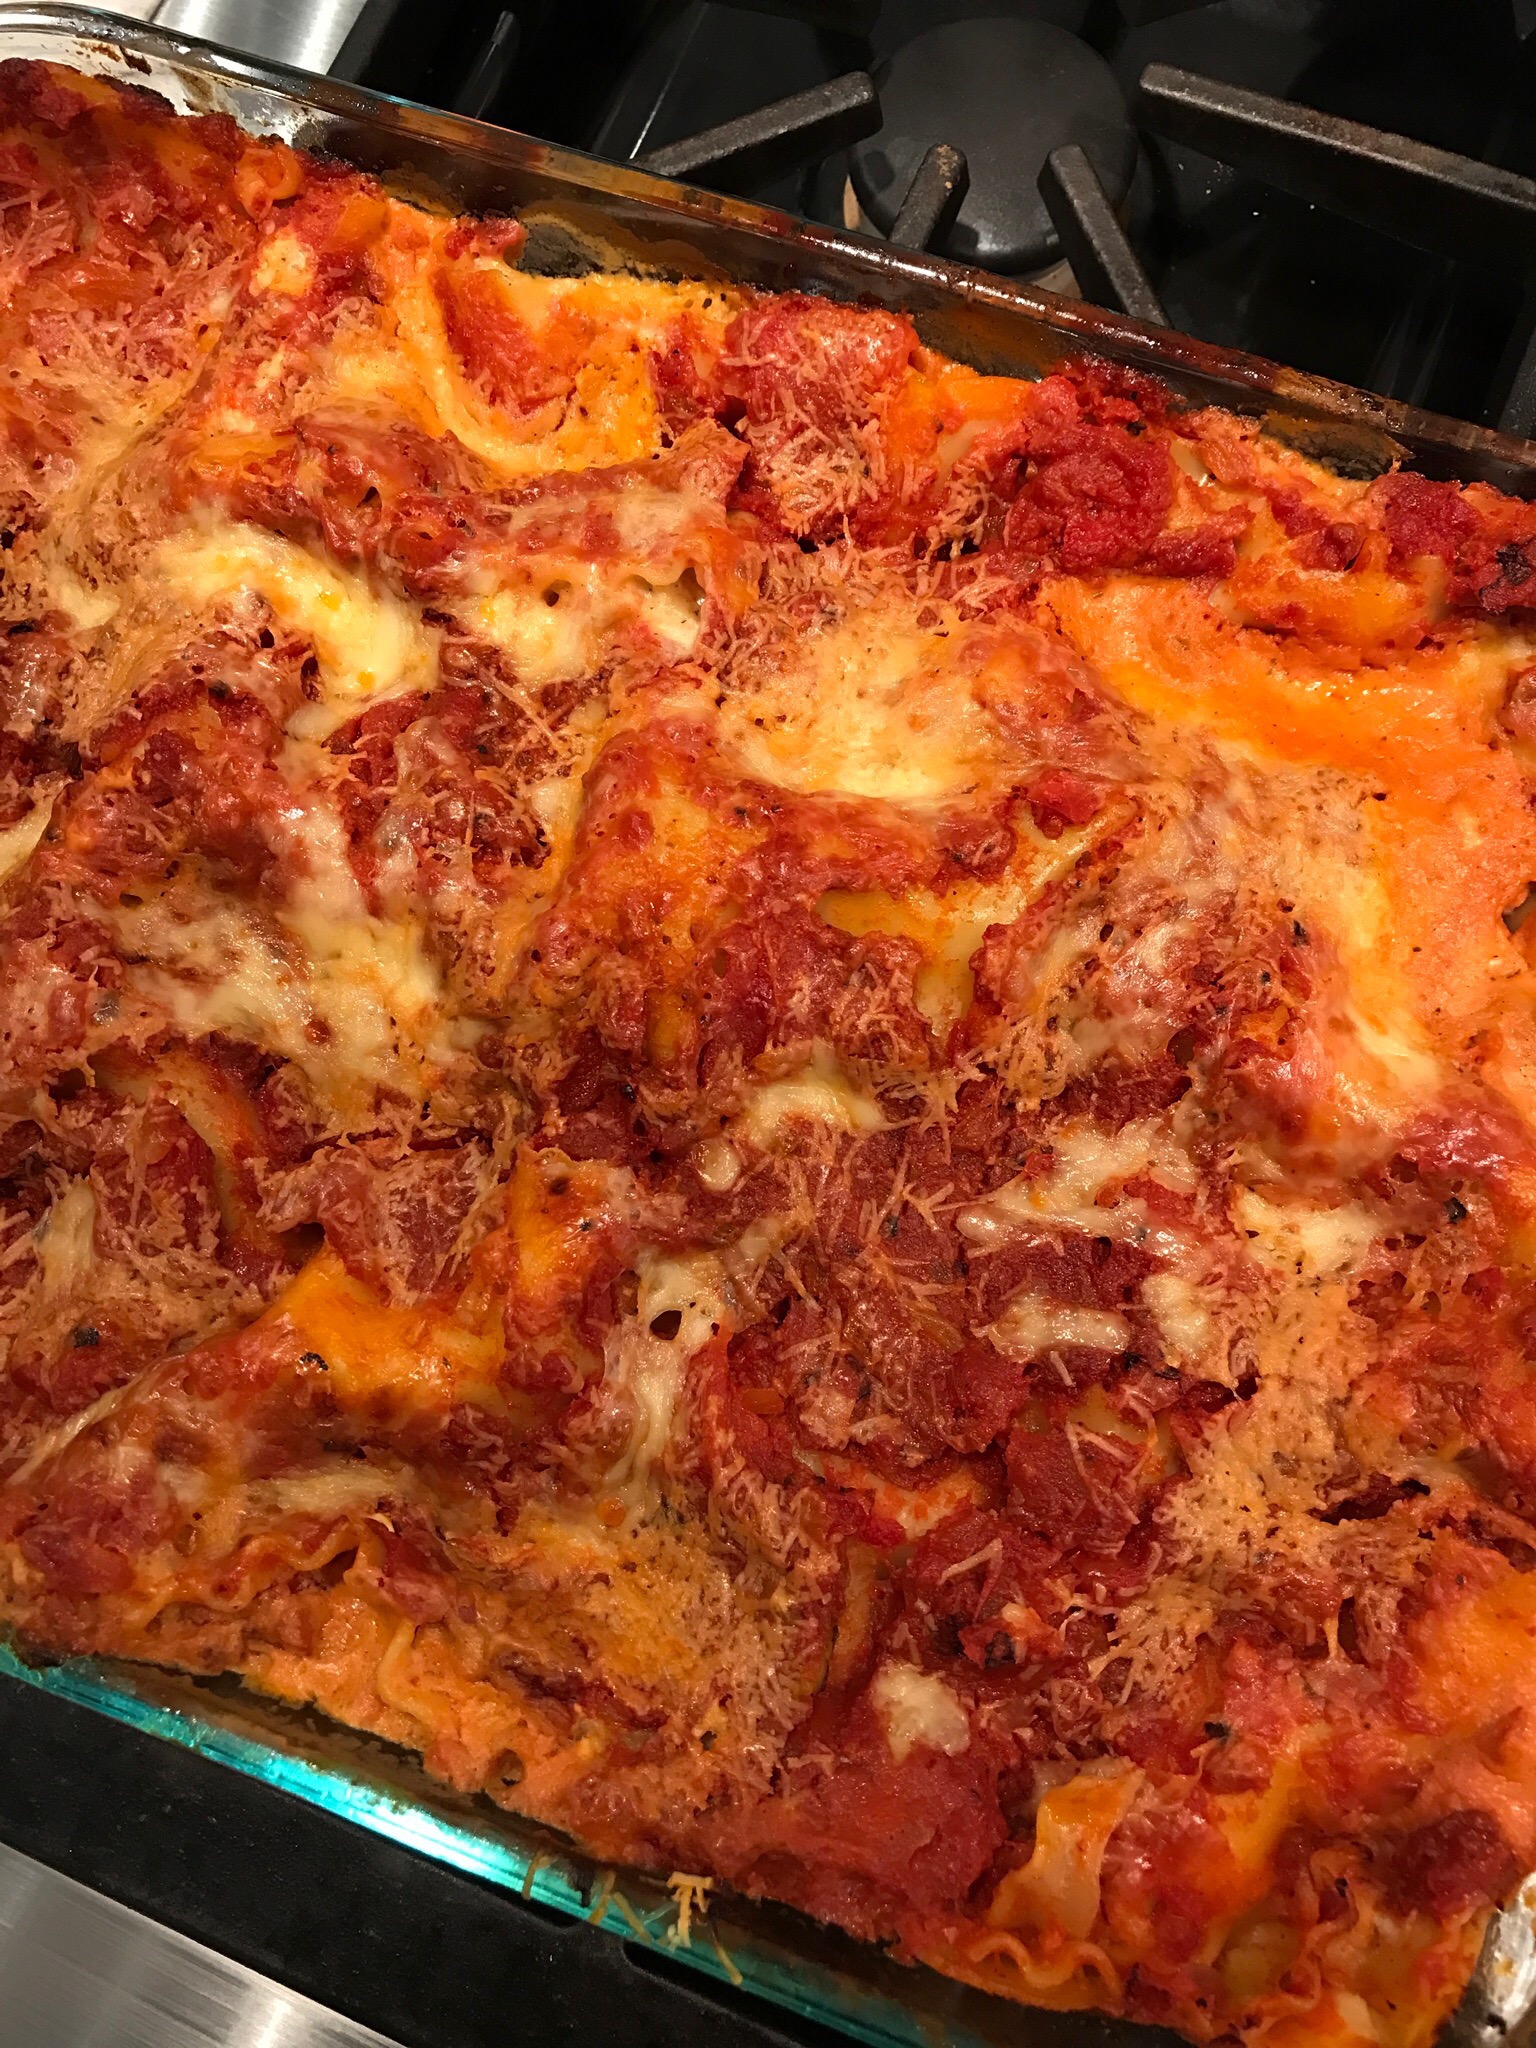
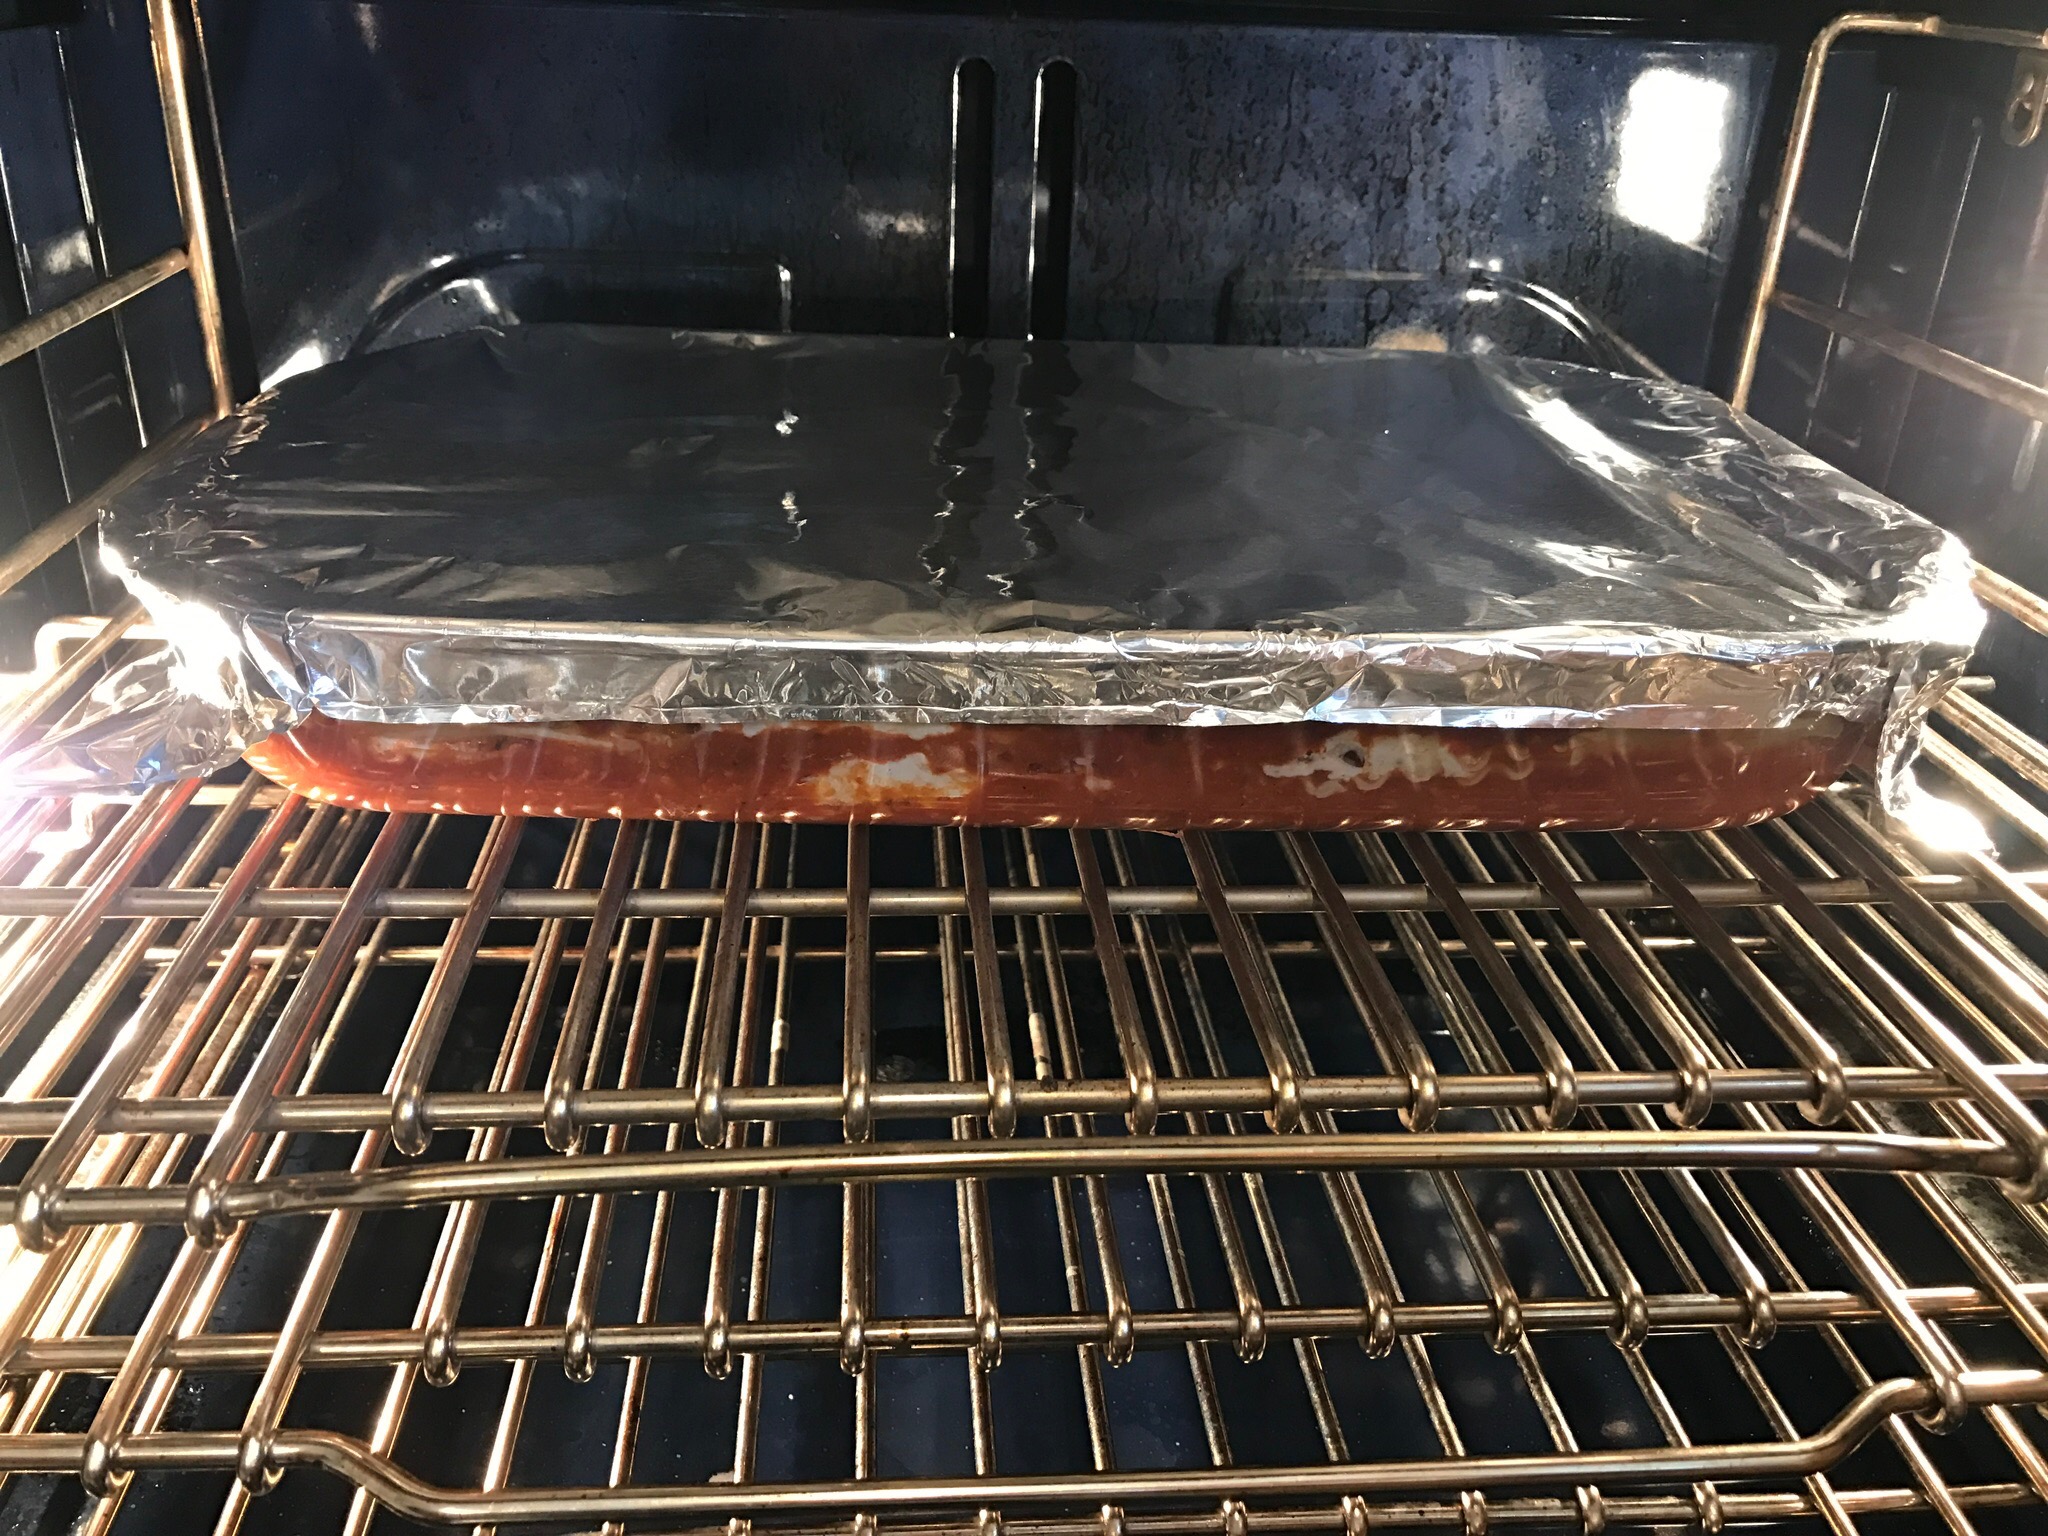
Cover the lasagne with an oiled sheet of foil and bake at 350 or 375 degrees for 25 minutes.


The final stage is to remove the foil and increase the oven temperature to 450 or 500 for 5-10 minutes or until lightly browned. 

Then let rest for 20 minutes before serving. 

You can use more or less of any ingredients as you like. The cornstarch is not essential. Store bought sauce is fine also. You’ll need at least 5 cups of sauce or about 40 oz

Voila!
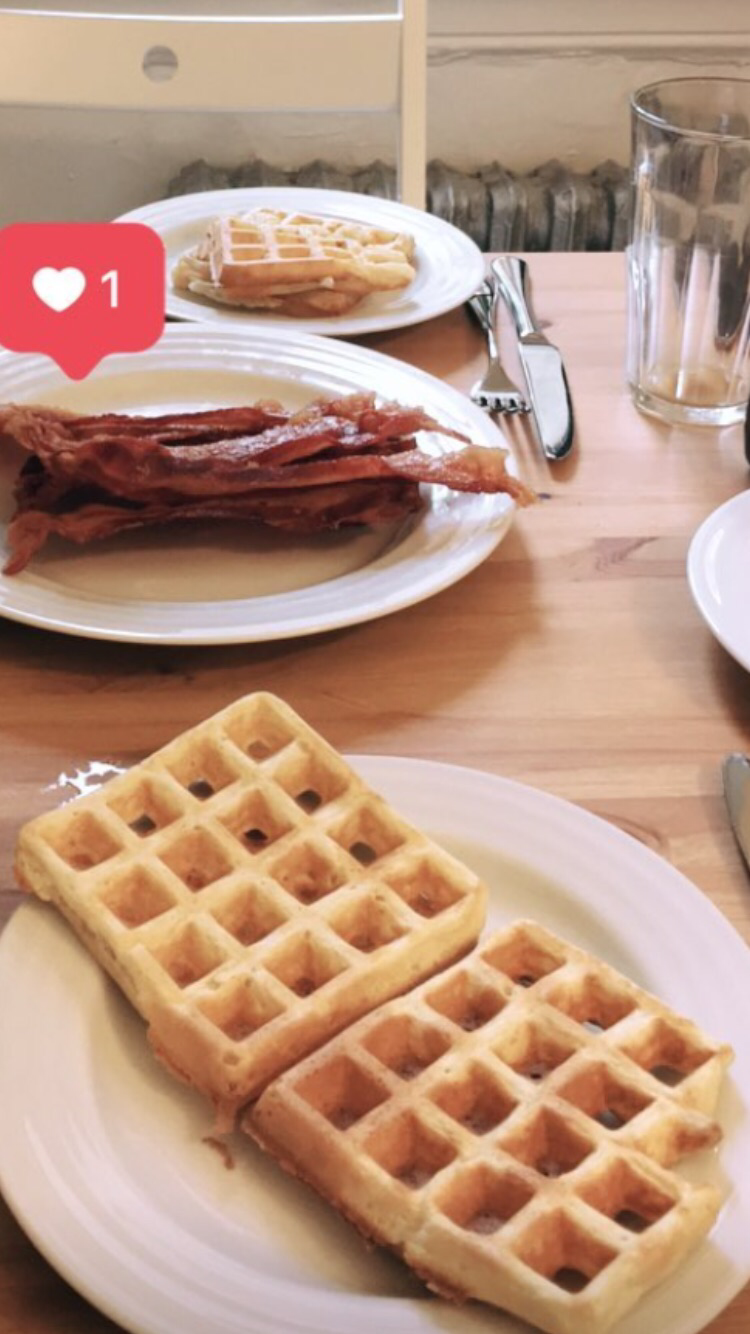
Crispy Baked Onion Rings


We love restaurant style onion rings! The whole fresh made rings are best. The chopped onion version is not as good. Too bad they have to be deep fried and are so greasy! 

But now you can make home made crispy onion rings without all that fat and mess!

1 large white onion, about the size of a softball!

2 cups buttermilk

1/2 cup flour

1/2 teaspoon salt

3 eggs, beaten

2 cups original panko style breadcrumbs

3 1-gallon size Ziploc storage bags

Spray vegetable oil

1 Parchment paper lined baking pan

  • Take the large white onion and slice off the ends and the outer peel
  • Slice the onion horizontally into 4 even slices, about 1/2-3/4 inch wide. Slice carefully so the rings stay together.
  • Seperate the rings where they naturally break apart. Try to keep at least 2 layers in each ring
  • Place the buttermilk in a medium bowl. Add the onion rings and let sit 30 minutes. Mix around a few times.
  • While the onions marinate get your Ziploc bags ready.
  • In one Ziploc place 1/2 cup flour and 1/2 teaspoon salt
  • In another bag place 3 beaten eggs 
  • In the last bag place 2 cups panko style breadcrumbs
  • After 30 minutes drain the onion rings in a colander
  • Add half the onion rings to the bag of flour, zip closed and mix around well. 
  • Shake off the excess flour.
  • Add the floured onion rings to the bag of eggs. Zip closed and mix around until coated
  • Shake off the excess egg and place the onion rings in the breadcrumbs. Close bag and mix around until coated.
  • Place the panko coated onion rings on a parchment paper lined baking sheet.
  • Repeat with the other half of the onion rings.
  • Place the smaller rings and inner center pieces inside the larger rings so they all fit in one baking pan.
  • Spray with vegetable oil until lightly coated
  • Bake at 375-385 degrees for 30 minutes. The onion rings will be lightly browned. If the oven is too hot they will blacken or brown too quickly!
  • Serve immediately
  • Voila!
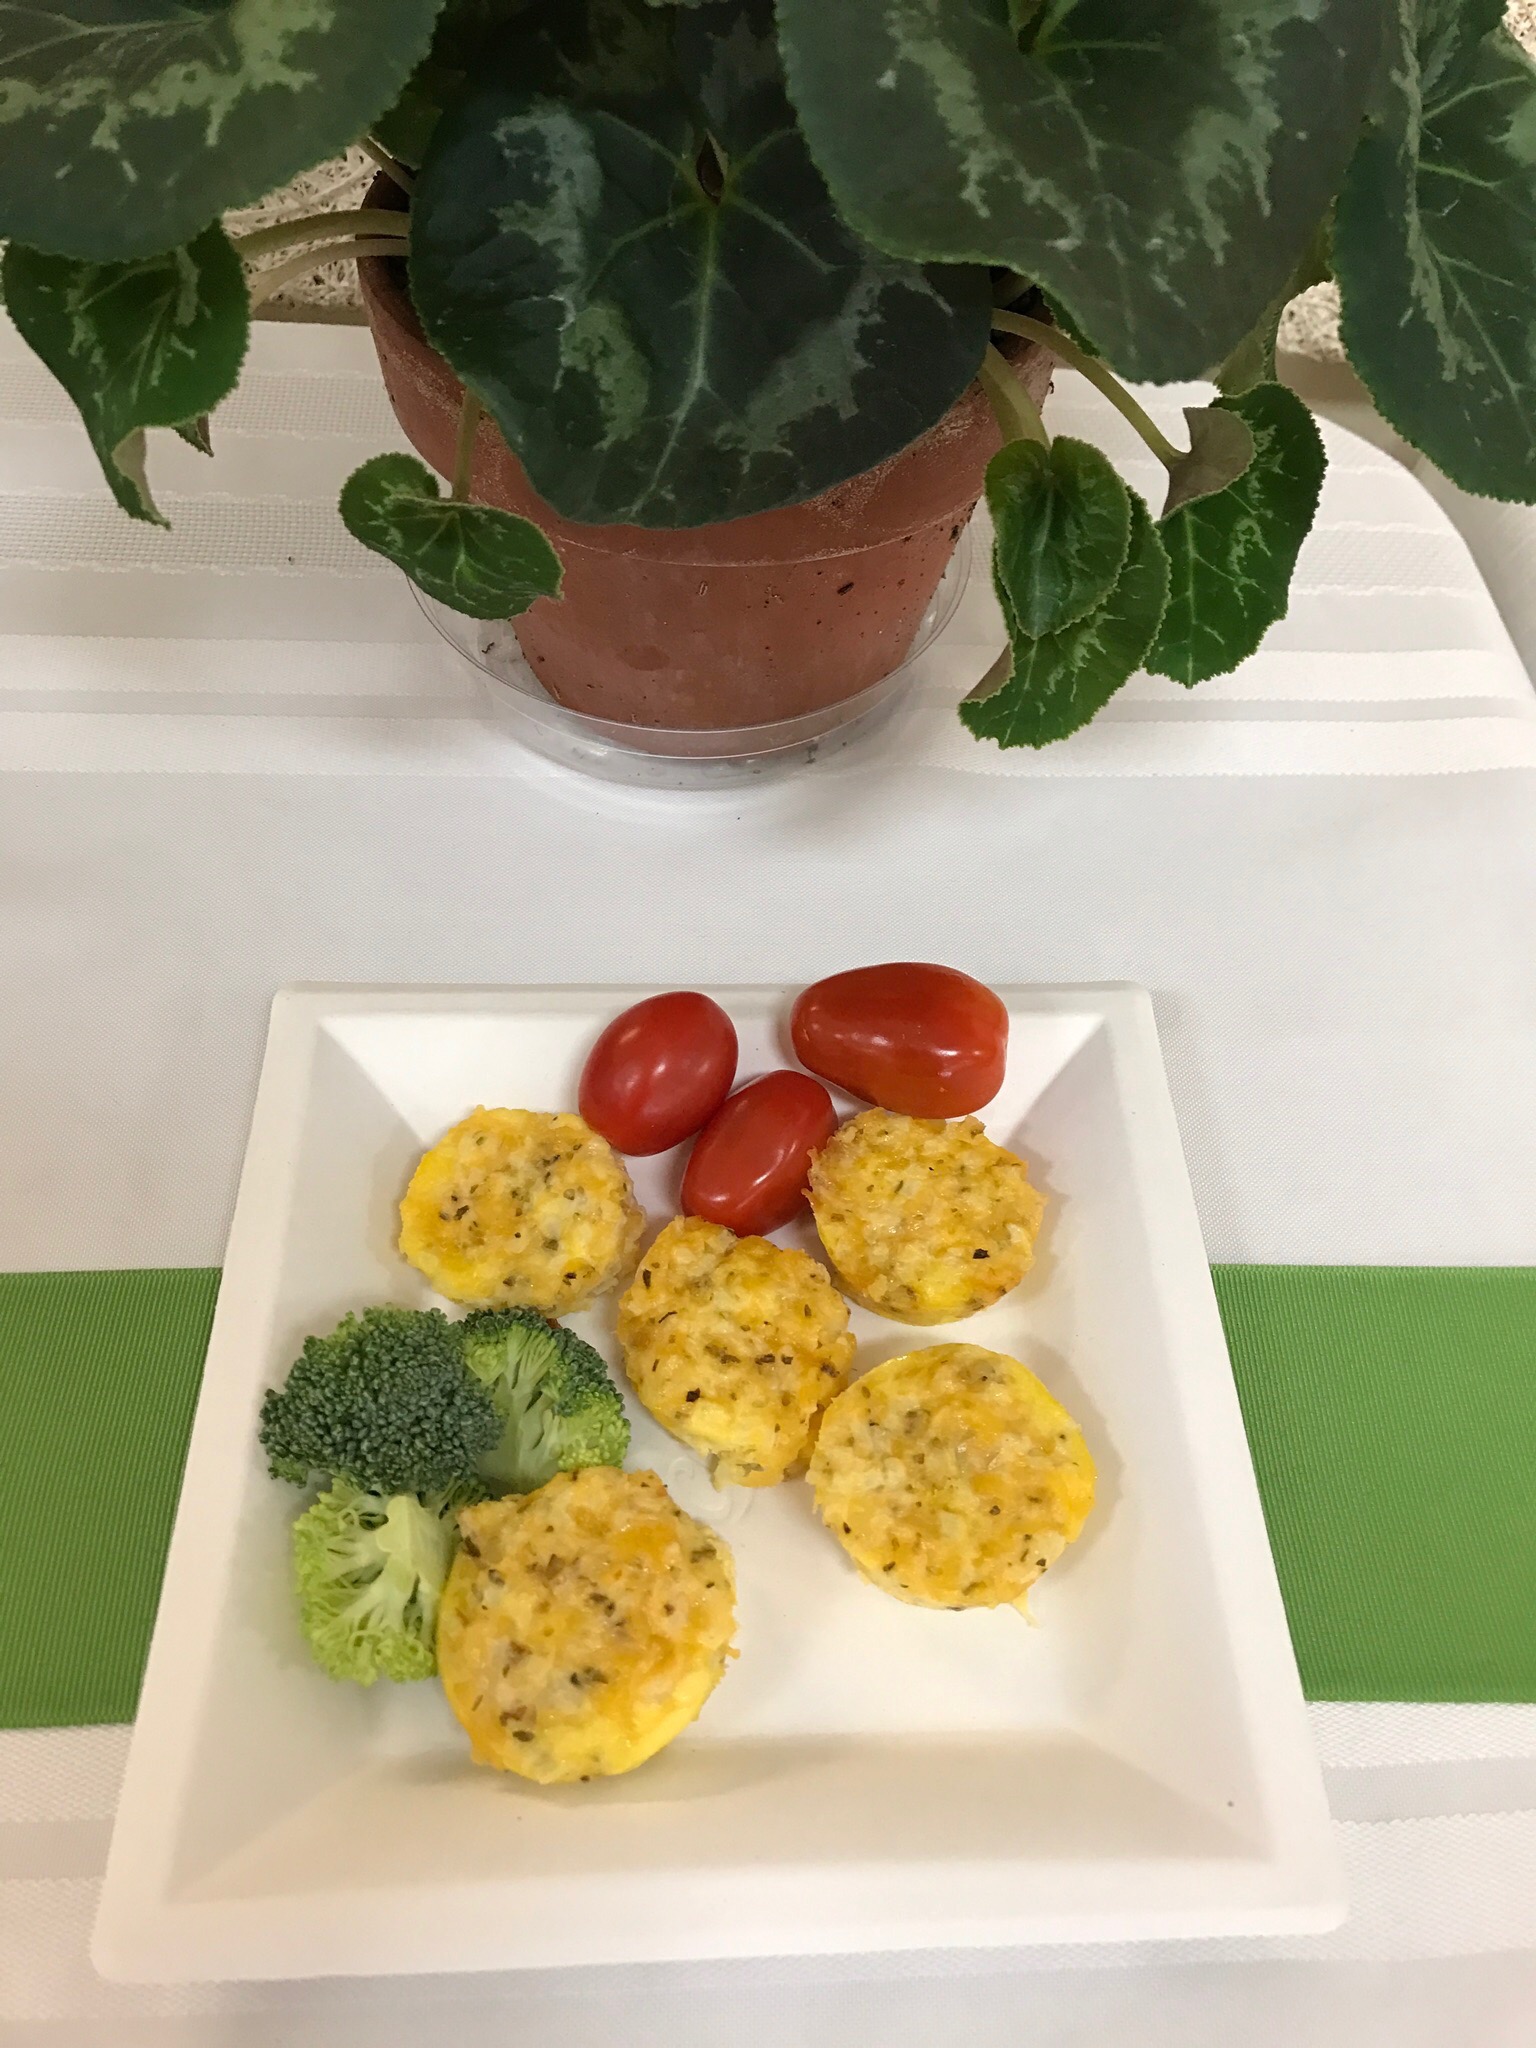
Cheesy Cauliflower Bites


Marissa Moore posted this recipe on Instagram and I’ve made it several times. Everyone loves it! It’s tasty, easy and fun to eat. It’s also a very forgiving recipe. It works out well with varying proportions of cauliflower and cheese. You like things more cheesy, add more cheese. You like things less cheesy, add less. 

Prep time is less than 5 minutes plus 15 minutes baking time. It’s hard to make anything faster! You can quickly put them together just before serving or make them a day or two ahead and then reheat in the microwave.

Here’s what you need. I like Turkish oregano, but season with whatever you like.

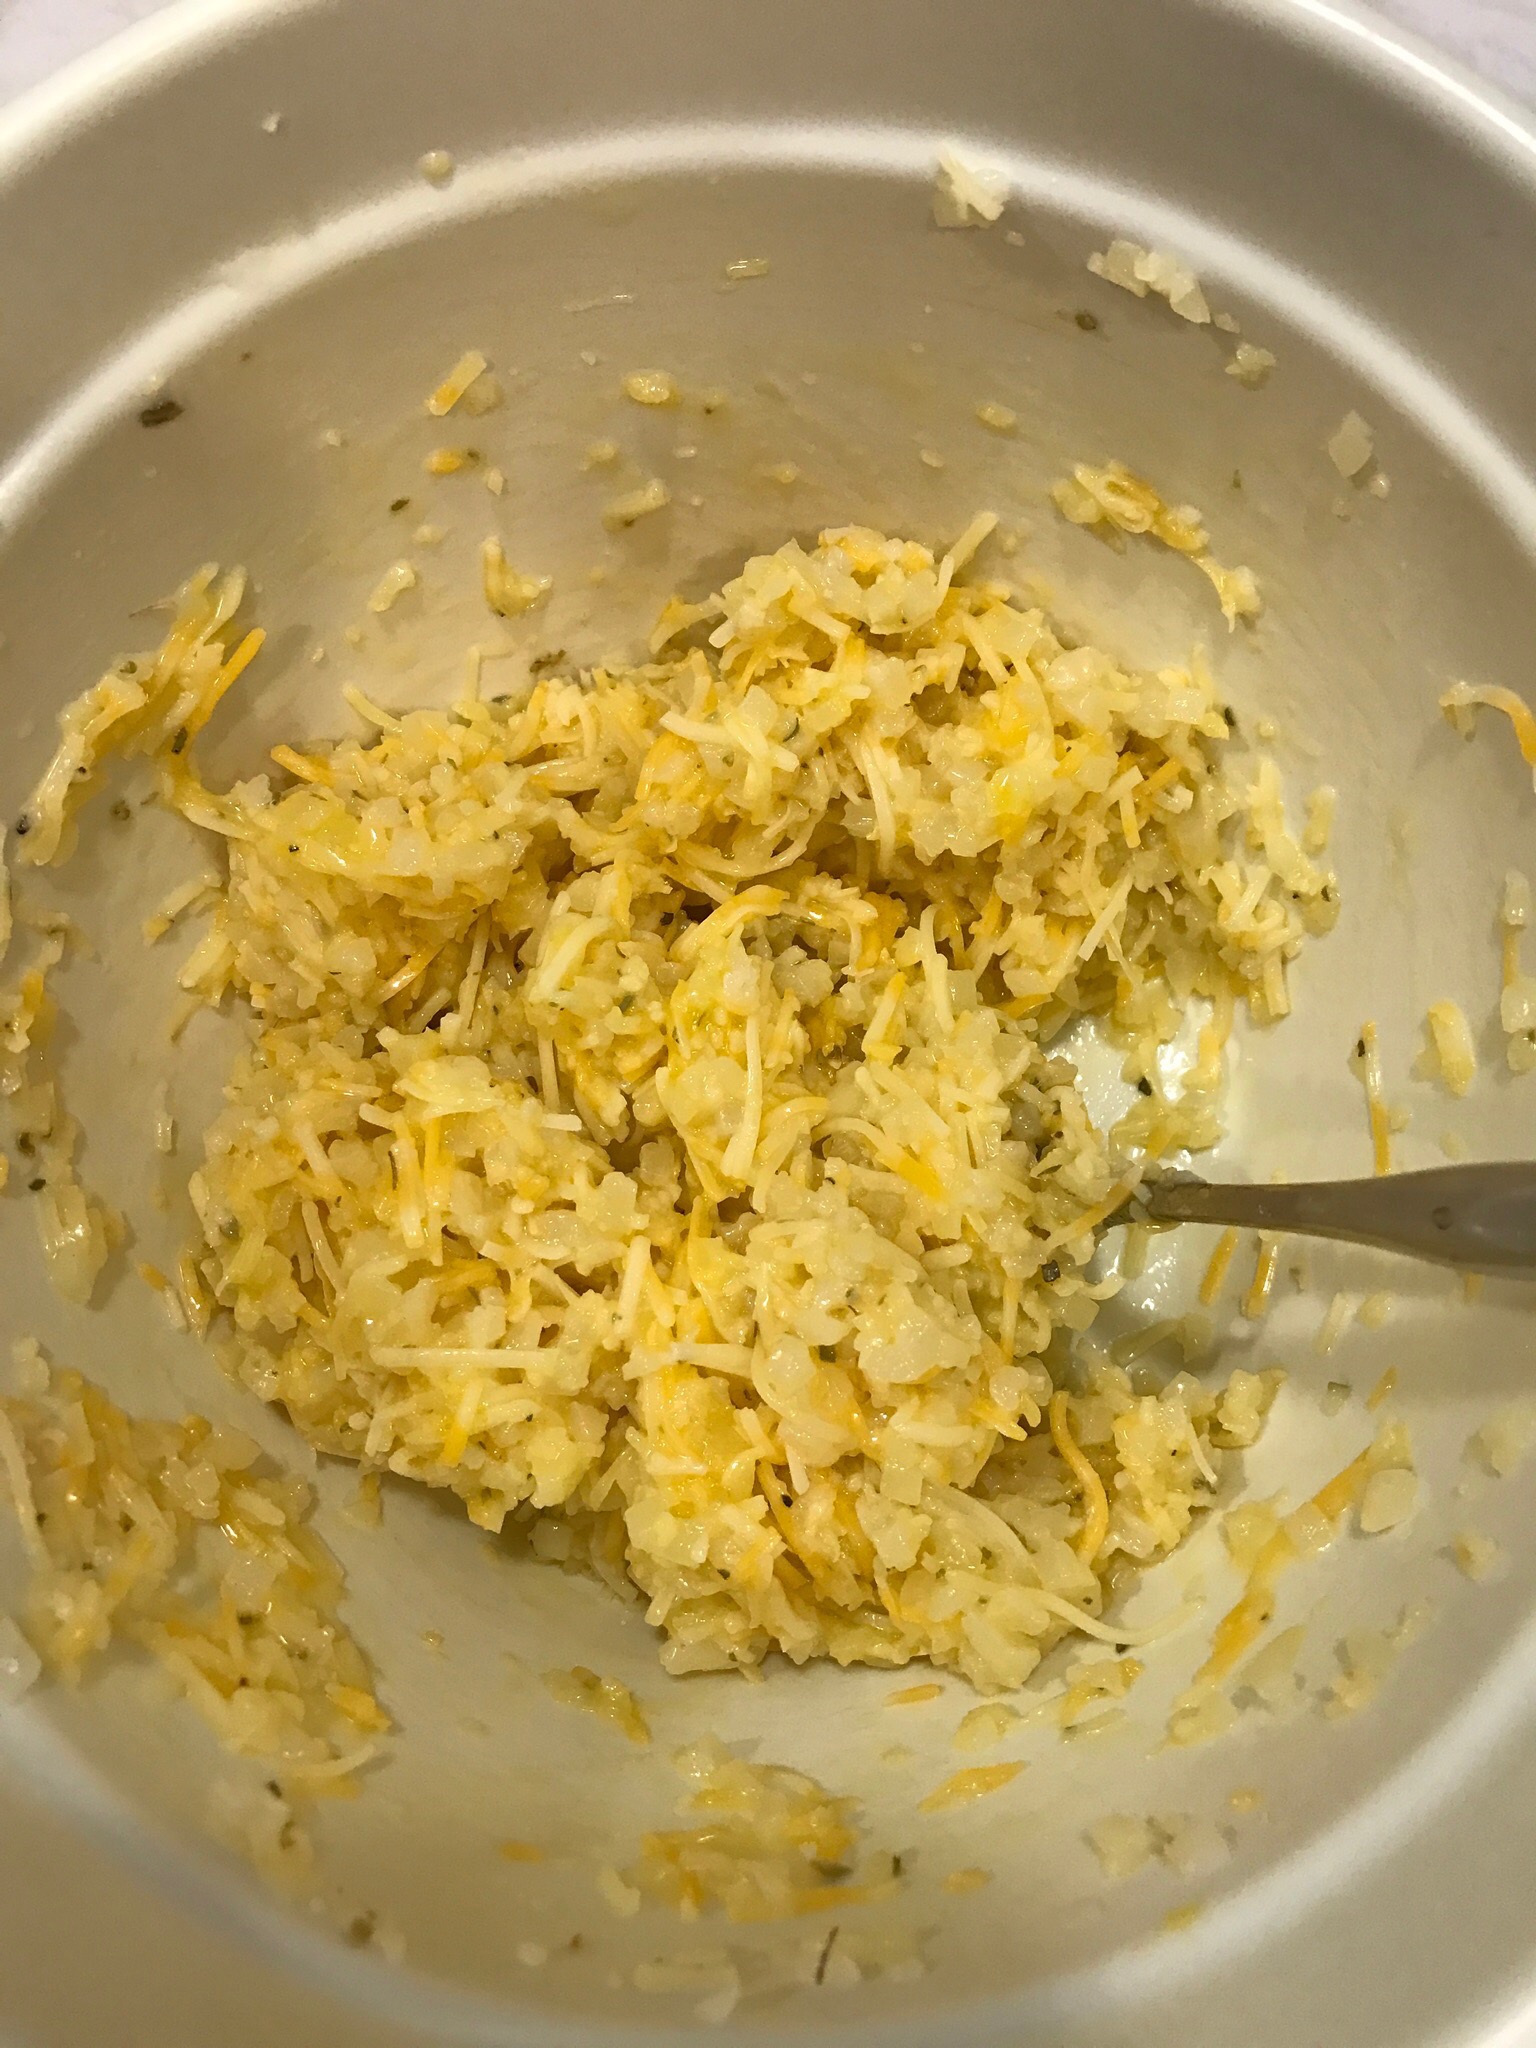
Combine all ingredients


Mix all ingredients till just combined


These get puffy in the oven after 10-15 minutes. Don’t bake them longer or they will collapse.


Cheesy Cauliflower Bites!

  • In a medium bowl combine these ingredients with a spoon:

10 oz package Birds Eye Riced Cauliflower (about 2.5 cups)

8 oz package grated cheddar or Mexican cheese  (about 2 cups)

2 eggs

1 tablespoon oregano

  • Spray a vegetable oil into mini muffin tins for 24 or so
  • Fill each muffin tin to the top
  • You may sprinkle a little extra cheese on top if you like. Try shaved Parmesan or whatever you like
  • Bake at 350 for 15 minutes
  • Run a knife around the edges of each muffin and pop out of their containers. 
  • Voila!

Use 1/2 the amount of cheese if you want. Keep all the other ingredients the same. Your number of muffins will be less. They are more like a crustless quiche or tiny frittata.

Have fun and let me know how it goes!

No Sear Lamb or Beef and Chickpea Stew

This is an easy one pot stew for lamb or beef. I chose lamb and was not disappointed! Add the greens at the very end just before serving. Serve with an earthy flavored yogurt such as Organic Valley Grassmilk Plain Yogurt

This delish lamb stew recipe comes from the cookbook Taste of Persia by Naomi DuGuid. She was featured on Christopher Kimballs‘ MilkStreetRadio where she shared this recipe. You can find it at: 

Milkstreetrecipes

Recipes.177milkstreet.com

Virgin White Sangria

I made this refreshing drink for a bridal shower and everyone loved it! It is tart and refreshing! Sorry I don’t have a photo. It’s a light neutral pink color. It’s very easy and uncomplicated.

Mix this up just before serving. The sparkling water will get flat if it sits too long. Or you can combine the 3 juices. Refrigerate until you’re ready to serve, and then add the sparkling water and fruit when you’re ready to party!

4 cups 100% white grape juice (Welch’s is best!)

1 cup FRESH pink grapefruit juice or more

2 tablespoons FRESH lime juice or more (I used an entire lime)

1 liter sparkling water

Add more of the tart flavors if you like.

Add fresh sliced limes and peeled fresh grapefruit segments and serve in a cool bowl, pitcher or beverage dispenser. I use the peeled grapefruit segments packed in natural unsweetened juice you can find in the produce refrigerated sections.

You can also make an ice ring out of the punch ingredients with some lime and grapefruit slices added.

Quick and Easy Chocolate Mousse


This is a super fast and easy method for a pure chocolate dessert! It’s a recipe from Food52.com which is a fabulous source for all things food!

3/4 cup water

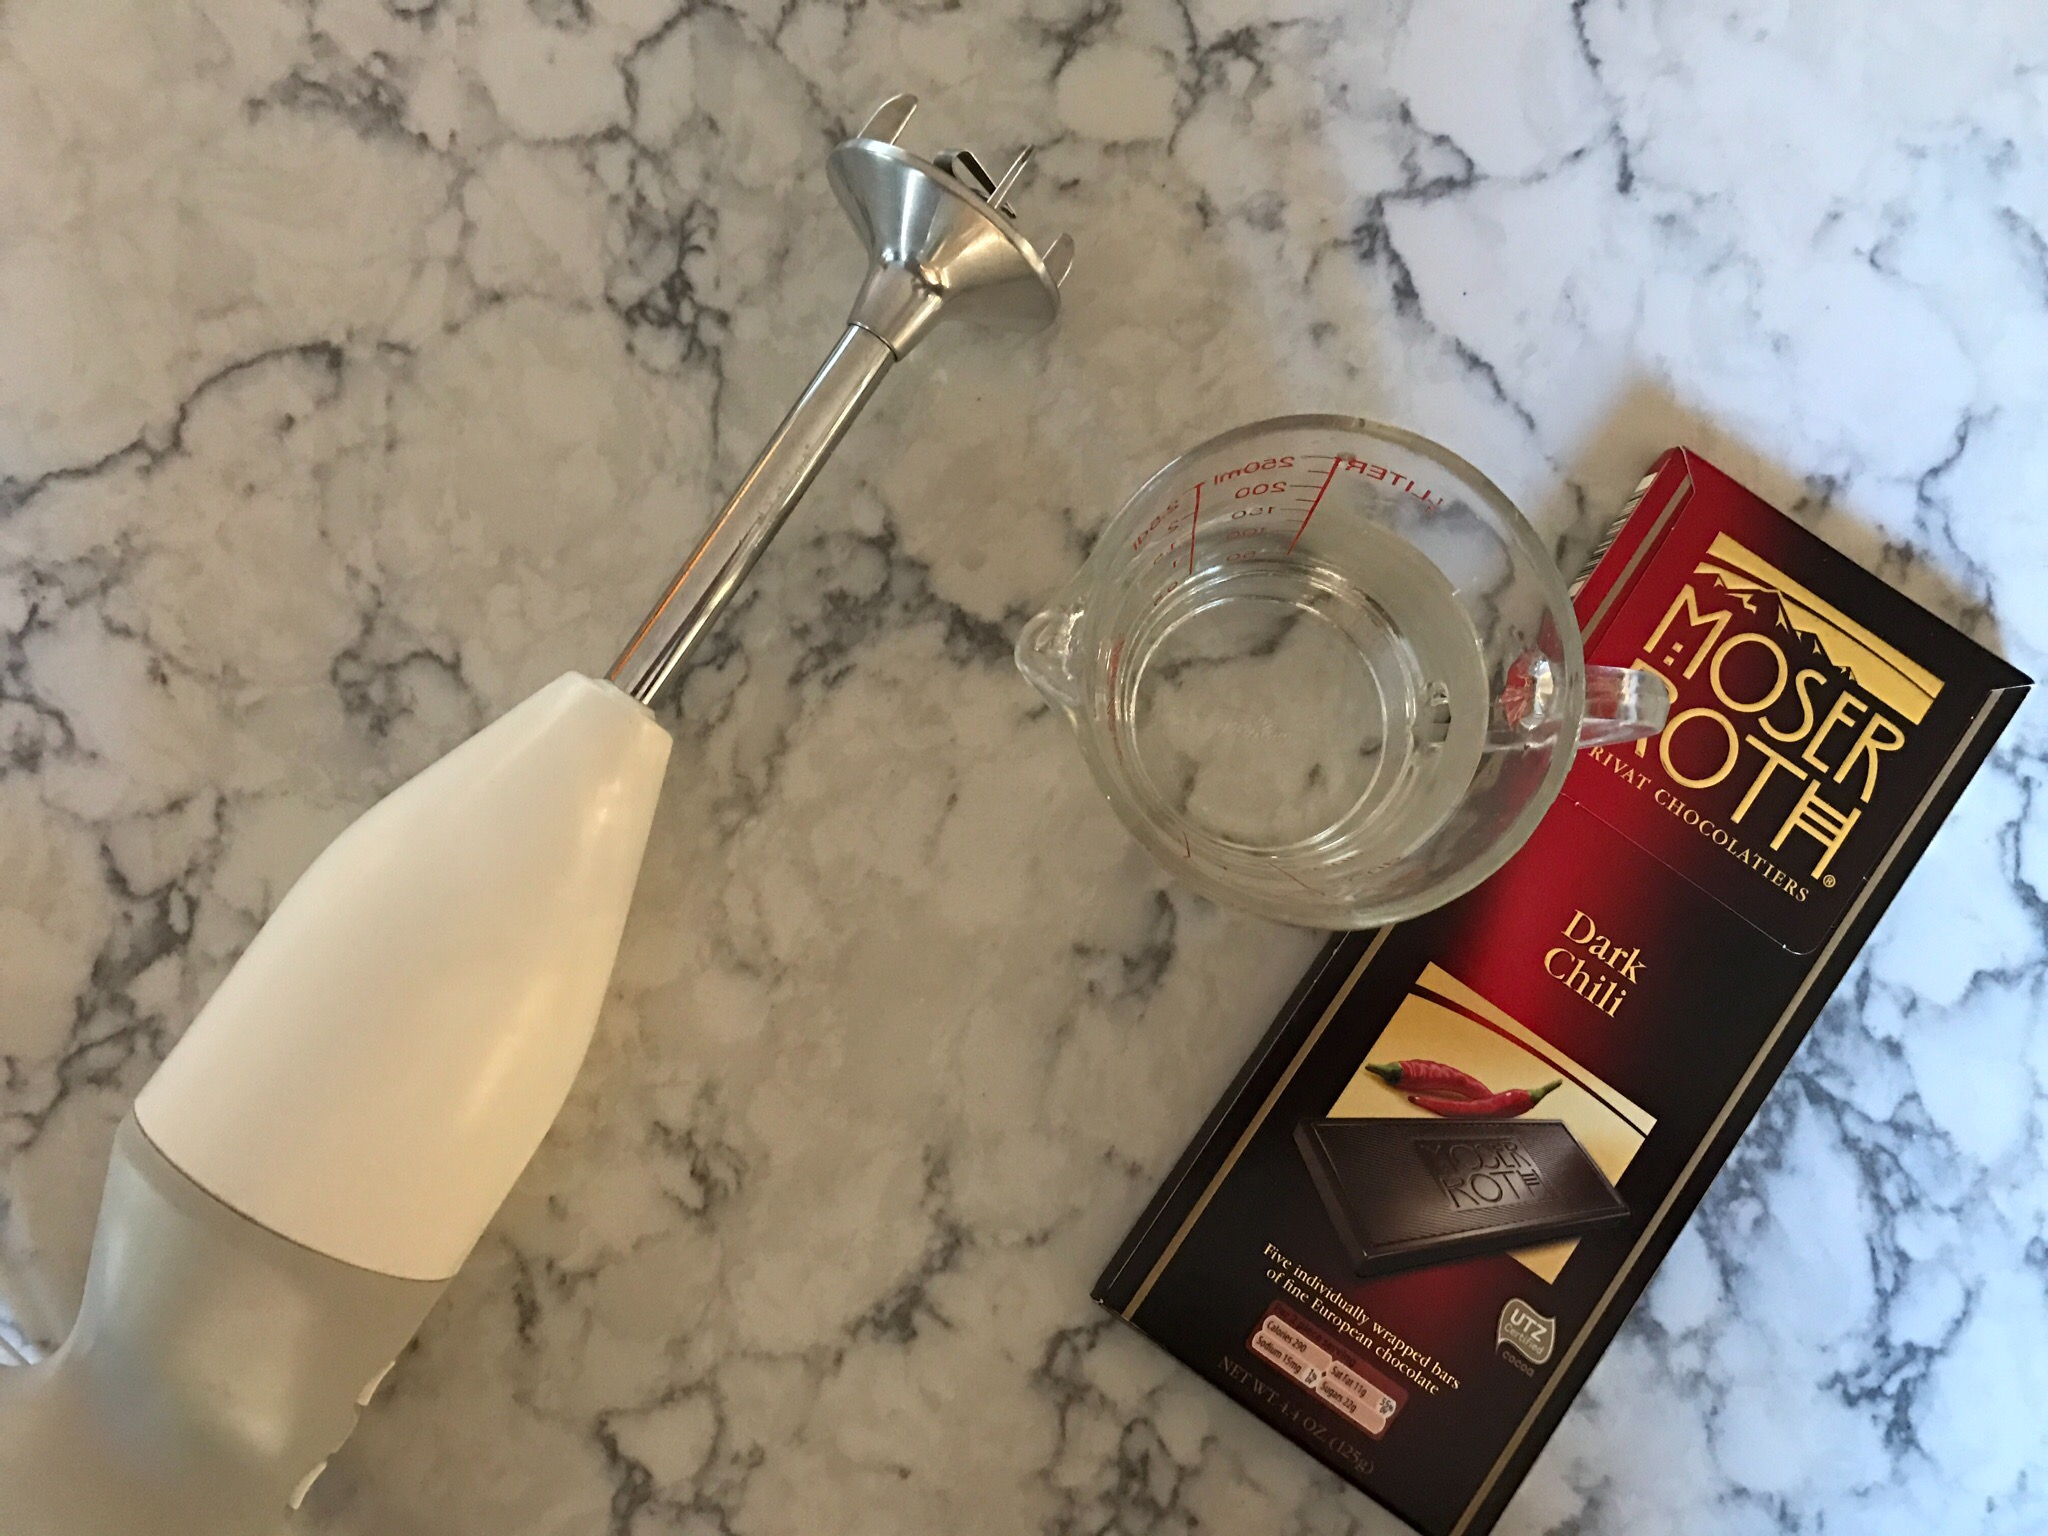
8 ounces of chocolate you love! I like the chili pepper flavor dark chocolate. Any style that has 70% cacao is good

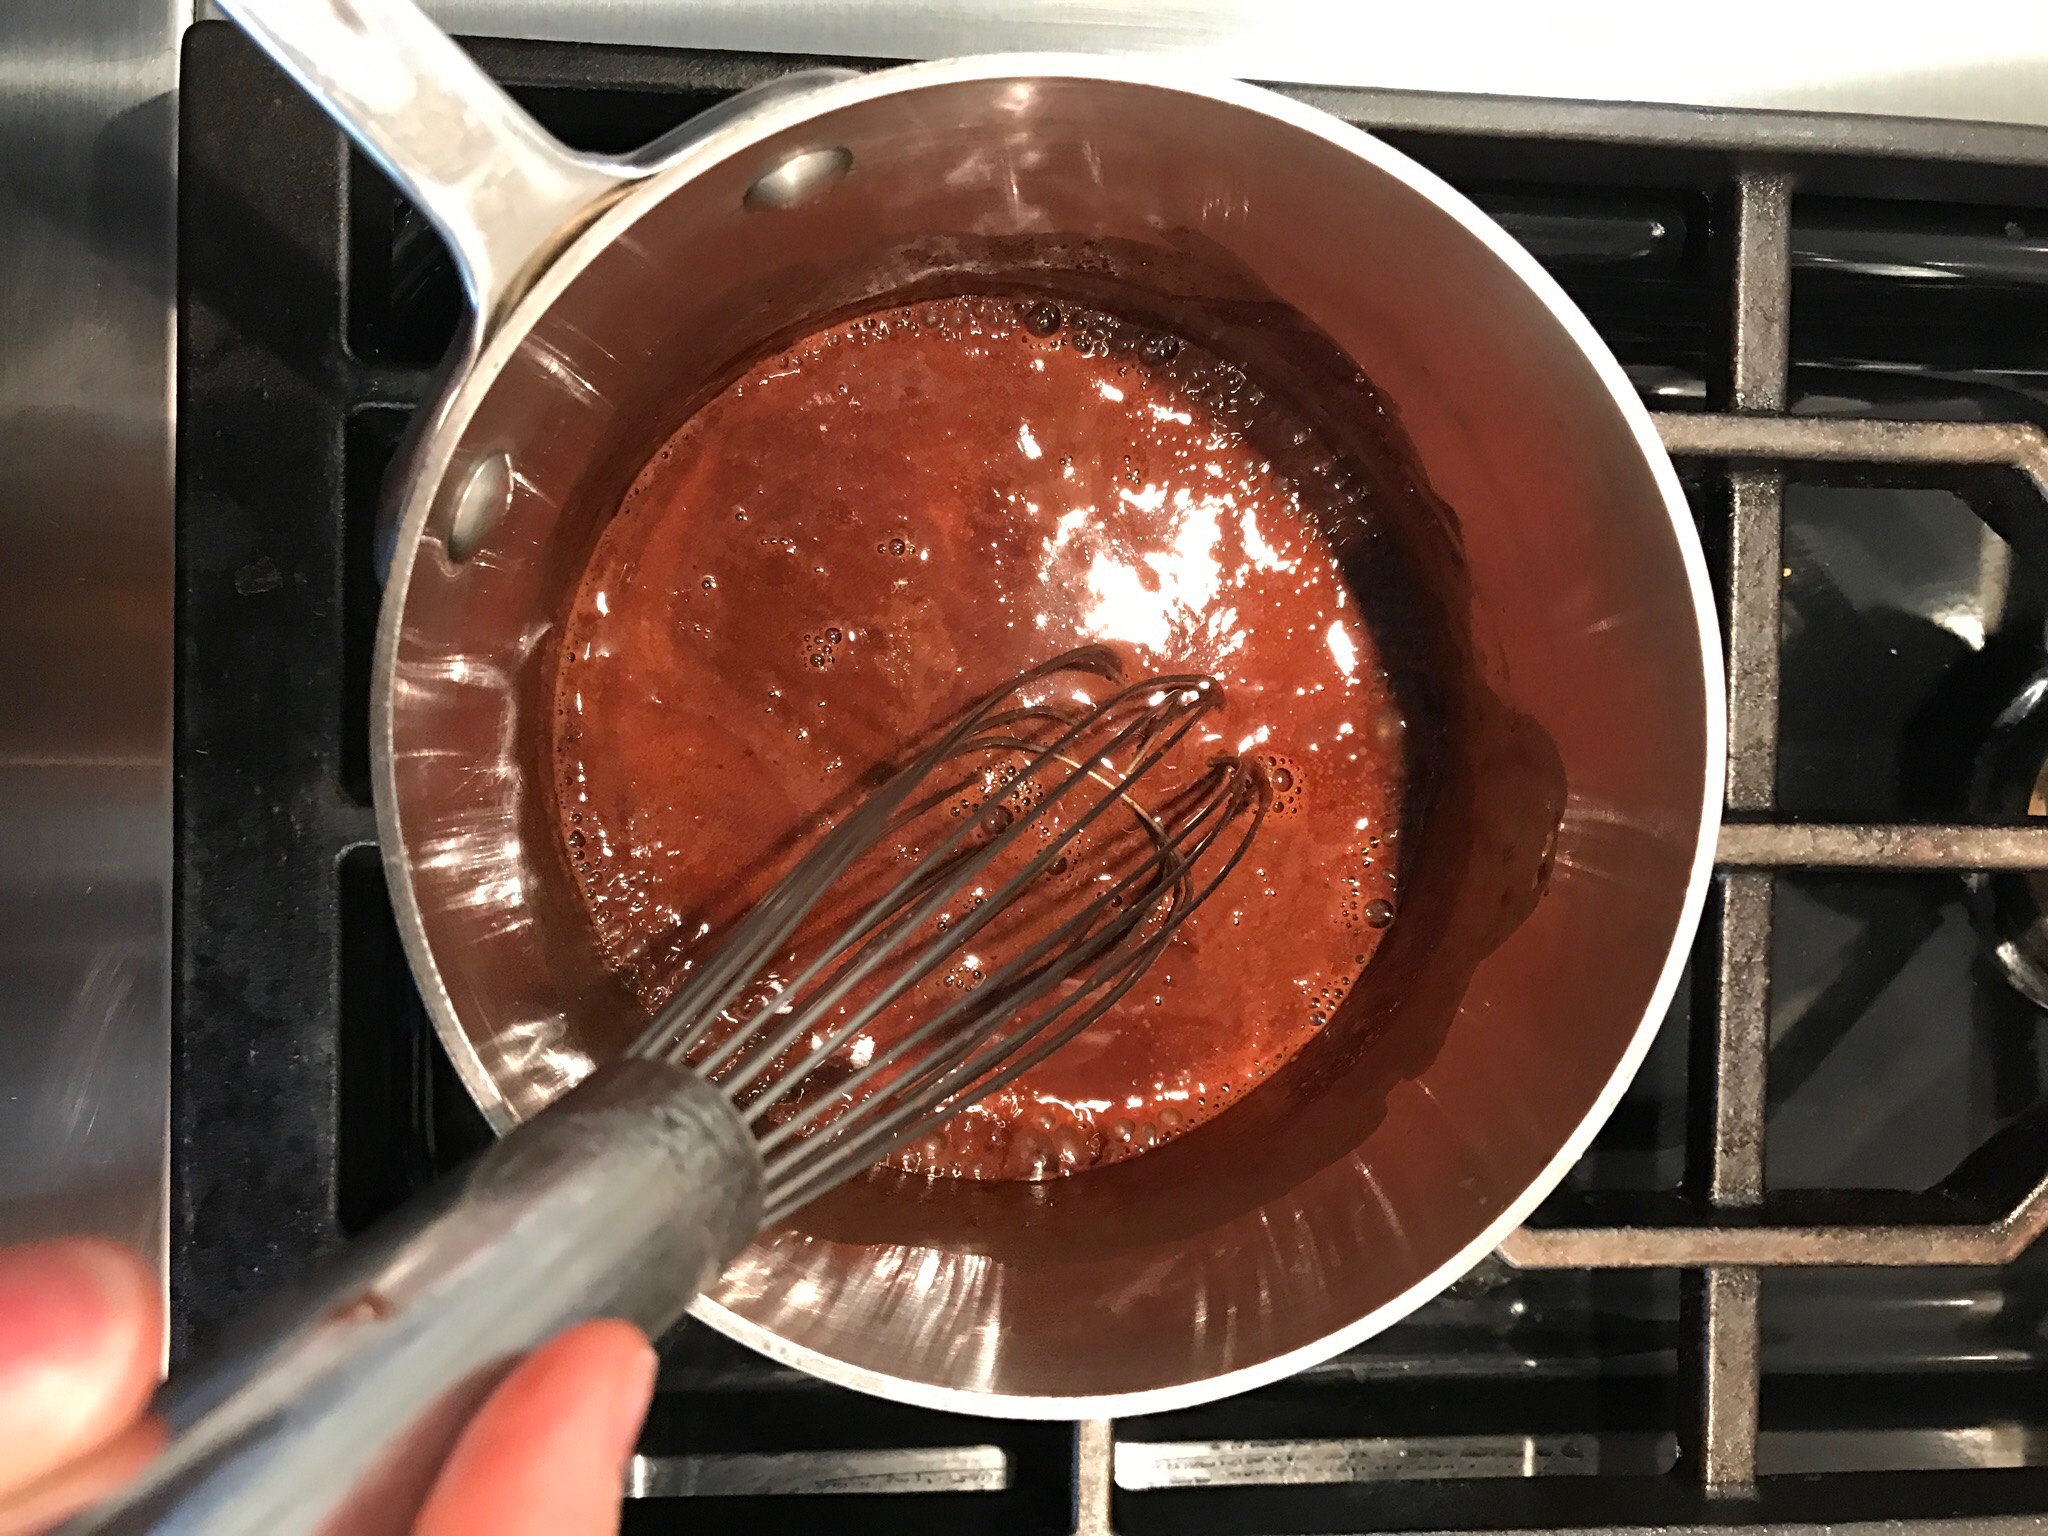
  • In a small saucepan heat the water over very low heat
  • Whisk in the chocolate and mix until smooth
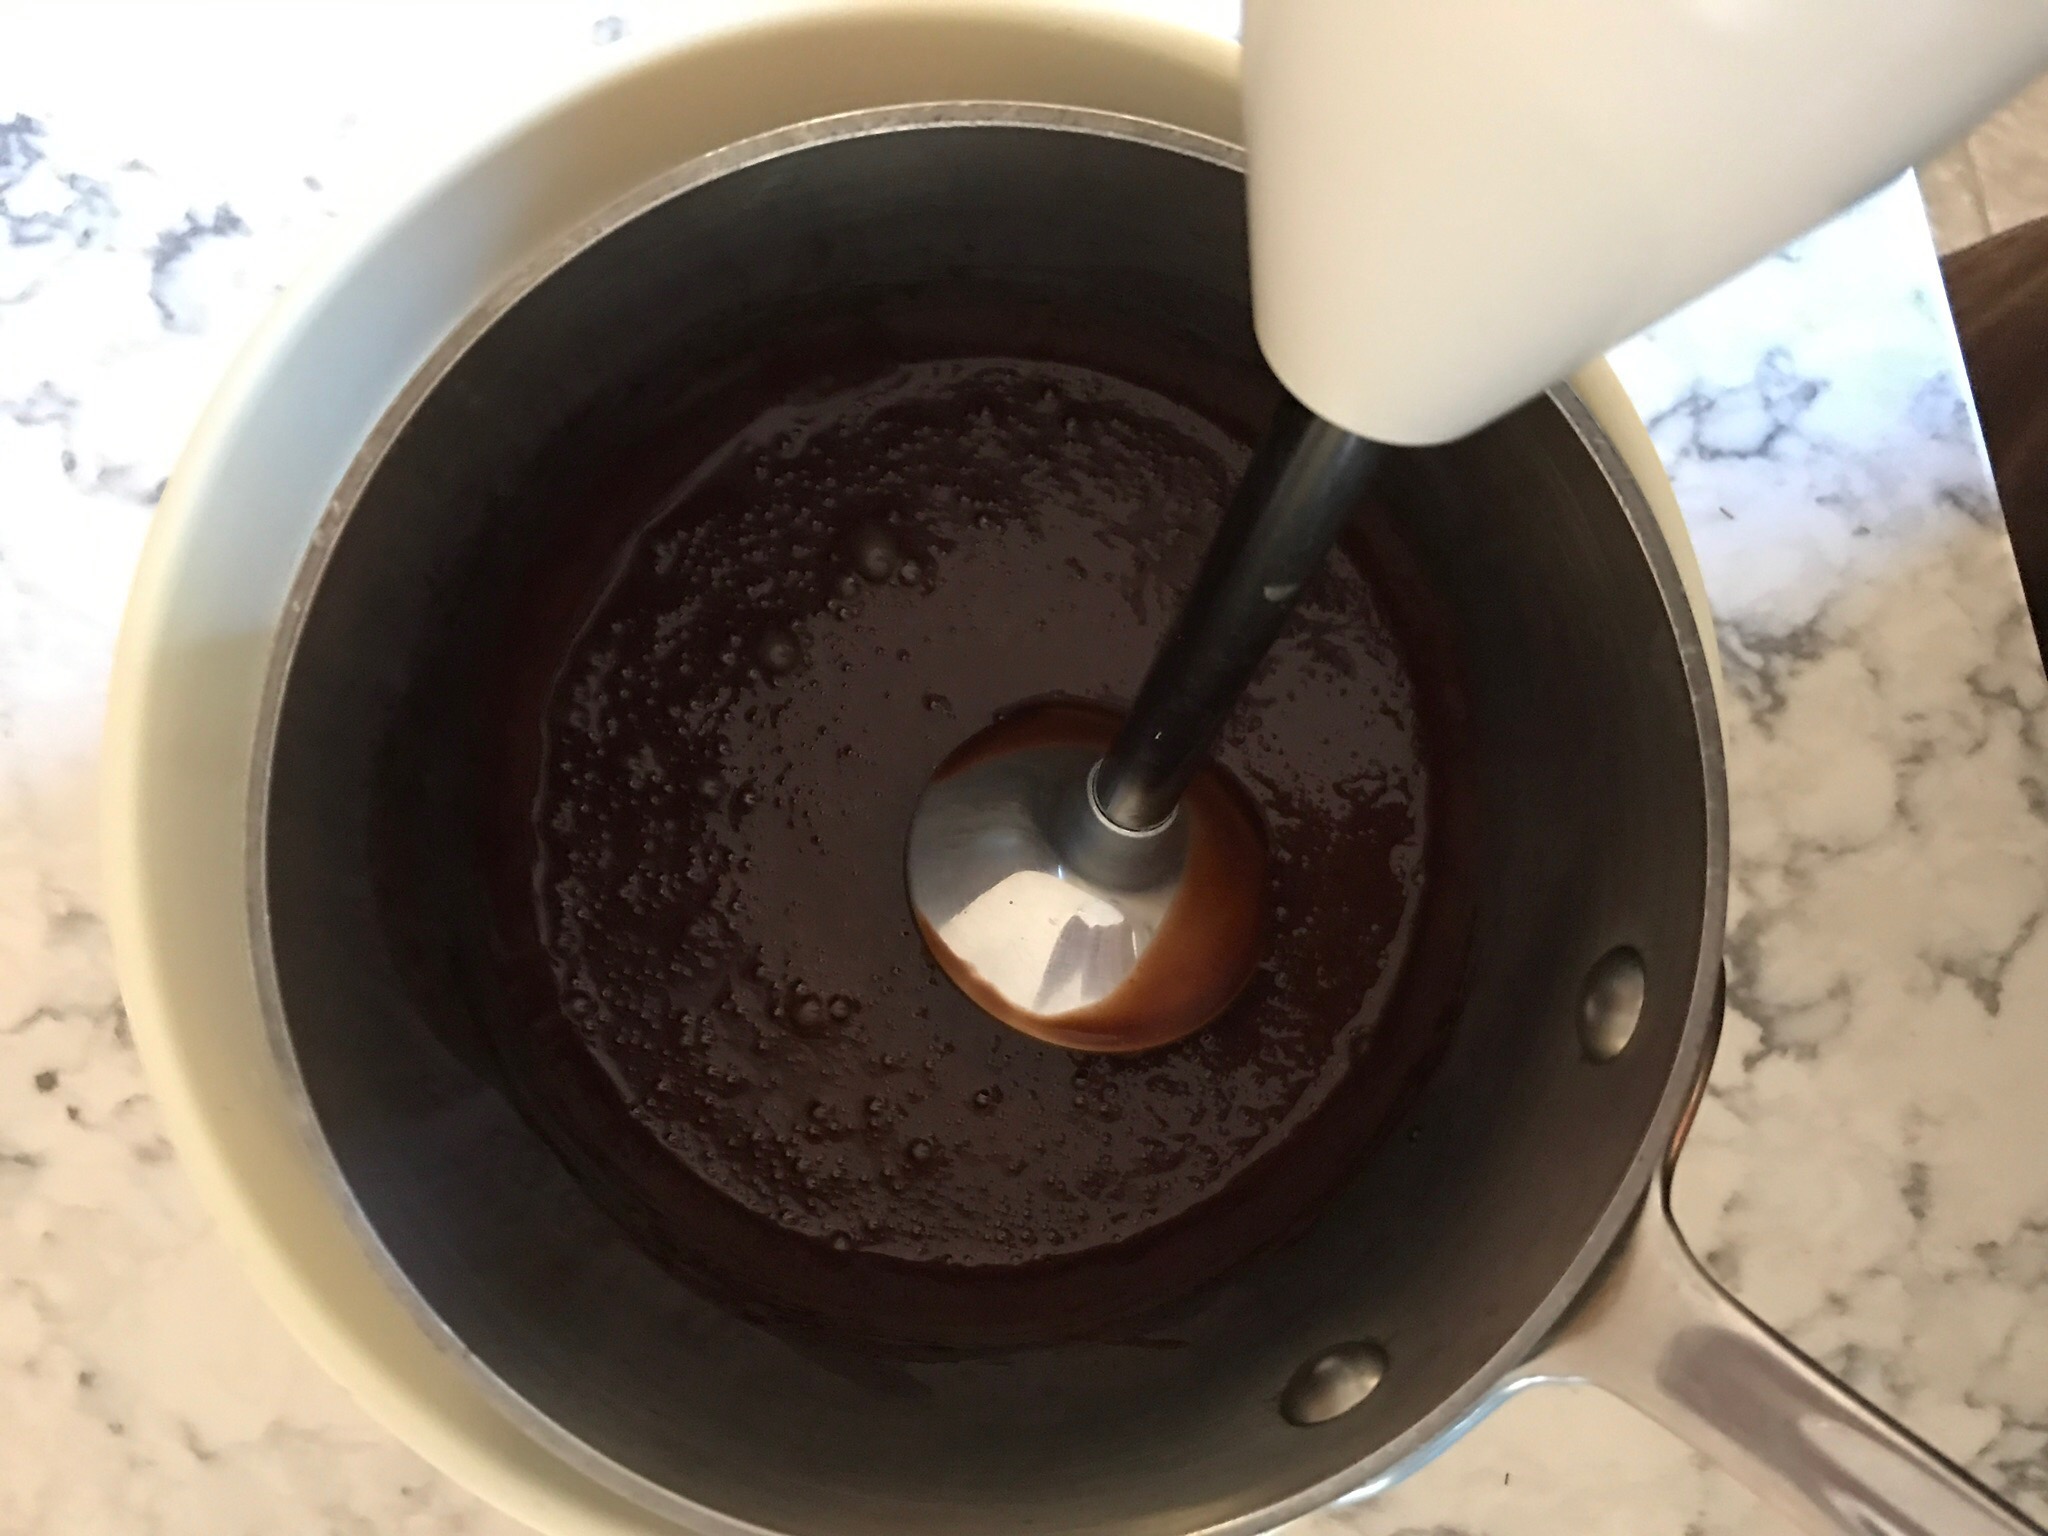
  • Place saucepan over a larger bowl of ice
  • Beat with a hand whisk, hand mixer or an immersion/stick blender until thick for a minute or less. It will thicken fast. Don’t let it get too thick or harden. Reheat if it gets lumpy
  • Pour into small serving bowls
  • Serves 4 small rich portions
  • Top with whipping cream or my fav SOUR CREAM!
  • When melting the chocolate you may add other flavors such as vanilla, spices, rose water or liquor.
  • Don’t refrigerate it, just keep it at room temperature until you’re ready to eat it.

Whisk the chocolate and water over very low heat until smooth


Place the saucepan over a bowl of ice and beat with a stick blender or whisk


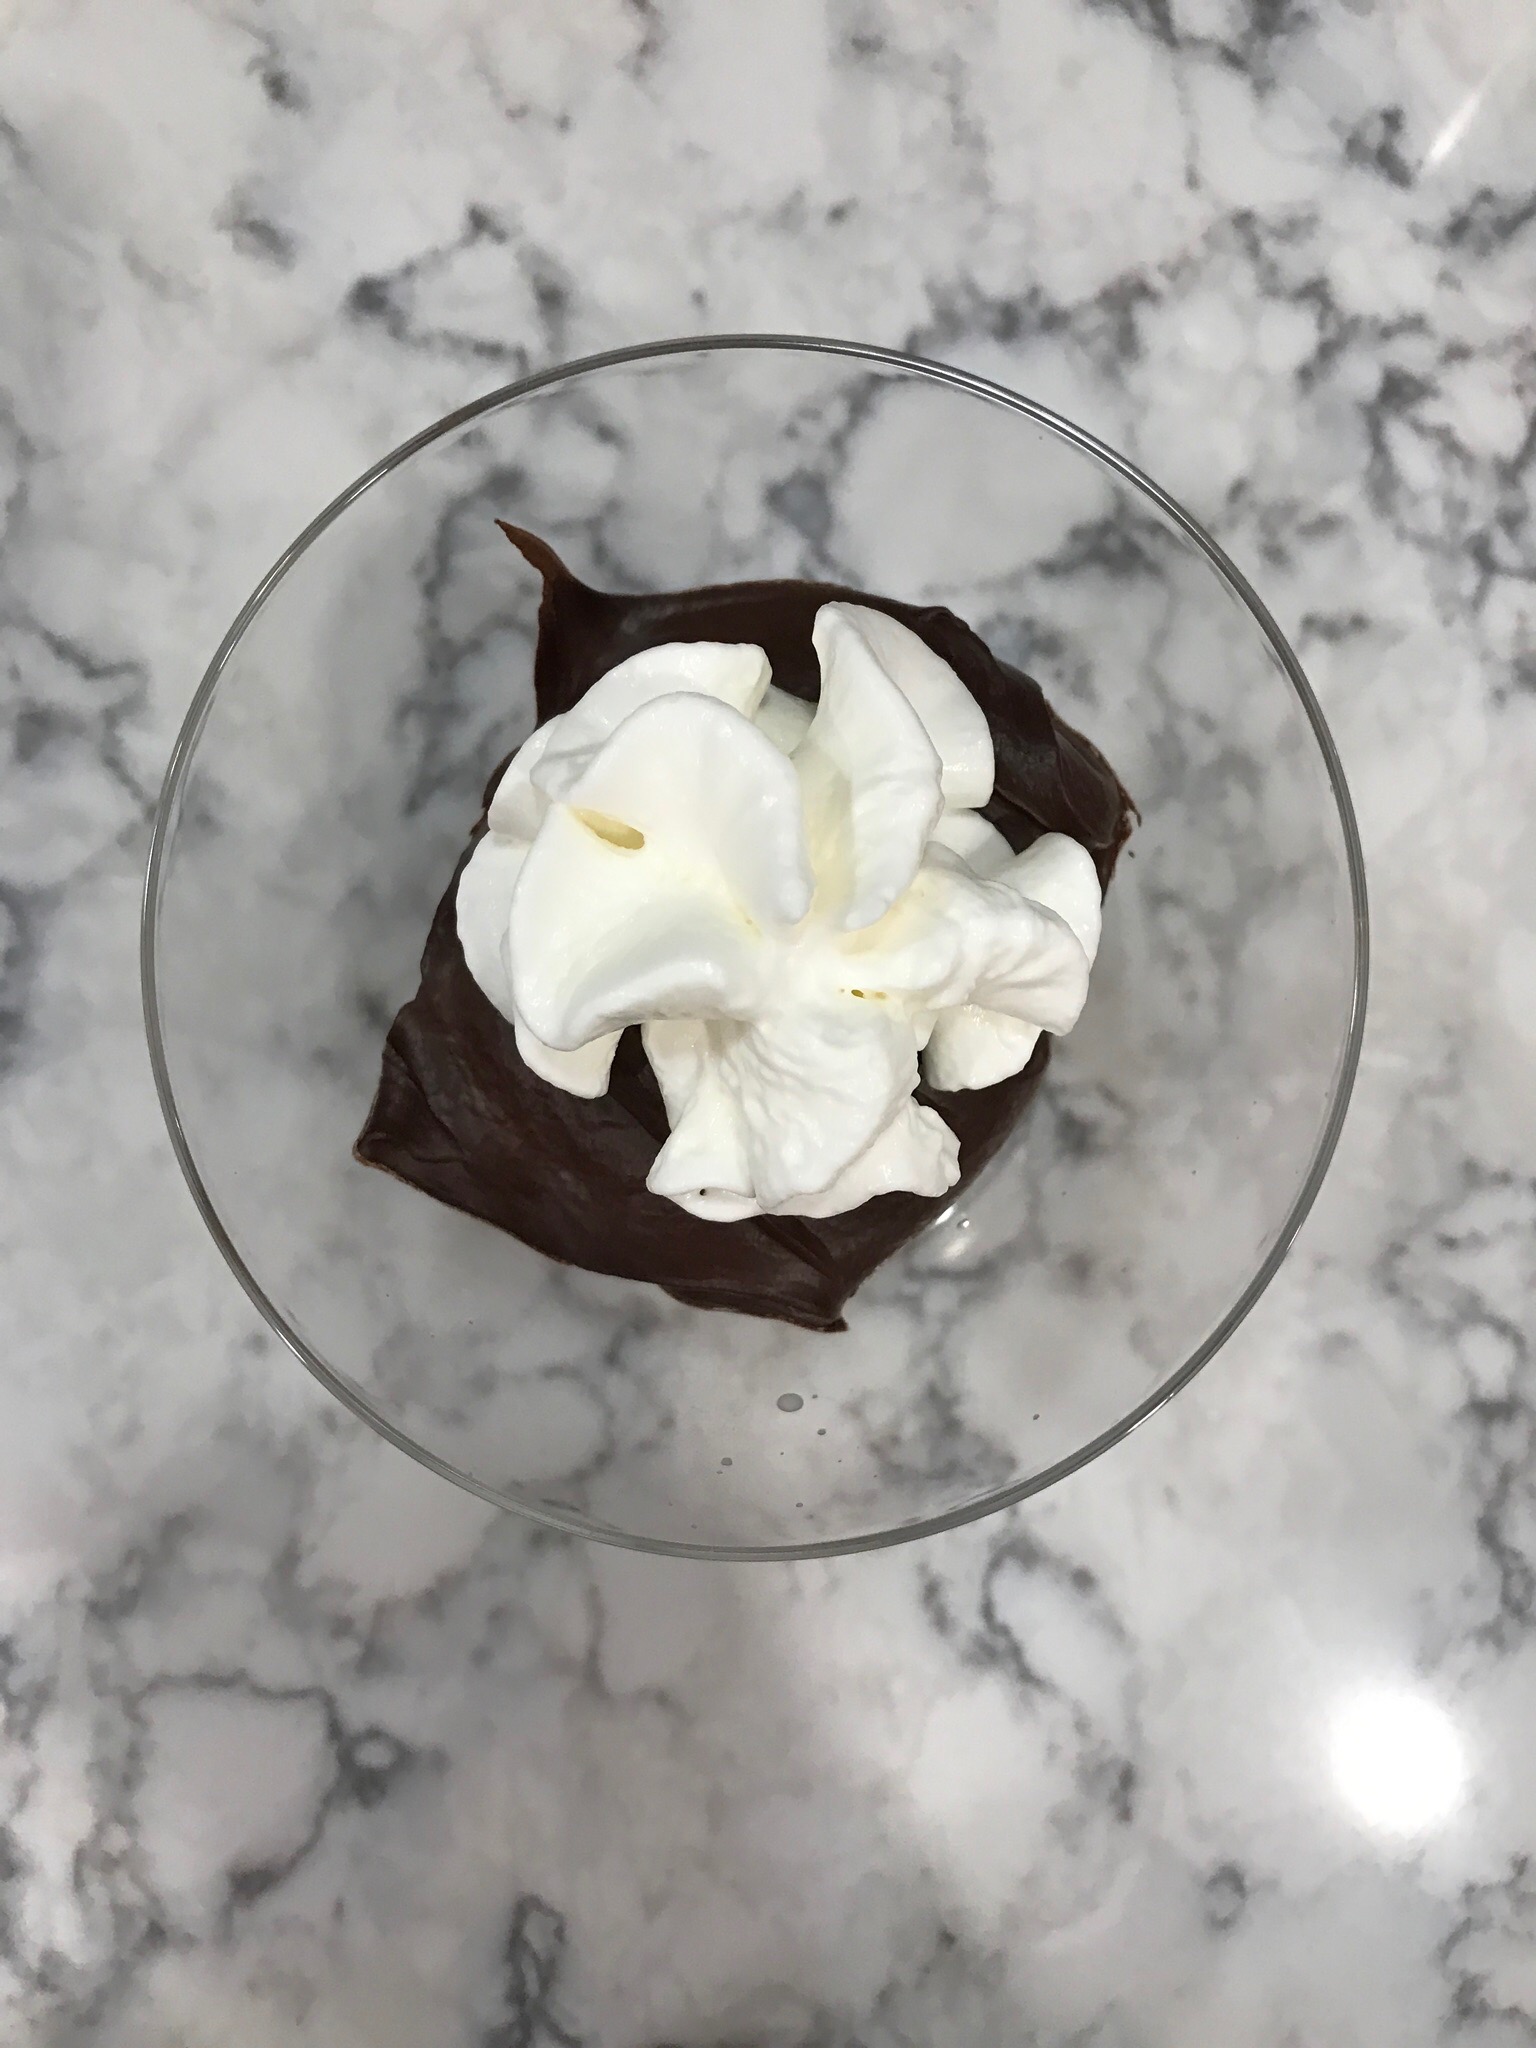
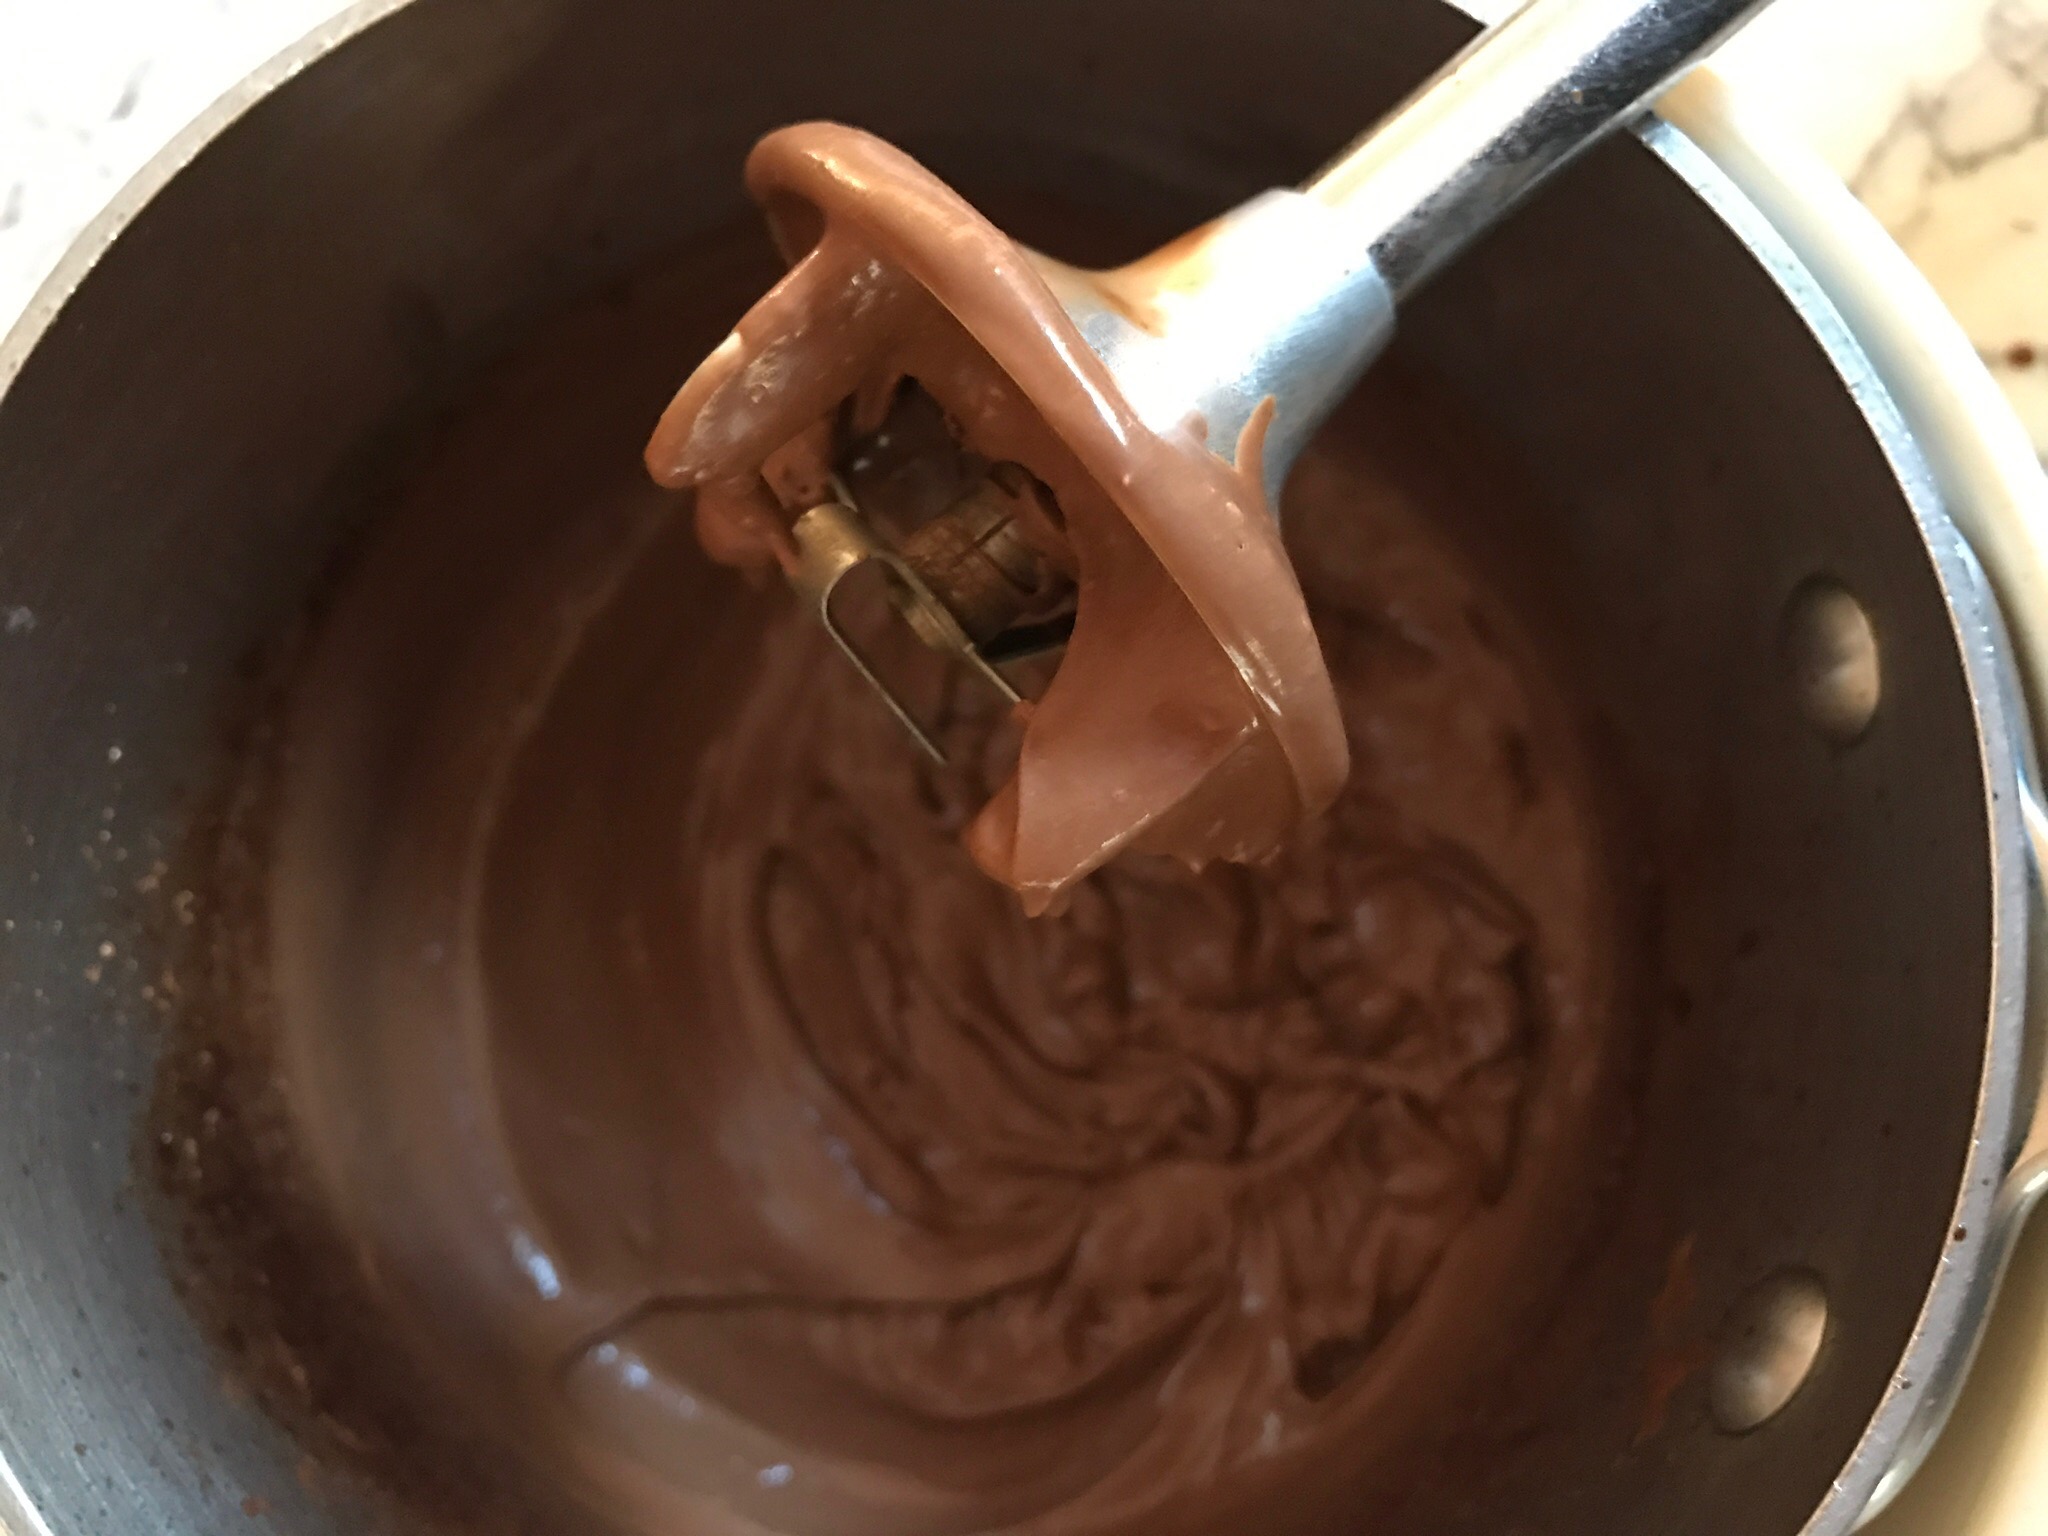
Beat just until thick. Do not over do it!

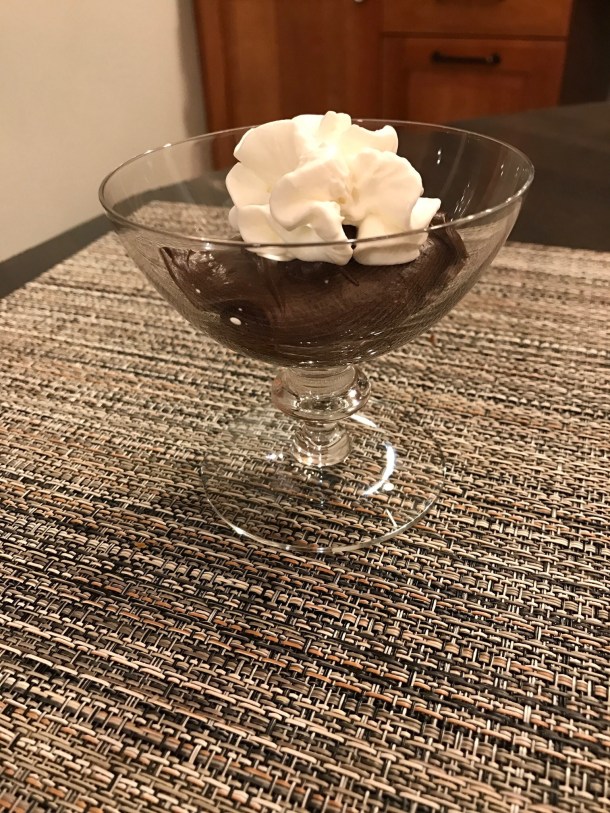
Voila! I hope you love this as much as we do!

Orange Lettuce Salad


This simple salad can be whipped together in minutes! Oranges are the main feature.  

The pink are called Cara Cara and the red are Blood Oranges. There are two types of blood oranges. Here I used the Moro orange which are available December through March. The other blood orange is Tarocco and are available from January through May. The Cara Cara is a cross between two naval oranges and their peak seasons are December and April. I bought them in February.

The mixed spring greens are beautiful and easy. I have found really fresh greens at Aldi, the European discount grocery store.

Edamame is very popular. I used the shelled version which is called mukimame. It’s all soybeans. The Target brand Archer Farms makes a frozen version I like!

High quality olive oil and white wine vinegar are essential for this delish dressing. I use champagne balsamic vinegar or a white balsamic vinegar from a local oil and vinegar shop. Mercato di O & V

Here’s what you need:                   Serves 4

4 cups mixed spring greens

2 Cara Cara oranges

2 blood oranges

1 cup shelled soybeans, also called edamame (mukimame)

1/4 cup high quality extra virgin olive oil

1/8 cup white balsamic vinegar

1/4 teaspoon salt

1/8 teaspoon or less black pepper 

Here’s how to do it:

  • Place the lettuce on salad plates
  • Sprinkle soybeans over lettuce
  • Slice the ends off the oranges, then slice the rest of the rind off from end to end. Leave no rind or white pulp
  • Cut each orange crosswise in 4 thick slices
  • Layer 2 of each orange slice on the salad
  • Combine the dressing ingredients together in a small bowl with a small whisk or shake it all together in a small jar with a lid
  • Pour about a tablespoon or so over each salad
  • Sprinkle with black pepper if you want 
  • Voila!

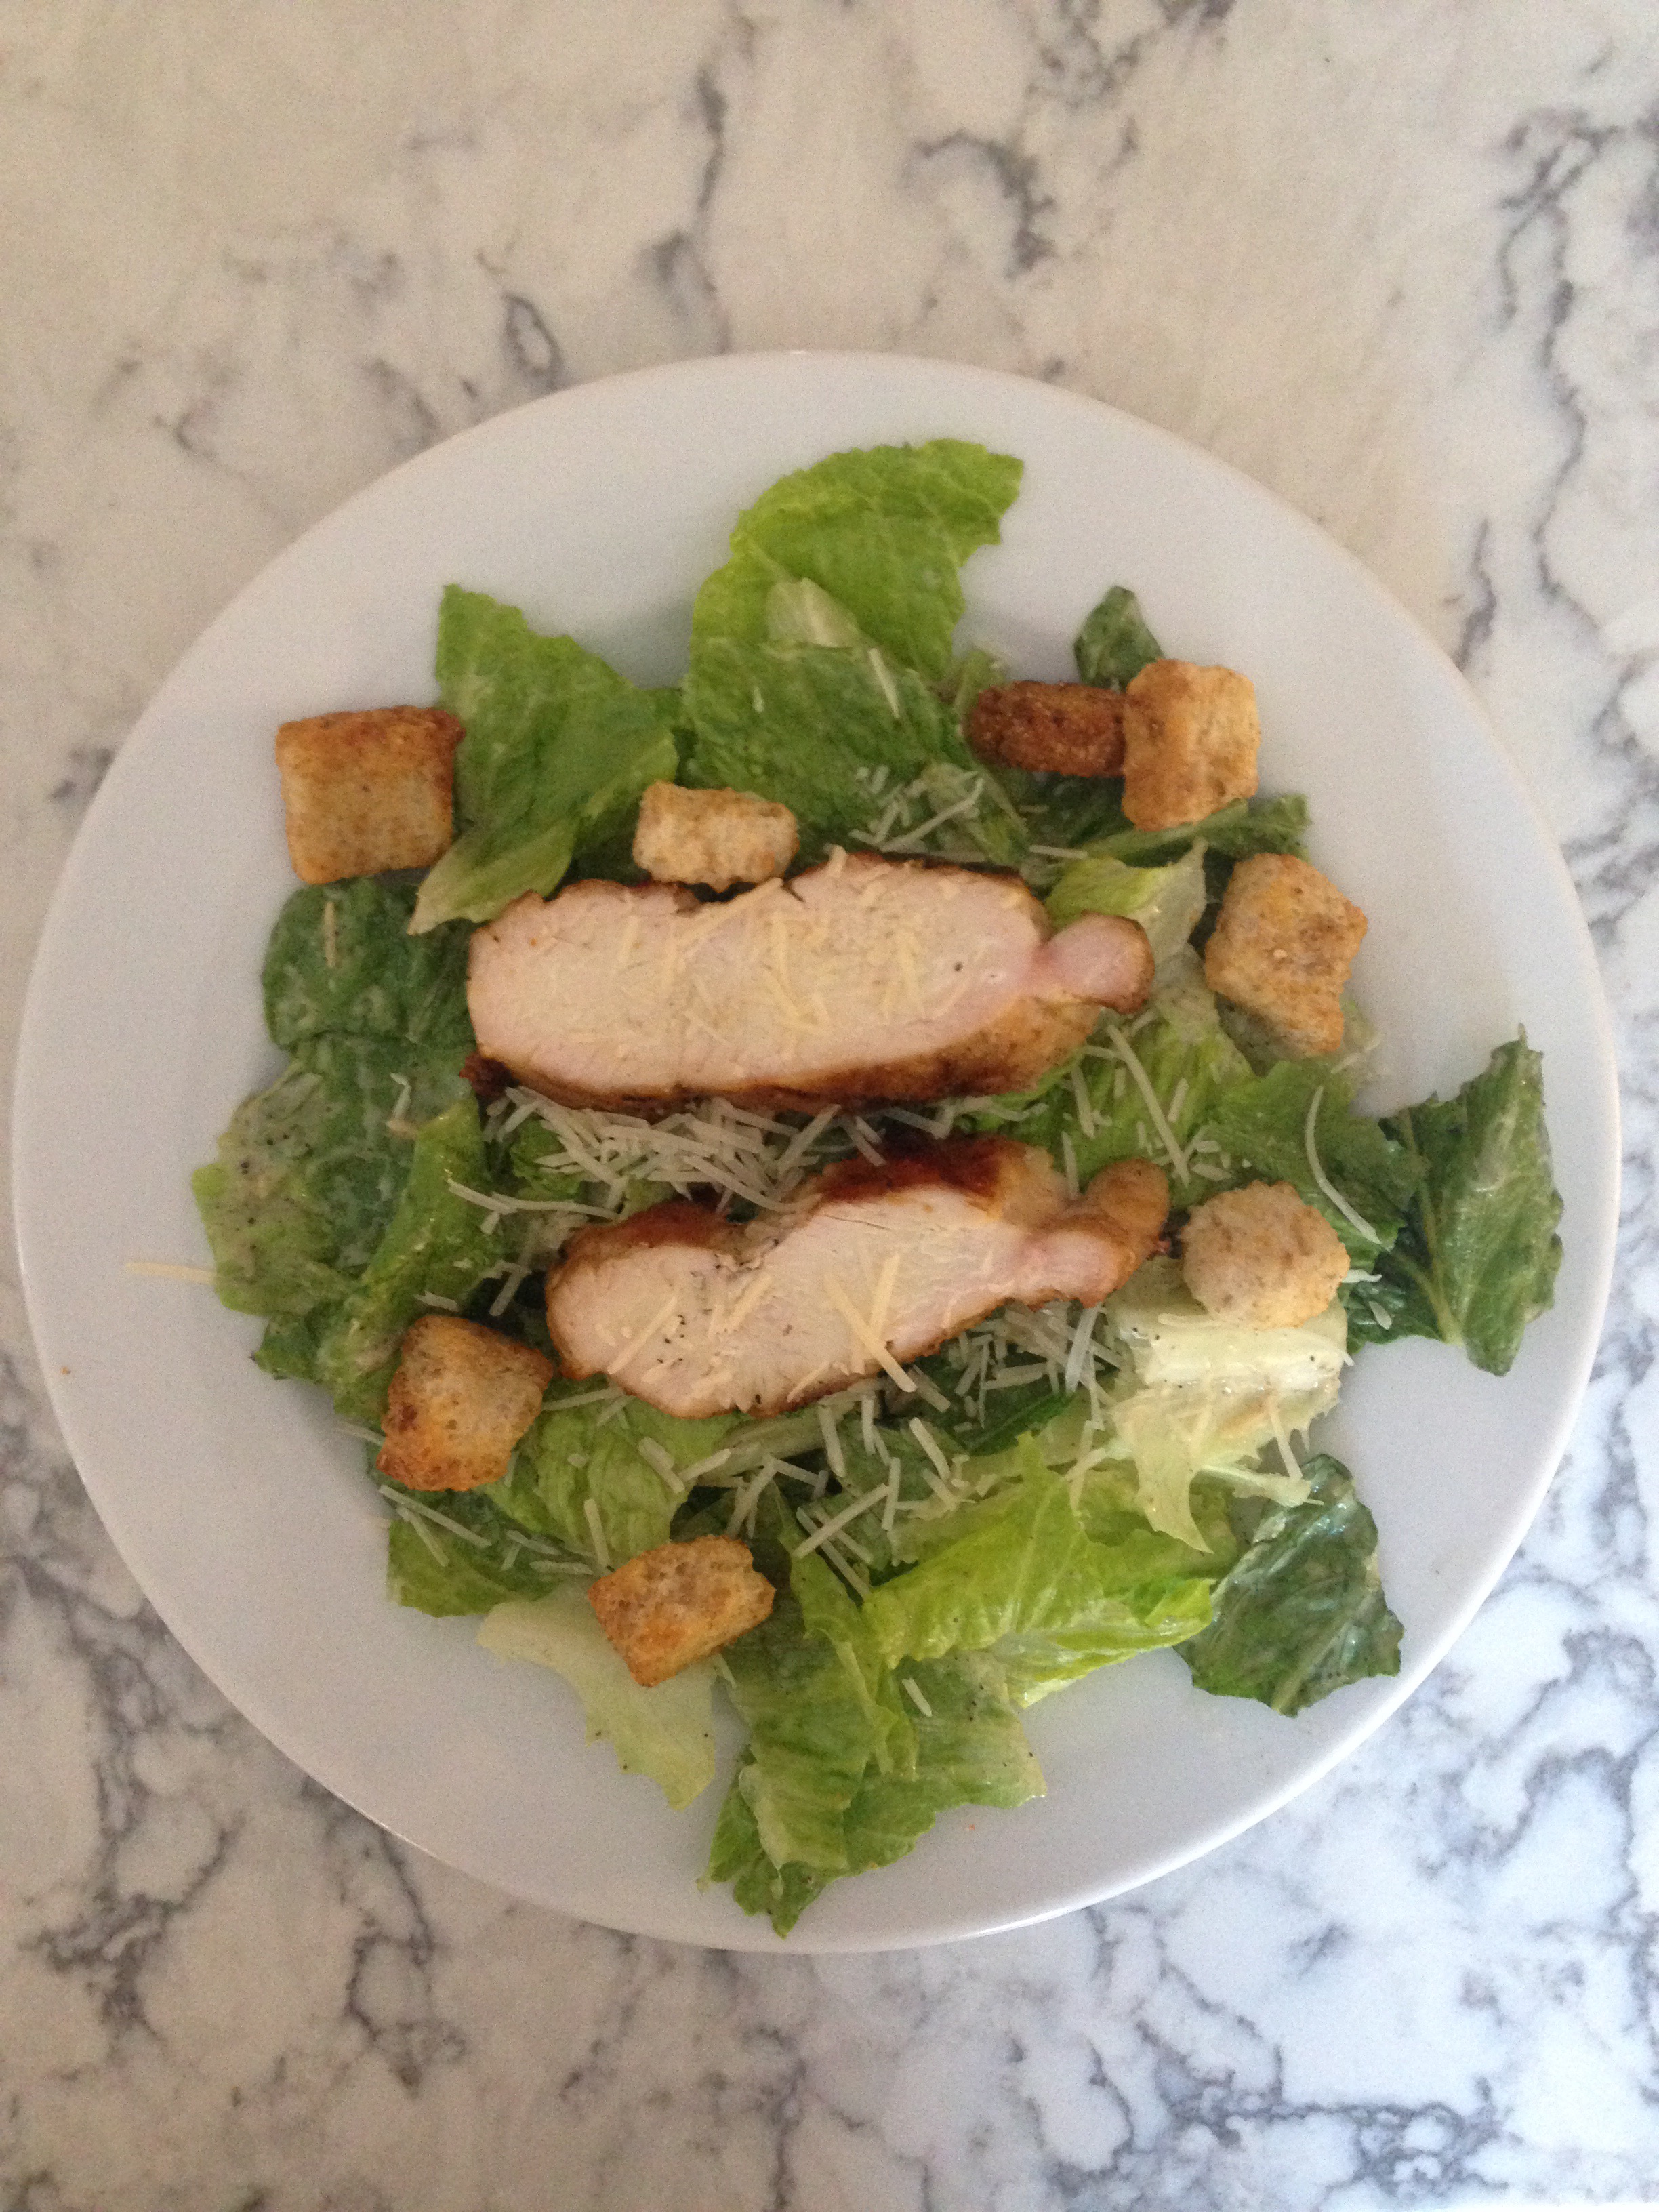
Caesar Salad 

Caesar Salad is very common in today’s menus. Really it’s too common!  This recipe is adapted from the 1961 Antoinette Pope School Cookbook. It was a cooking school in Chicago where my mom took classes in the 1940s and 1950s. 

I’ve omitted the anchovies and the coddled egg. Everything else is the same. They gave you a choice with the garlic too. Either rub it in the bowl and discard it or leave it in the bowl to blend in with the dressing. Instead I minced the garlic and salt and then added it to the dressing.  

The original recipe uses oil, no specific type.  I like sunflower oil. It is very mild and allows the flavor of the dressing ingredients to blossom! Definitely don’t use olive oil.

Serves 8-10
4 medium cloves garlic

2 teaspoons salt

3/4 cup sunflower oil (not olive oil)

1/4 cup good quality white wine vinegar or white balsamic vinegar

2 tablespoons fresh lemon juice

1 teaspoon Worcestershire sauce

2 teaspoons dry mustard

2 teaspoons black pepper

2 tablespoons grated Parmesan cheese, plus extra for sprinkling on the salad if you want

2 pounds romaine lettuce

1 cup small croutons or more

16 oz grilled chicken breast or more, optional

  • Rinse the lettuce well and drain. Wrap in paper towels. Keep in the frig
  • Mince the garlic and salt together to form a paste
  • Combine the garlic paste and oil in a medium bowl
  • Beat the mixture with a fork, whisk or immersion blender/stick blender until it’s thick.
  • Add the wine vinegar and lemon juice and continue to beat together
  • Add the Worcestershire, dry mustard, pepper and Parmesan. Continue to beat together. 
  • Tear the lettuce into bite size pieces. Place it in a large serving bowl 
  • Toss in the salad dressing to coat all the lettuce
  • Add the croutons
  • Add sliced grilled chicken if you like and drizzle more dressing over it all. 
  • You can also brush the dressing on the chicken before grilling or make a double batch of dressing and use half of it to marinate the chicken before grilling!
  • Sprinkle more Parmesan over your salad
  • Voila!
Rinse and drain the lettuce.  Place on paper towels and then roll it up. Keep it in the frig until ready to eat!

We’ve followed this recipe dozens of times! Can you tell? I hope you enjoy it too!