French Pastry Cake with Soft French Custard and Fresh Strawberry Filling

I have been making this cake since 1968. My mom learned to make it from a series of cooking classes she took at the Antoinette Pope Cooking School in downtown Chicago. This was our family birthday cake Mom made for her large family who would gather at our home. The only cake similar I have tasted is the Yule Log made by the French pastry chef at Café Zinc, Jeremy Lecreuse.
This recipe is taken from The New Antoinette Pope Cook Book. I made a double recipe for this large cake.
One recipe is described here and is for an angel food cake pan or any pan of similar volume. A deep 9 x 13 inch baking pan would work as long as it is at least 3 inches deep.
In these cake photos I doubled this recipe and for my baking pan used a liner to a warming tray measuring 20 x 12 x 2.5 inches
This is a sponge cake which is similar to an angel food cake, except it has the addition of beaten egg yolks. The cake filling is fresh strawberries and a thick stove top custard, also a French recipe. The icing is beaten heavy whipping cream. I don’t add sugar, but you may add confectioners sugar as you beat the cream. Mom used to also decorate the cake, but I prefer to decorate with fresh flowers
Preheat oven to 300 degrees F.
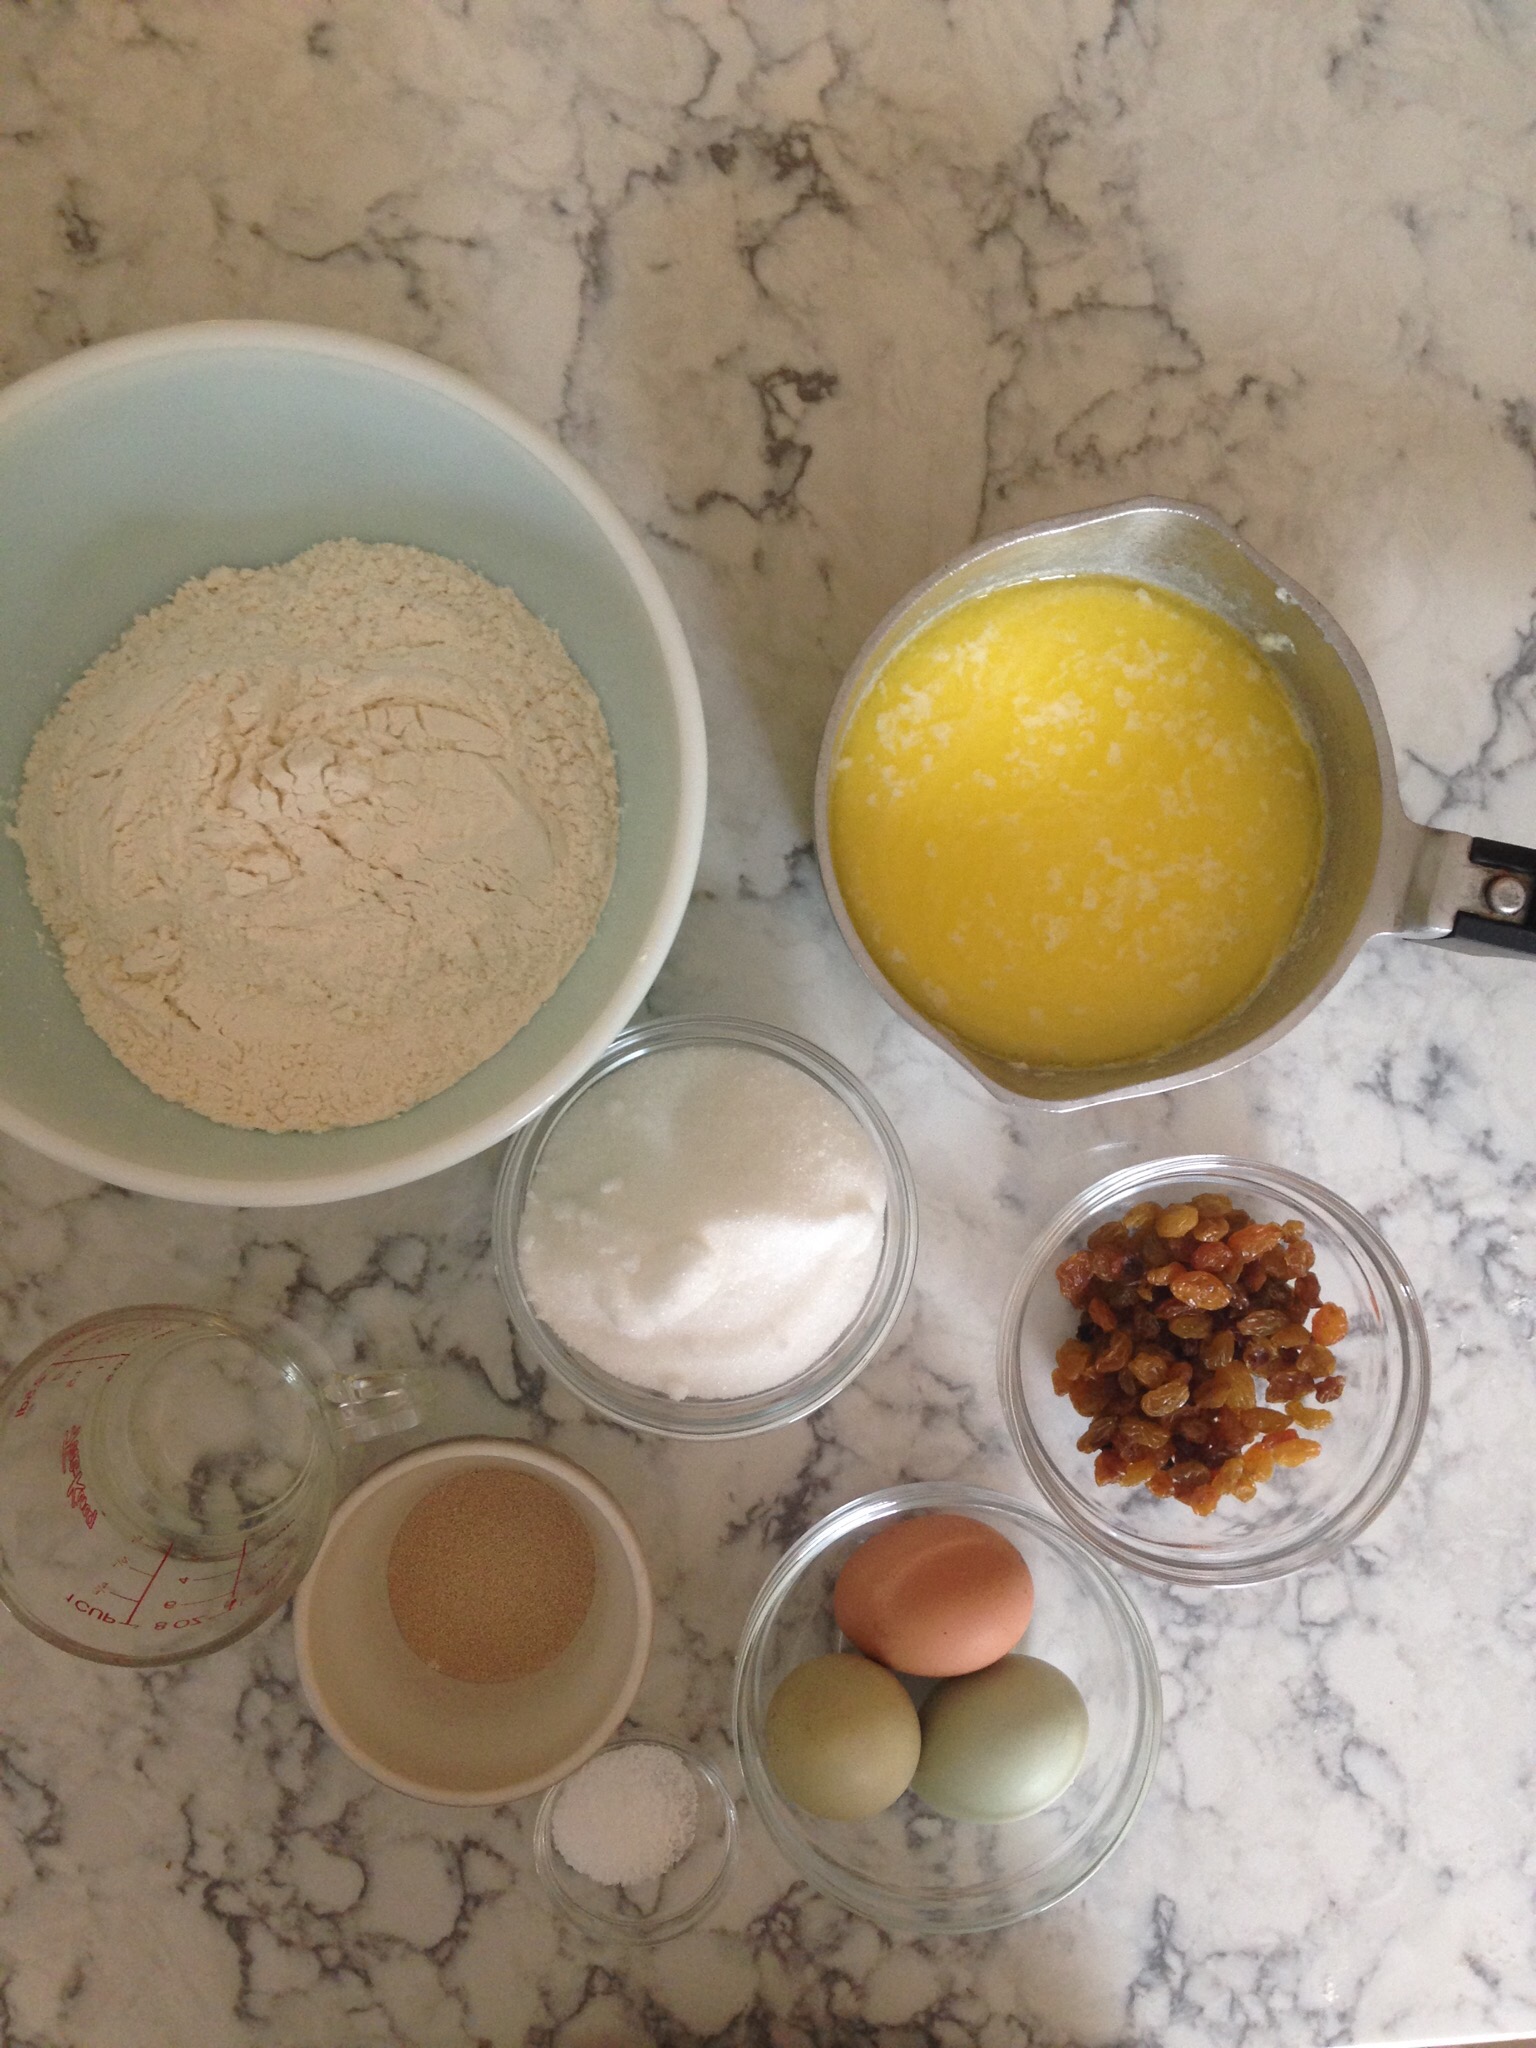
1 1/2 cups sifted cake flour
1 3/4 cup sifted granulated sugar
12 large egg yolks (1 1/2 cups white and 1 cup yolks)
1/4 teaspoon salt
1 1/2 teaspoons cream of tartar
1 1/2 teaspoons vanilla
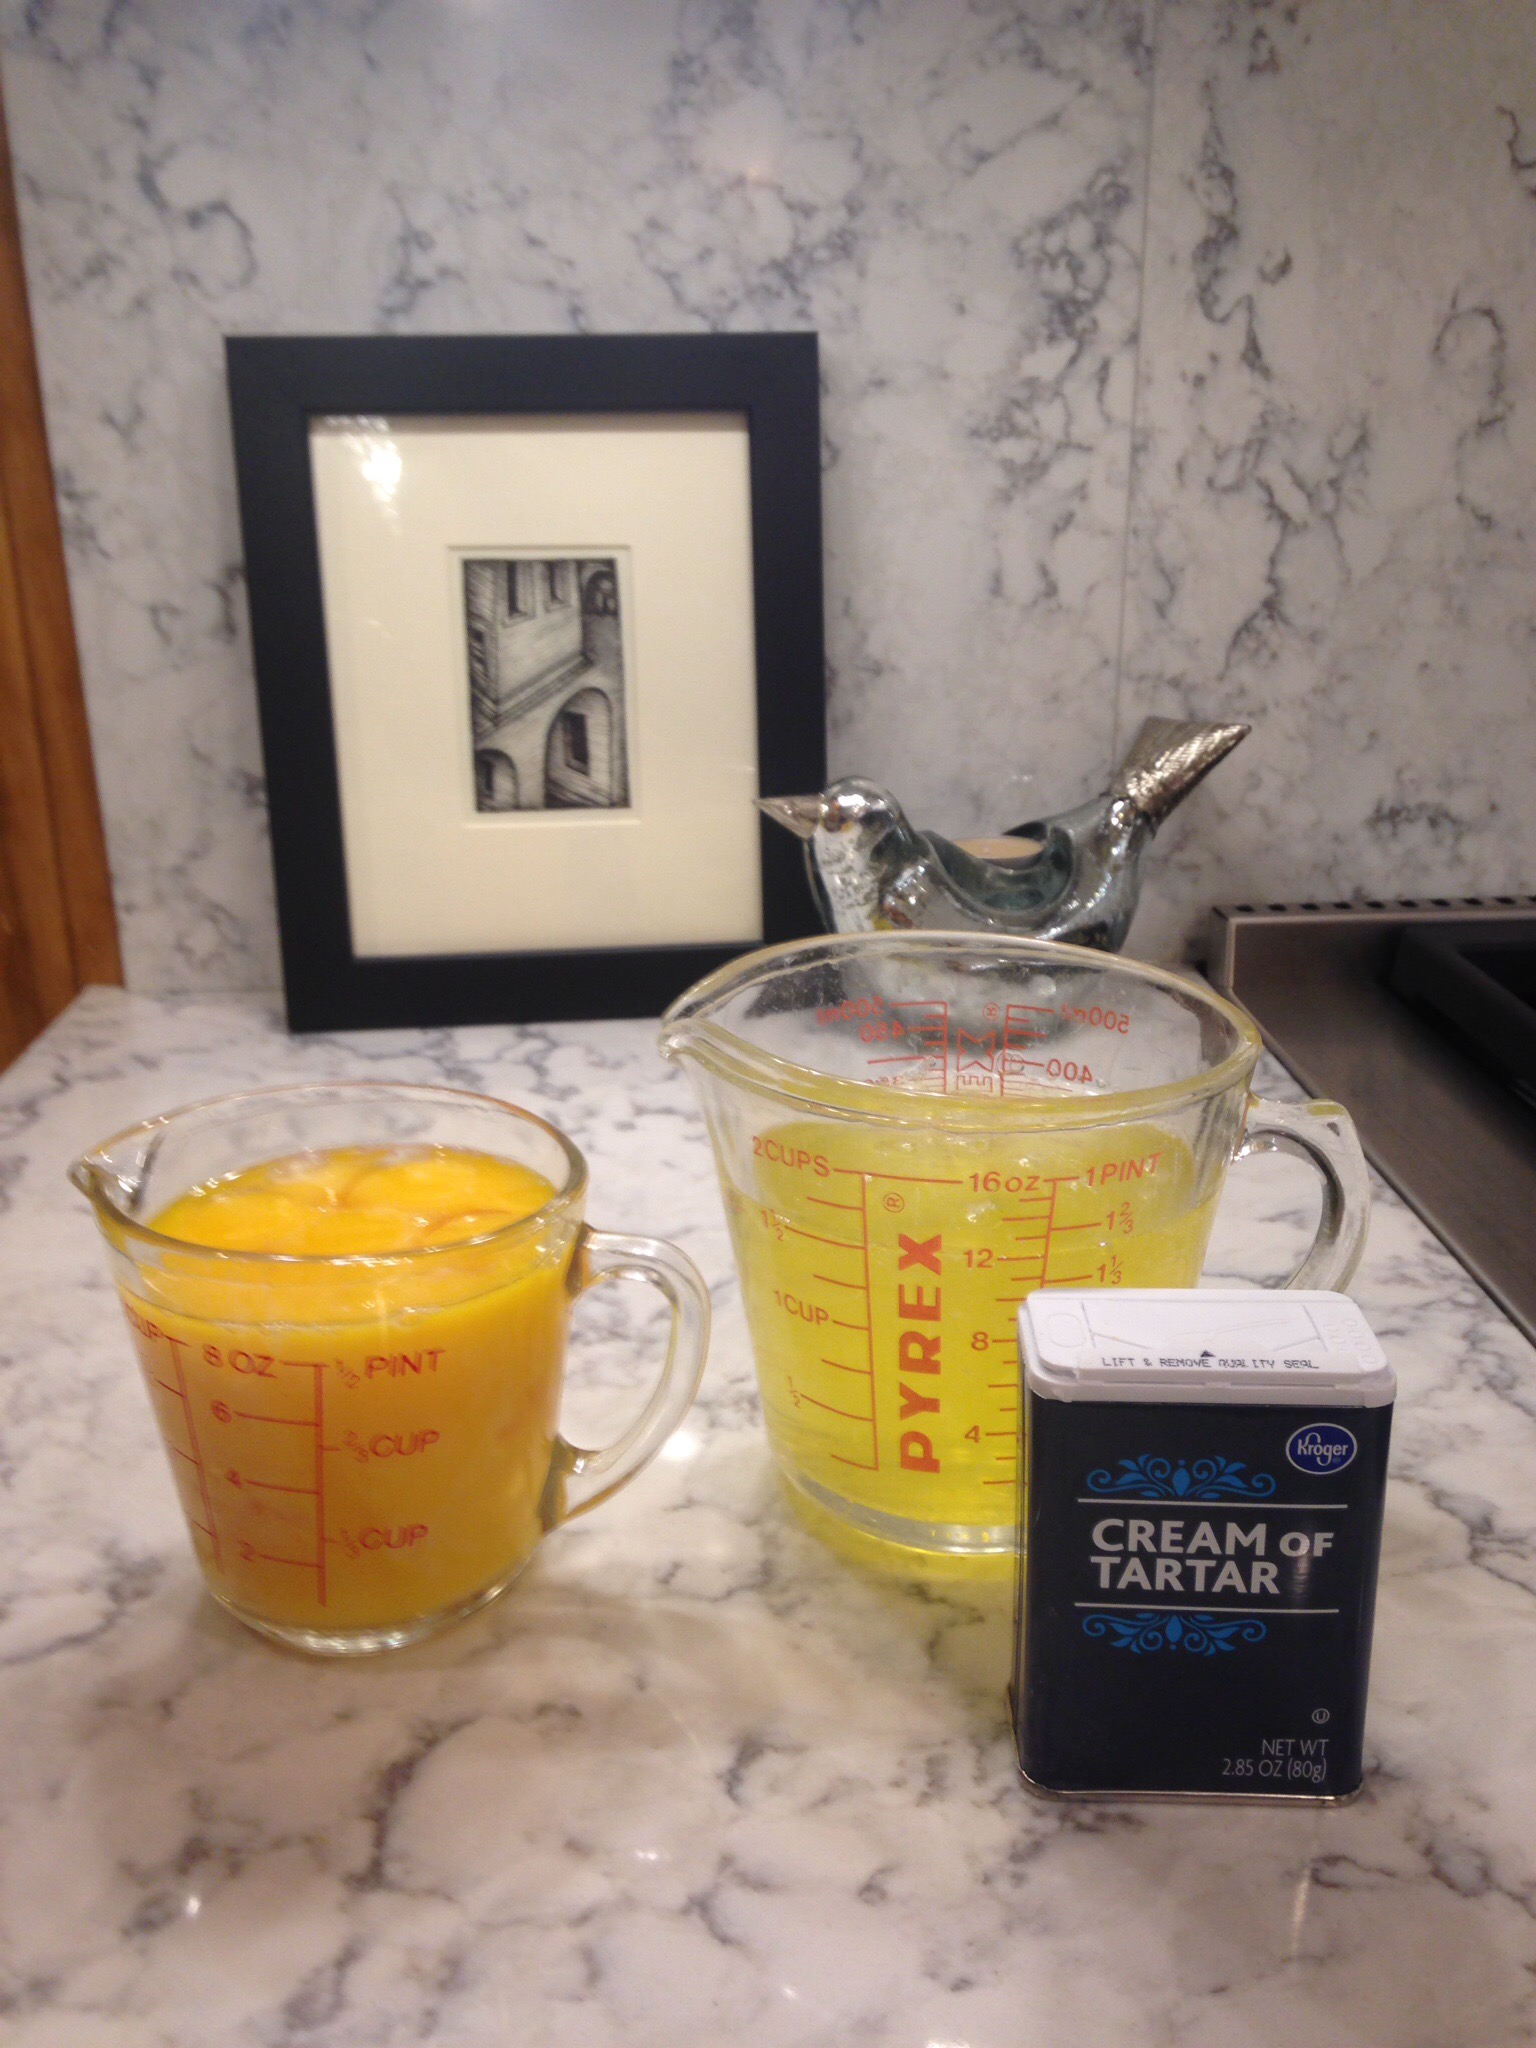
Measure egg yolks and whites

Sift and measure sugar and cake flour
- In a large bowl combine flour with about 1/2 the sugar. Sift together at least 3 times.
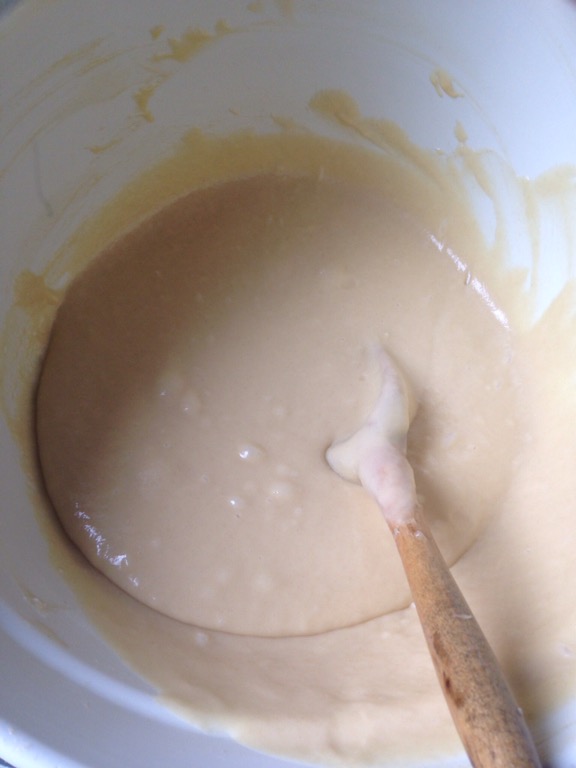
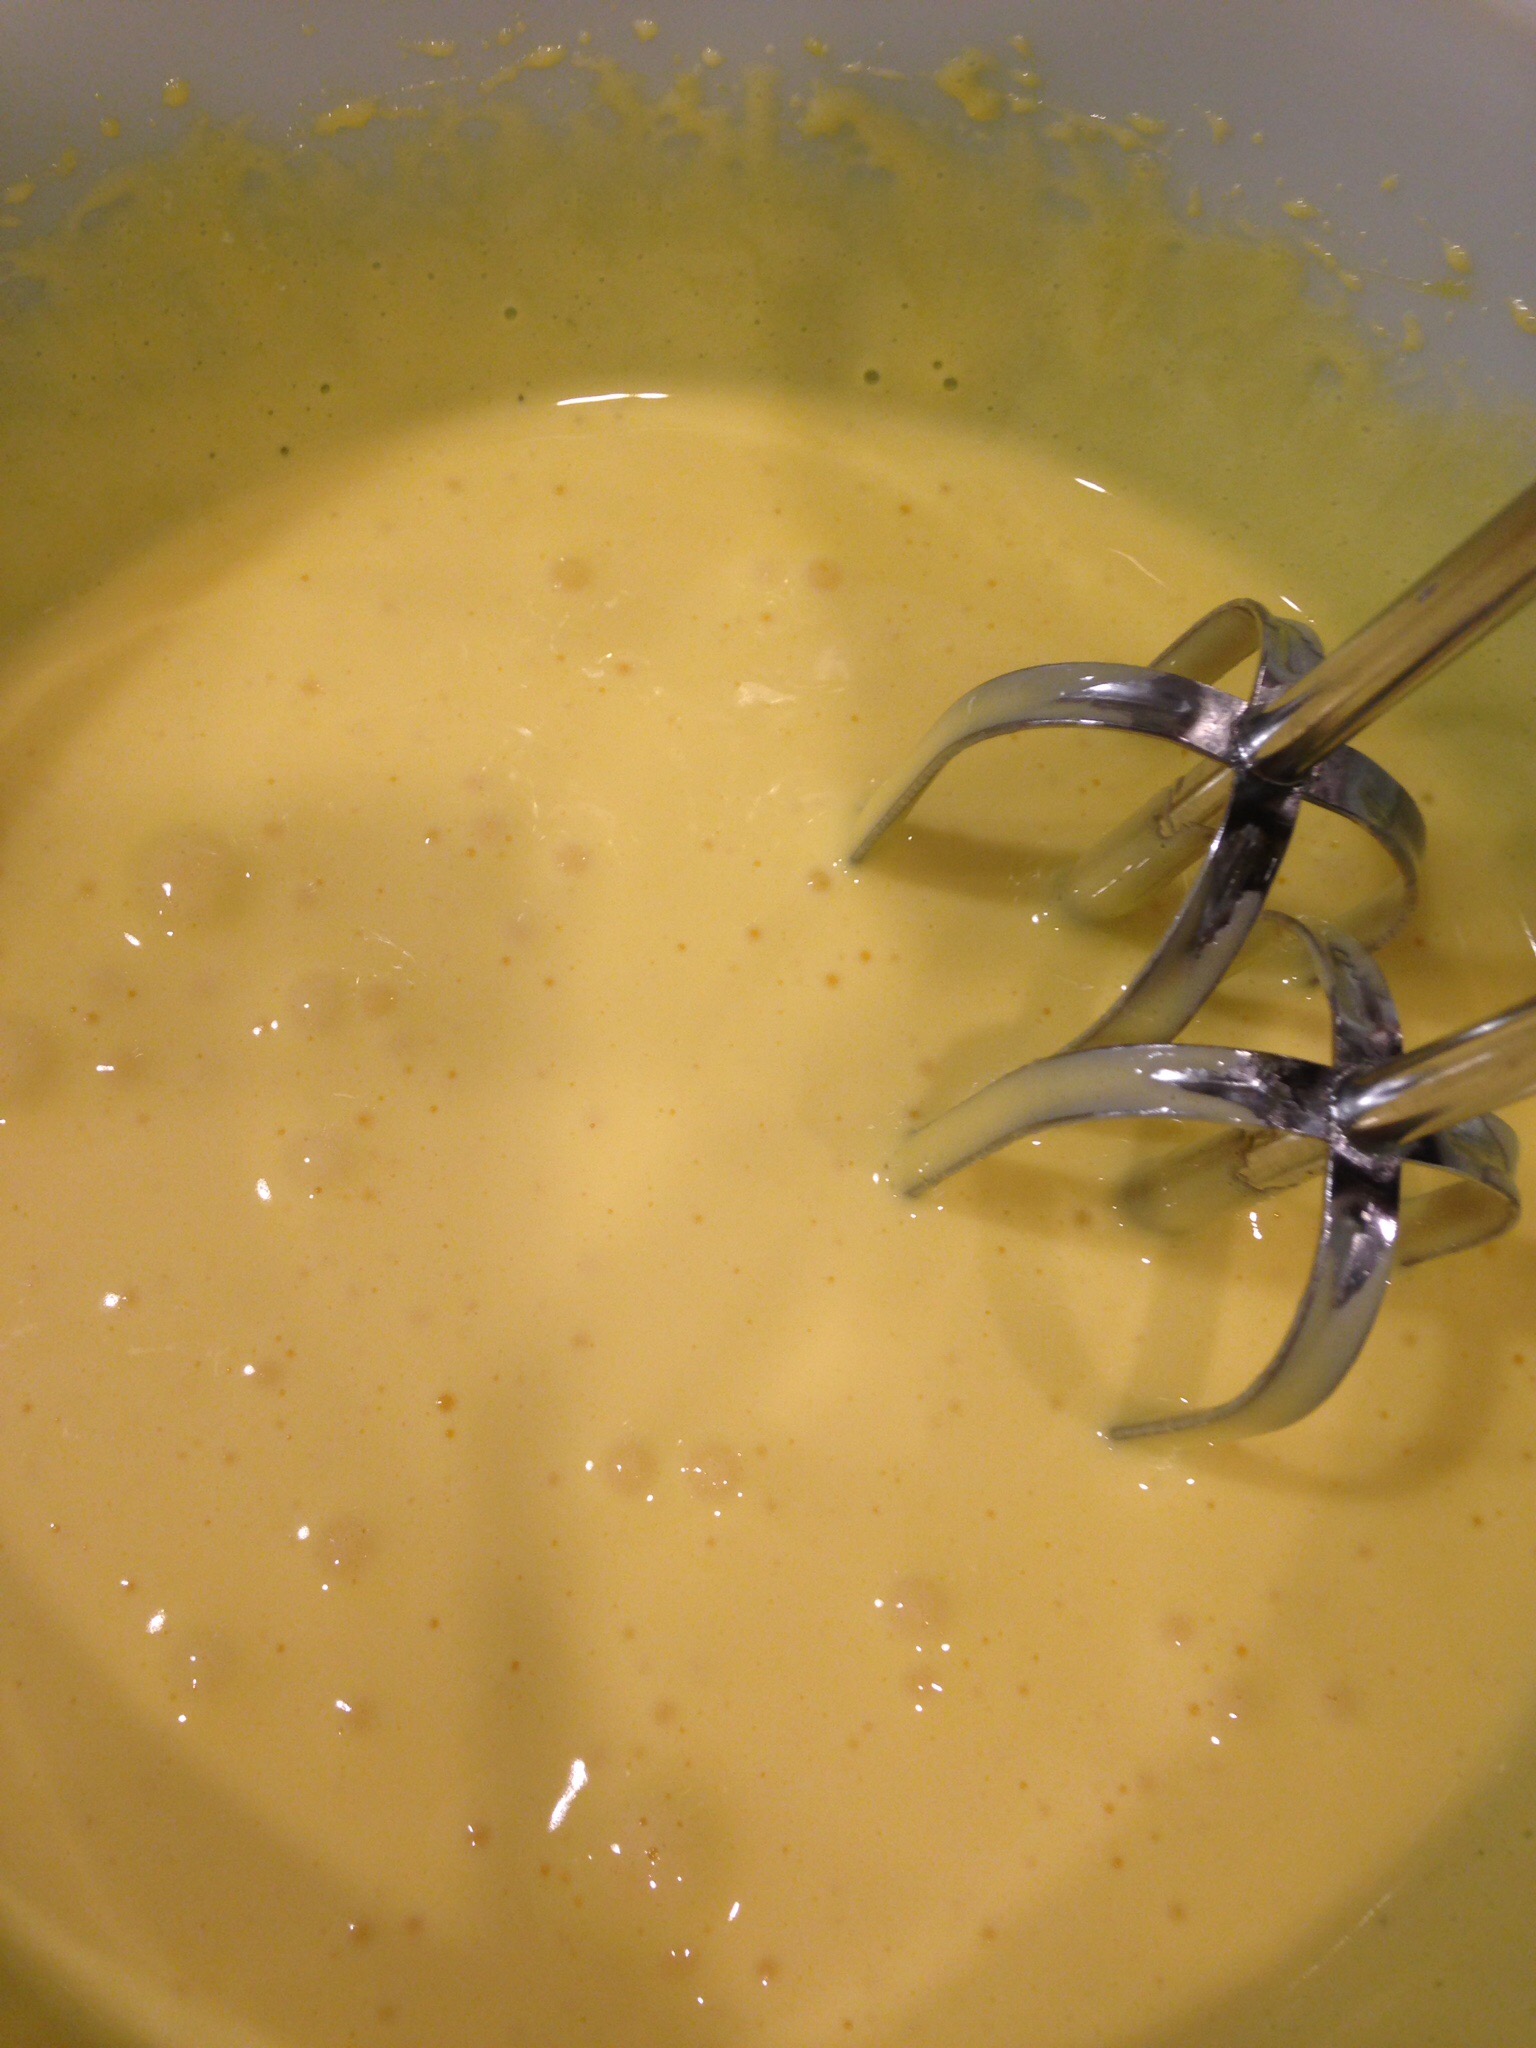
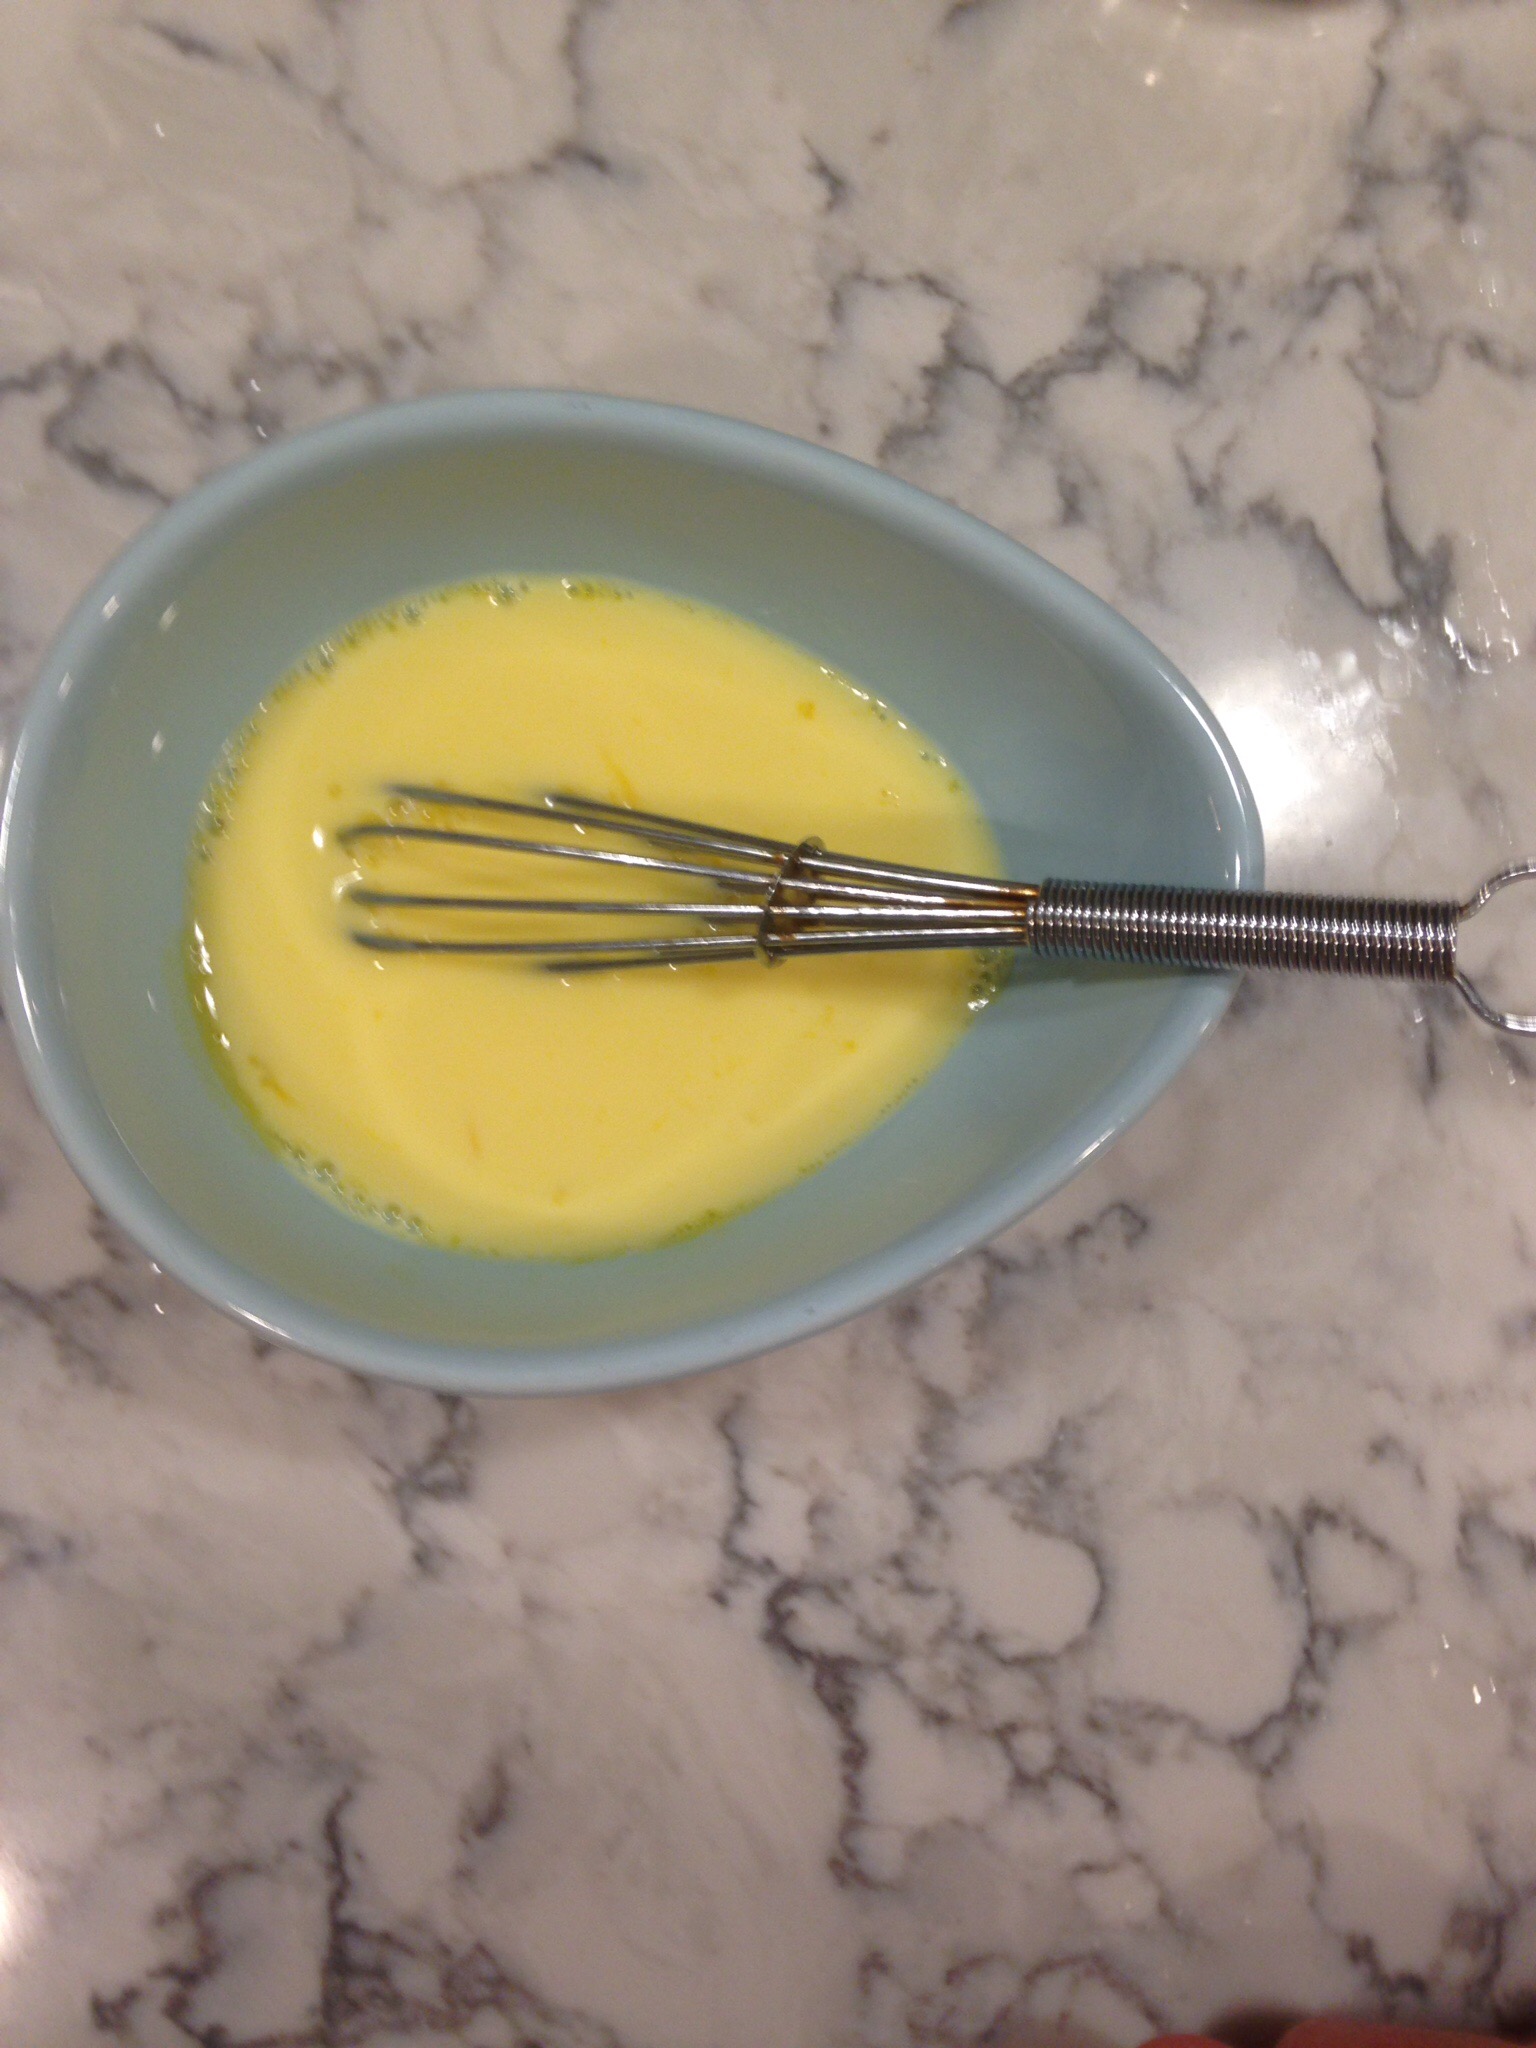
- Separate eggs carefully. In a medium bowl, beat yolks for several minutes until lemony
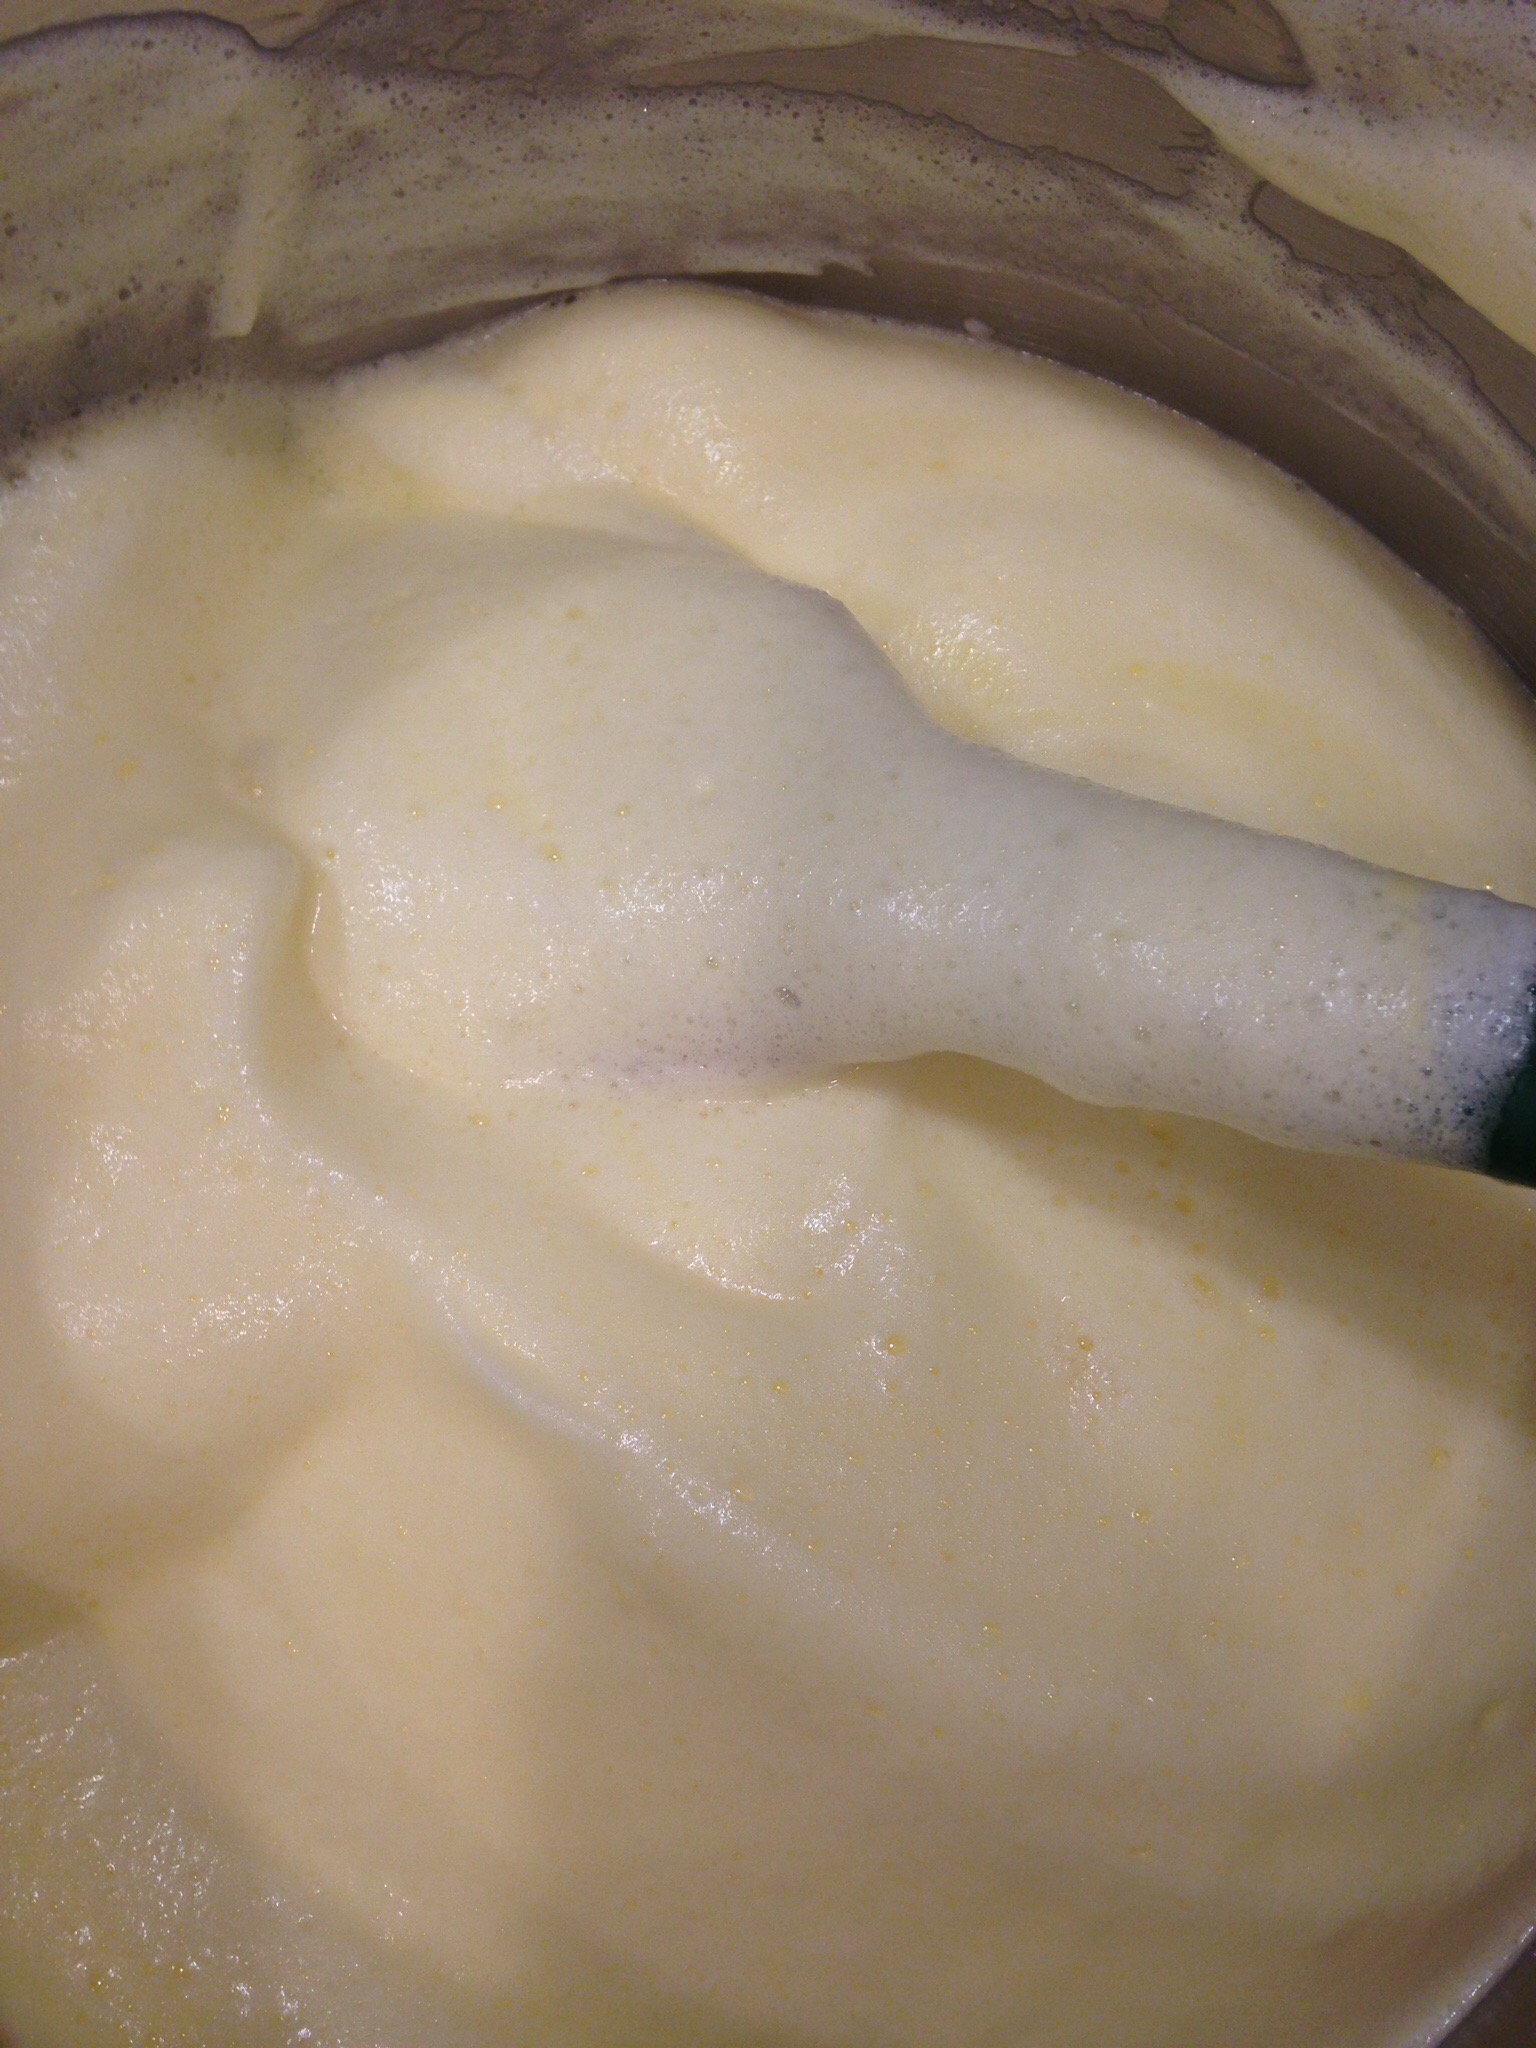
- In a large bowl combine egg whites and salt. Beat until foamy. Sprinkle cream of tartar over surface. Continue beating until whites cling to sides of bowl. Beat 1 more minute.

When egg whites are beaten to foamy, add the cream of tartar which stabilizes the foam

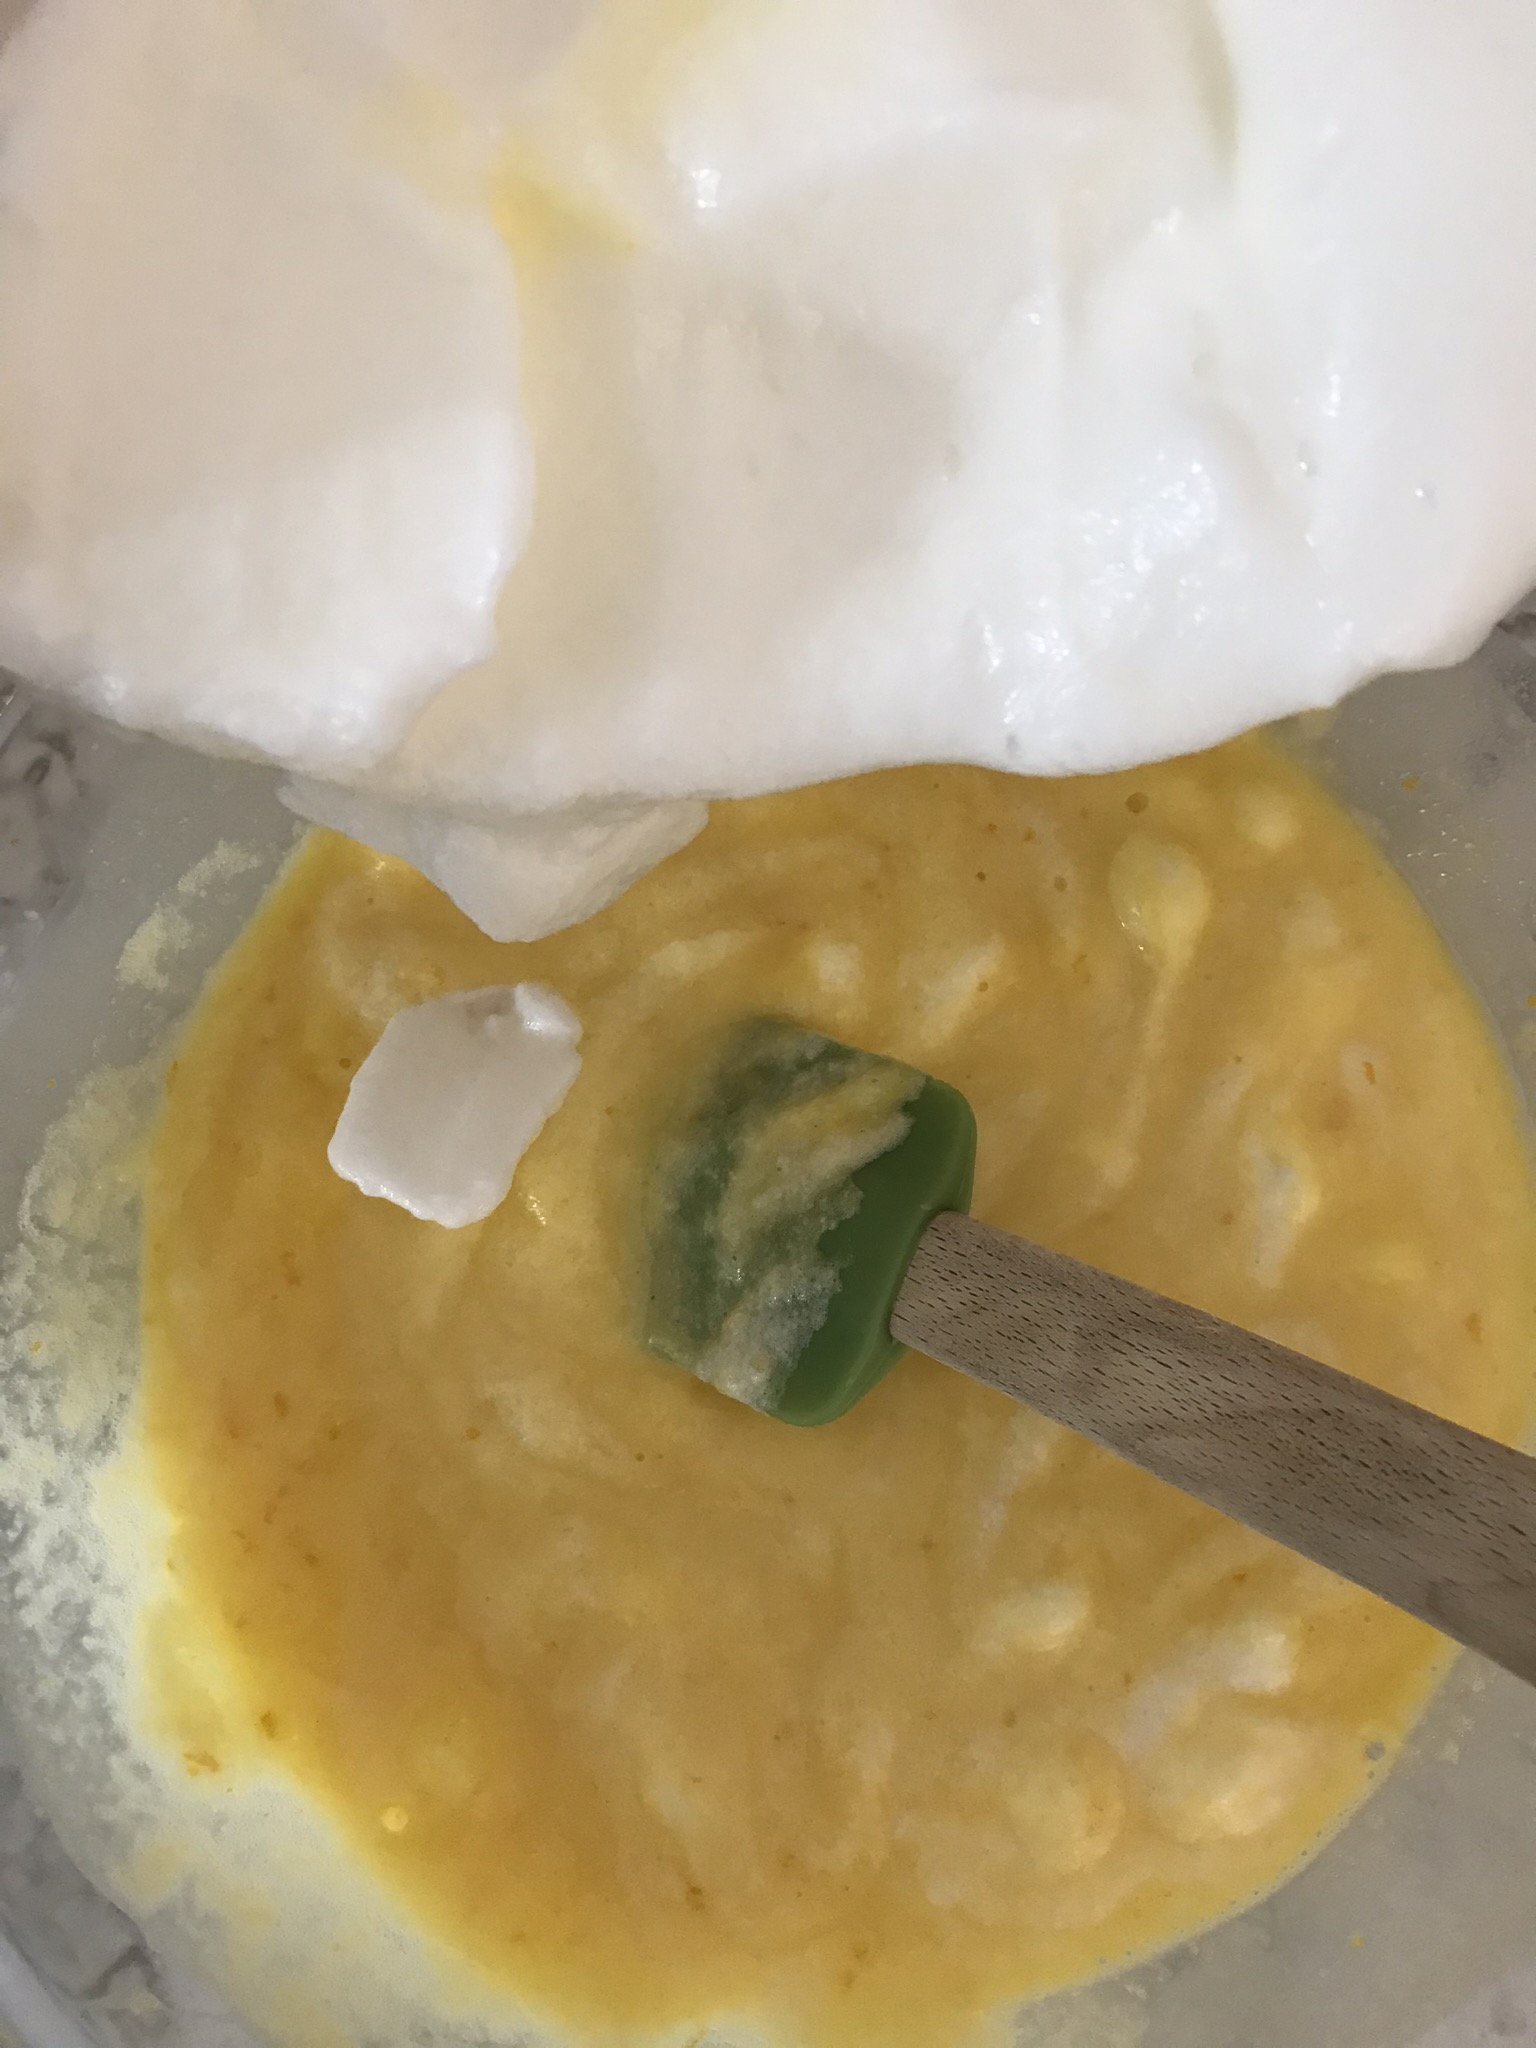
- With a plastic spatula fold beaten egg yolks into whites.
- Fold in the other 1/2 of the sugar, about 1/4 cup at a time.
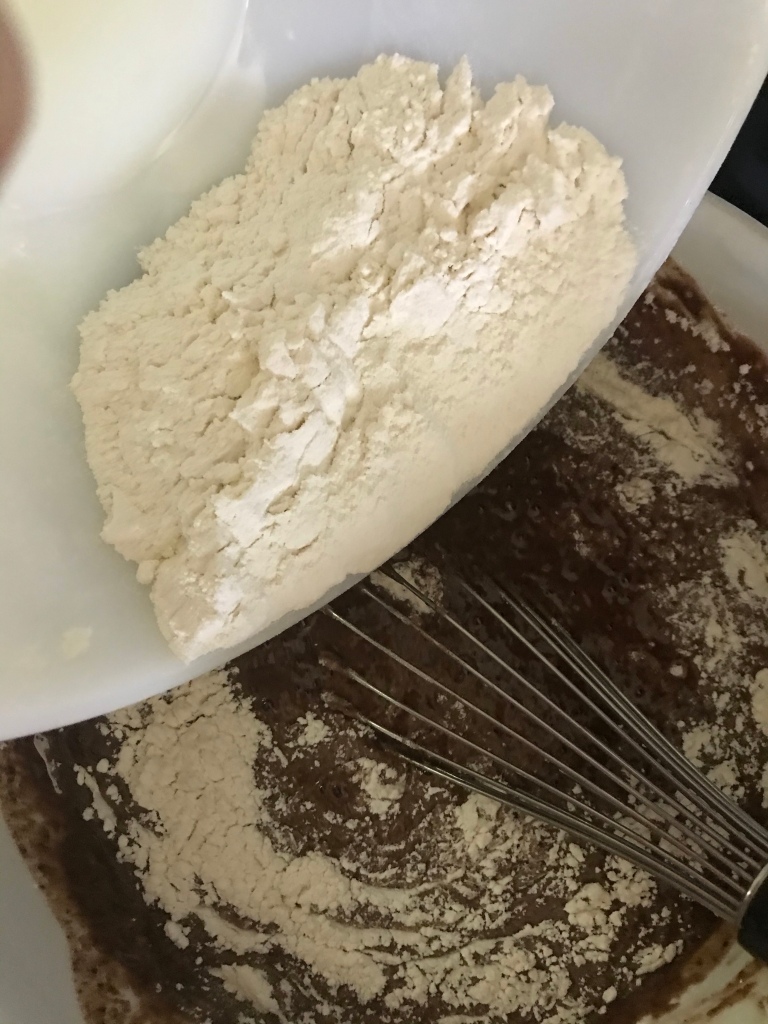
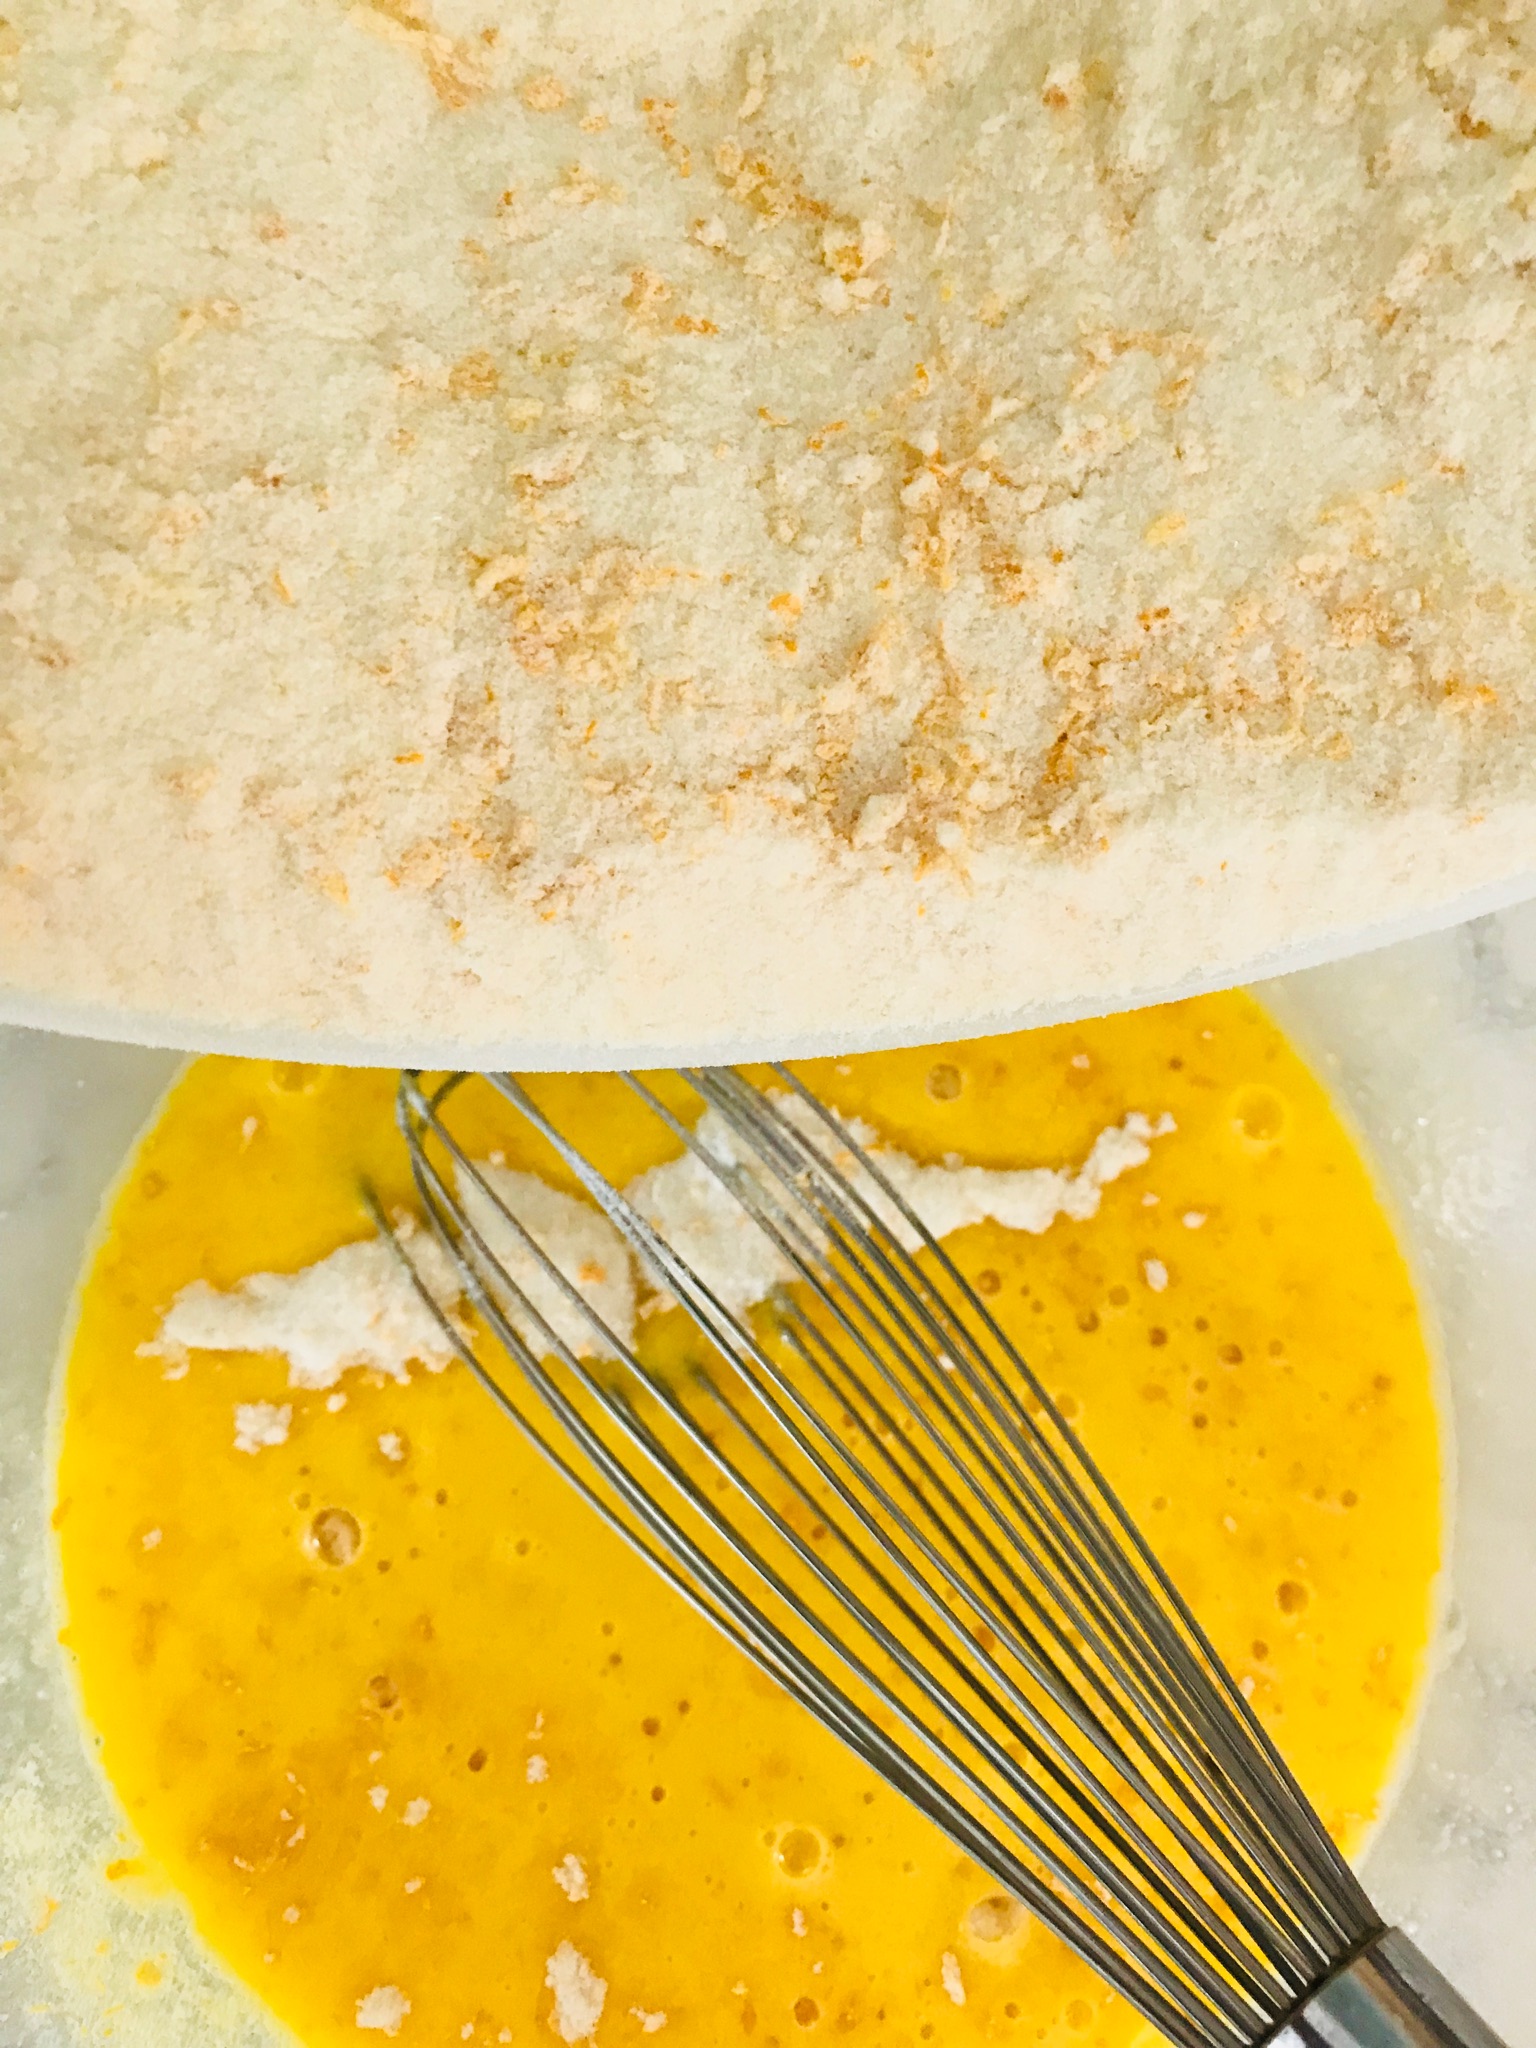
- Fold in the flour and sugar mixture, 1/4 cup at a time.
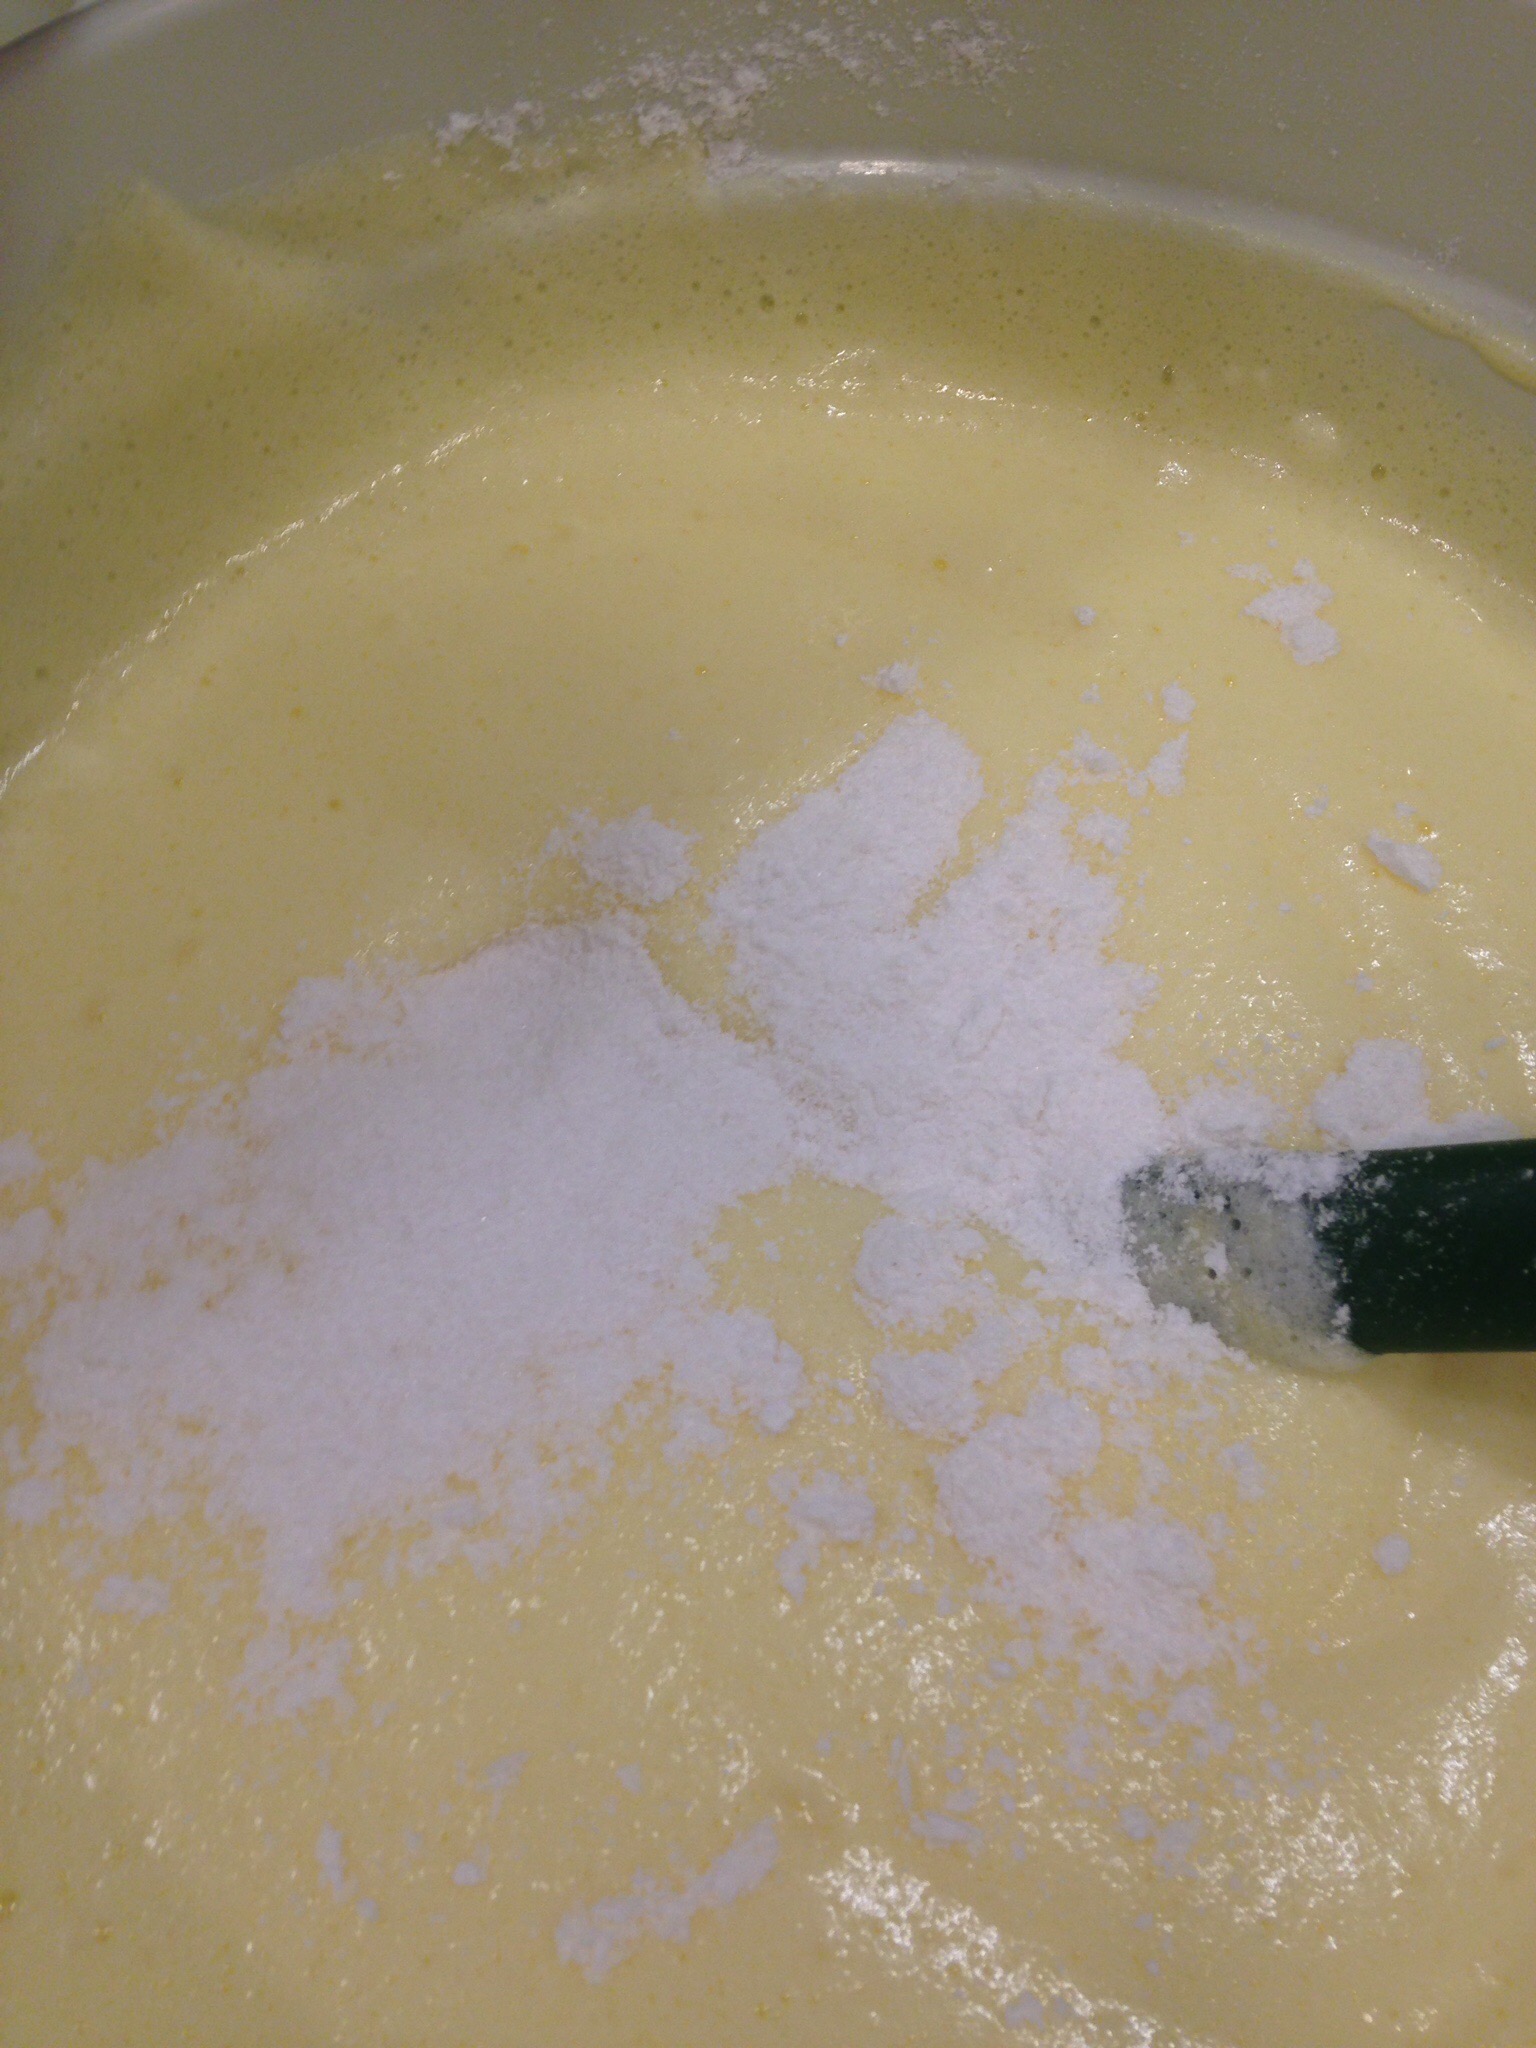
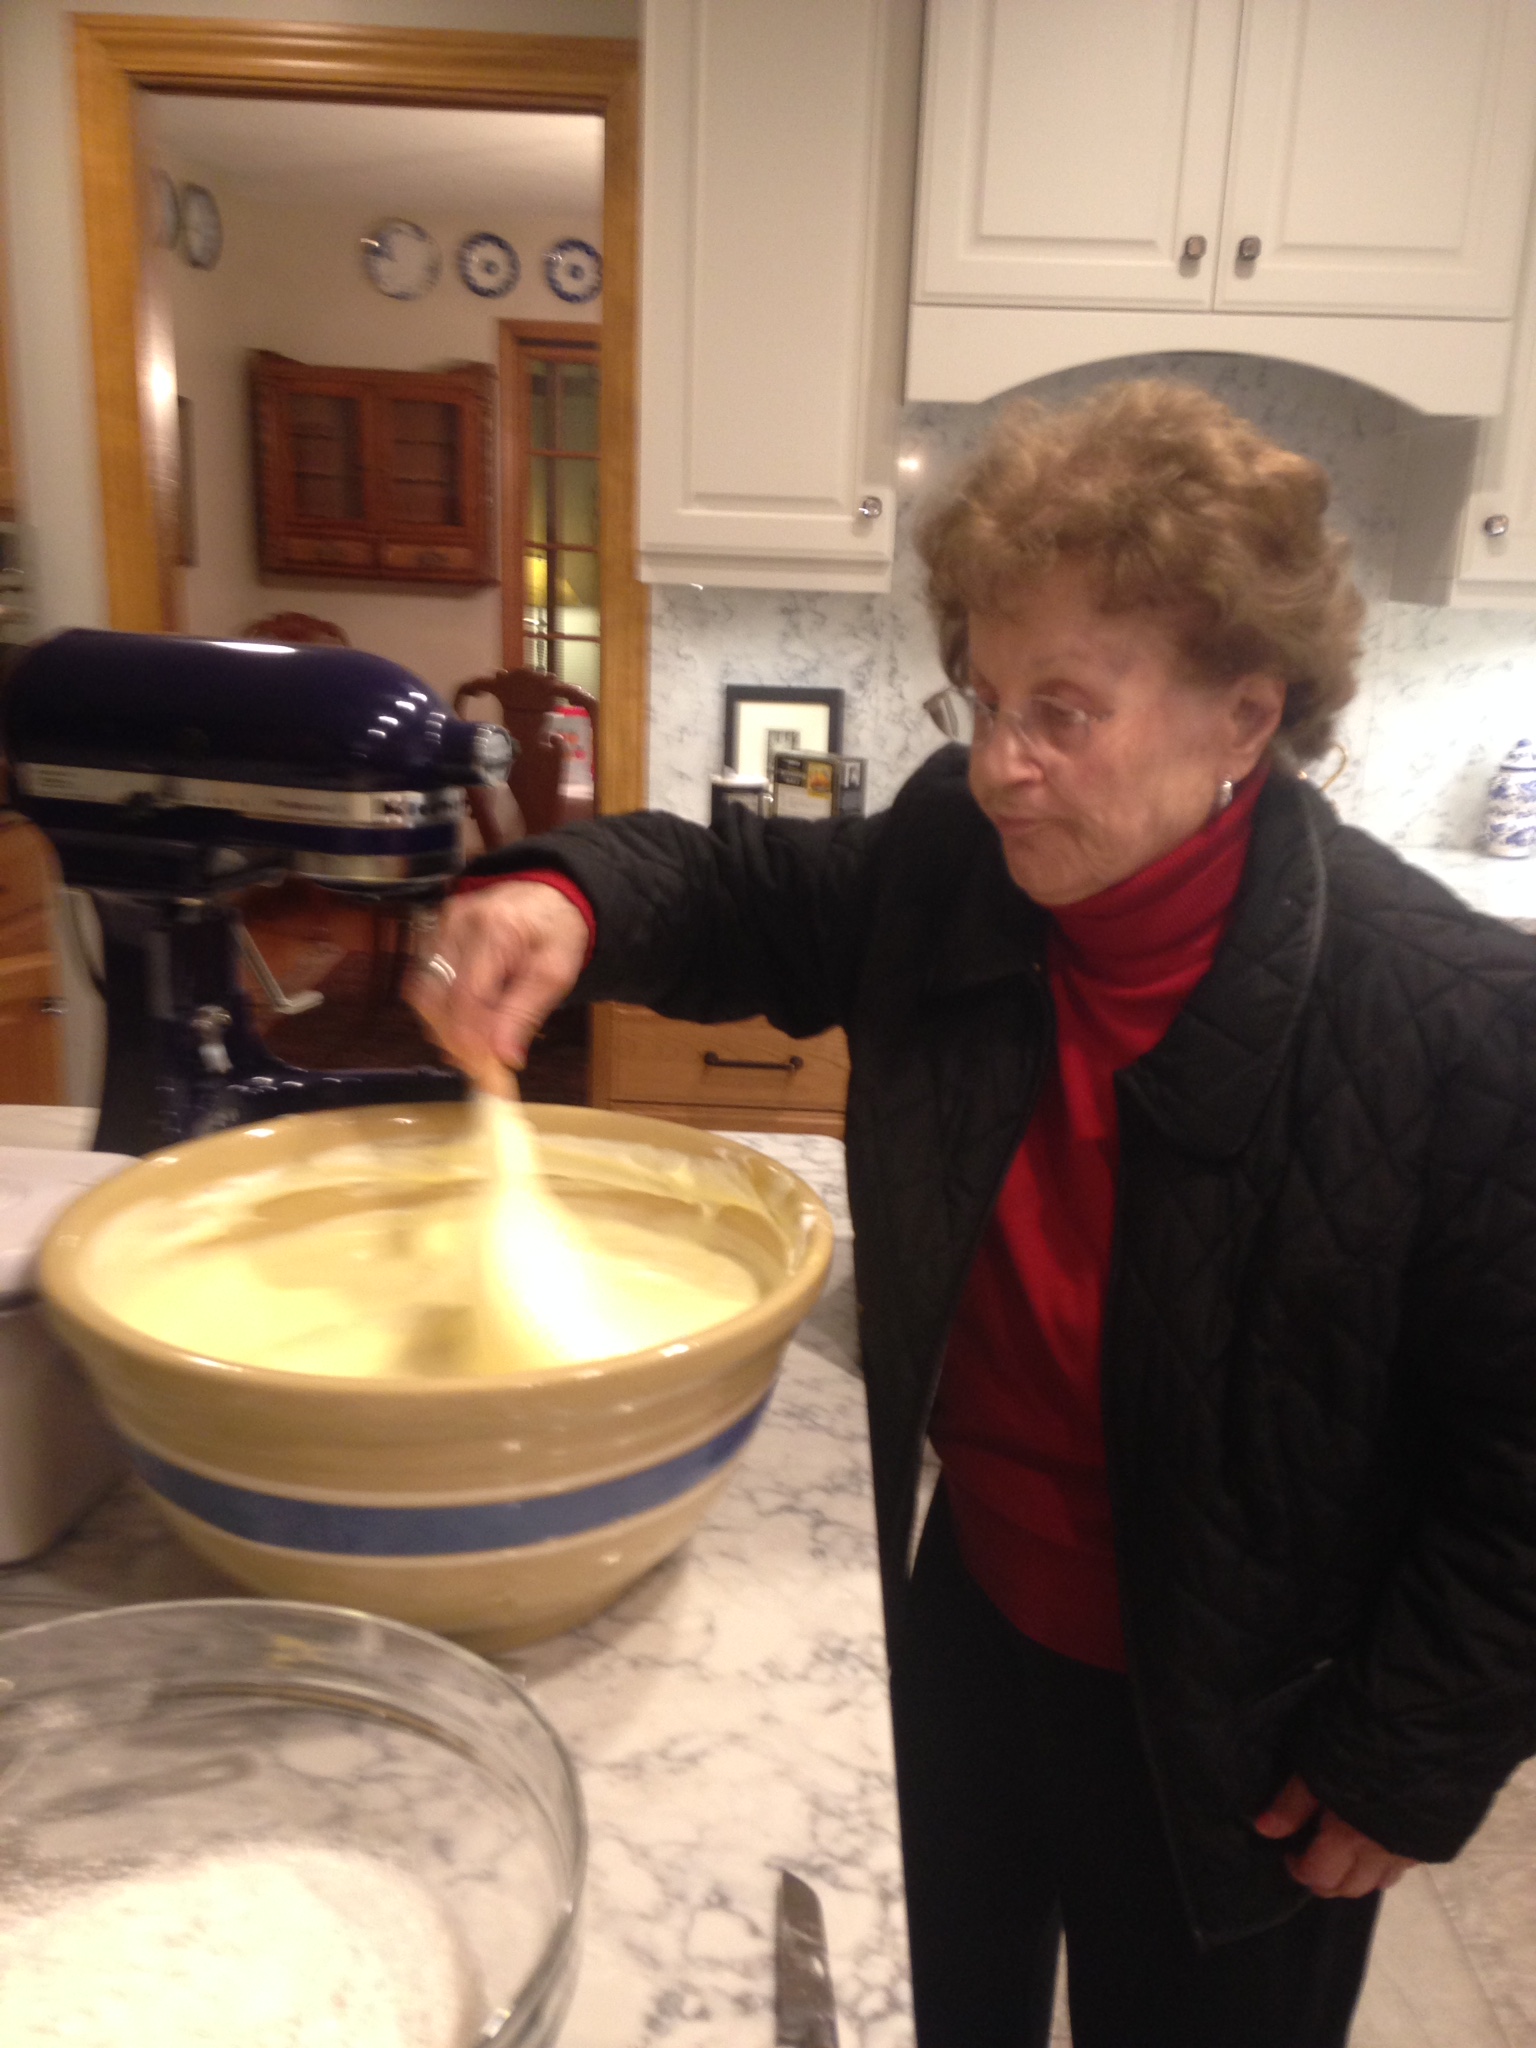
Sonia Sanders folding the flour into the cake
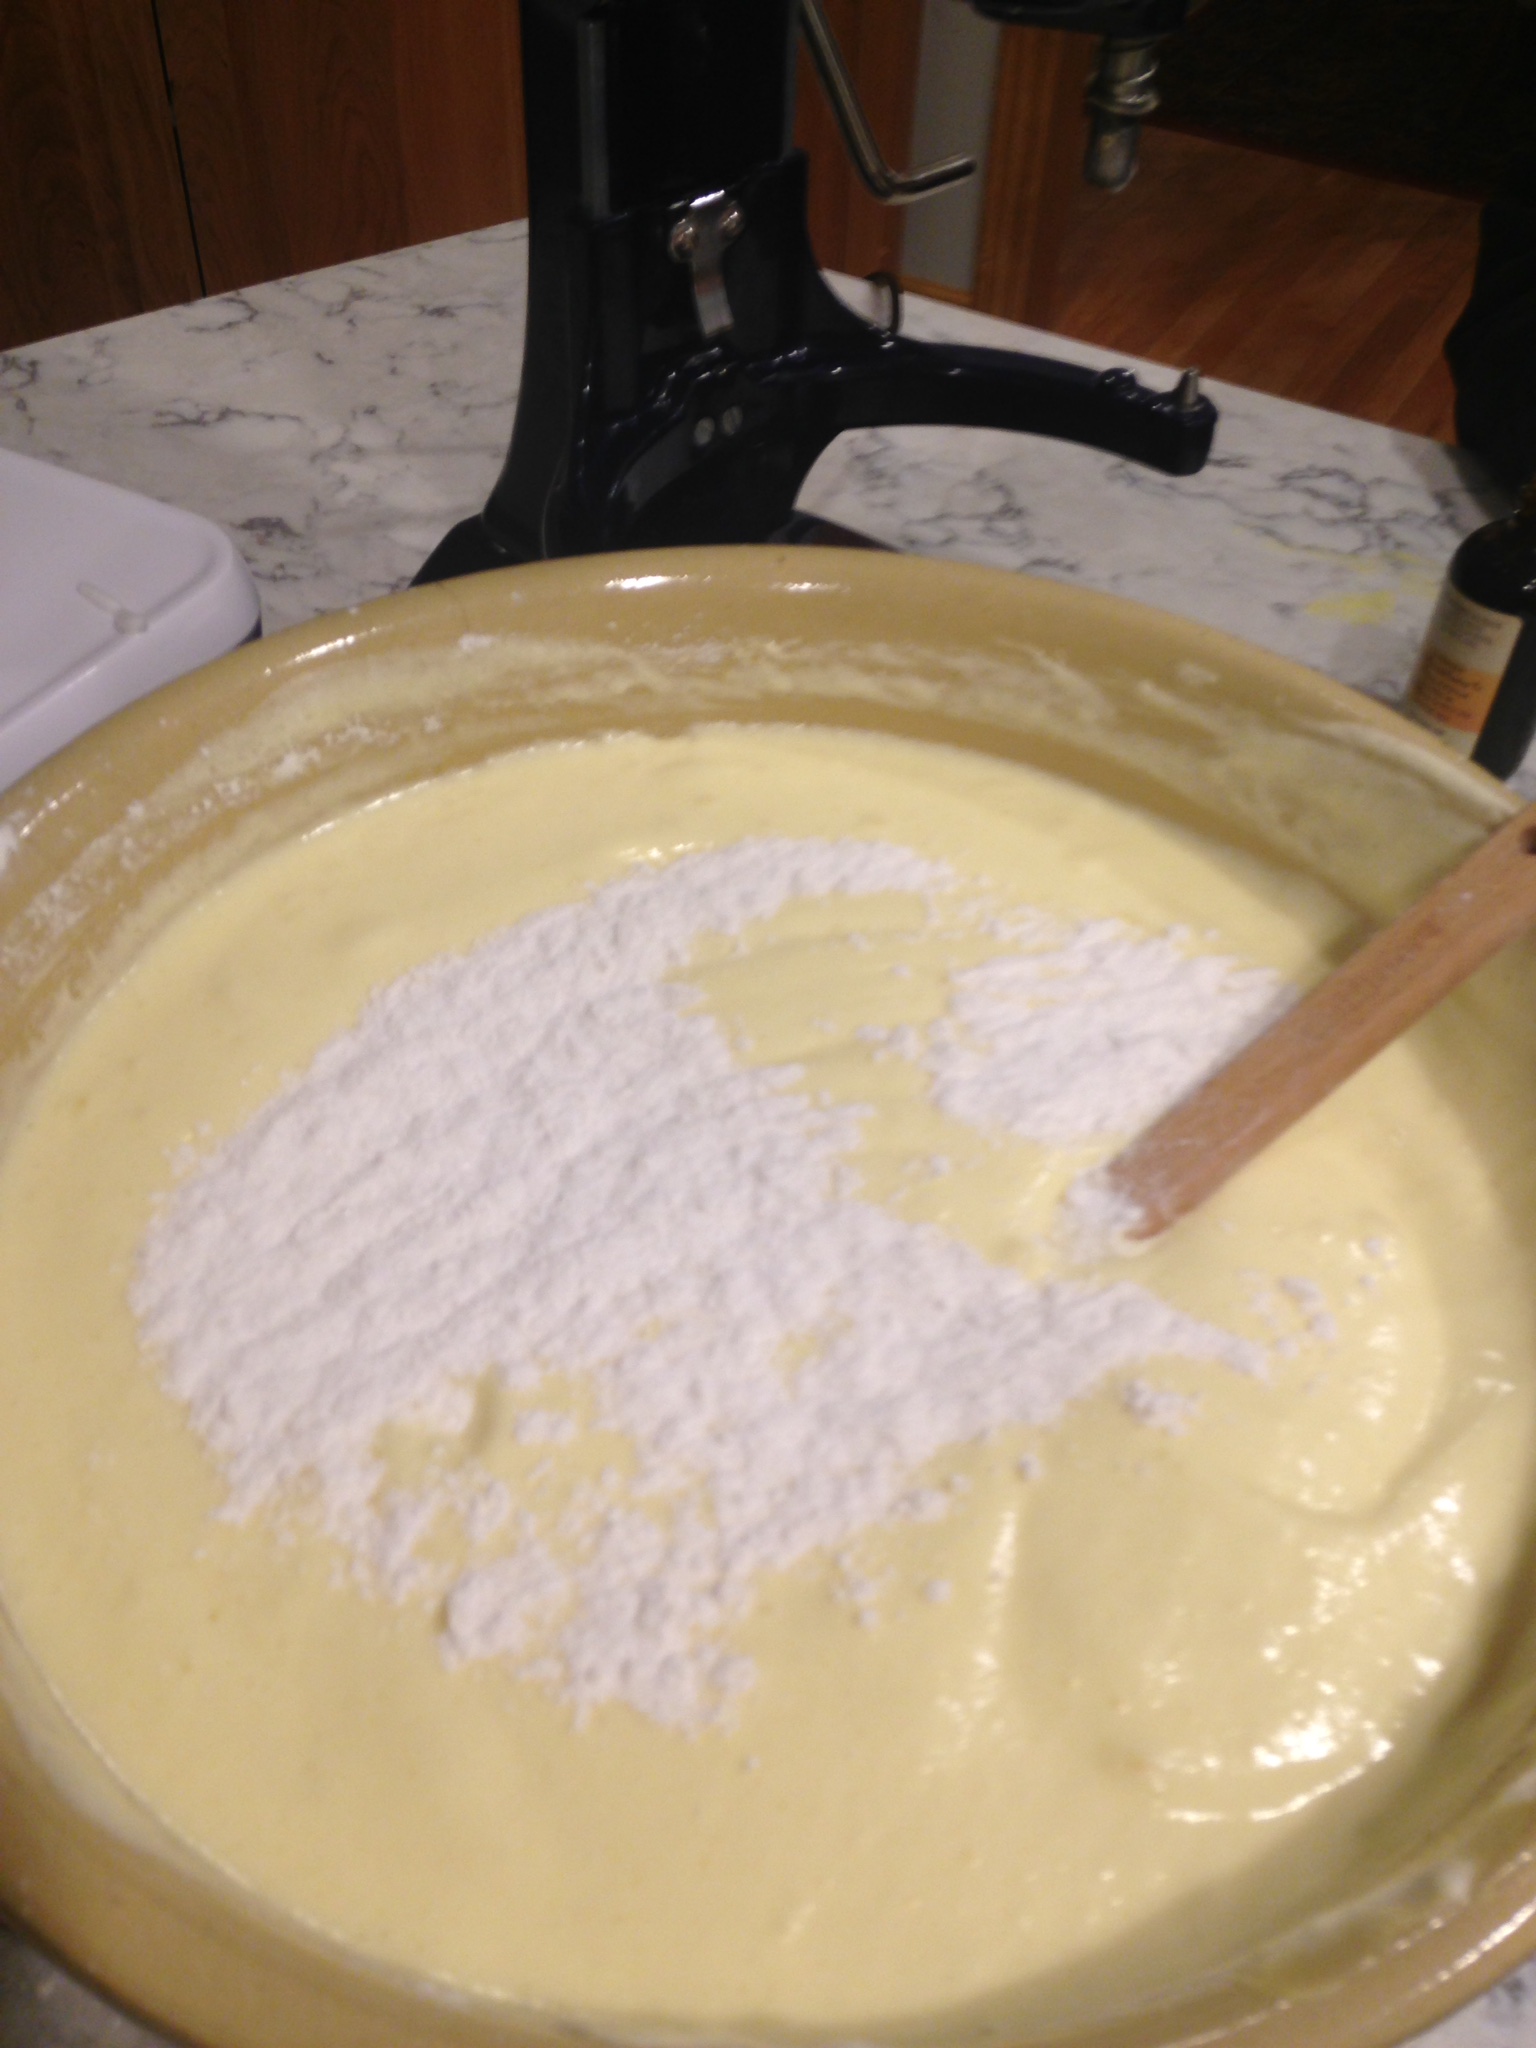
Sprinkle 1/4 cup flour-sugar mixture over top and fold in

Folding

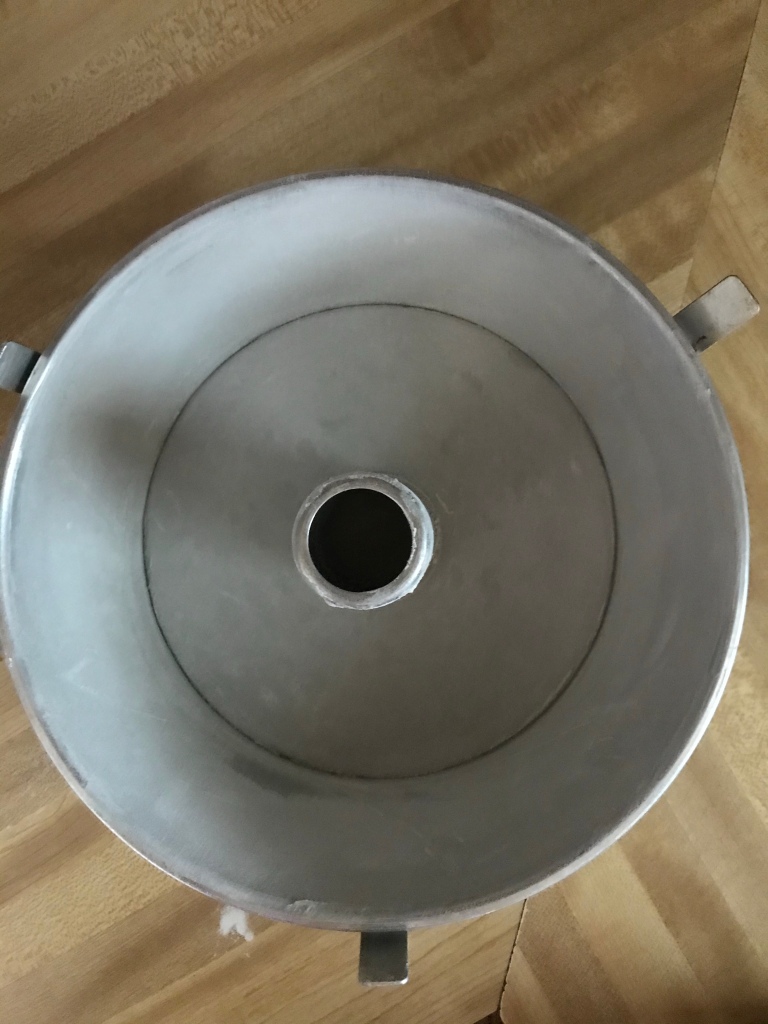
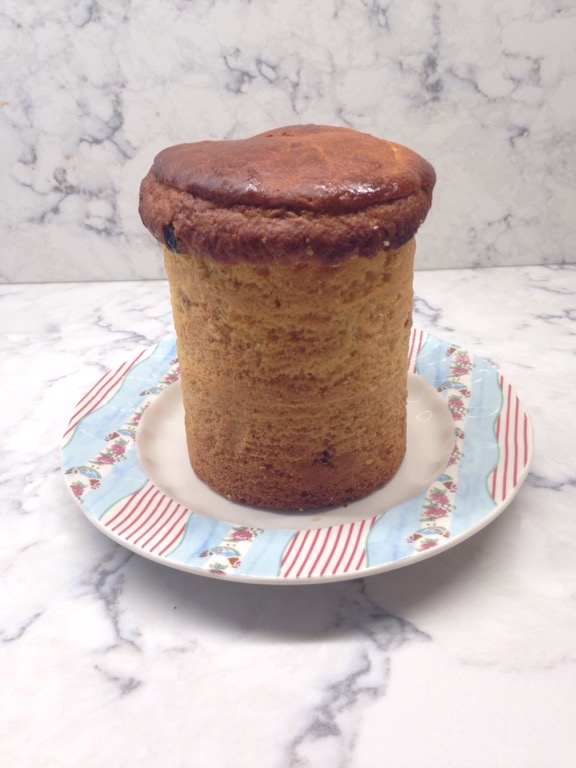
- Pour batter into a round loose bottom ungreased deep pan about 12 x 3 inches or an angel food cake pan about 4 x 10 inches. If using a pan without a removable bottom, place a 3 inch round of parchment paper on center bottom of pan, holding it in place with a little butter.
- Bake 1 hour at 300 degrees.
- Increase to 325 degrees and bake 10-20 minutes. Test for doneness with a toothpick or cake tester.

Double size cake baking in oven
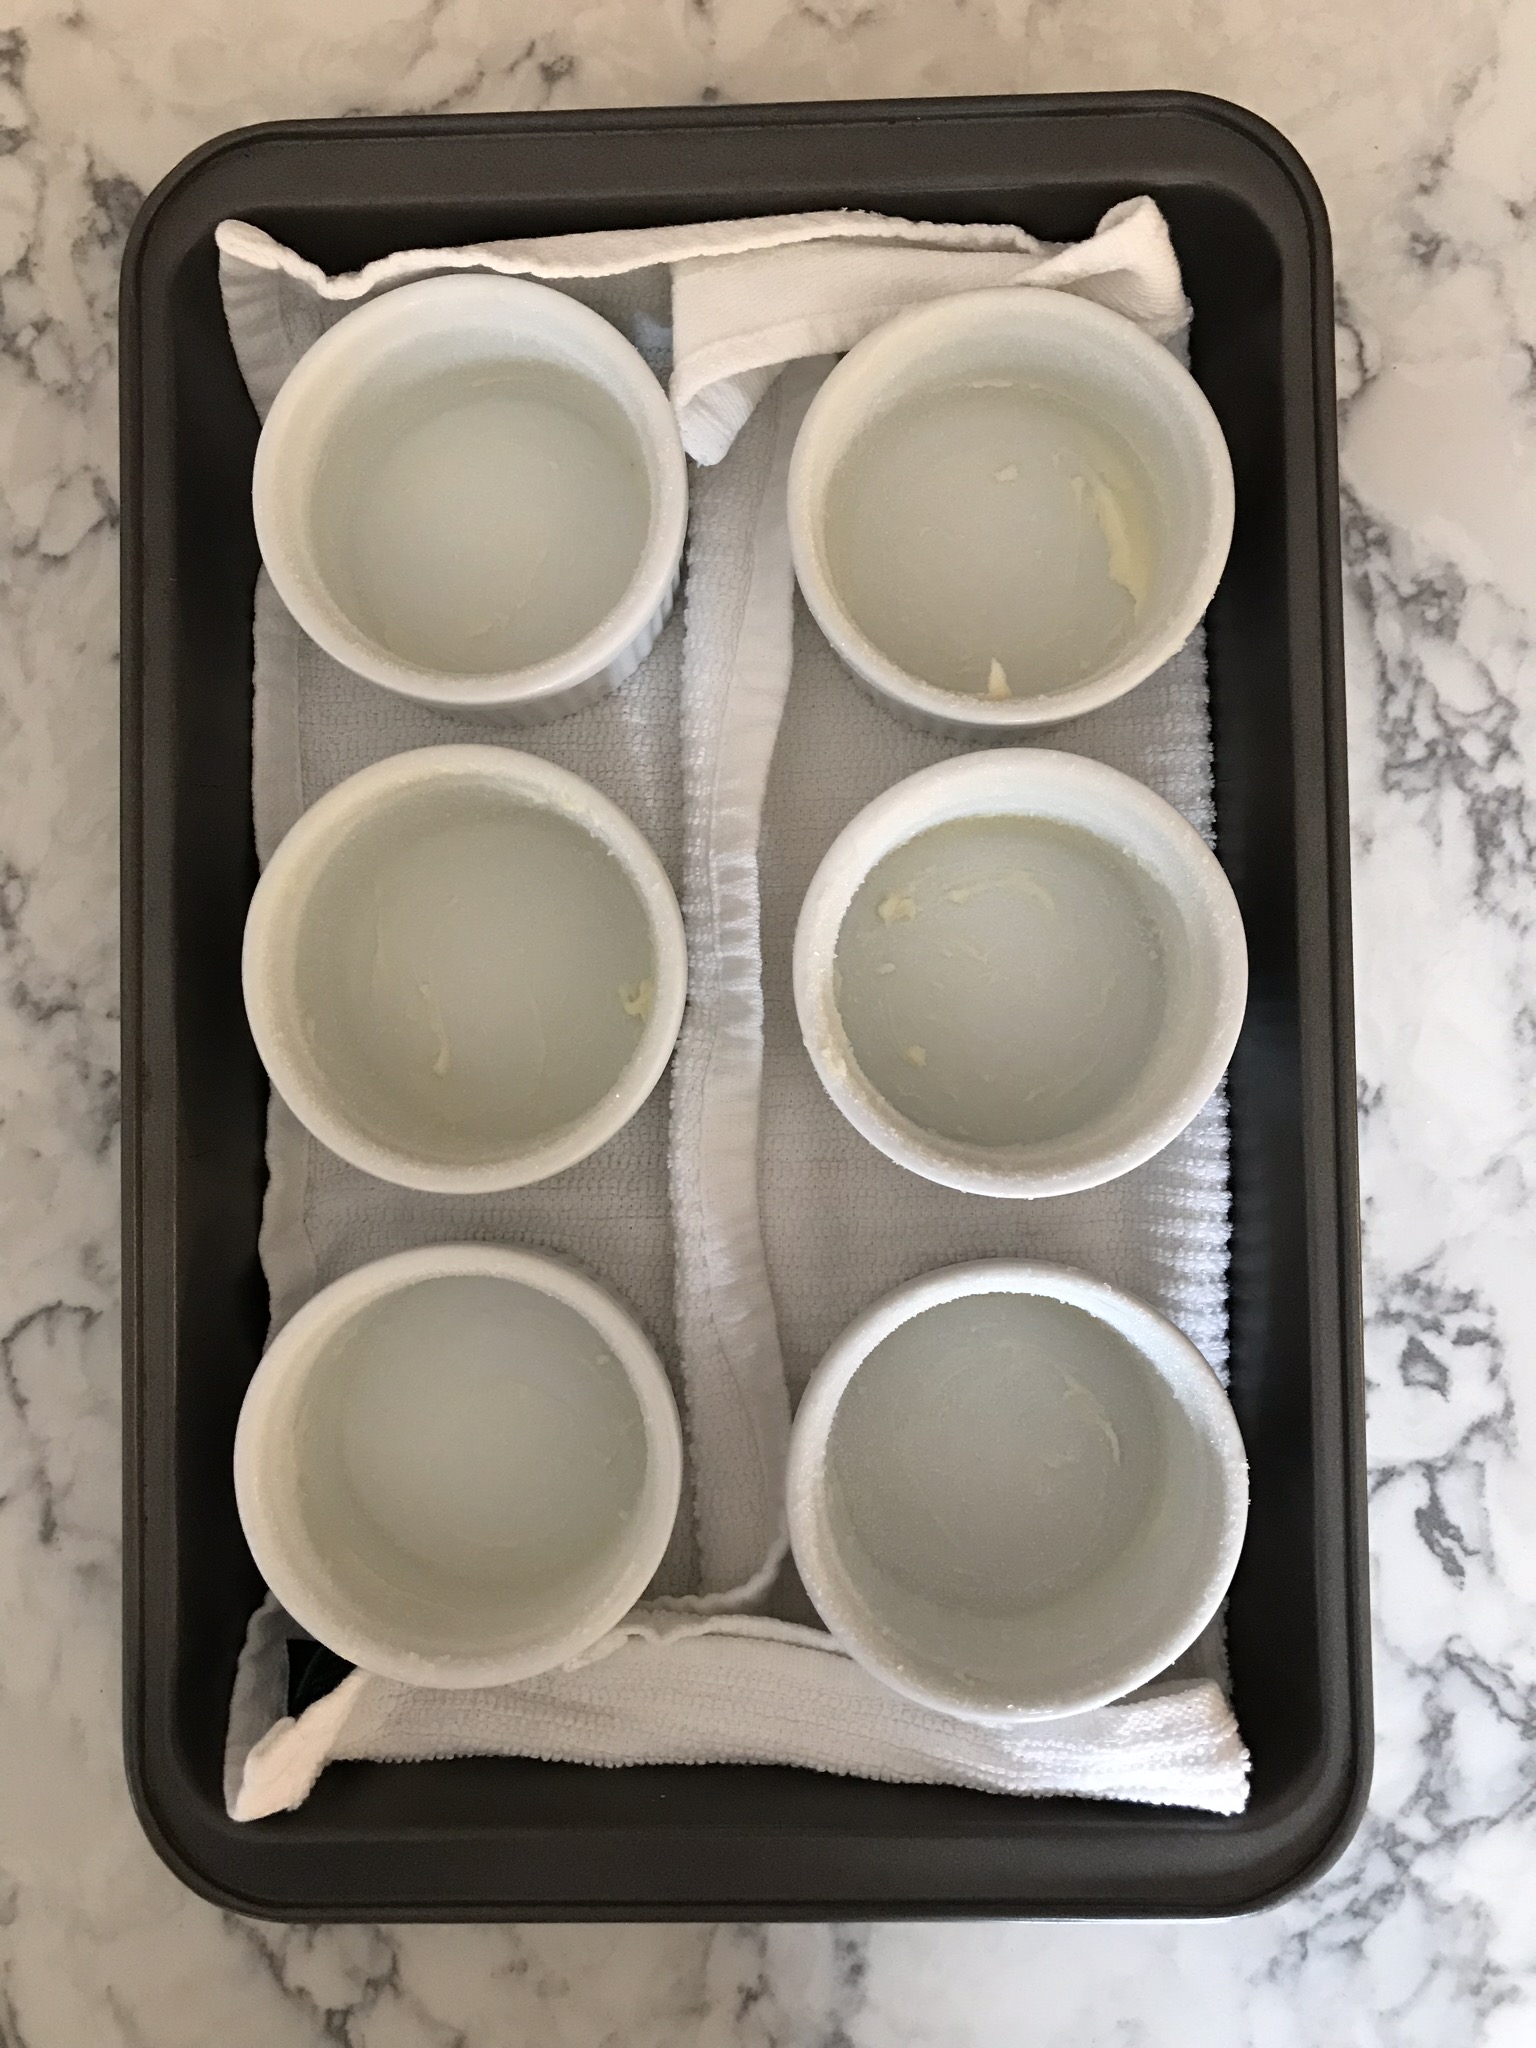
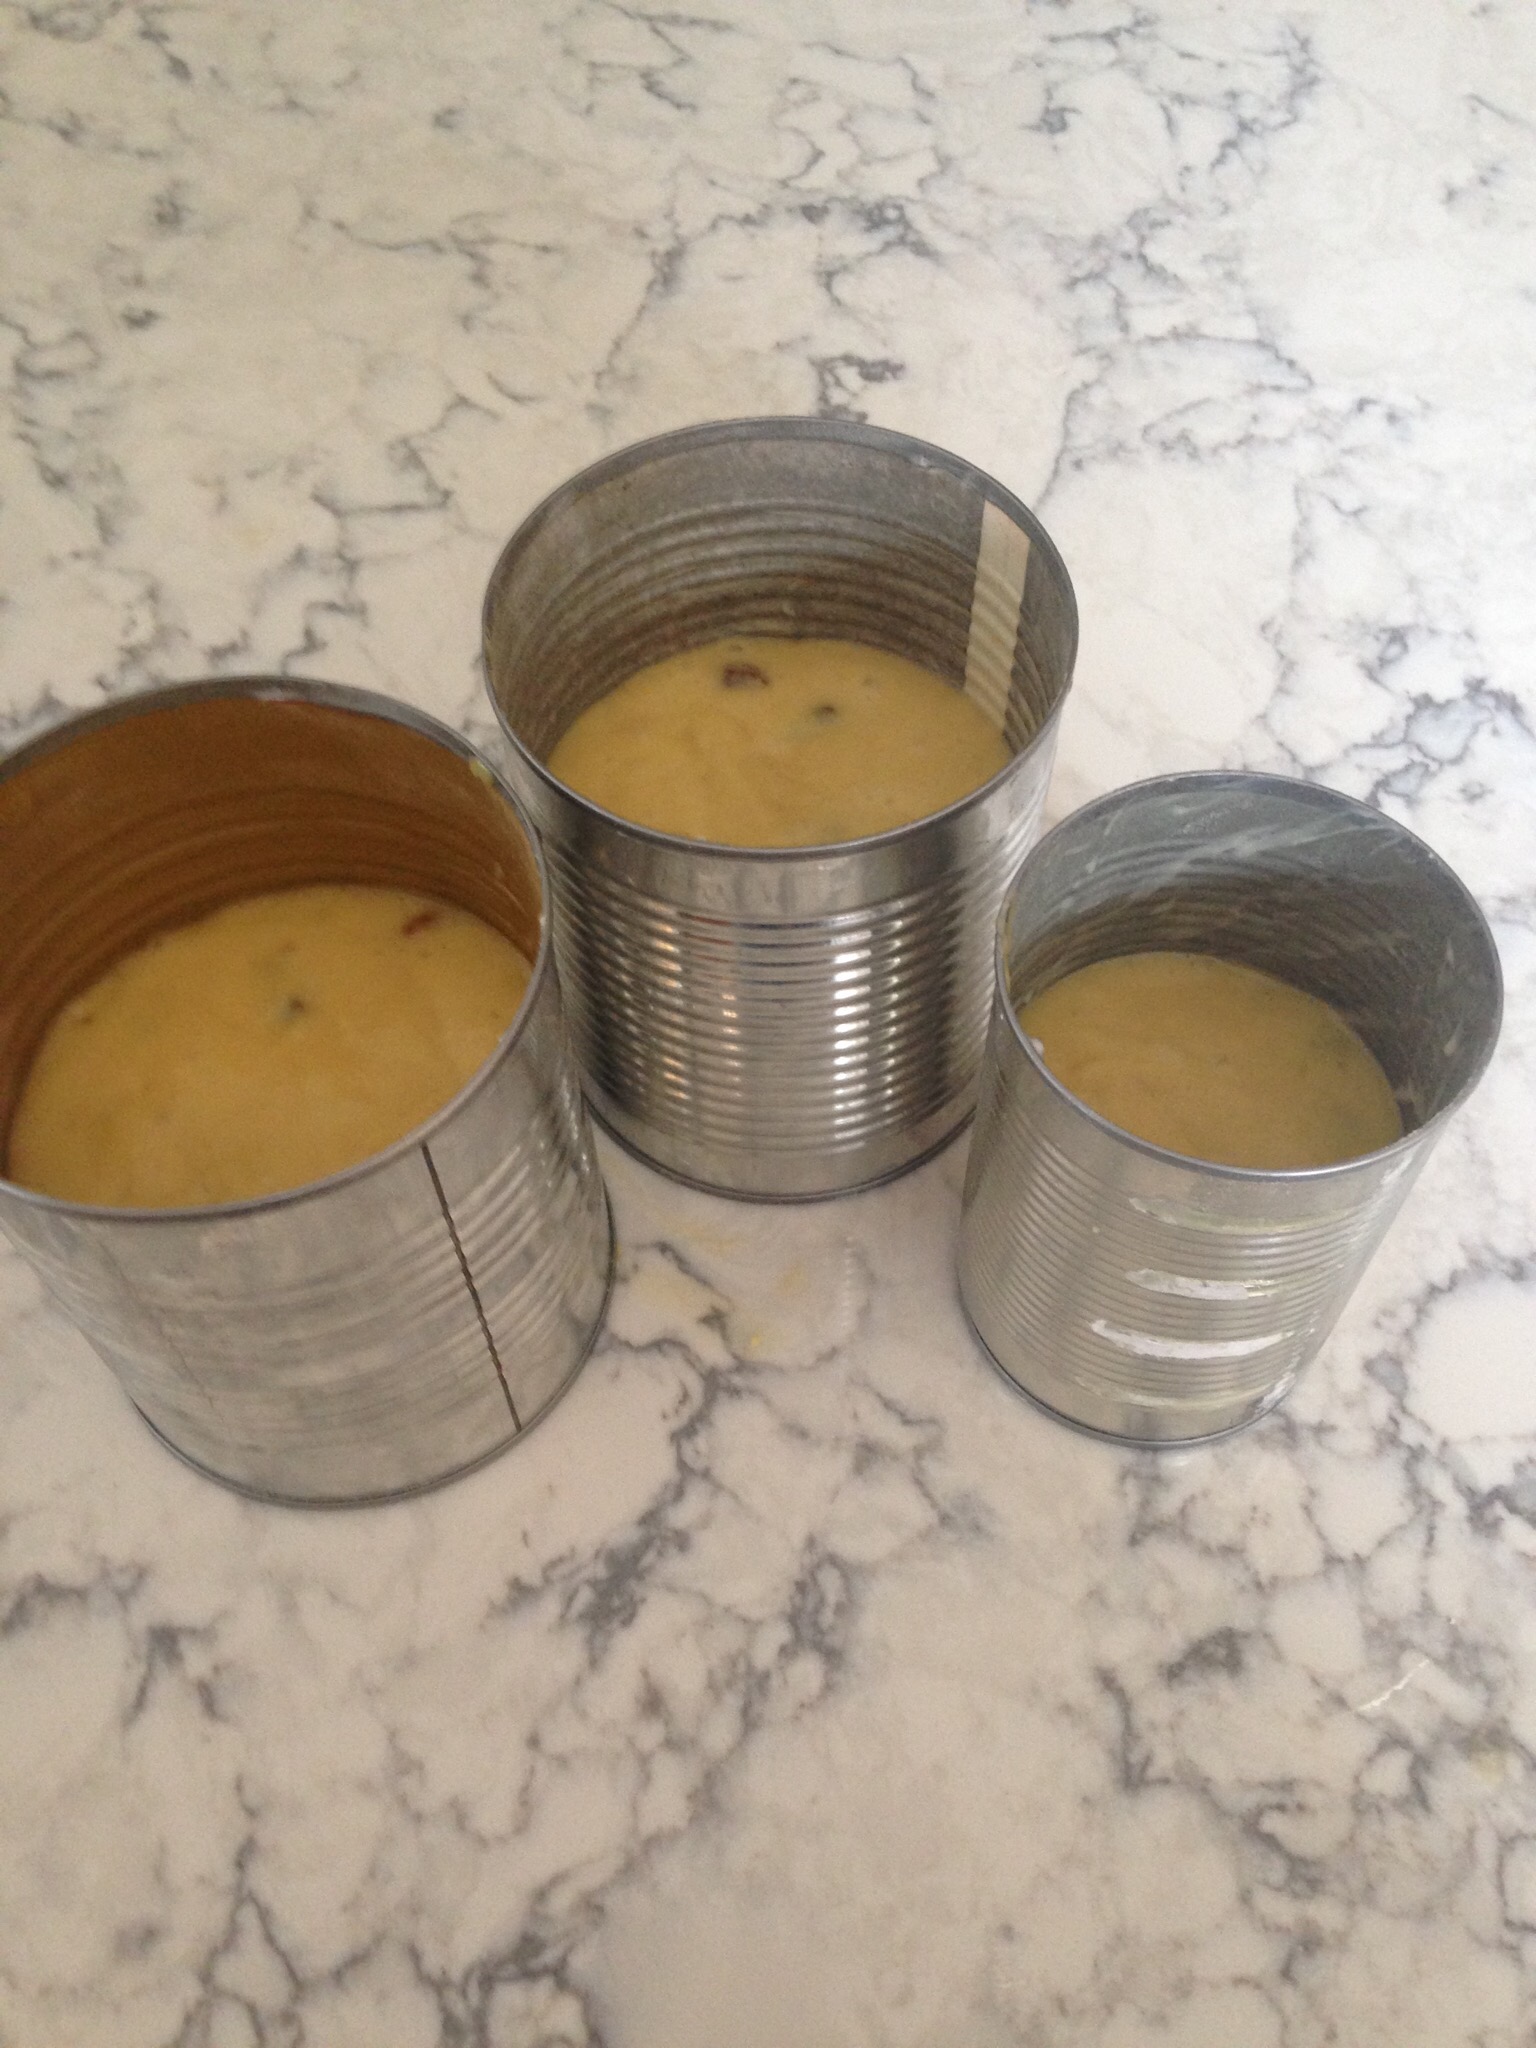
- Turn cake upside town and balance so the cake does not touch the counter.

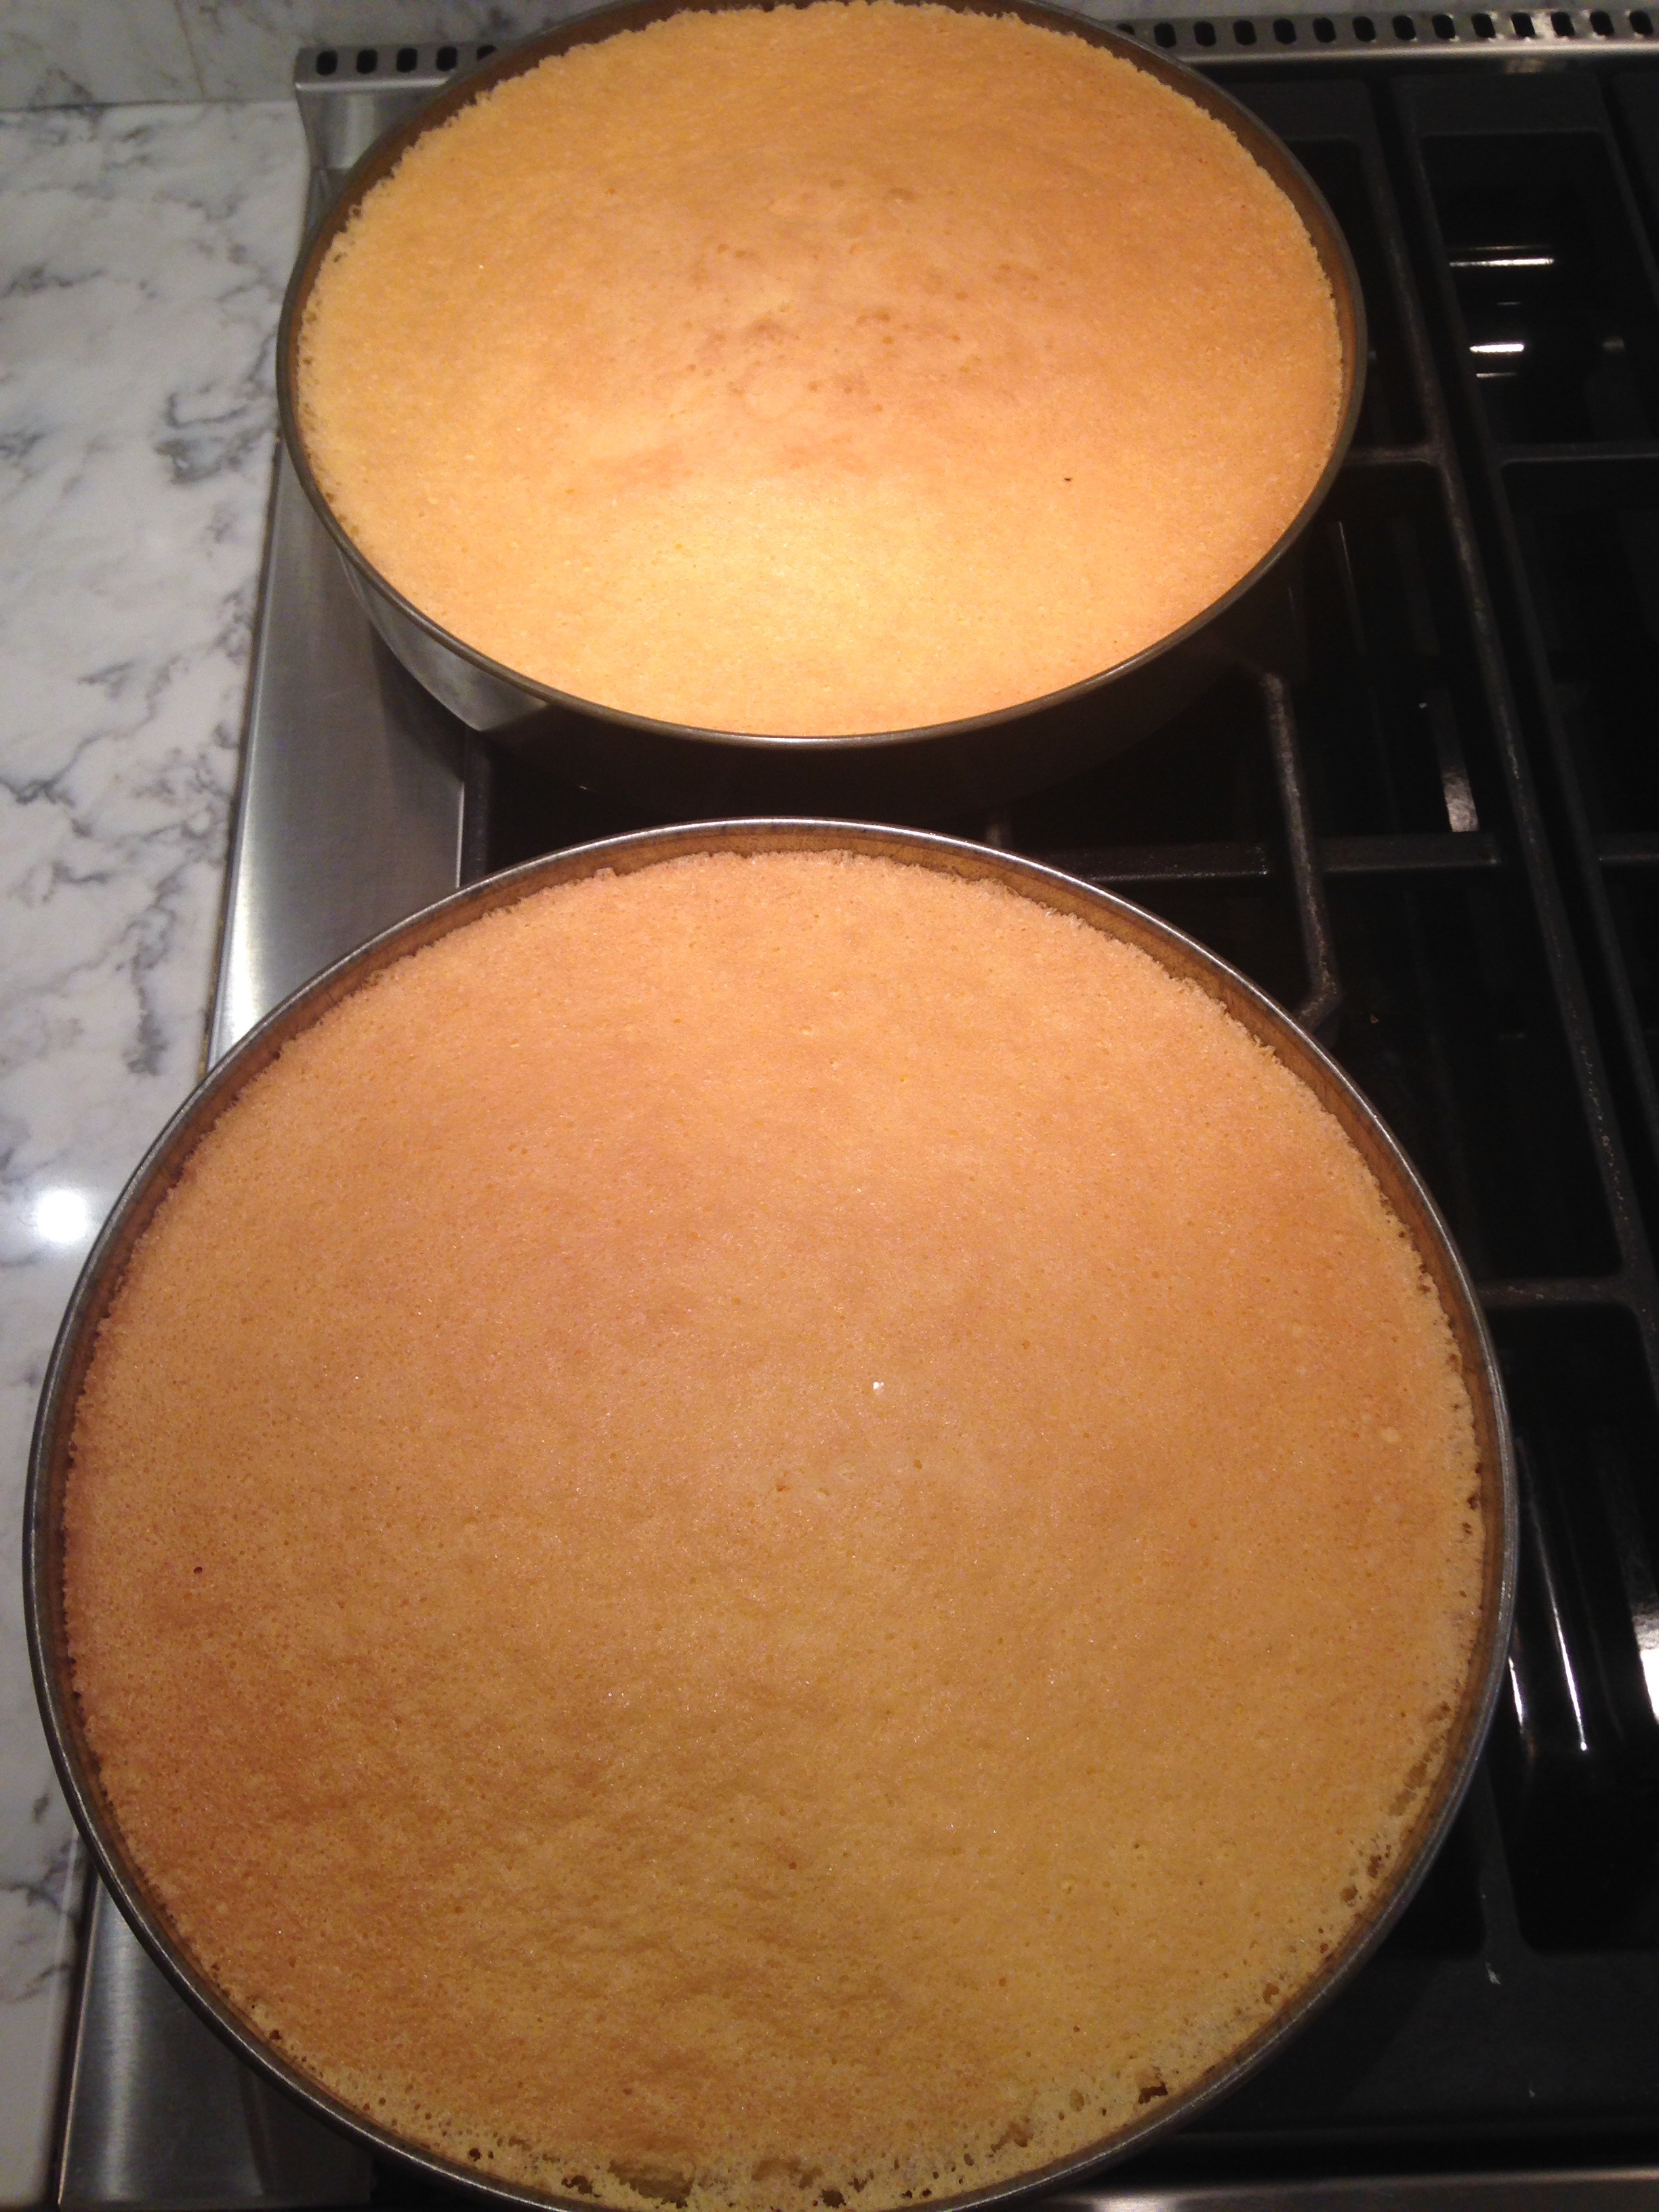
Standard round baking pans make 2-3 round cakes

Turn cake pan upside down and balance with cups to hold cake above the counter. Cake does not fall out!
- Let cool about 2 hours or until cold. It is best to remove cake from pan as soon as it is cold.
- Loosen sides and bottom with a spatula or dinner knife and turn out onto serving platter or cake rack.
- When ready to ice, cut cake in half horizontally with a bread knife.
French Cream Filling (Top of Stove Custard)
1/2 cup granulated sugar
1/4 cup sifted flour mixed with 2 tablespoons cornstarch
1/8 teaspoon salt
2 egg yolks
1/4 cup cool milk
2 cups warm milk
1 tablespoon butter
1 teaspoon vanilla

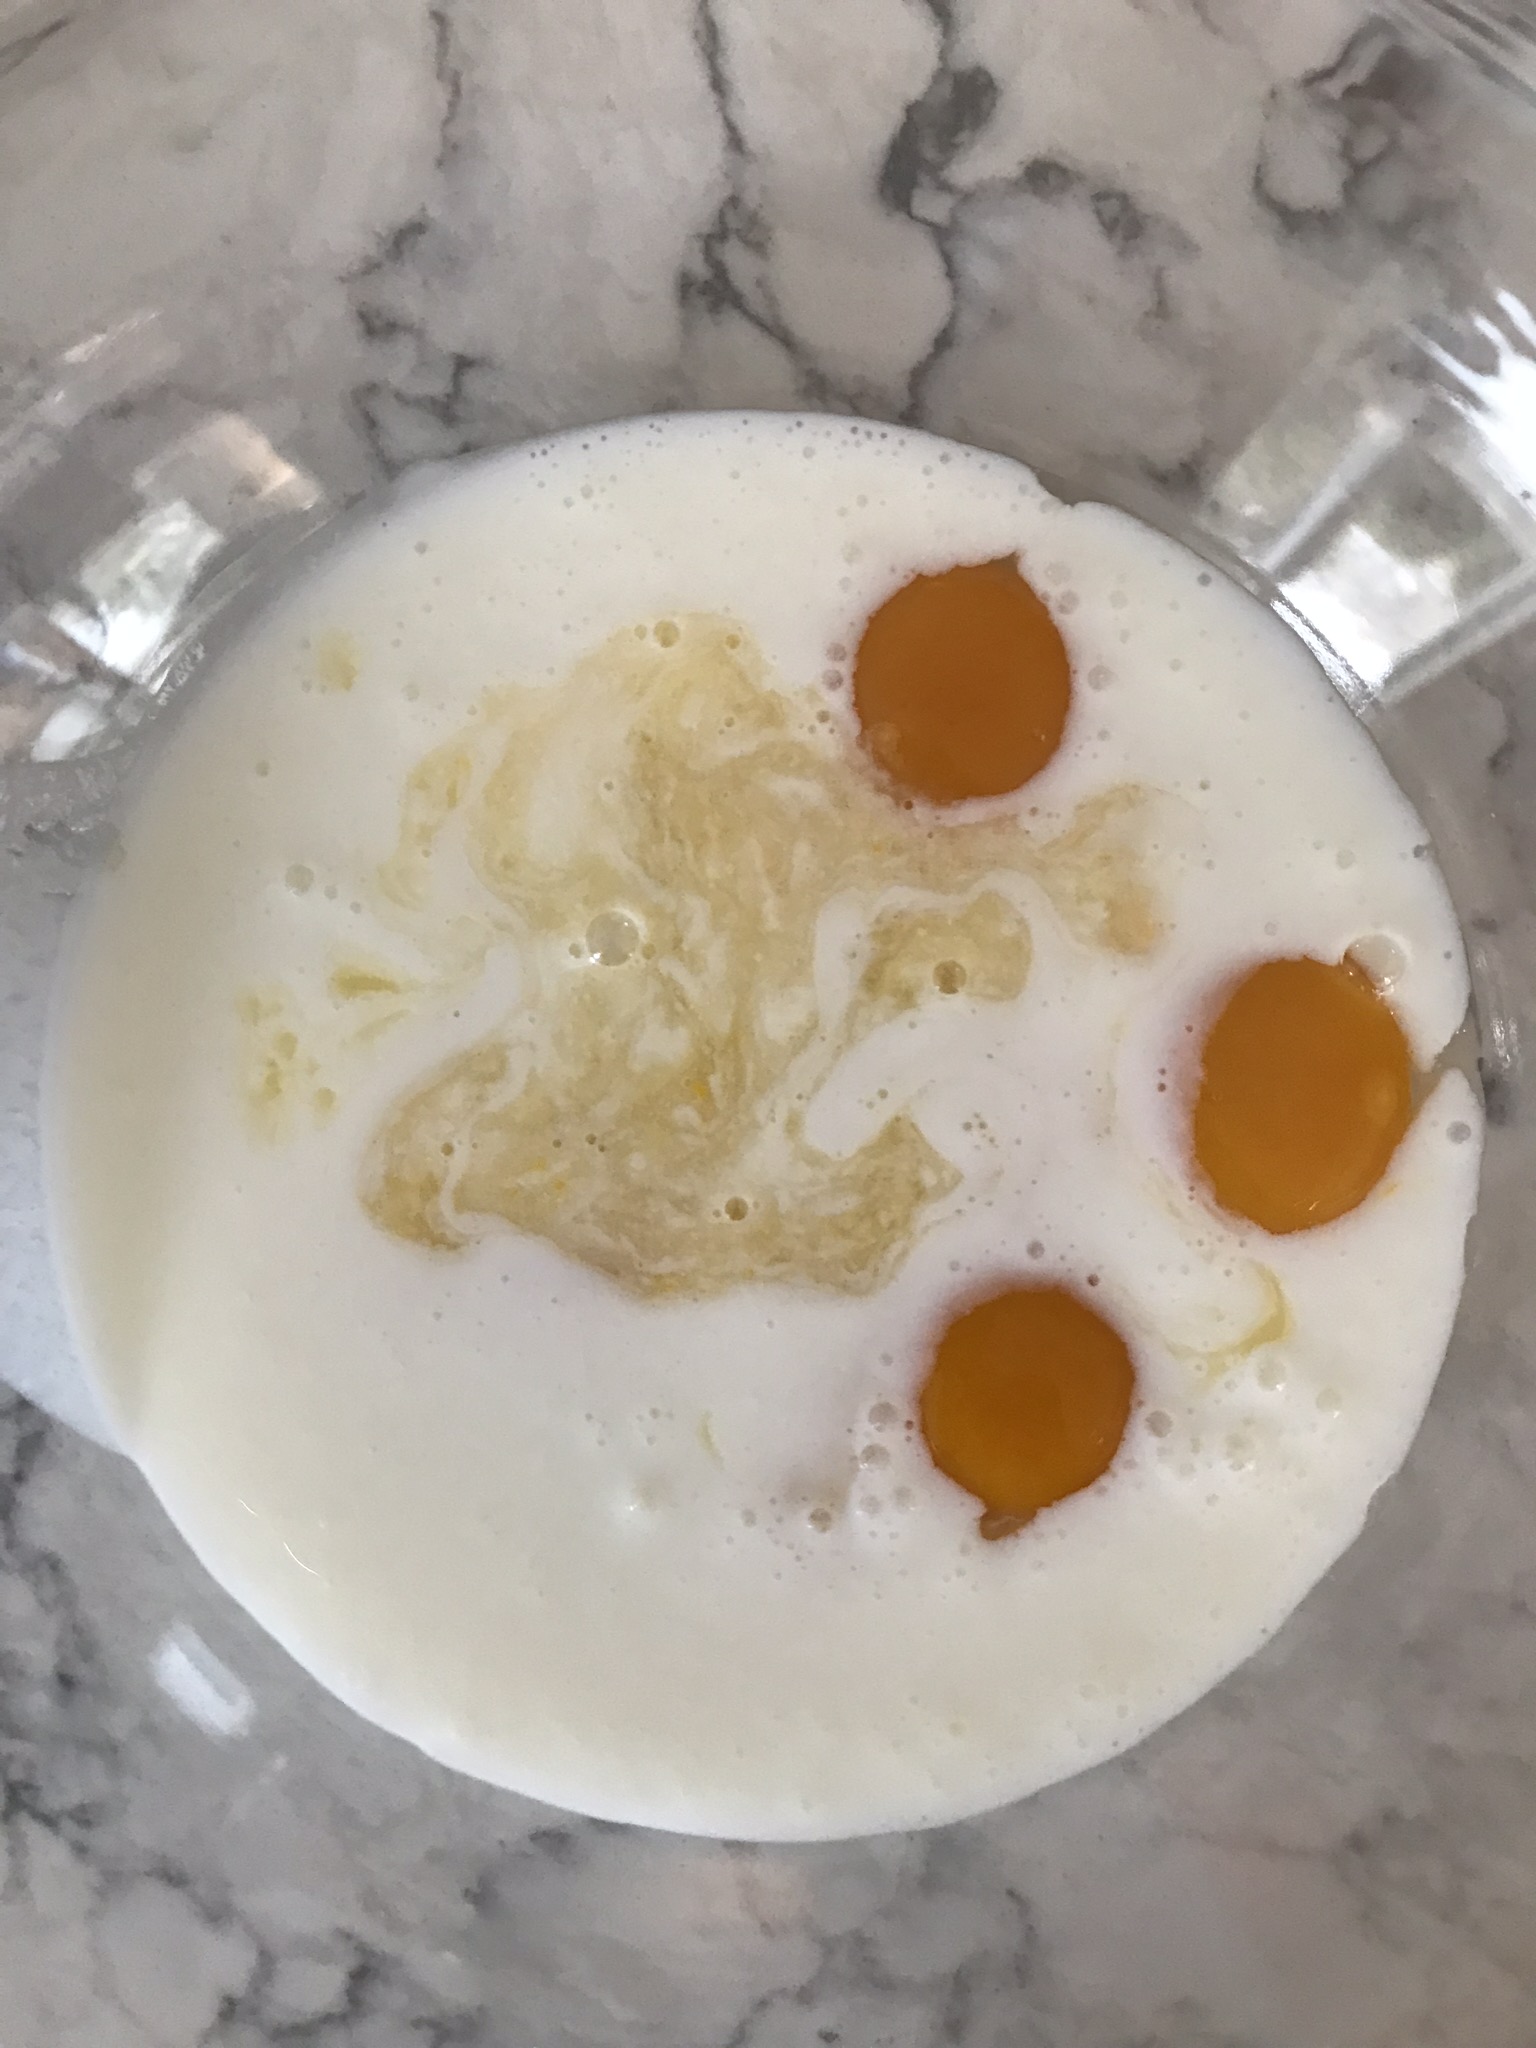
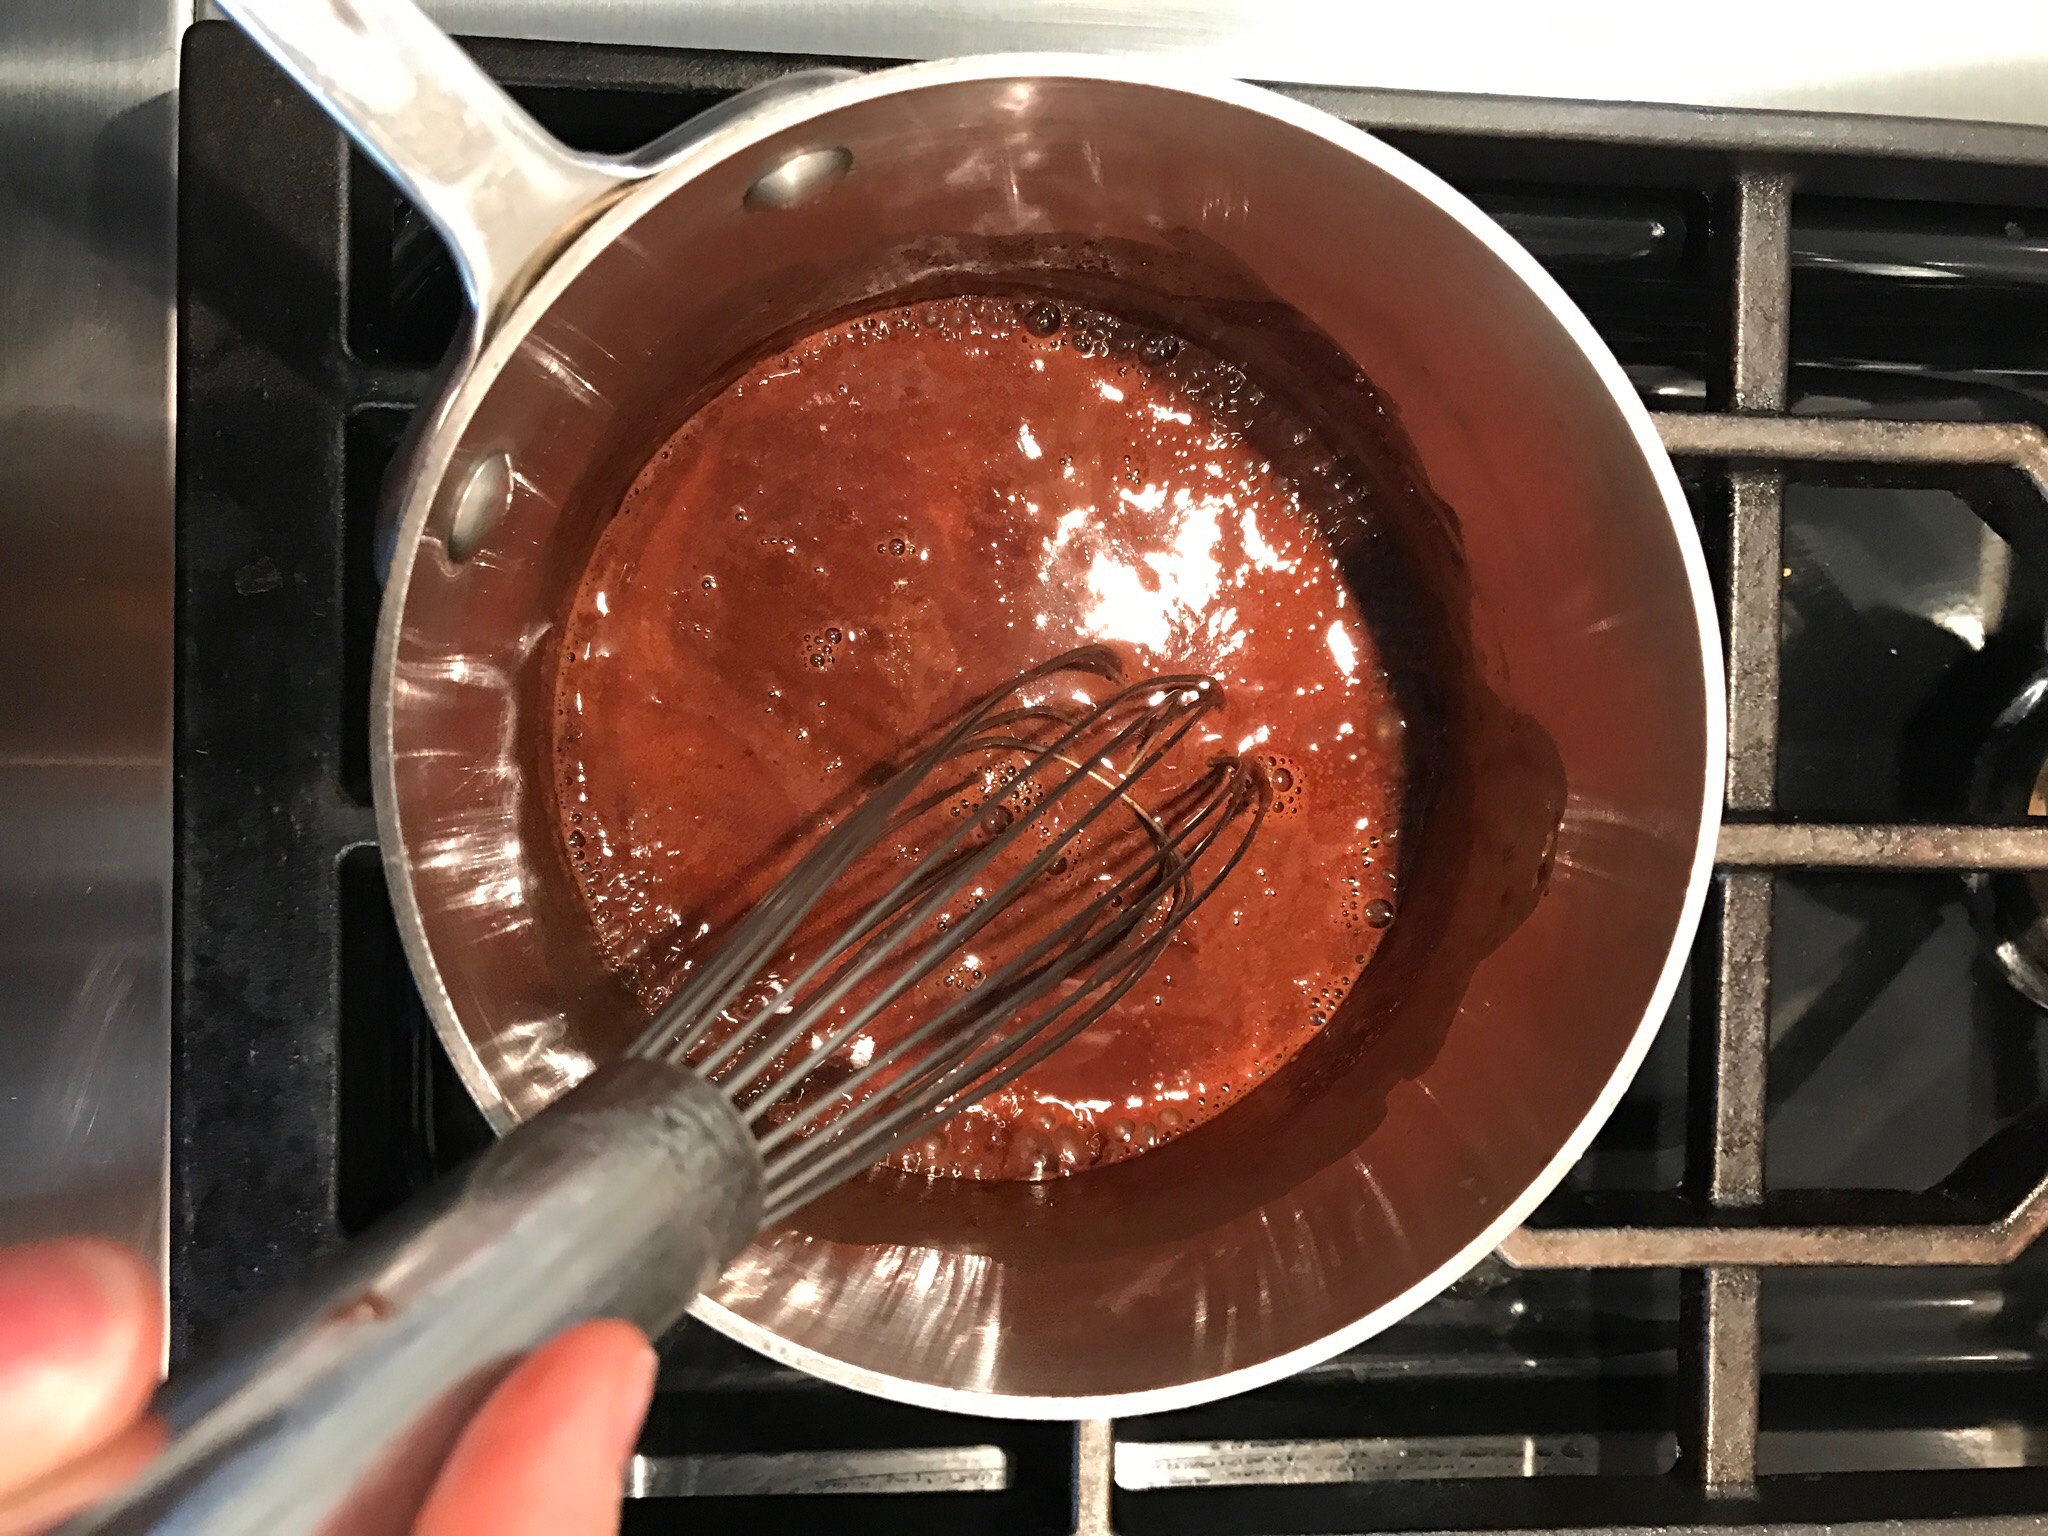
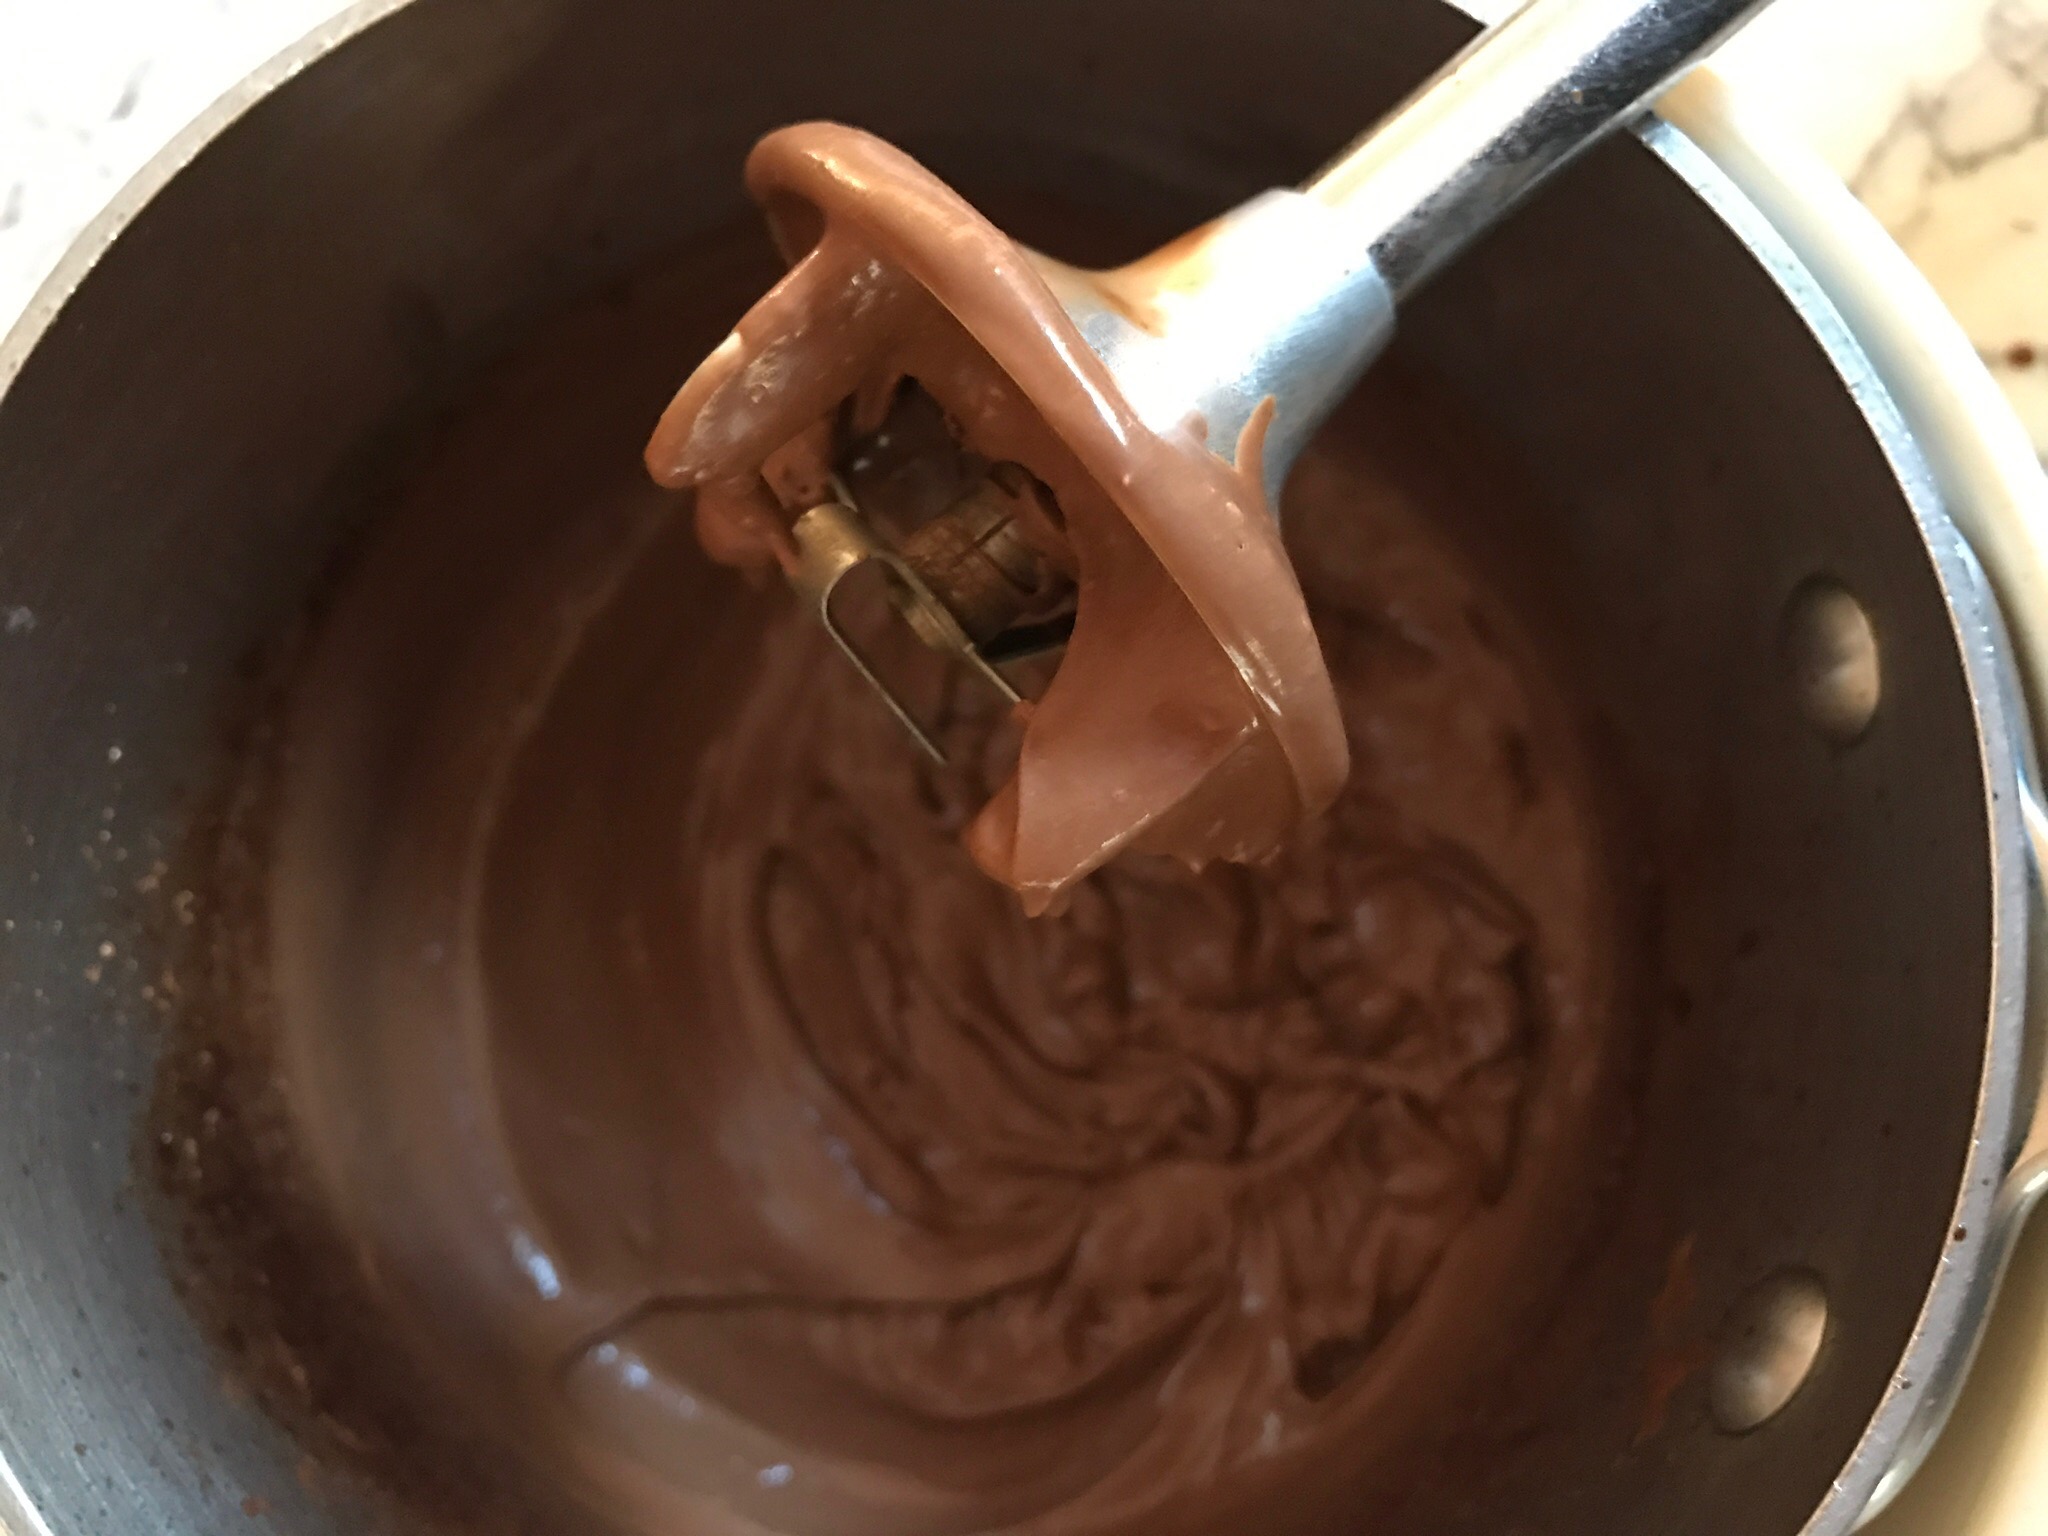
- In a stainless steel saucepan combine sugar, flour, cornstarch and salt.
- In a small bowl beat yolks slightly and add the 1/4 cup cool milk.

- Whisk yolk mixture slowly into dry ingredients.
- Whisk warm milk into yolk mixture, a little at a time, until blended.

- Cook over moderate heat until thickened, stirring constantly.
- Lower heat and simmer 5 minutes.
- Remove from heat and add butter.
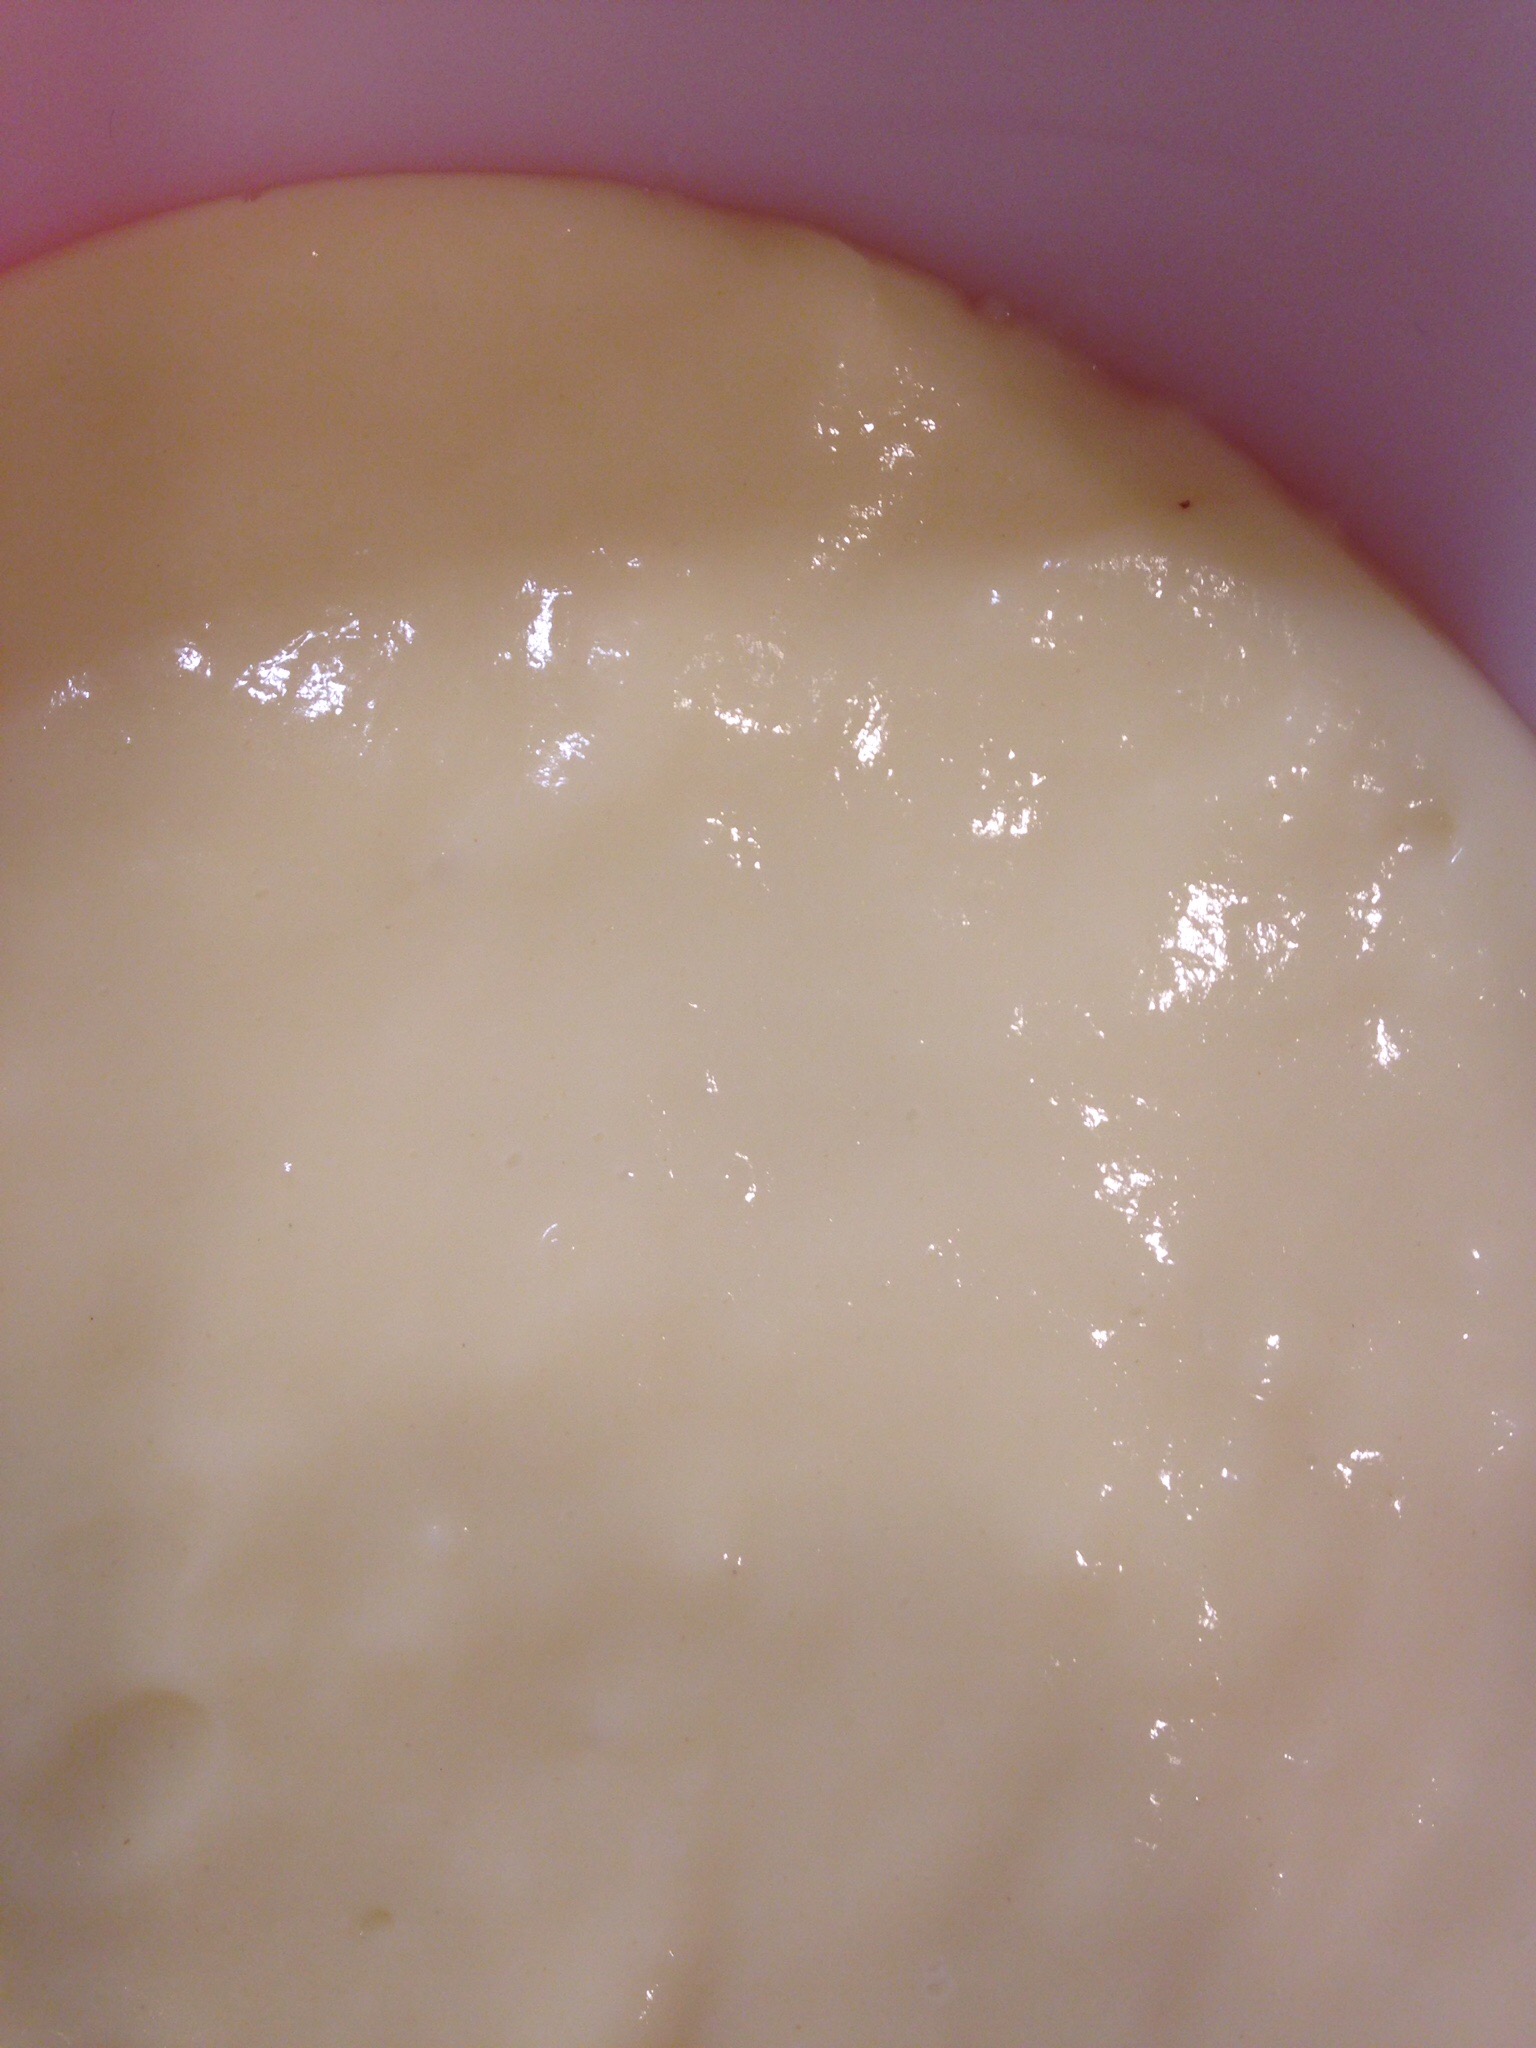
- Cool and continue to whisk often to prevent crust from forming.
- Add vanilla when cool.
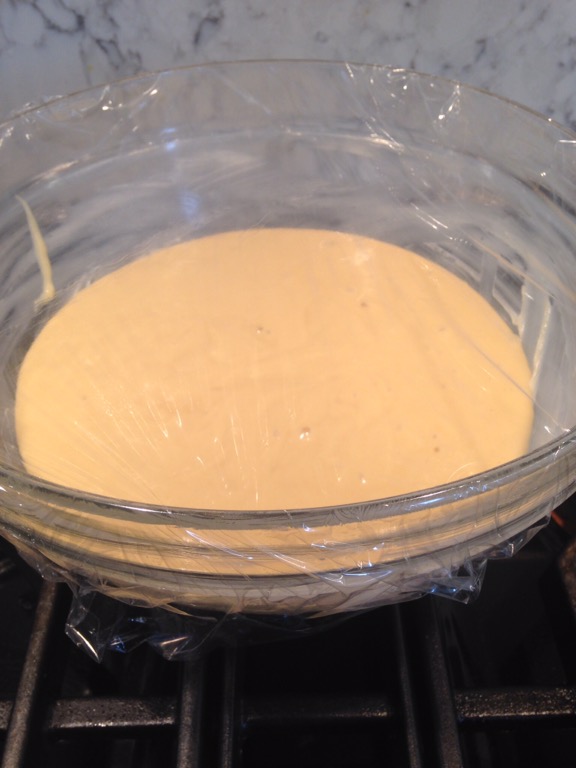
- Cover top of custard with piece of plastic wrap to prevent crust from forming. Refrigerate until ready to use.

Constructing the cake
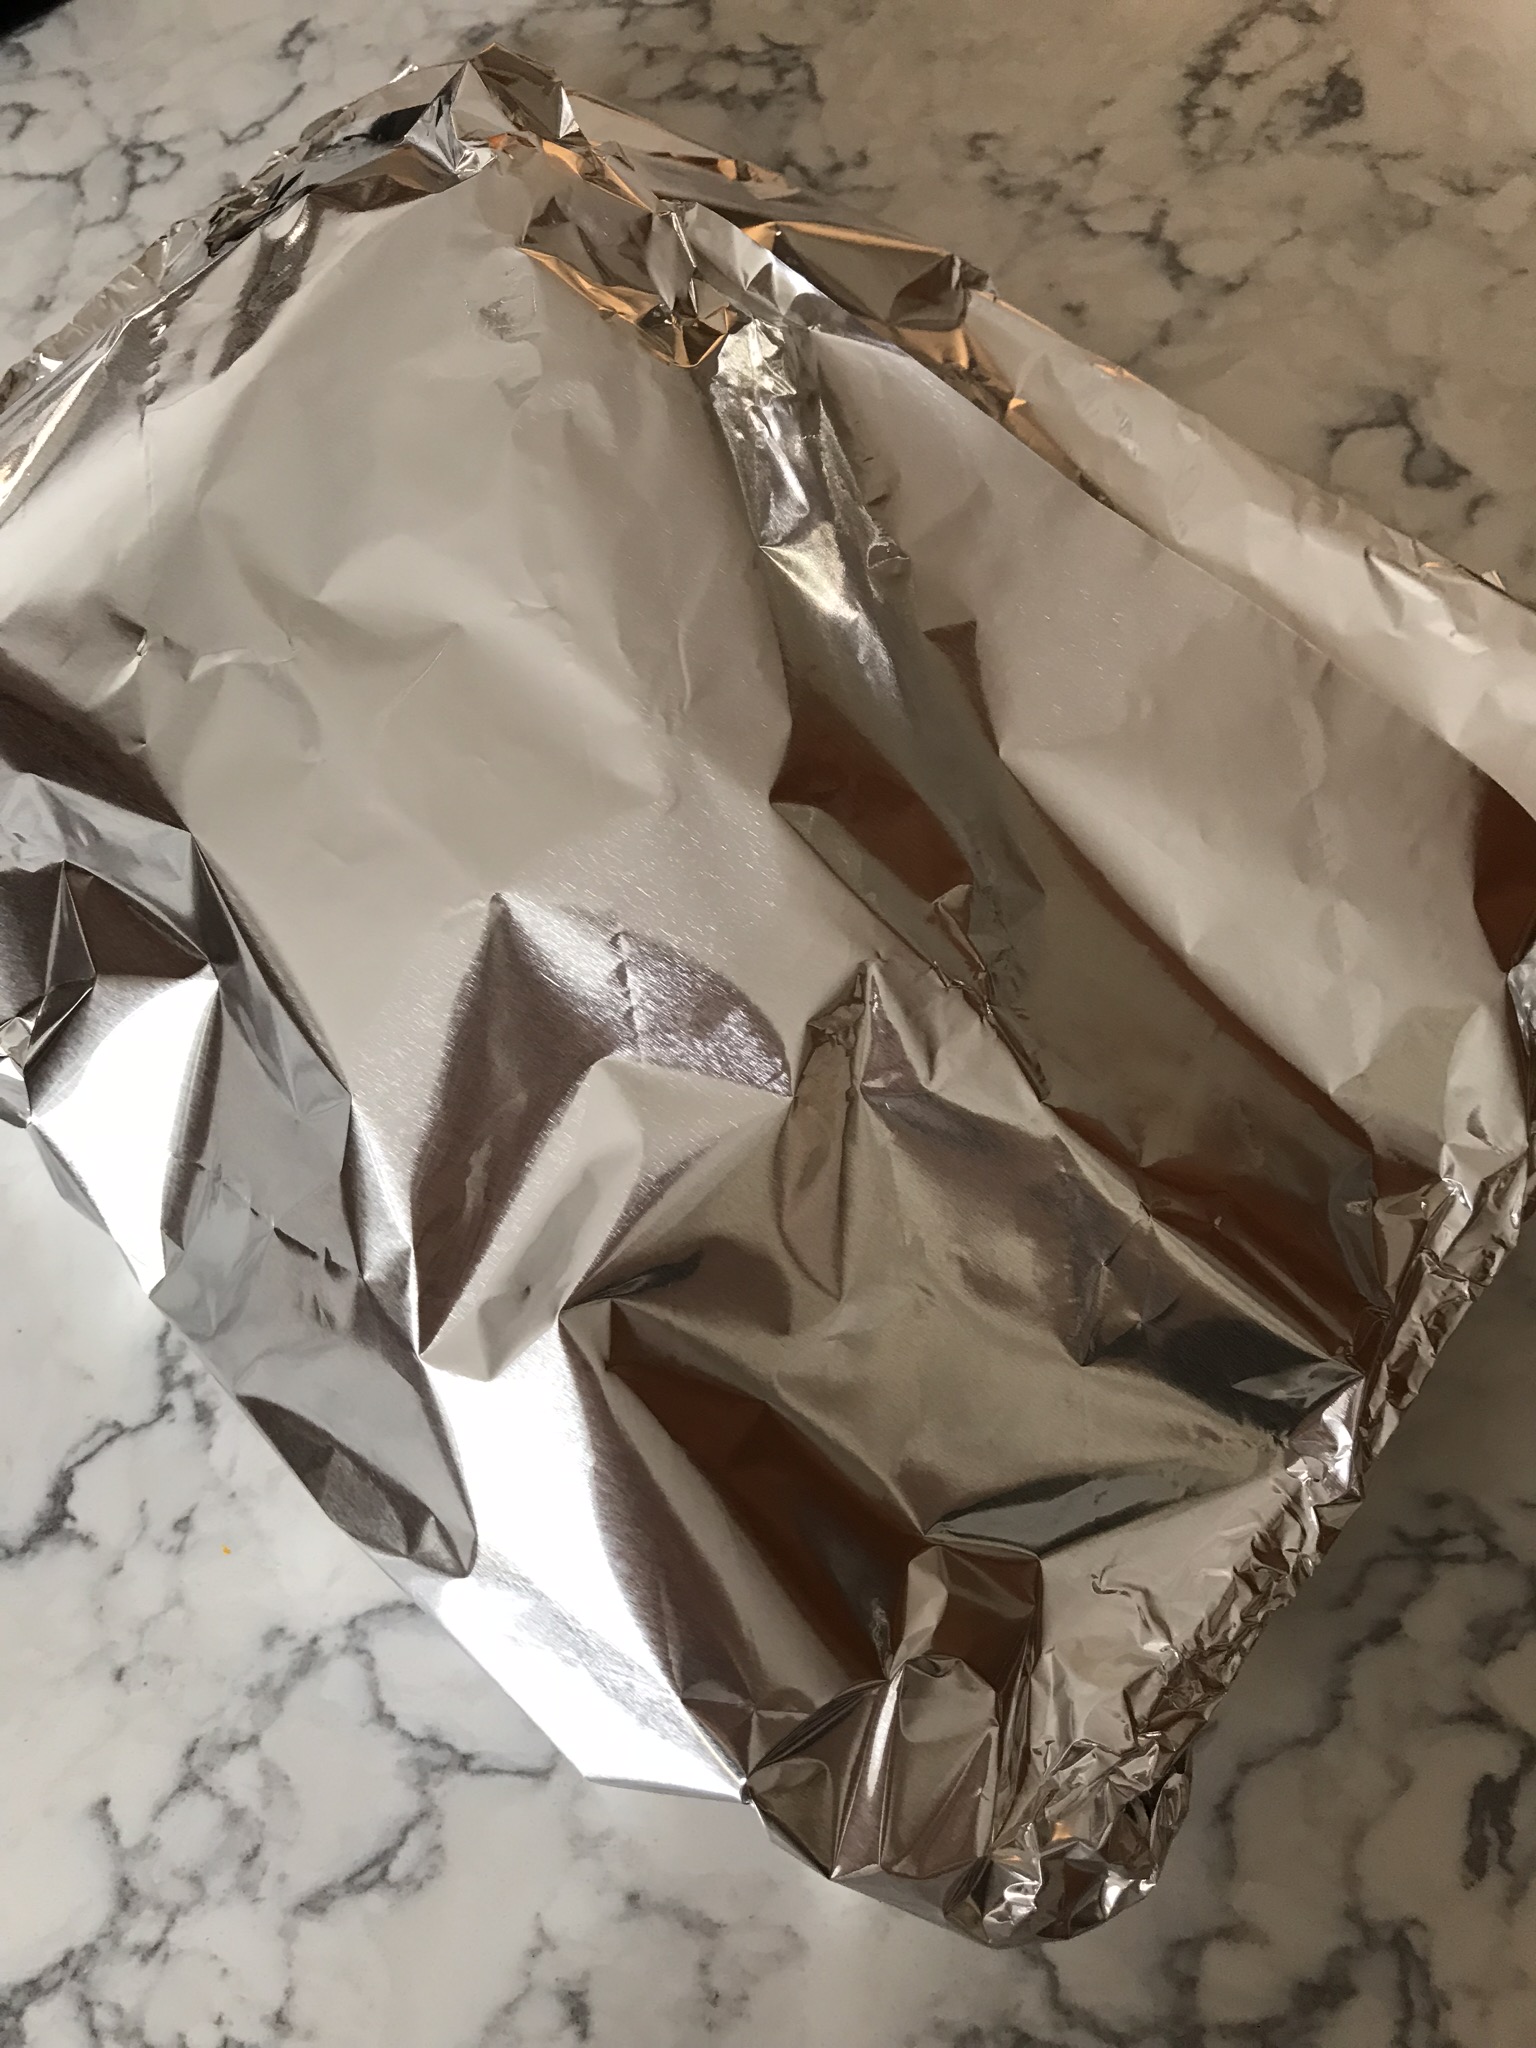
- Prepare a cake platter. I use a tray covered with aluminum foil and white paper doilies.
- Divide the custard in half. Spread half of it on the cut side of the bottom cake layer.
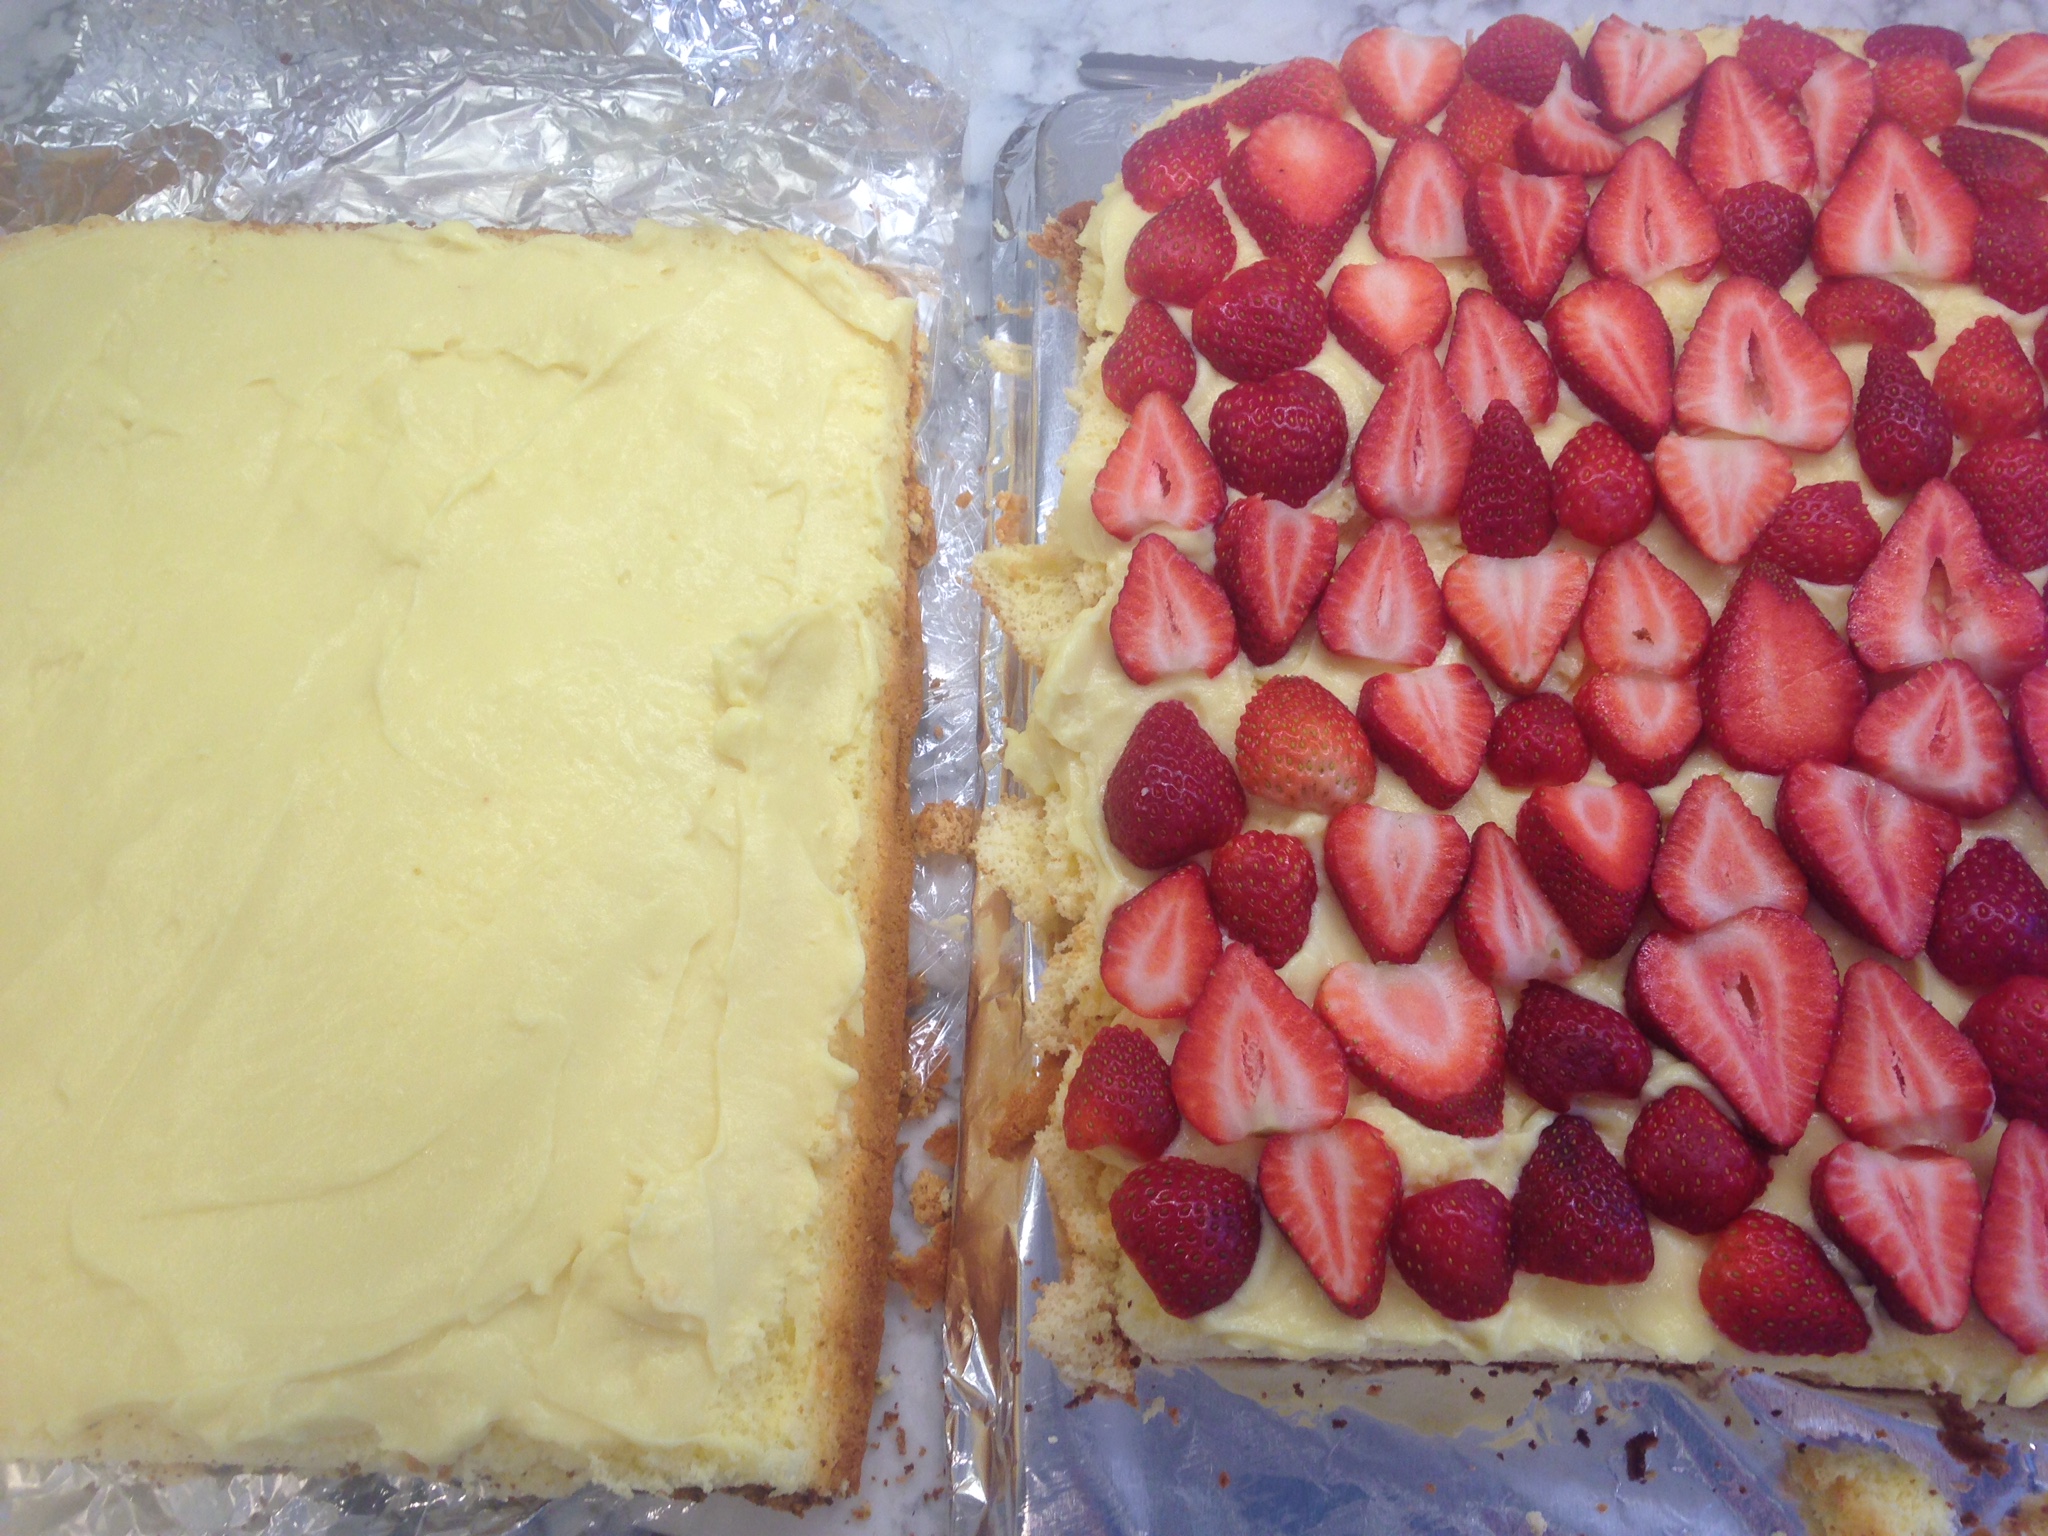
Cake sliced in half and spread with custard and covered with fresh strawberries
- Place fresh strawberry slices over the custard.
- Spread the remaining half of custard on the cut side of the top layer of cake.
- Carefully flip the top layer onto the strawberry layer.
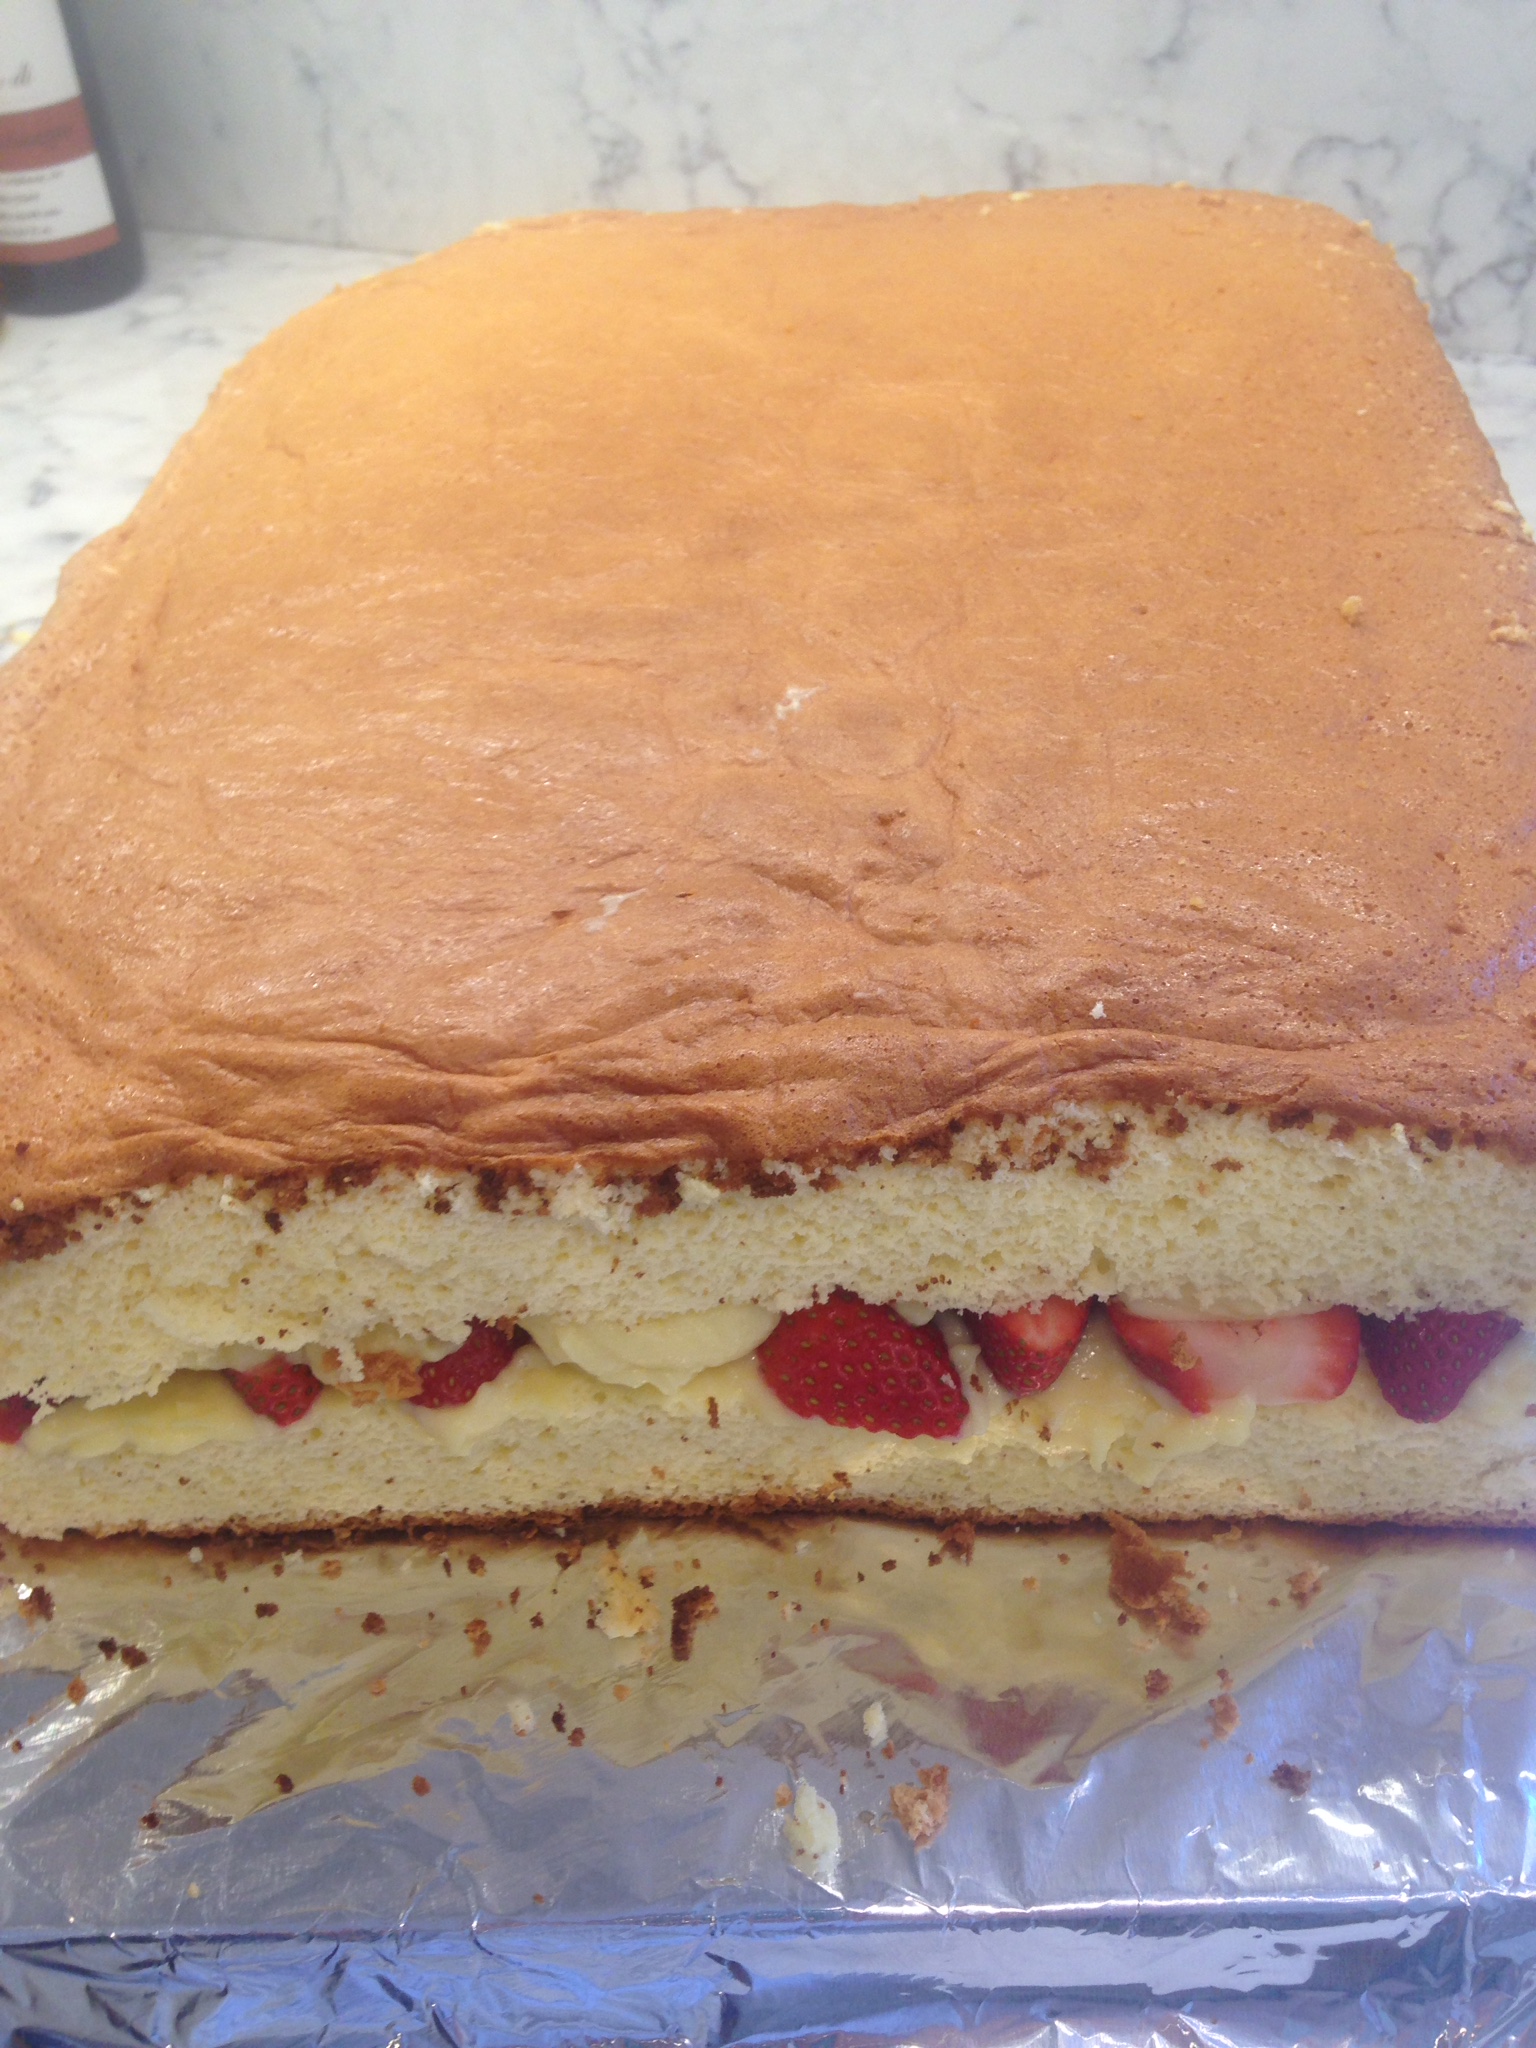
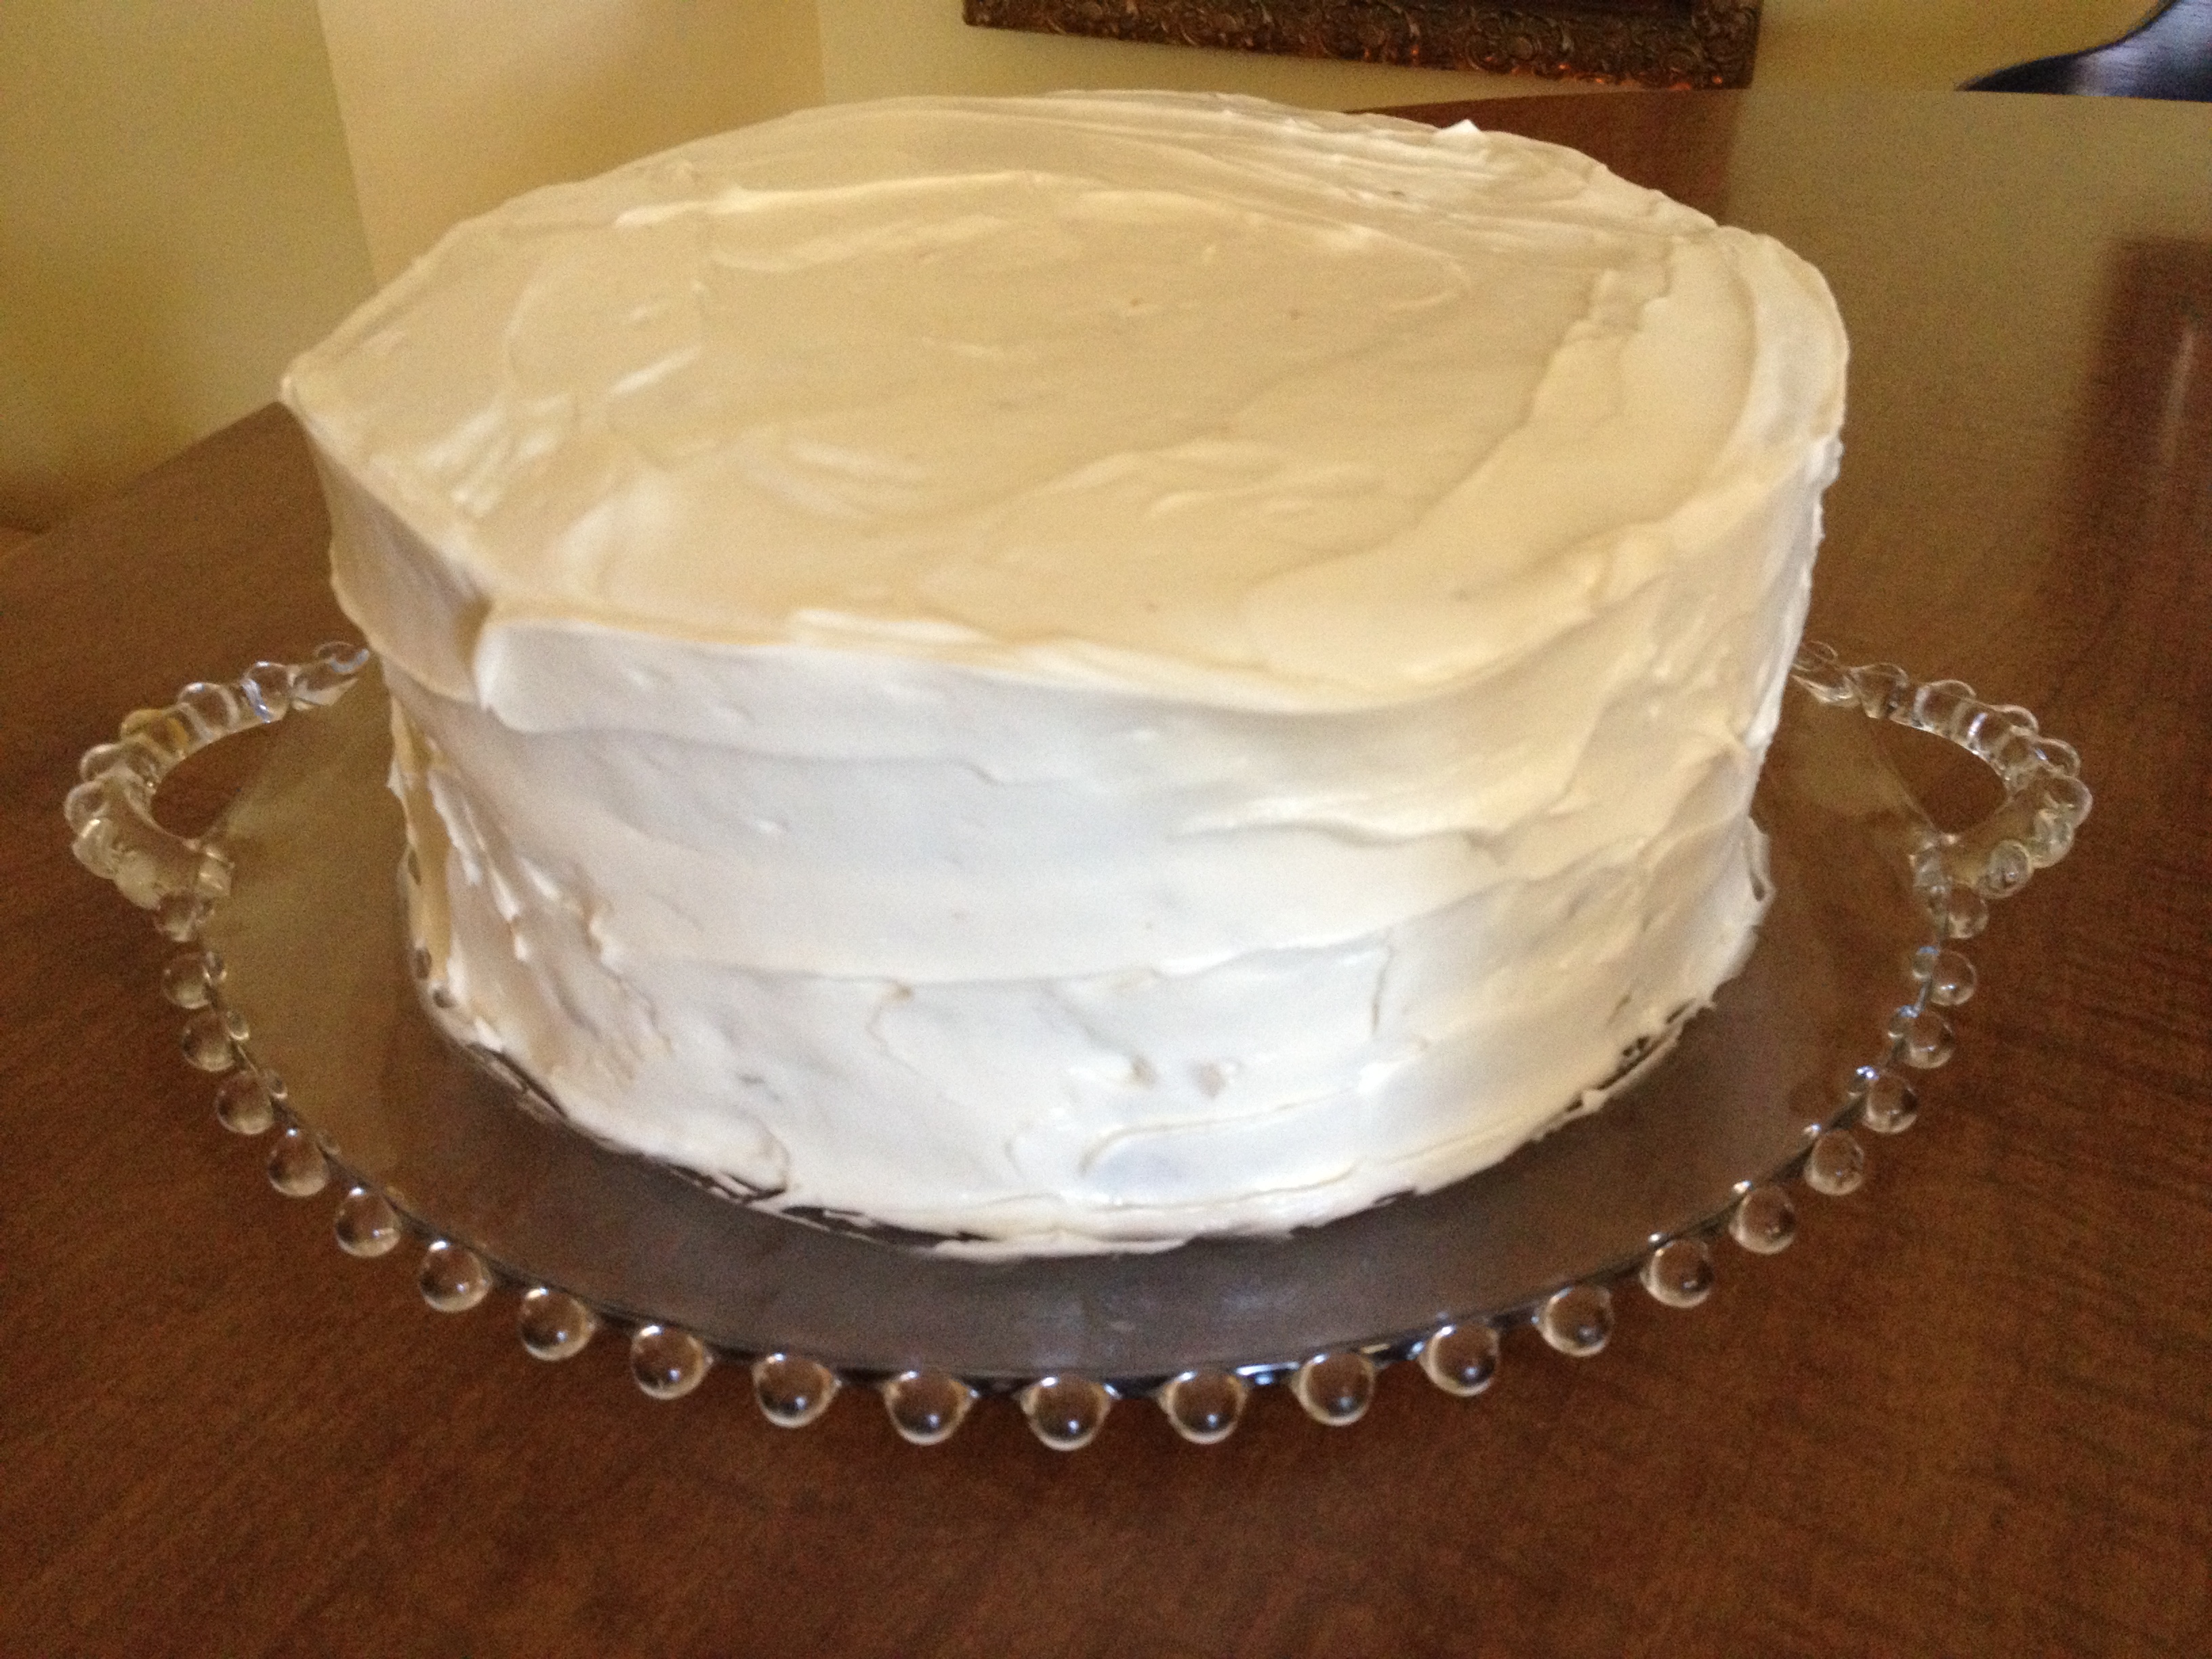
Cake Assembled!
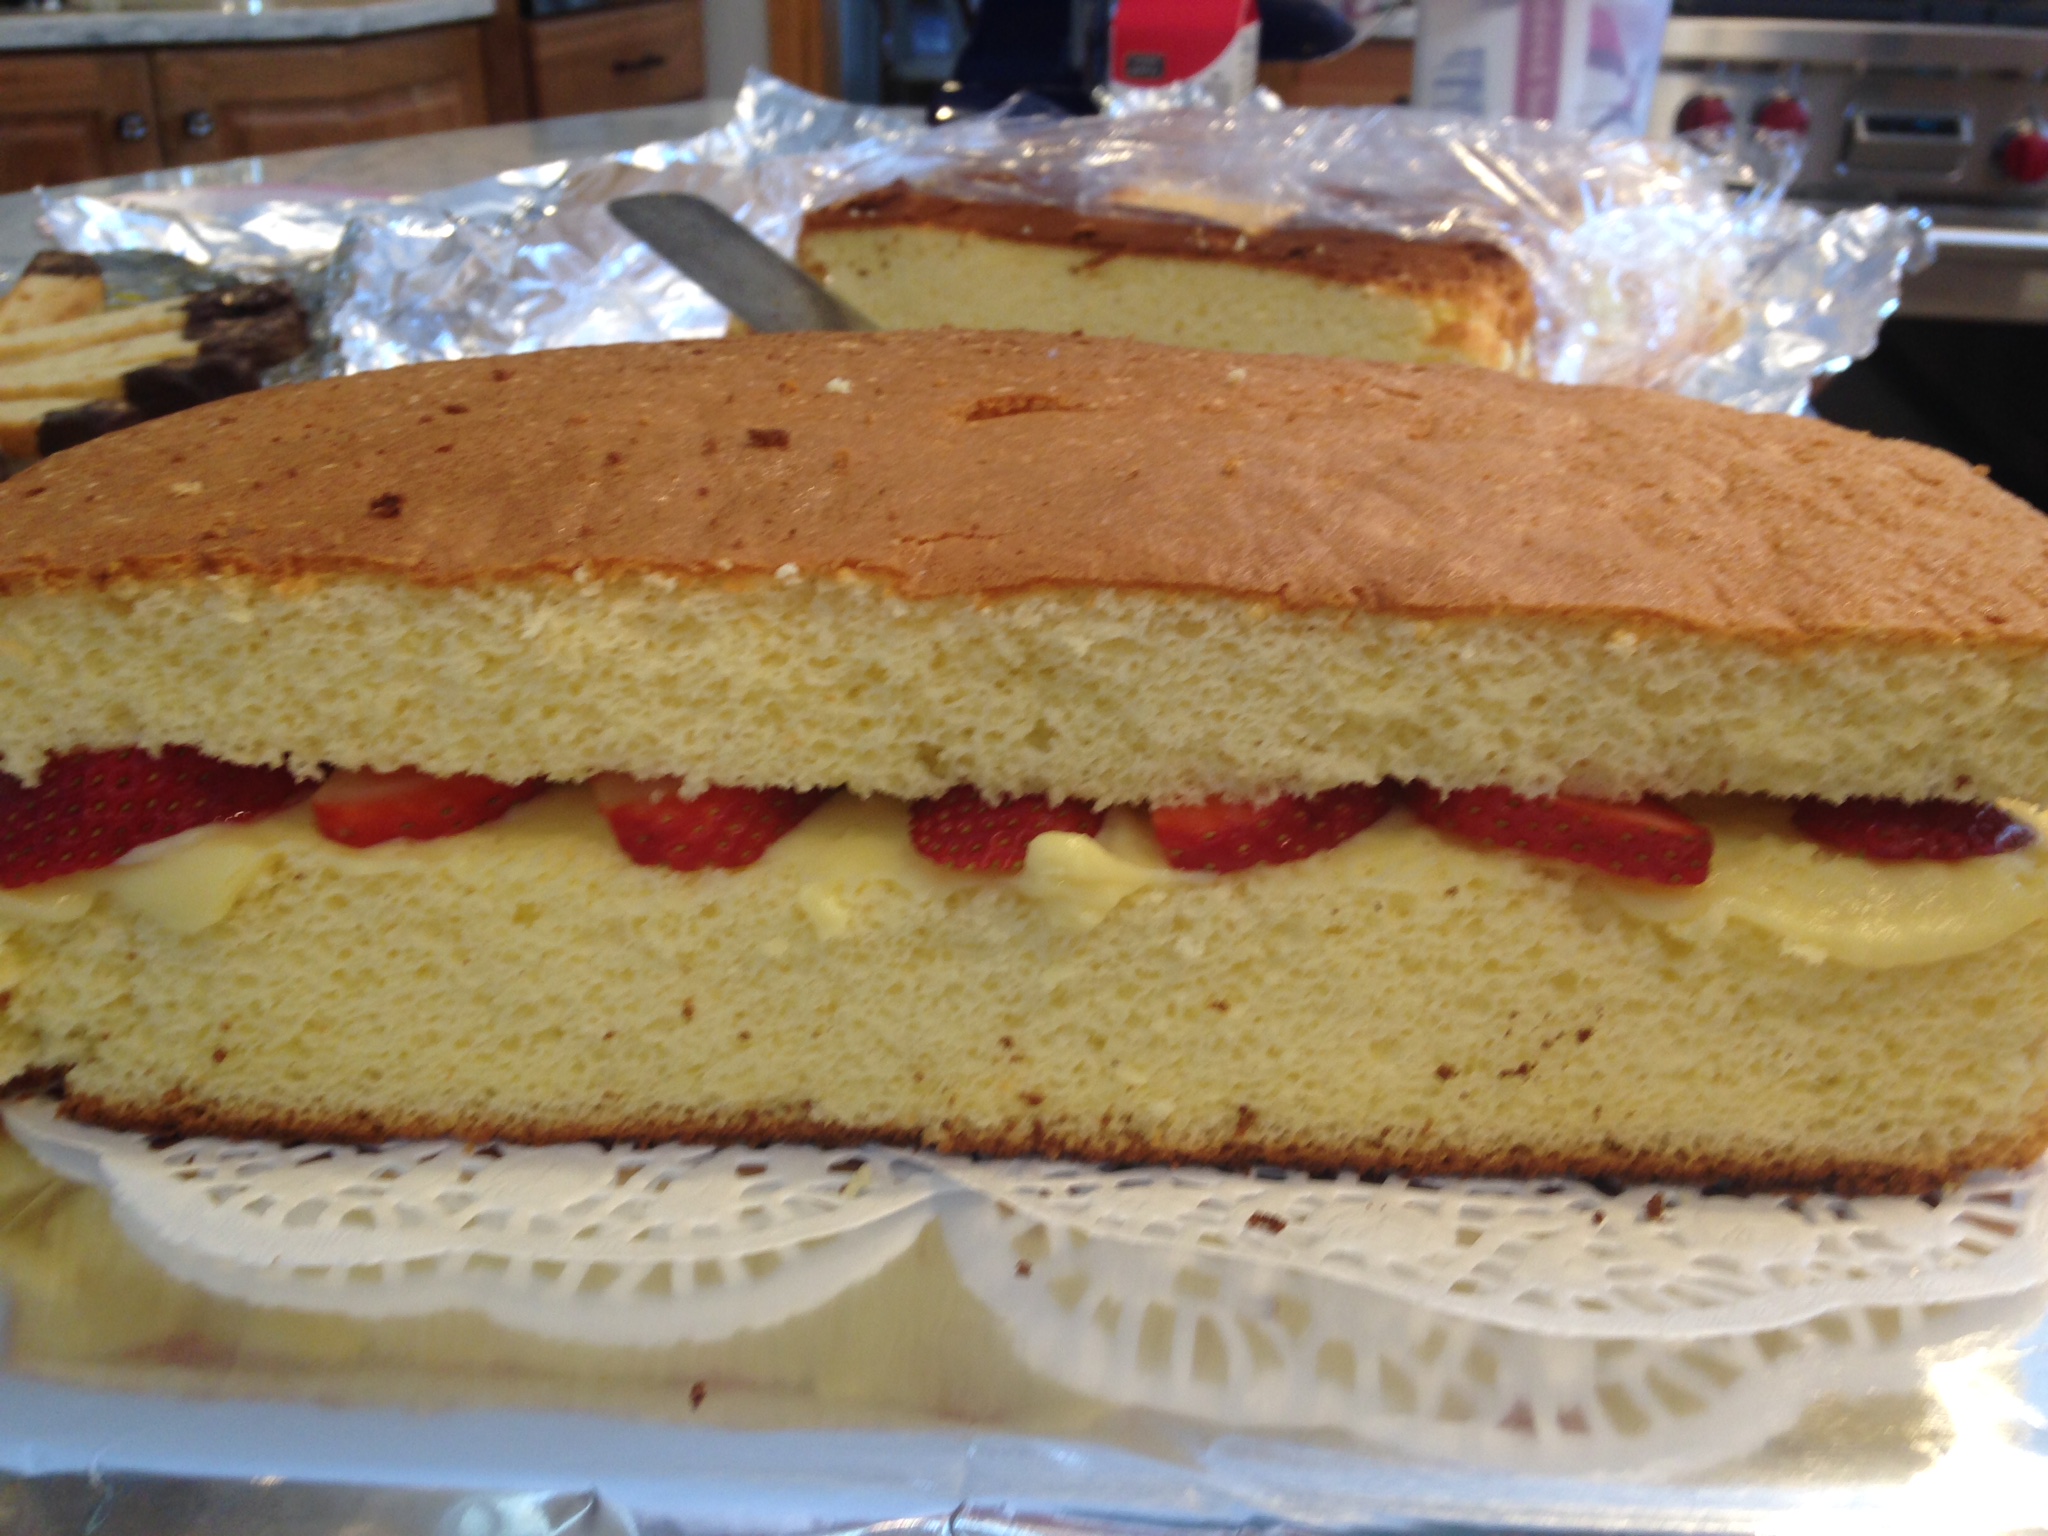
It’s a beautiful thing! And not super sweet!
- Beat at least 1 pint or more fresh whipping cream until spreadable. You can add some powdered sugar before beating if you want it a little sweeter.
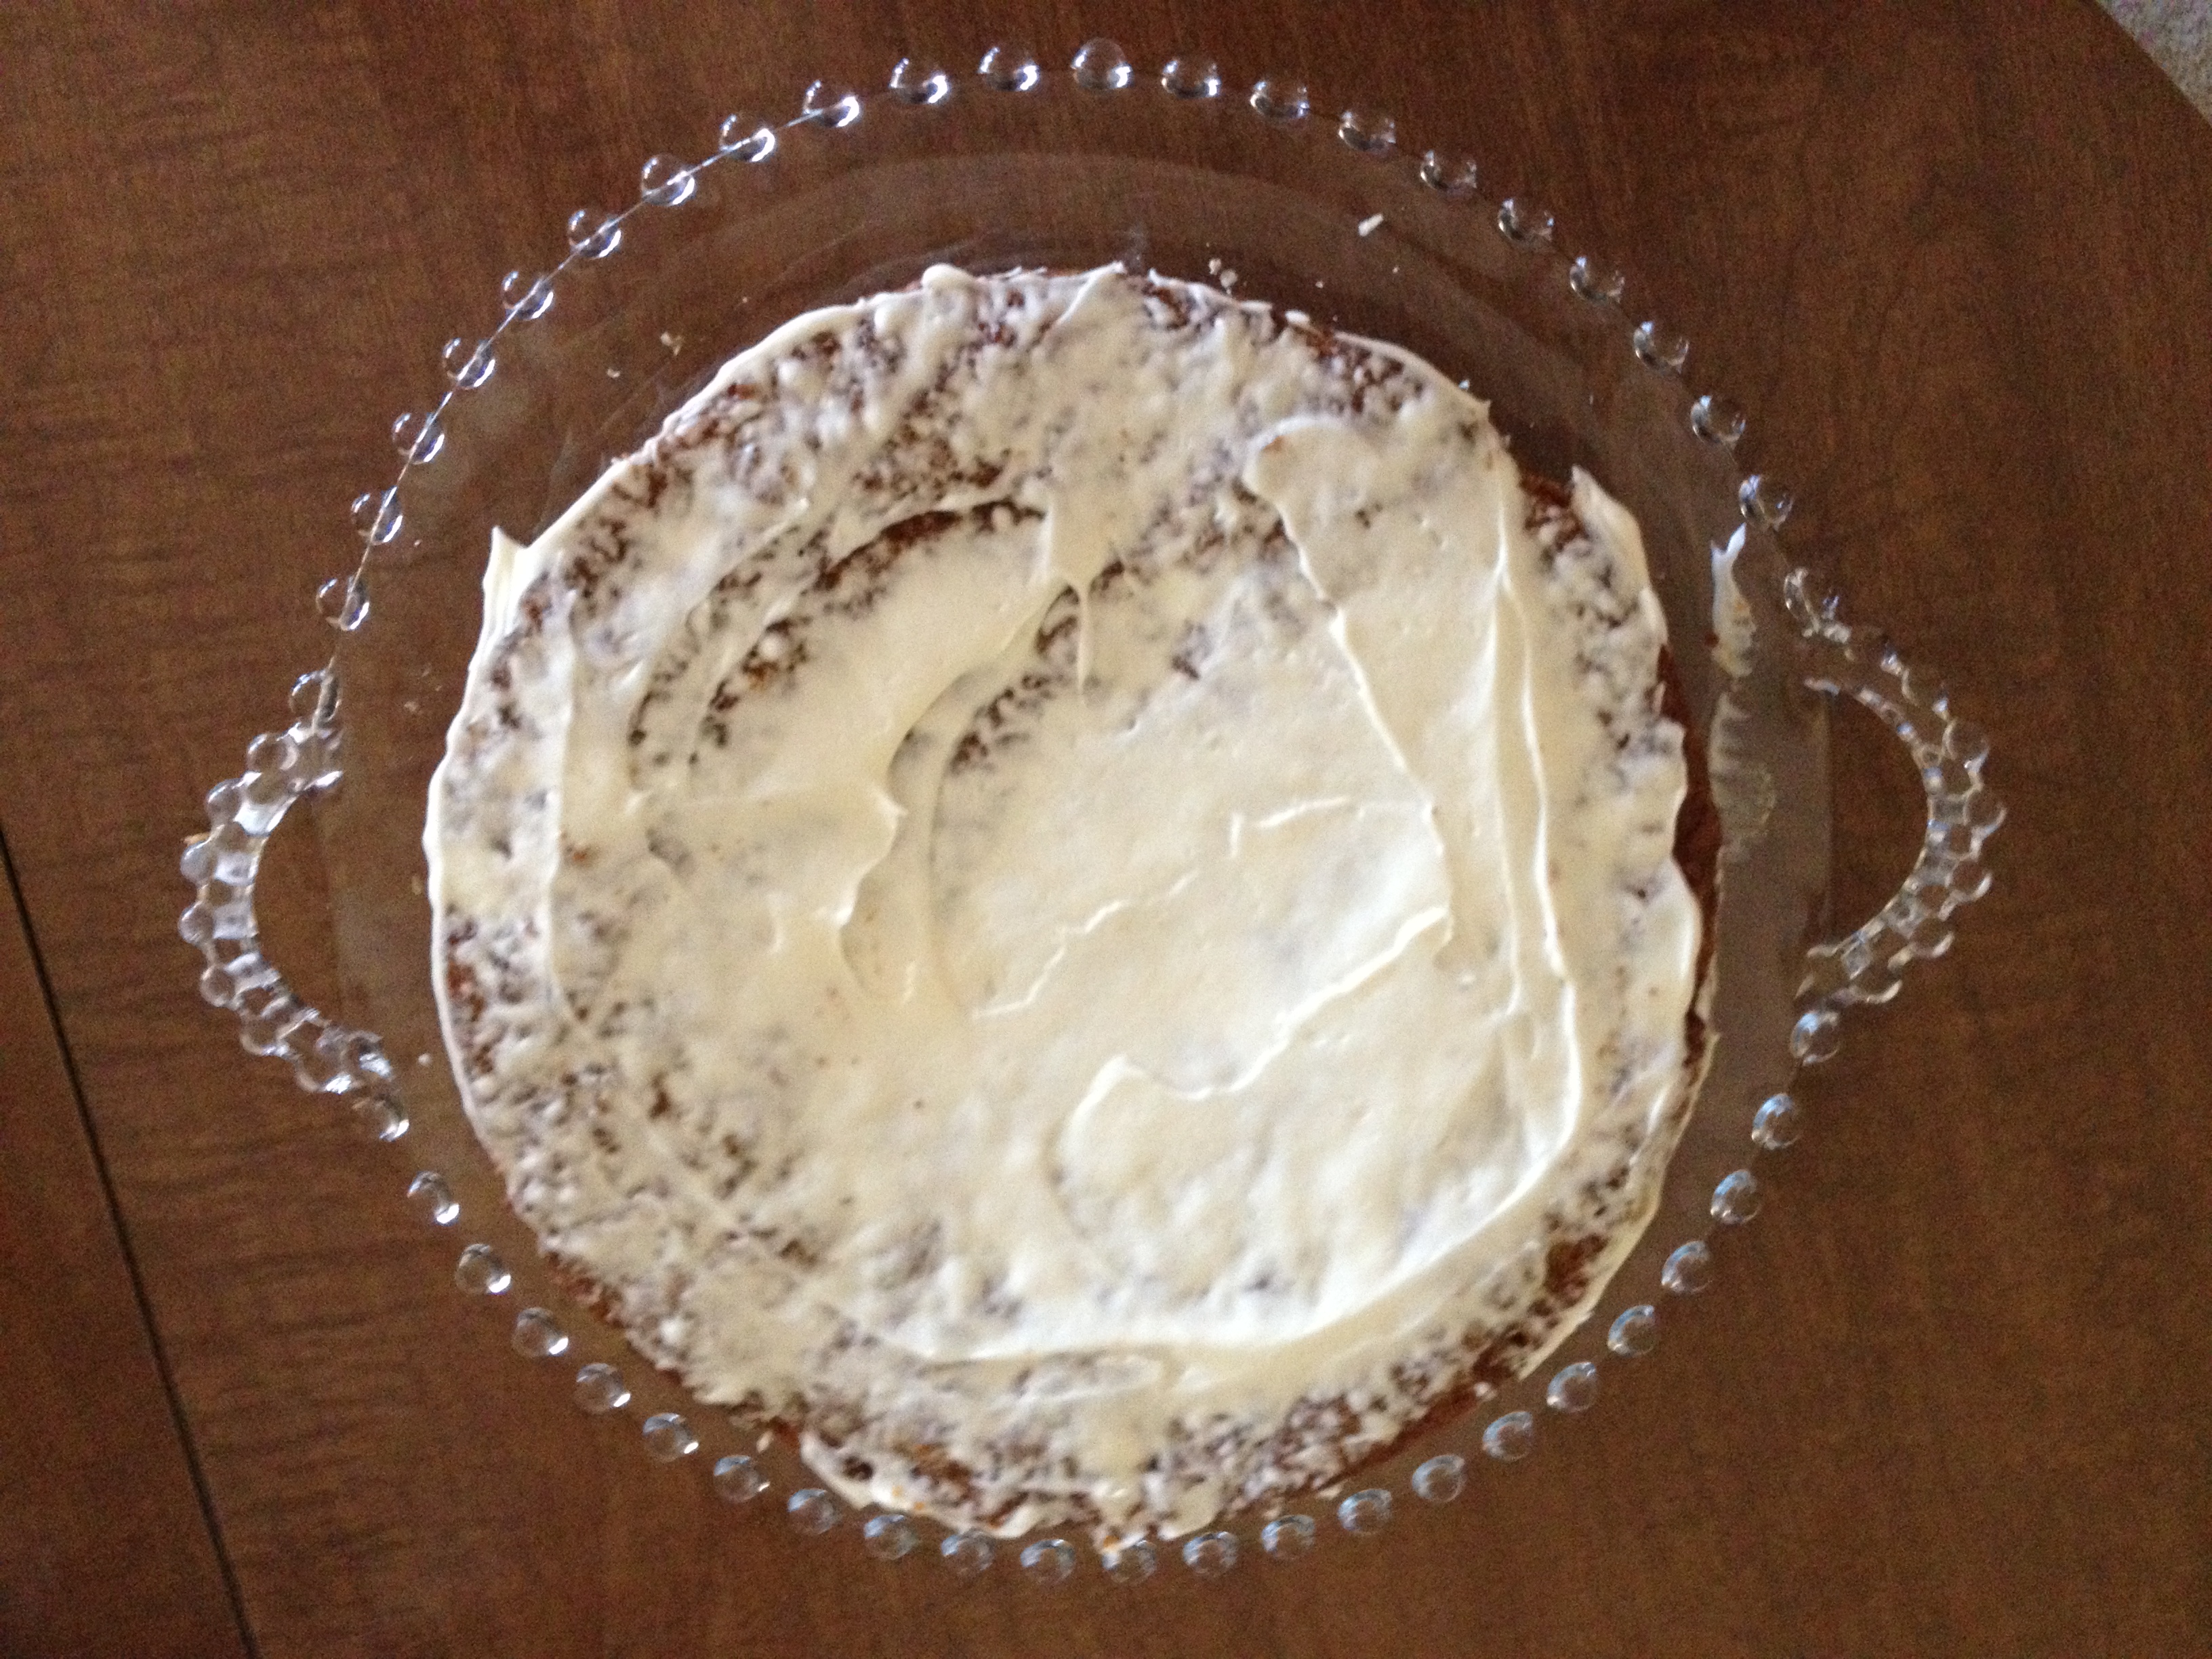
- Frost the cake top and then the sides with the whipping cream.
- Voila!