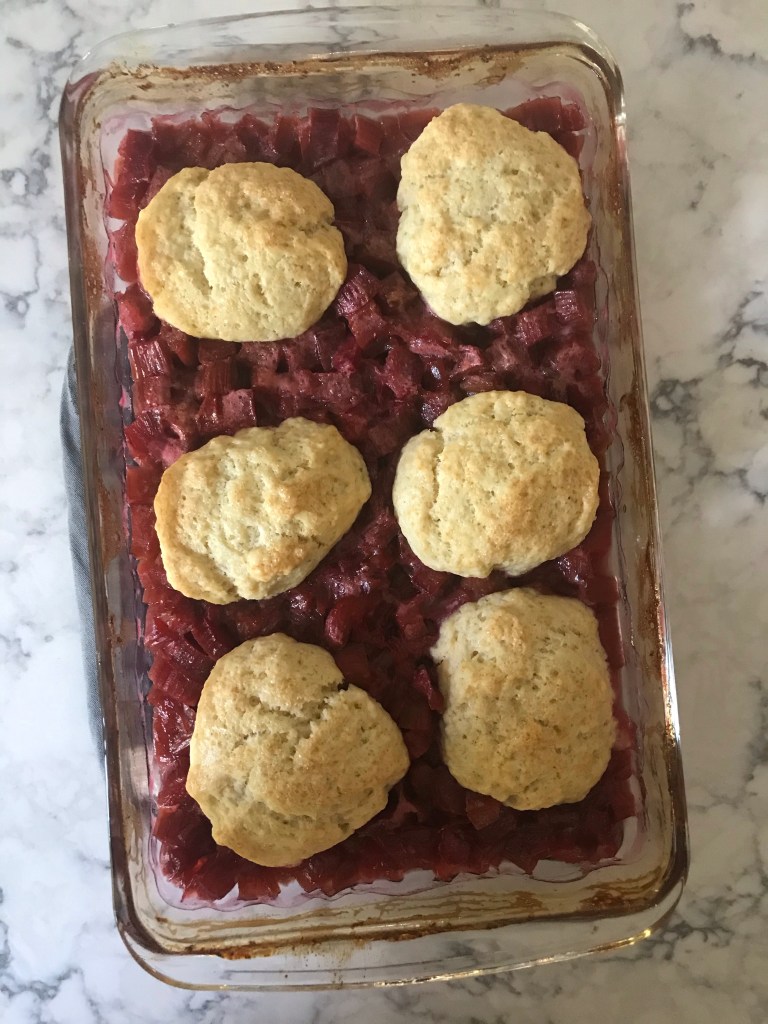
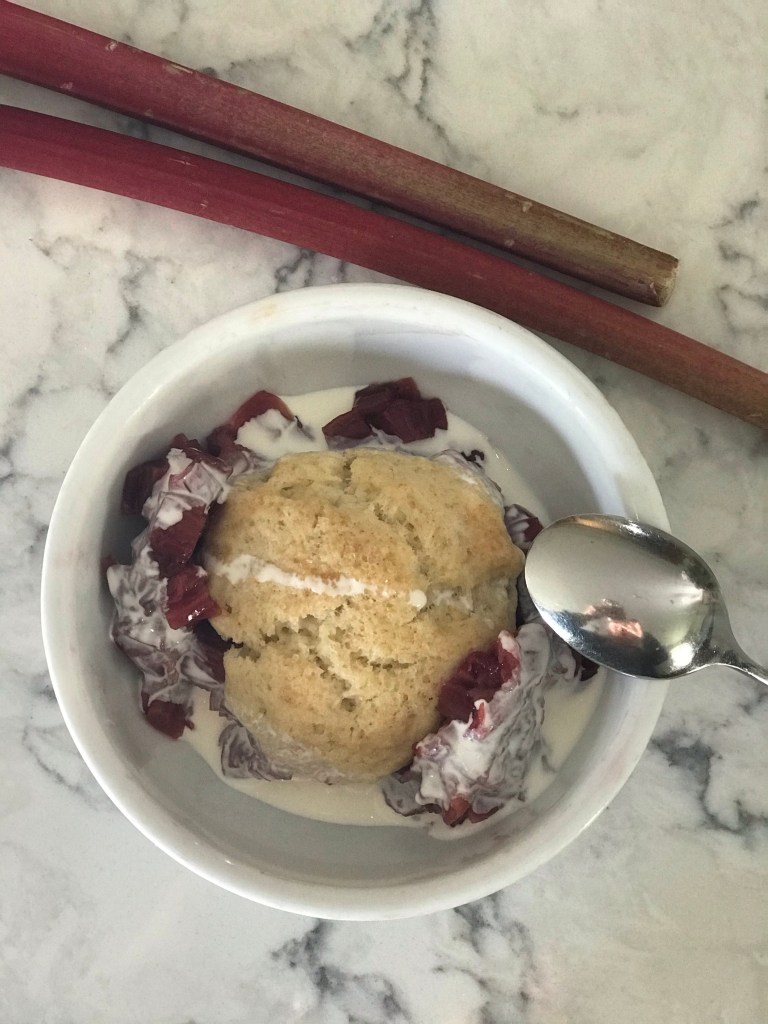
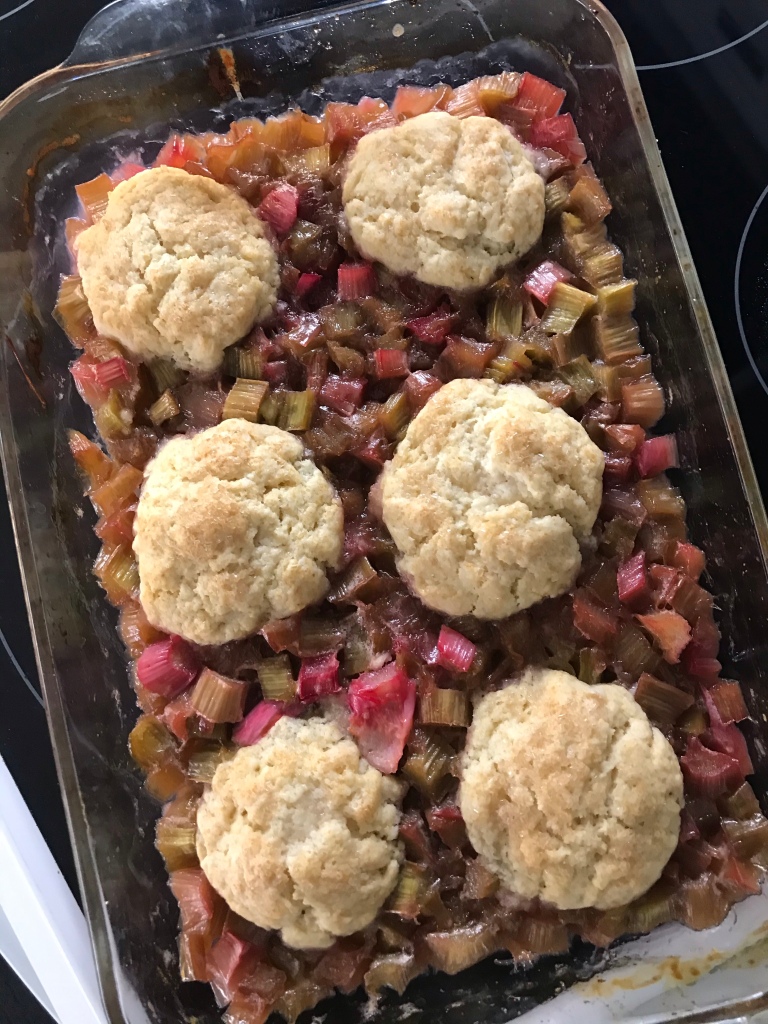
Roasted Rhubarb CobblerRoasted Rhubarb Cobbler Drizzled with Cream
Easy to make cobbler by Melissa Clark published in the New York Times is as good as they say!! Definitely making this again!!
Ingredients
Rhubarb Filling
1 vanilla bean, split lengthwise, or 1/2 teaspoon vanilla paste or 1 tablespoon vanilla extract
2 pounds rhubarb, trimmed and cut into 1/2 inch pieces, about 7 cups
3/4 cup granulated sugar
1 teaspoon orange zest, optional
Pinch of kosher salt
Biscuit Topping
3/4 cup all purpose flour
2 tablespoons sugar
2 1/4 teaspoons baking powder
Pinch of kosher salt
3 tablespoons cold butter, cut into 1/2 inch cubes
1/3 cup heavy cream plus 1 tablespoon plus more for serving
Demerara sugar or turbinado sugar for sprinkling
Directions
Preheat oven to 425. Into a 1 1/2 – 2 quart gratin or baking dish add the rhubarb, sugar, salt and zest. Then scrape in the vanilla paste or add extract. Stir well. Let macerate while making biscuit dough.
To make the biscuit dough, in a medium bowl whisk together flour, sugar, baking powder and salt. Toss in and coat butter cubes. Cut in butter with a pastry blender, 2 knives or pinch and mix with your fingers until pea size morsels develop. Add 1/2 cup heavy cream and mix just until blended with a rubber spatula or spoon.
Pour dough onto a lightly floured surface. Pat gently into a ball. Divide into 6 pieces. Form each piece into a round disc. Place on a plate and cover with plastic wrap. Refrigerate 30 minutes to 6 hours
Place rhubarb in oven. Roast about 25-30 minutes or until tender and a syrup develops. Stir halfway through.
Place the dough rounds over cobbler evenly spaced. Brush rounds with remaining 1 tablespoon heavy cream and sprinkle with Demerara sugar.
Lower temperature to 375 and bake 20-30 minutes or until biscuits are lightly browned.
Serve warm or at room temperature. Drizzle each serving with heavy cream just before eating.
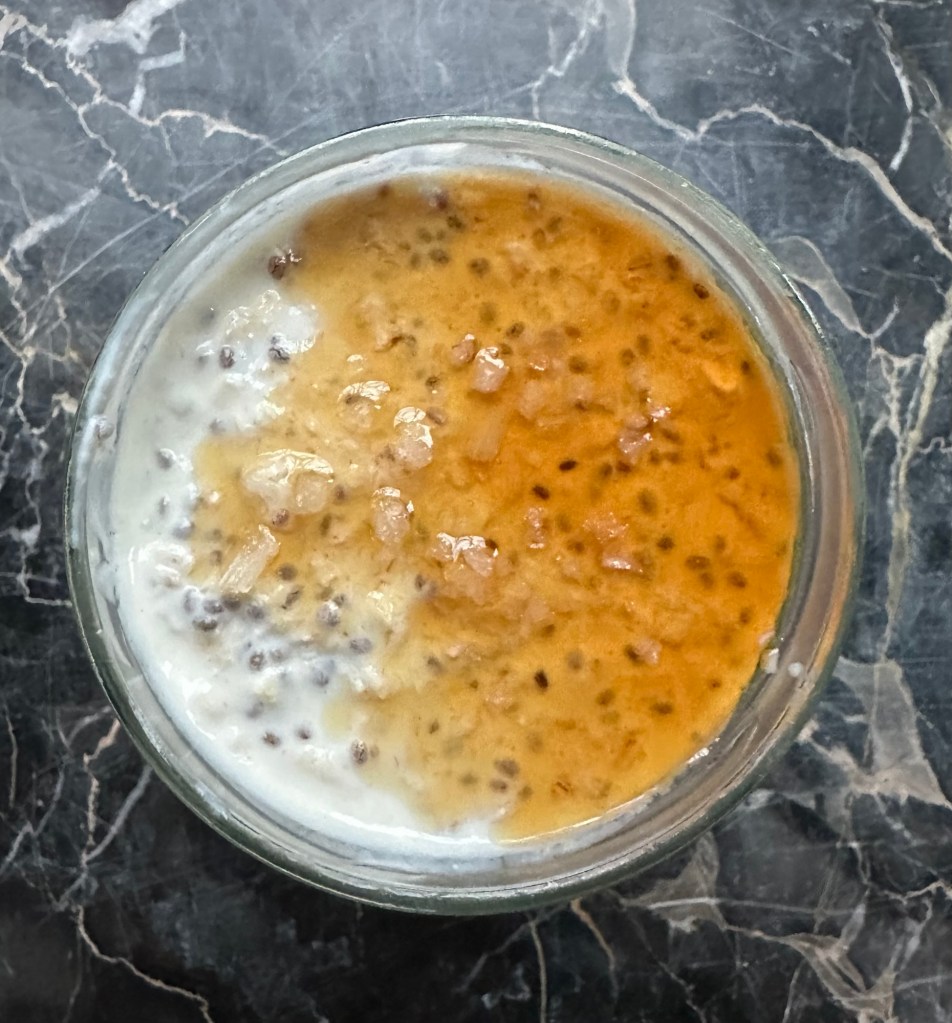
Maple Syrup and Flaked Sea Salt Top This Lemon Overnight OatsOvernight Oats
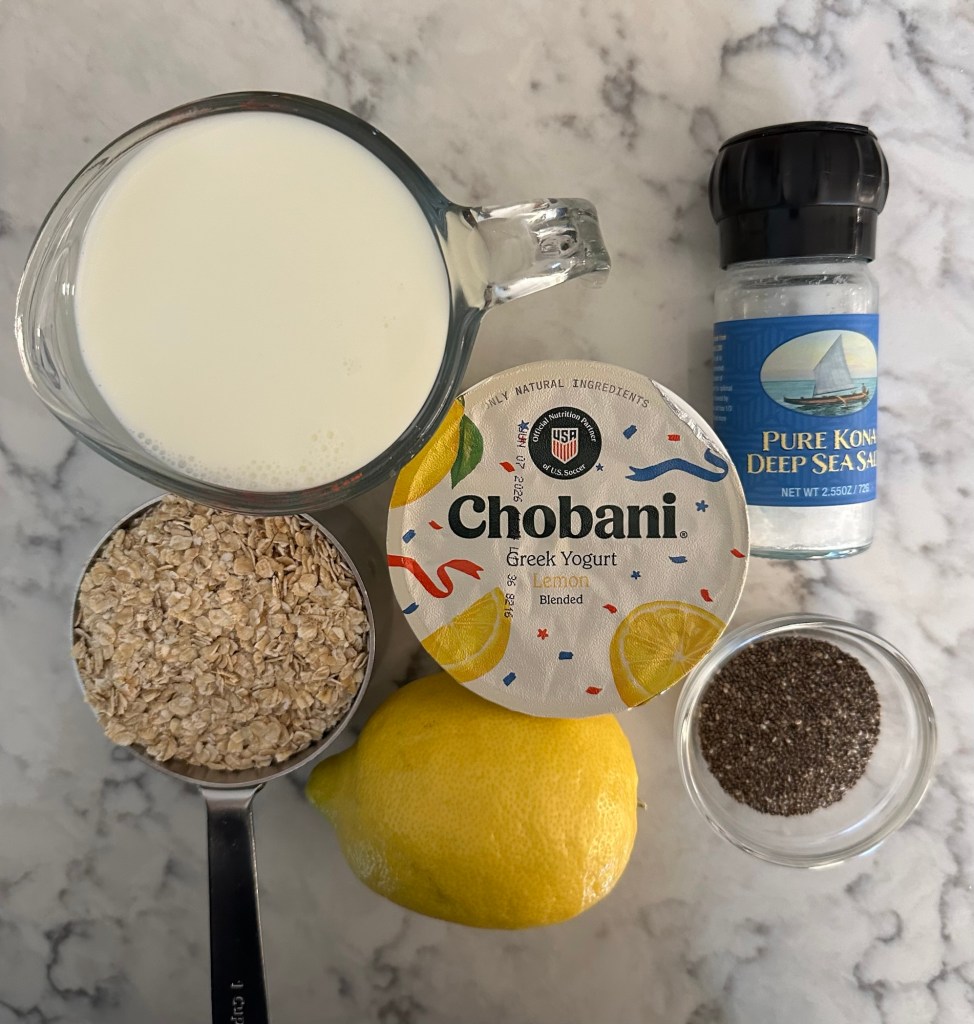
All the Ingredients Here
This quick breakfast is super easy & uses my favorite Chobani Yogurt flavor…lemon. You can change up the flavorings to use your favorite…. pineapple, strawberry, blueberry, coffee…..
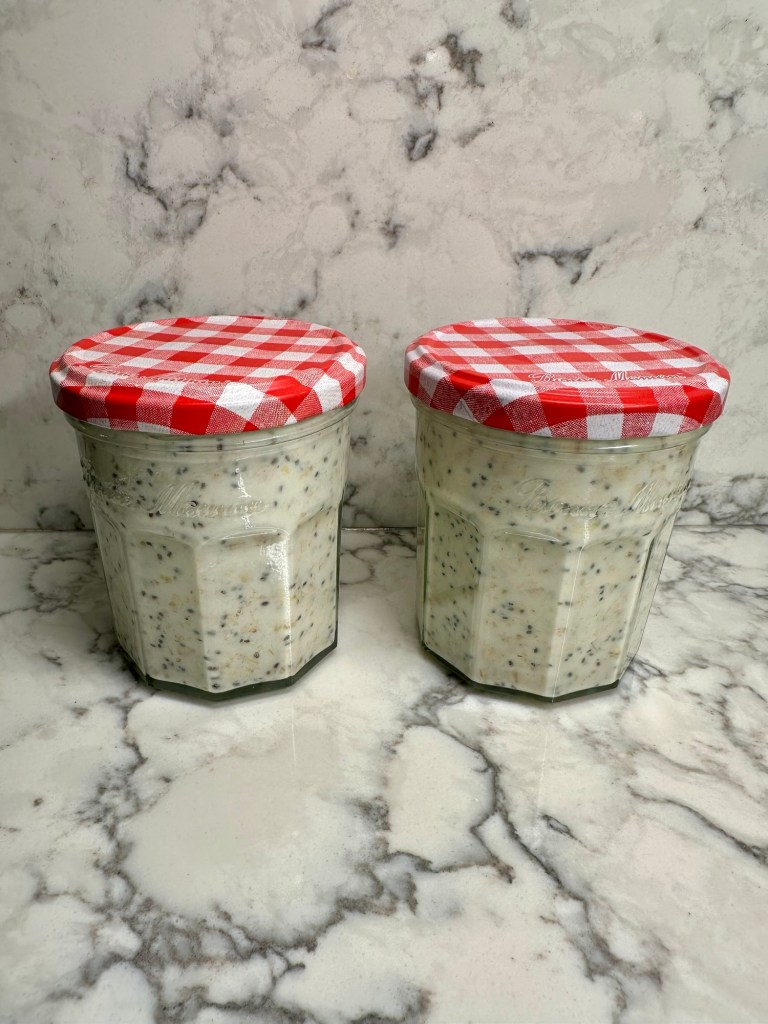
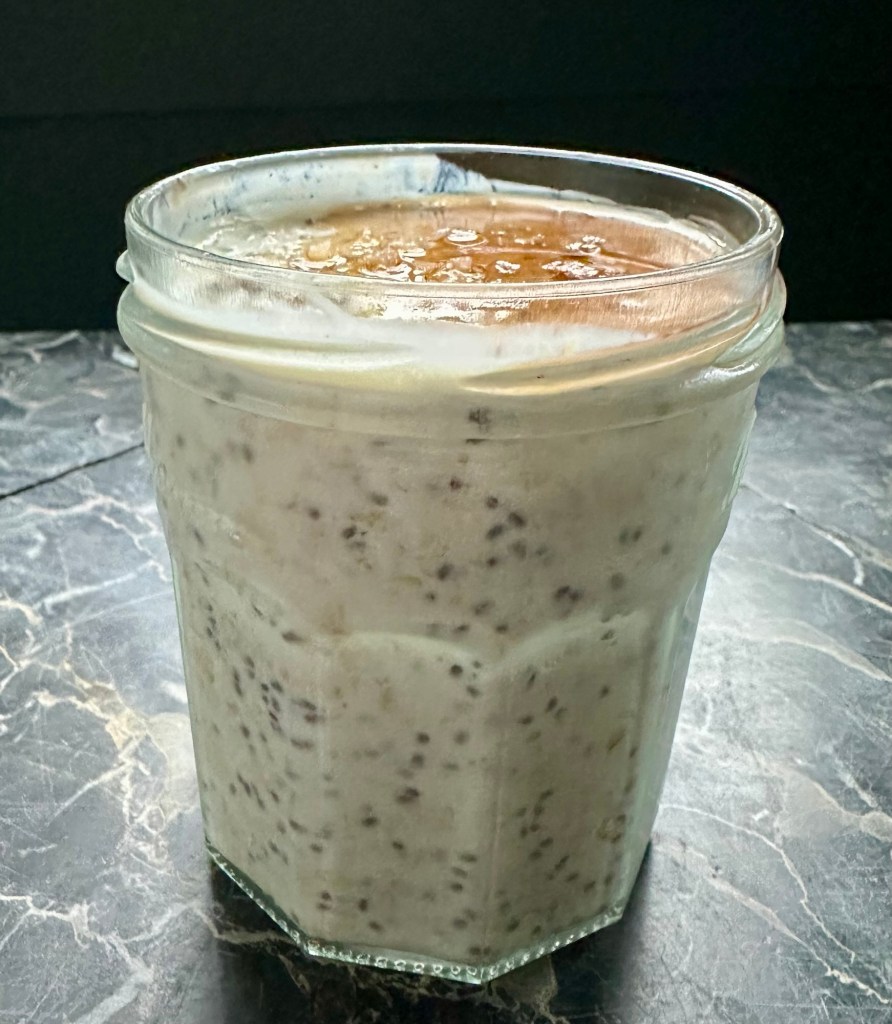
I mix it all up in a 4 cup measuring cup & then pour it into 2 glass jars. I save my Bonne Maman jam jars… my fav is cherry preserves. The lids are so cute!
Refrigerate overnight & you’re ready for two breakfasts.
There’s a lot of calcium & protein in milk, yogurt & chia seeds. One serving of this overnight oats has 330 mg of calcium & 14 grams of protein. The chia seeds add fiber too. Adding the 4 grams fiber in the oatmeal, one serving of the overnight oats contains 9 grams.
Ingredients
1 cup rolled oats, I use quick style
2 tablespoons chia seeds
Grated rind of 1/2 large lemon or 1 small lemon
2 tablespoons lemon juice, fresh
1-5.3 ounce container Chobani lemon yogurt or plain Greek yogurt
1 1/8 cups milk
A big pinch of salt
1-2 teaspoons real maple syrup or honey, optional
Flaked Sea Salt or another chunky salt, optional
Directions
In a 4 cup measuring cup or bowl combine & mix oats, chia, lemon zest & juice, yogurt, milk & salt.
Give it a good stir & pour into 2 storage/serving containers & cover with lids.
Refrigerate overnight.
If you like, pour some real maple syrup or honey over the top & maybe some flaked sea salt just before you eat it. I like the crunch of flaked sea salt.
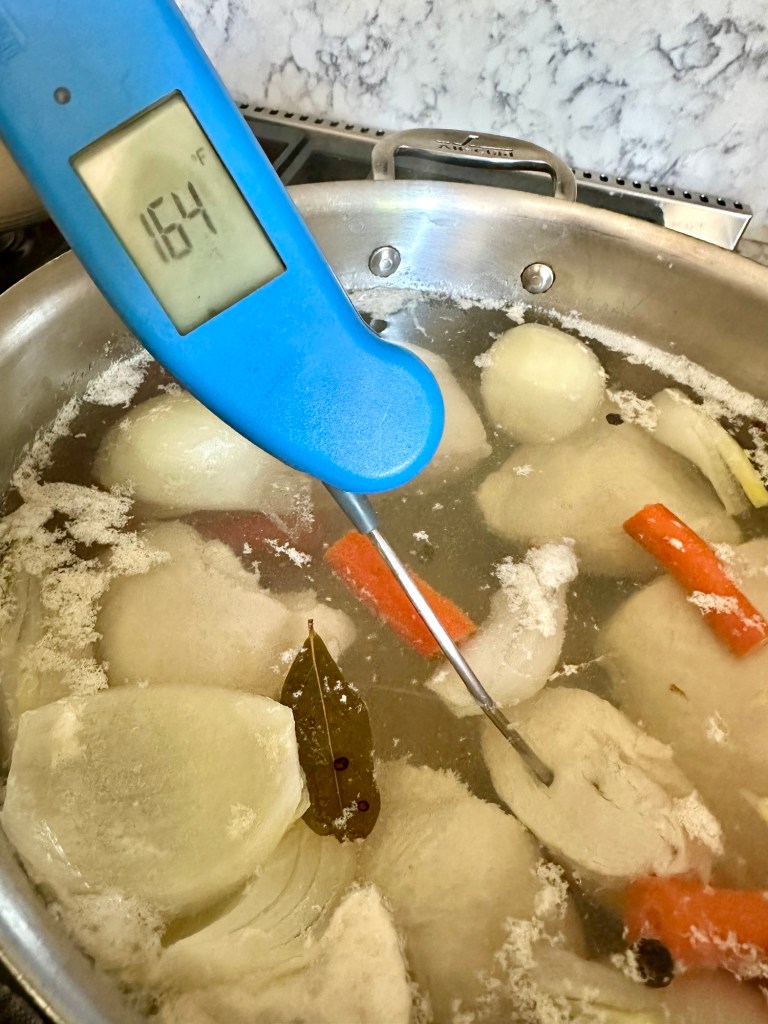
This is a recipe based on temperatures. Water boils at 212 degrees F. Chicken breast is perfectly and tender cooked when it reaches 160-165 degrees F.
Traditionally we poach chicken breast in 212 degree boiling water and before you know it the chicken is way above 165 and often reaches 200!!!! Overdone DRY chicken!!
My new method is similar to the sous vide method where food is cooked in a hot water bath to a certain temperature.
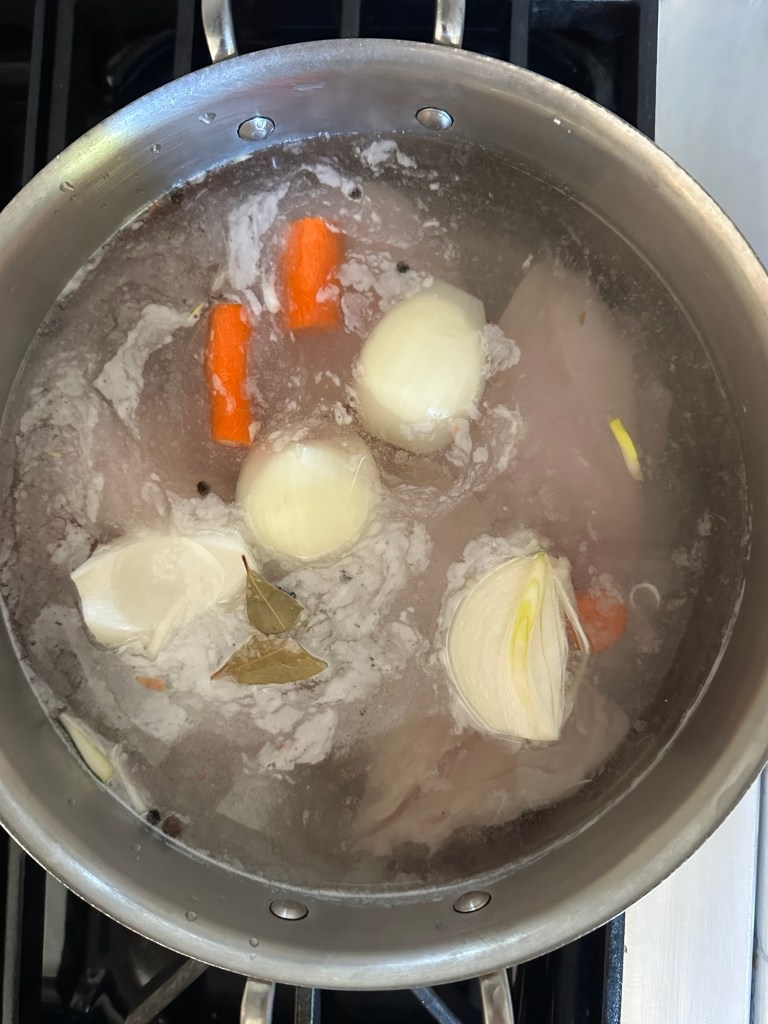
You need to stay near the stove top when you make this because it happens quick! Once you combine the chicken, vegetables, seasonings and cold water in a large pot, place it over high heat. Using an instant read thermometer, check the temperature of the water every 2 minutes! Within a few minutes the water will reach 180 degrees . When it does, put the lid on and take the pot off the heat. I guarantee it will be the best chicken you’ve ever had and you’ll be able to use it as you like in salads, wraps, tacos etc
Ingredients
2-4 chicken breasts, if they are large, cut them in half: try to keep sizes about the same
2 stalks celery, cut in 2-4 inch pieces
1 medium onion, peeled and quartered
2 carrots, peeled and cut in 2-4 inch pieces
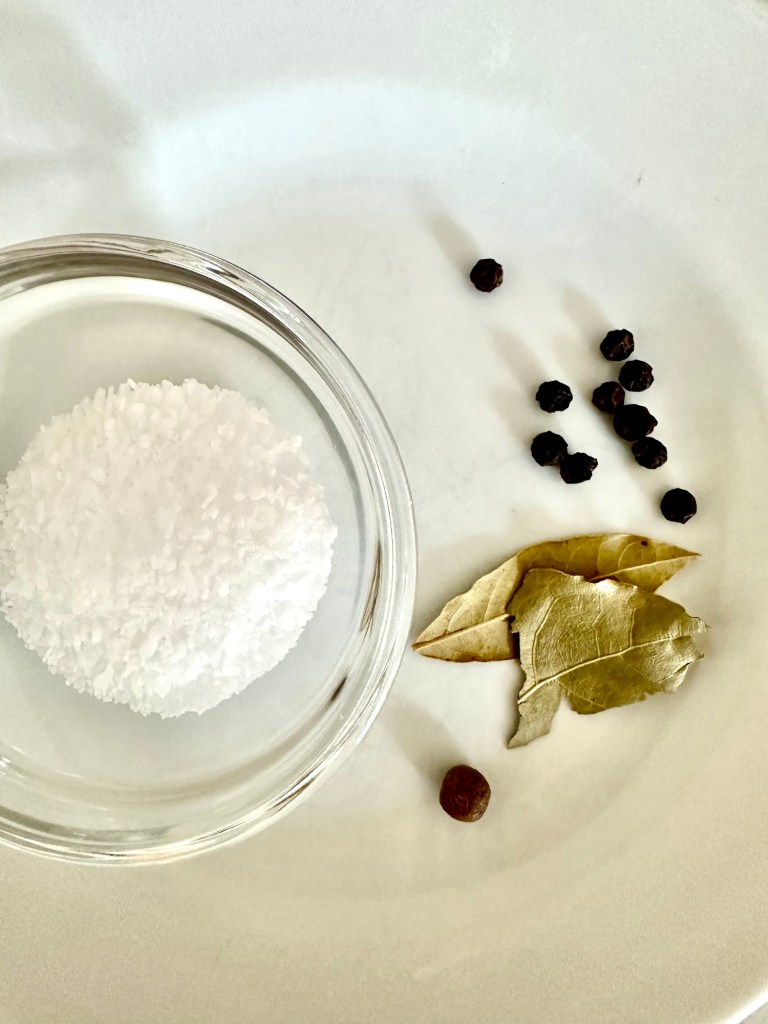
1 tablespoon salt
2 bay leaves
1 whole allspice
10 whole black peppercorns
Directions
In a large pot combine all the ingredients. These are my go to seasonings, but you can choose your own.
Add cold water and fill pot to cover chicken and vegetables by 2 inches.
Place pot on medium high heat and stand at the stove.
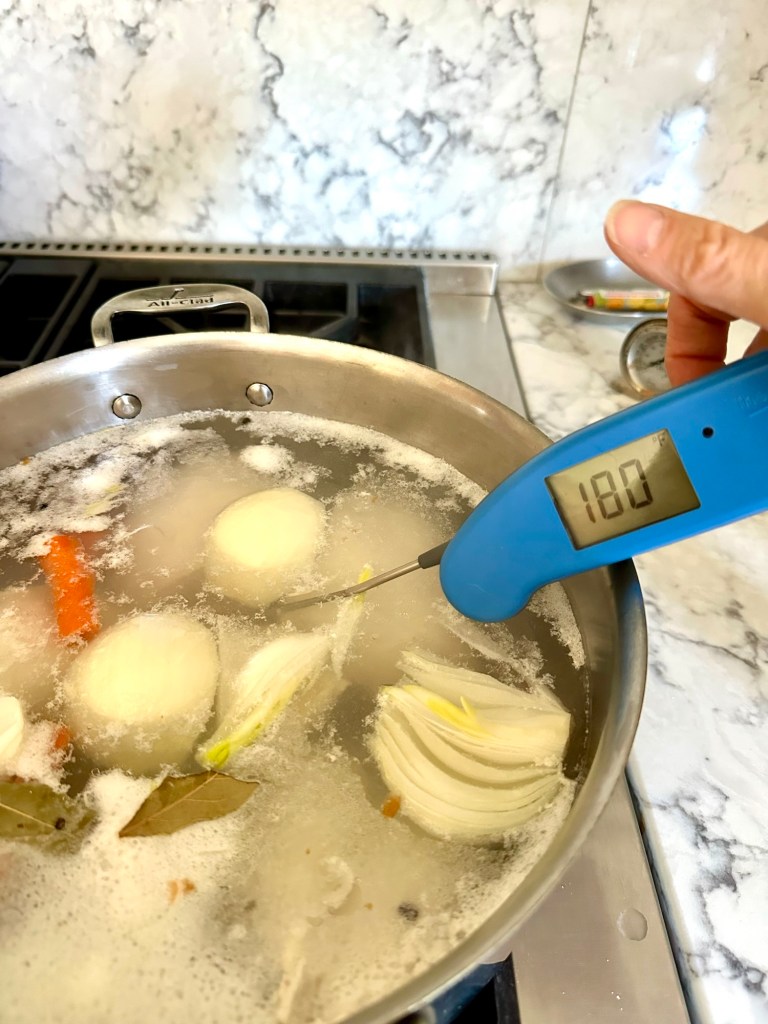
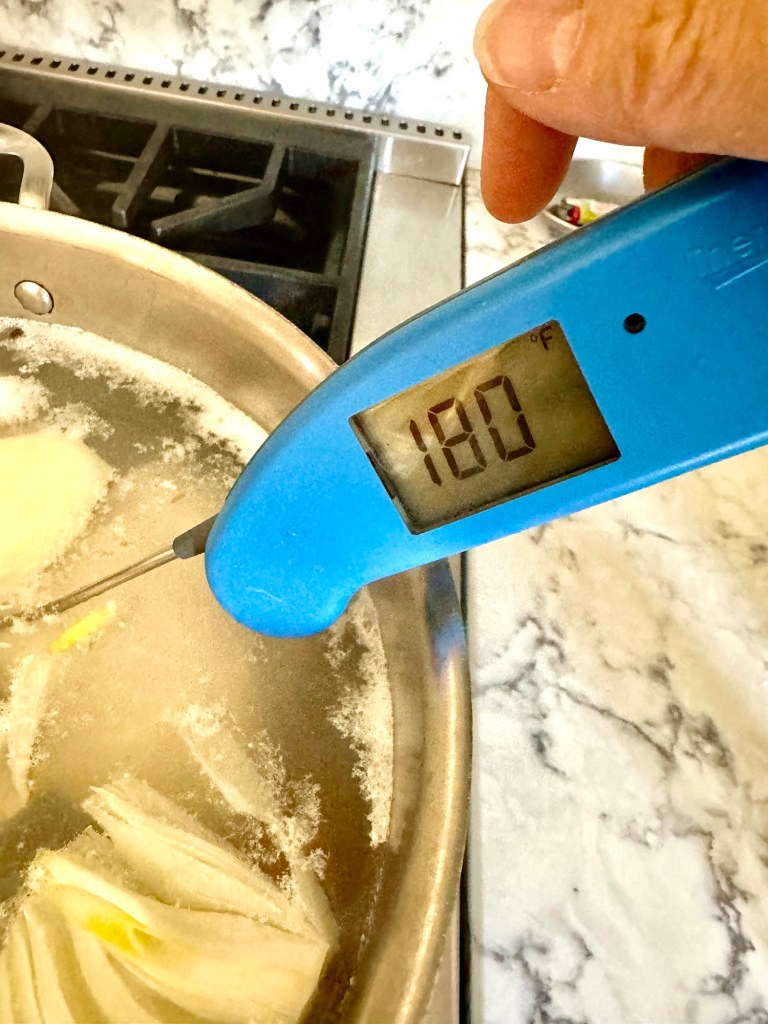
With your instant read thermometer check the water temperature every 2 minutes. Don’t let it go above 180 degrees. It only takes a few minutes
When the water temperature is 180 degrees, remove the pot from the heat and cover it.
Check the internal temperature of the chicken every 1-3 minutes. If the pieces are various sizes you’ll have to check each piece.
The water cools down once it’s off the heat. If you’re getting impatient and the chicken isn’t quite done you can put it back on the heat again, but don’t let the water get above 180 degrees!Do this only a minute or two and watch closely!
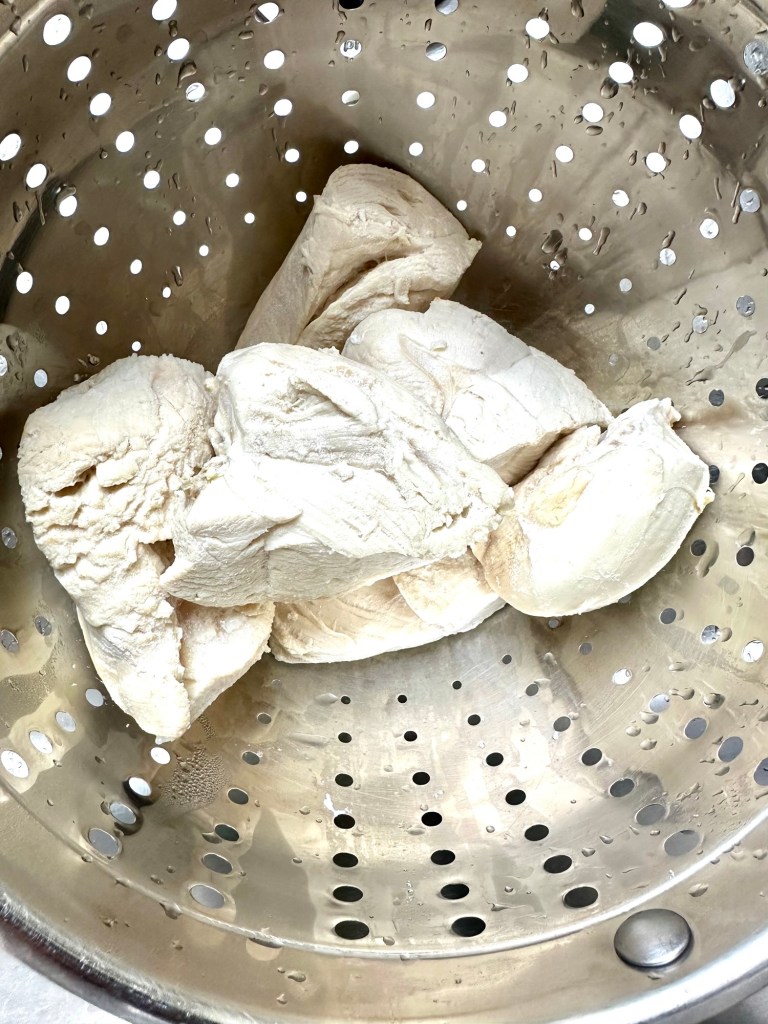
When each piece of chicken reaches 160 degrees, remove it from the pot and place it in a colander to drain and cool. I use 160 degrees as my guide because food continues to cook after it’s removed from the heat source. So the 160 degree chicken will increase to 165 while it’s cooling.
Save the broth to make soup or risotto!
Voila!
Salt, 1 allspice, bay leaves, & black peppercorns add to the flavor
Heat Water to 180 degrees F
180 is the Magic Number
Cook Chicken to 160-165 Degrees
Drain Poached Chicken in a Colander
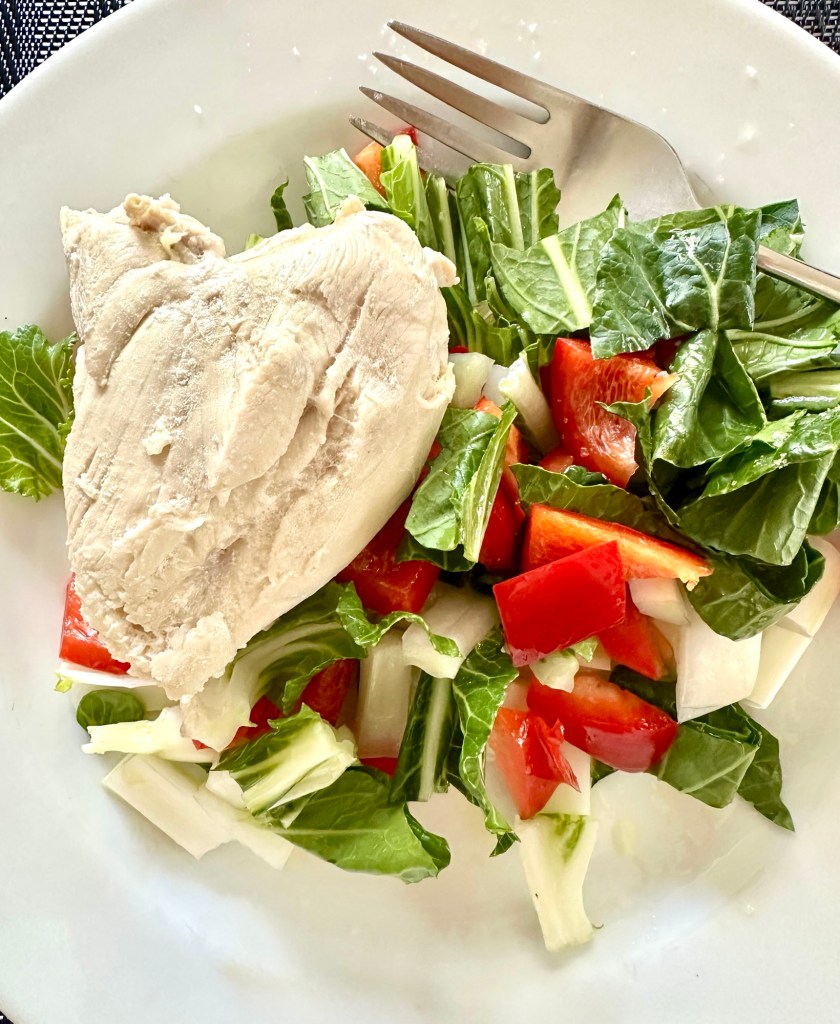
Poached Chicken with Bok Choy and Red Pepper Salad
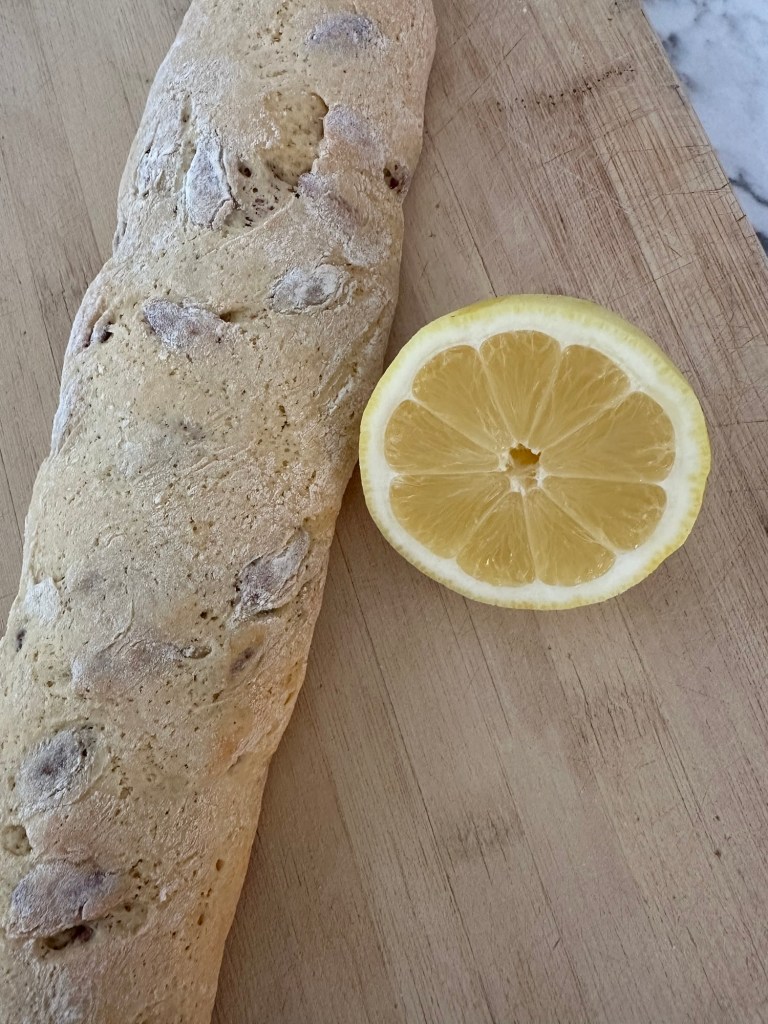
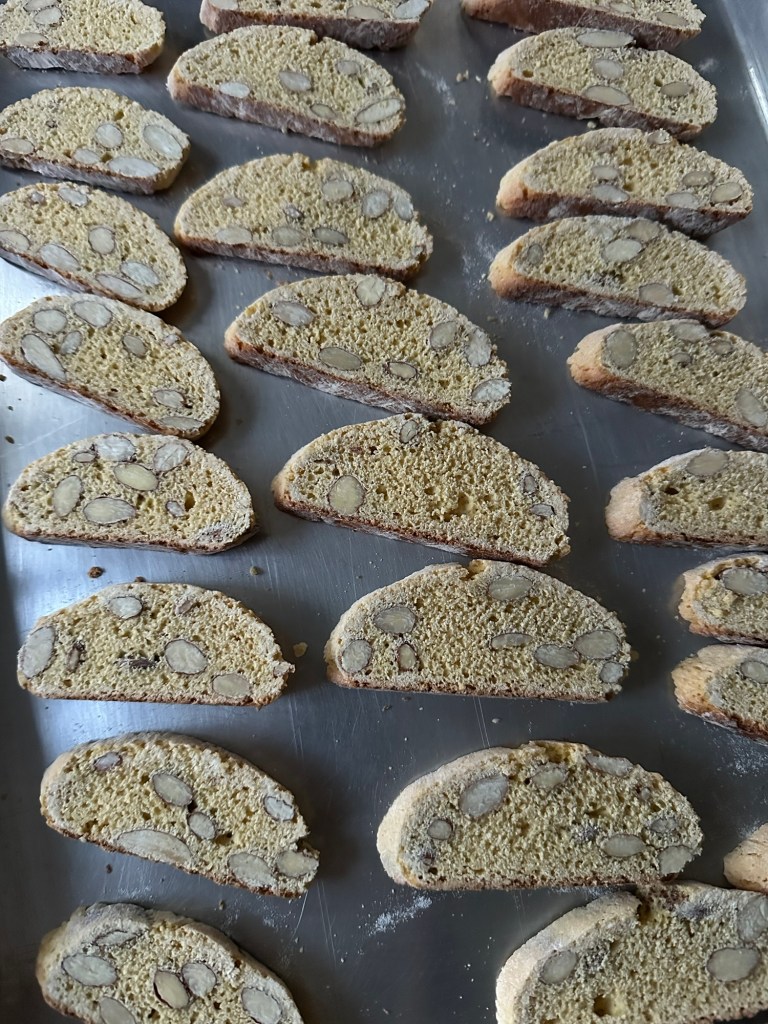
Lemon BiscottiBiscotti: Twice Baked Italian Cookies
Biscotti is a twice baked cookie that is always crisp and not real sweet. It’s Italian and one of my favorite foods from their rich culture.
This recipe is the same as my original Cantuccini which is from Baking with Julia. It’s a long time favorite. This new recipe is a softer cookie. Not nearly as rock hard crisp as my original. These crisp twice baked cookies are meant to dunk and soften in coffee or vin santo, an Italian dessert wine.
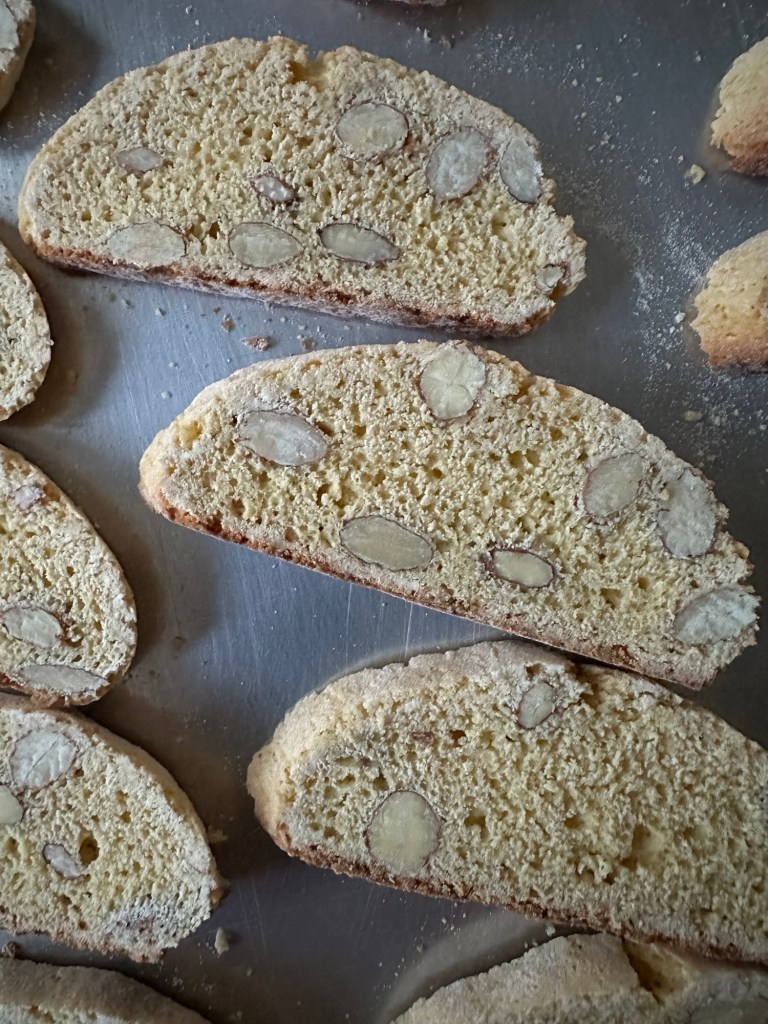
Adding the 3 tablespoons plus of lemon juice makes this a more tender cookie that’s not as hard to bite into and certainly does not have to be softened in coffee or wine. The grated rind of an entire large lemon adds a huge fragrance and flavor. But as I’ve experimented I’ve learned not all lemons are the same. When purchasing lemons buy the fragrant ones. If you have fresh lemons available that would be best! Enjoy!
Ingredients
2 cups all purpose flour + more for mixing and kneading
3/4 cup sugar
2 teaspoons baking powder
1/4 teaspoon salt
1 1/2 cups whole almonds
3 large eggs
1 teaspoon vanilla
3 tablespoons fresh lemon juice
Grated rind from 1 large lemon
Directions
Heat the oven to 350 F.
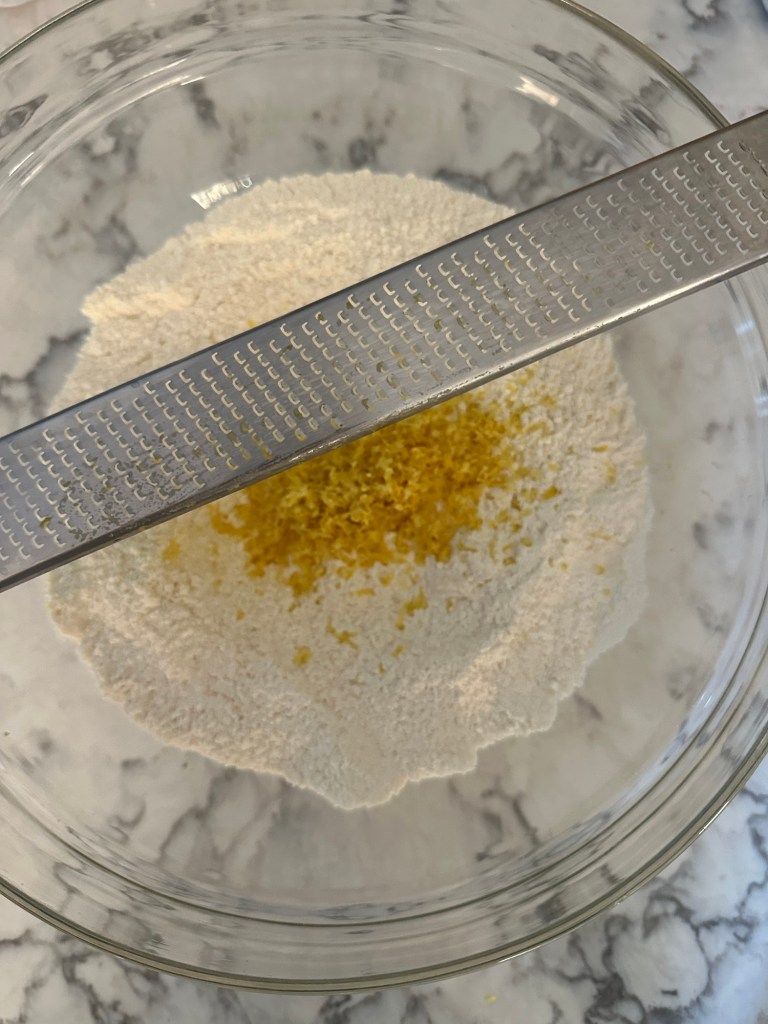
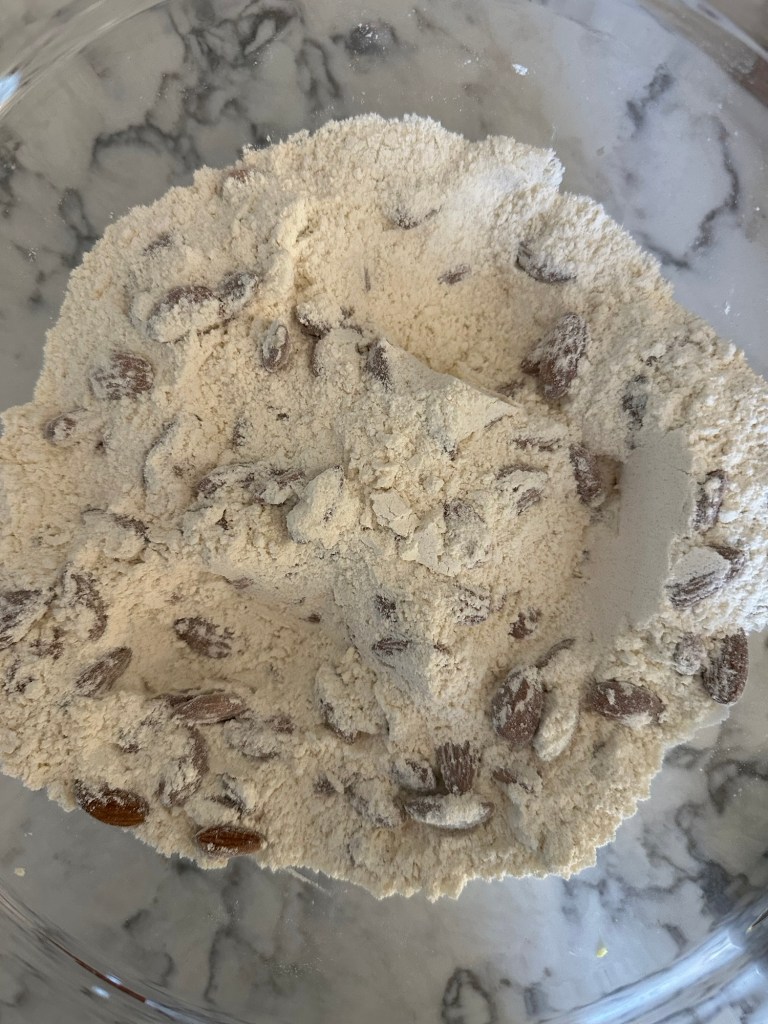
In a large bowl whisk together flour, sugar, baking powder, and salt. Whisk in lemon rind. Stir in almonds. Set aside.
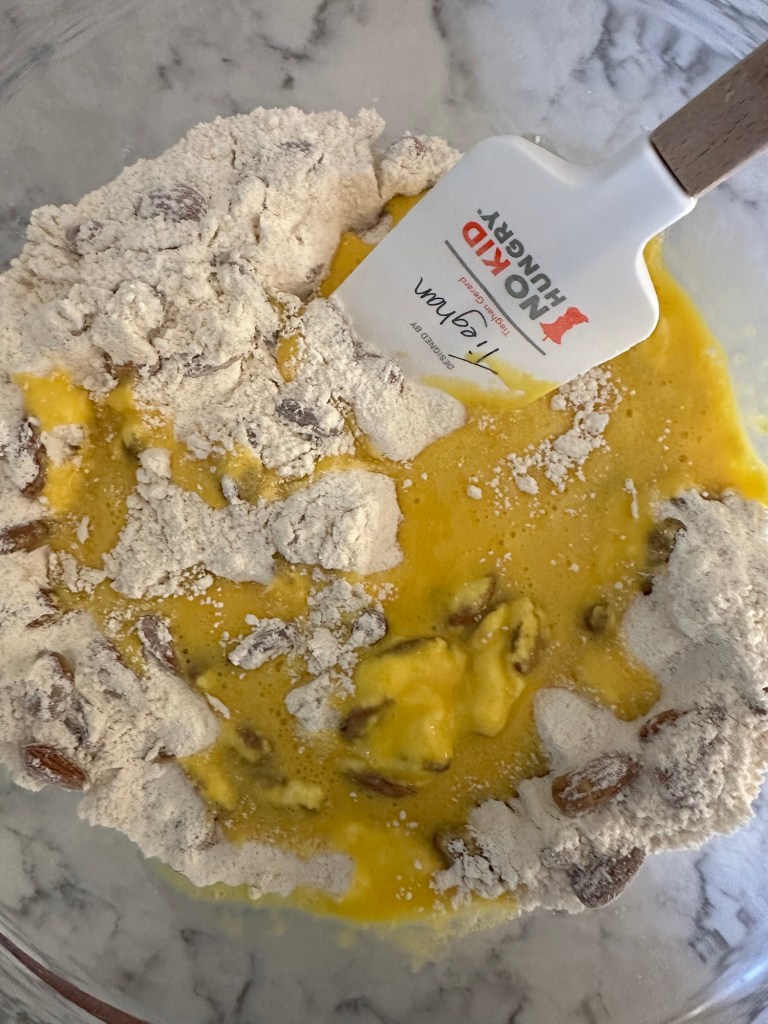
In a medium size bowl whisk together eggs, vanilla and lemon juice.
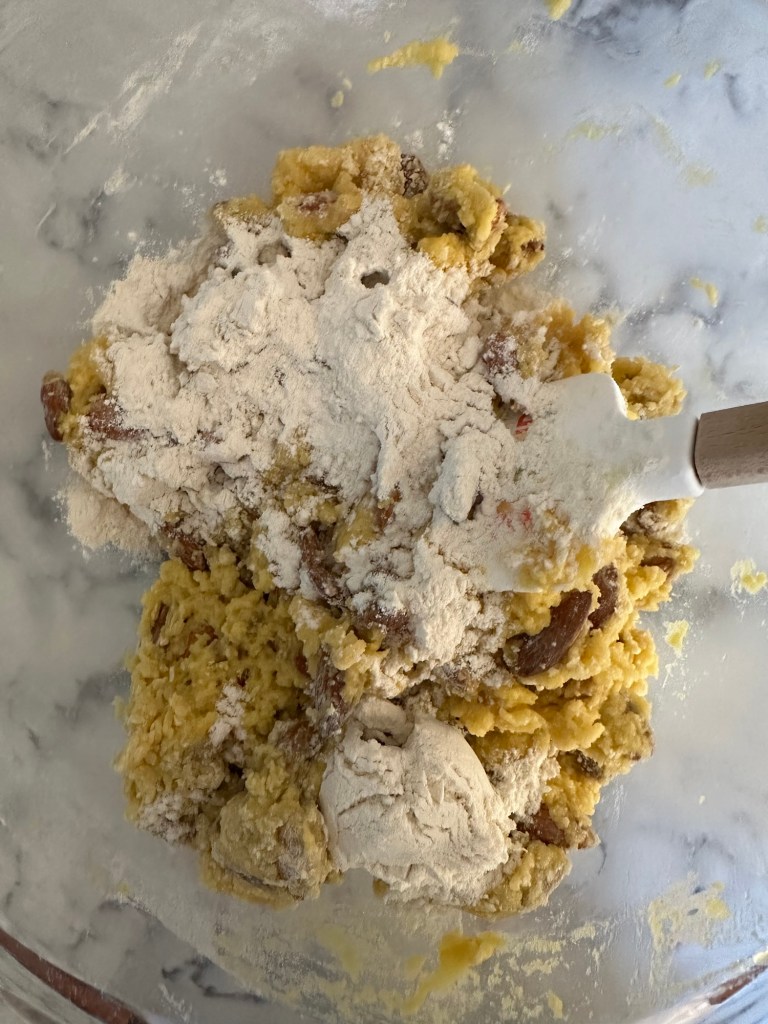
Using a rubber spatula, add liquid mixture to dry ingredients. It will be sticky. Add 3 tablespoons of flour or more and mix until it is dry enough to handle, using a spatula.
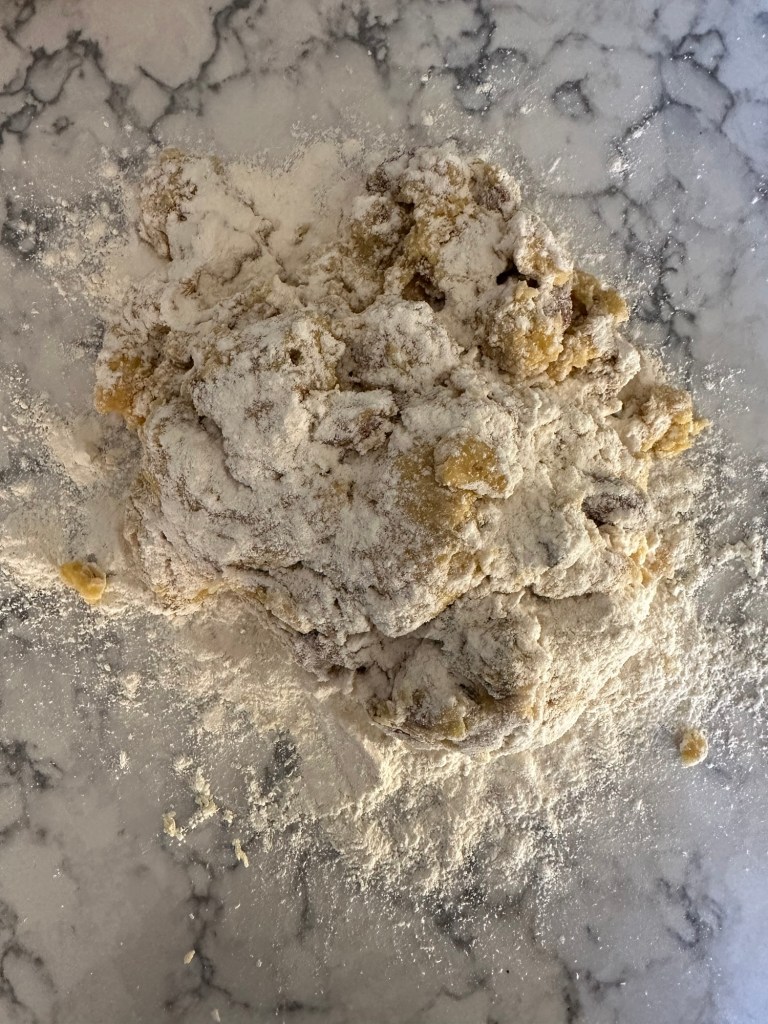
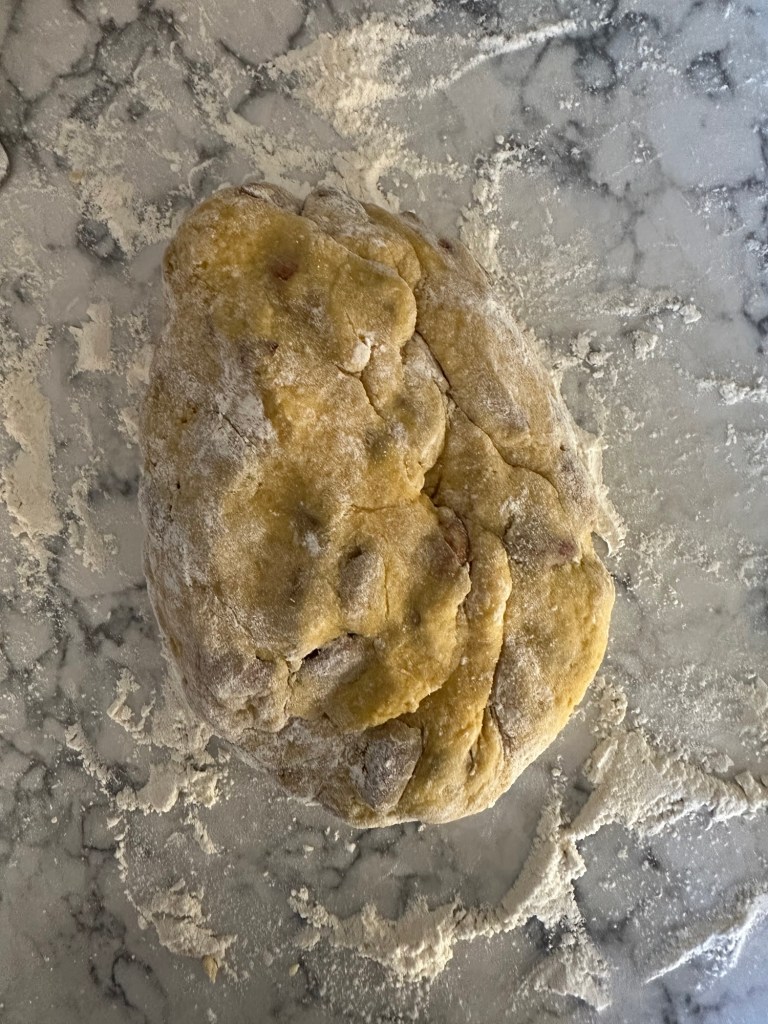
Sprinkle a flat surface with flour and pour dough onto it. Sprinkle the dough with flour. Knead it in quarter turns for 1 minute, adding flour to keep it from being too sticky. Also keep your hands floured to prevent sticking.
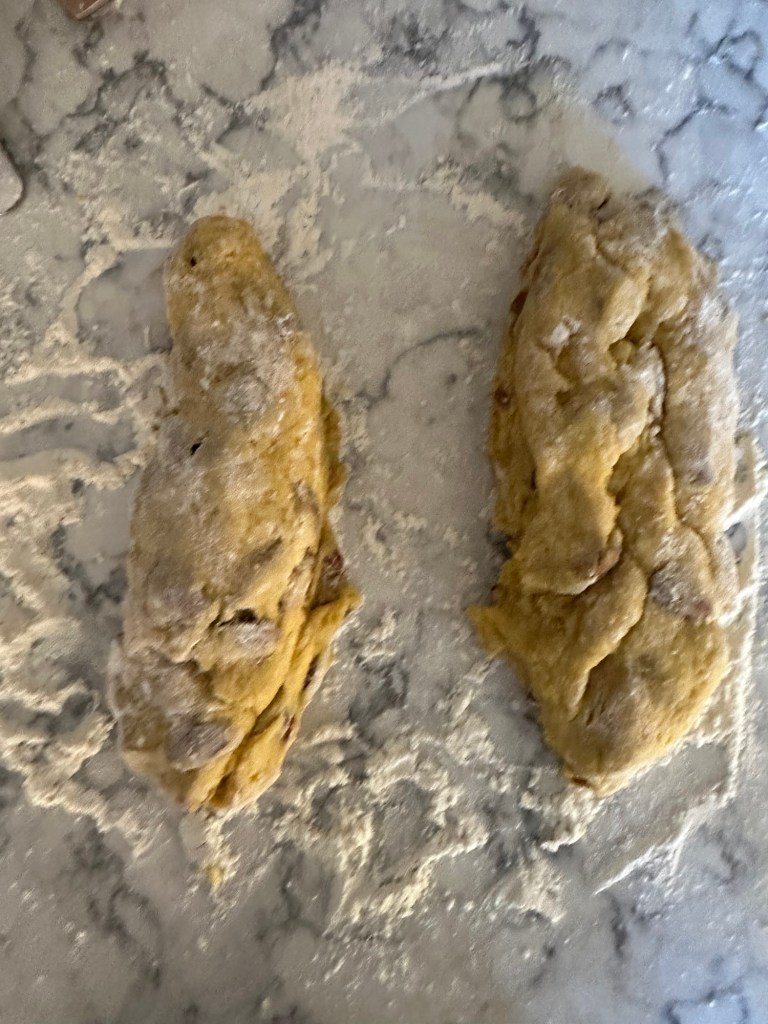
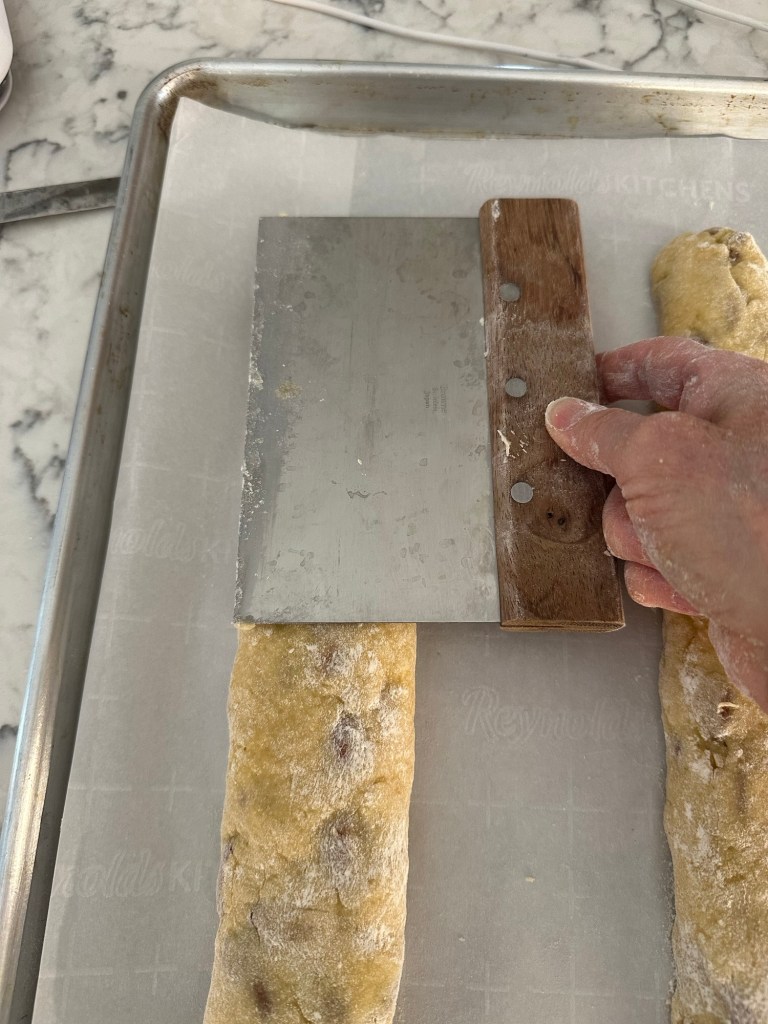
Using a bread knife or another knife, cut dough into 2 even pieces.
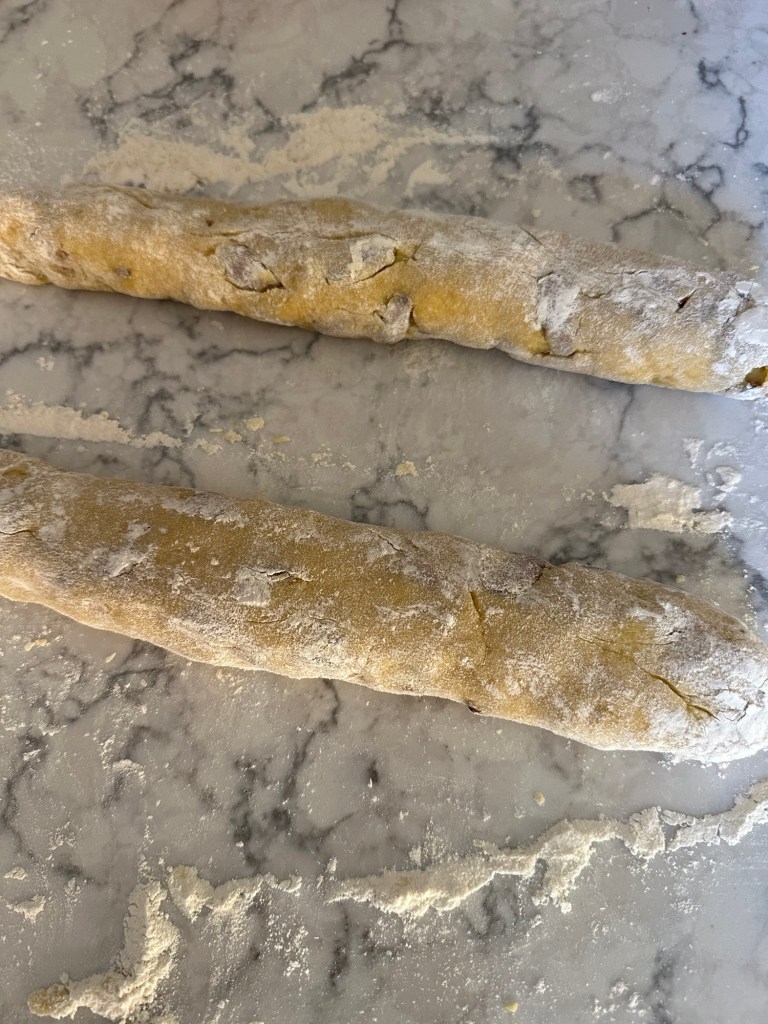
Adding more flour as necessary, roll each piece into a 12 inch log.
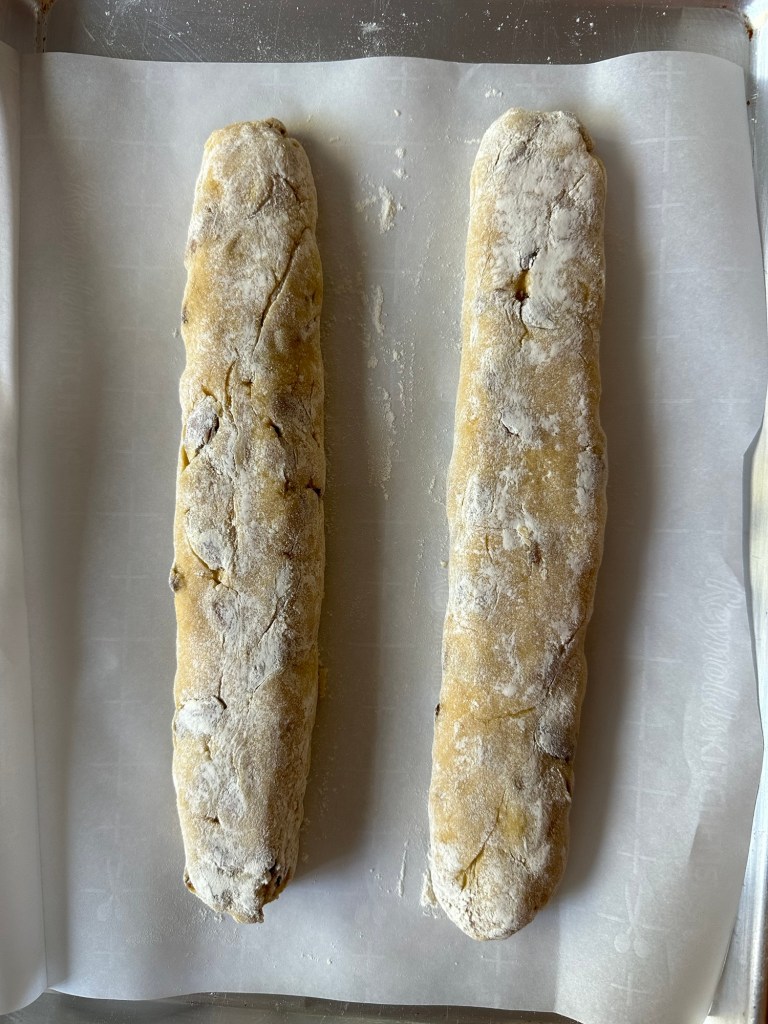
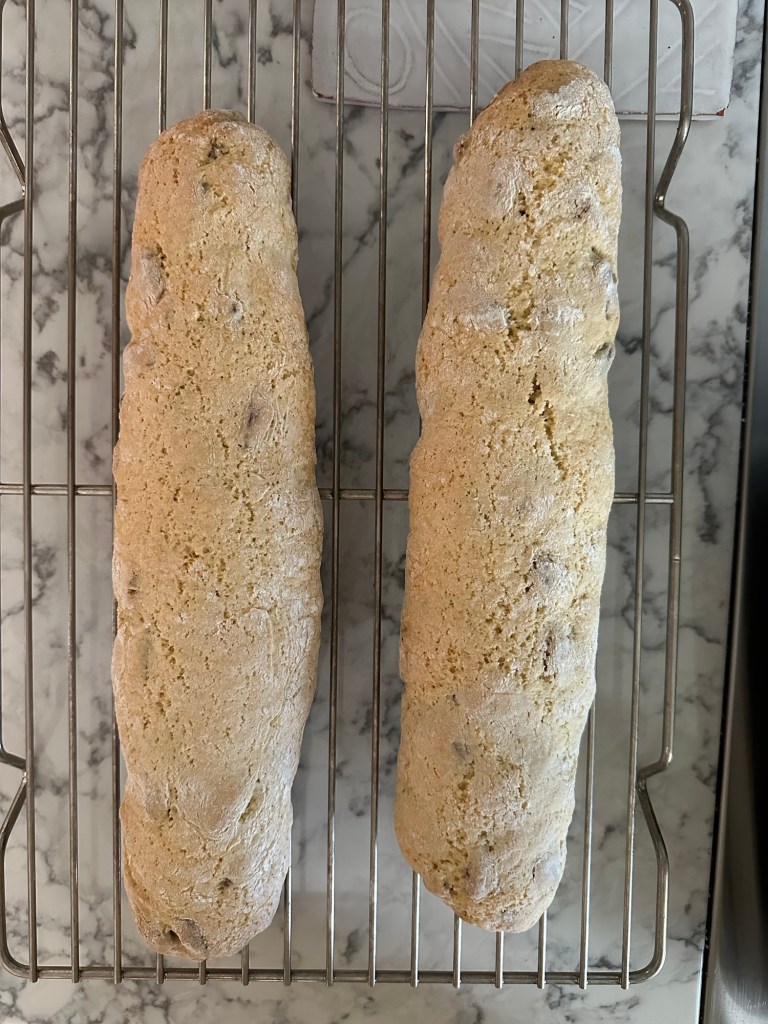
Place logs onto a parchment paper lined cookie sheet. Flatten the ends and the top of the logs so they form a 2 inch wide flattened log shape.
Bake at 350 degrees F for 30 minutes. Cool on a rack.
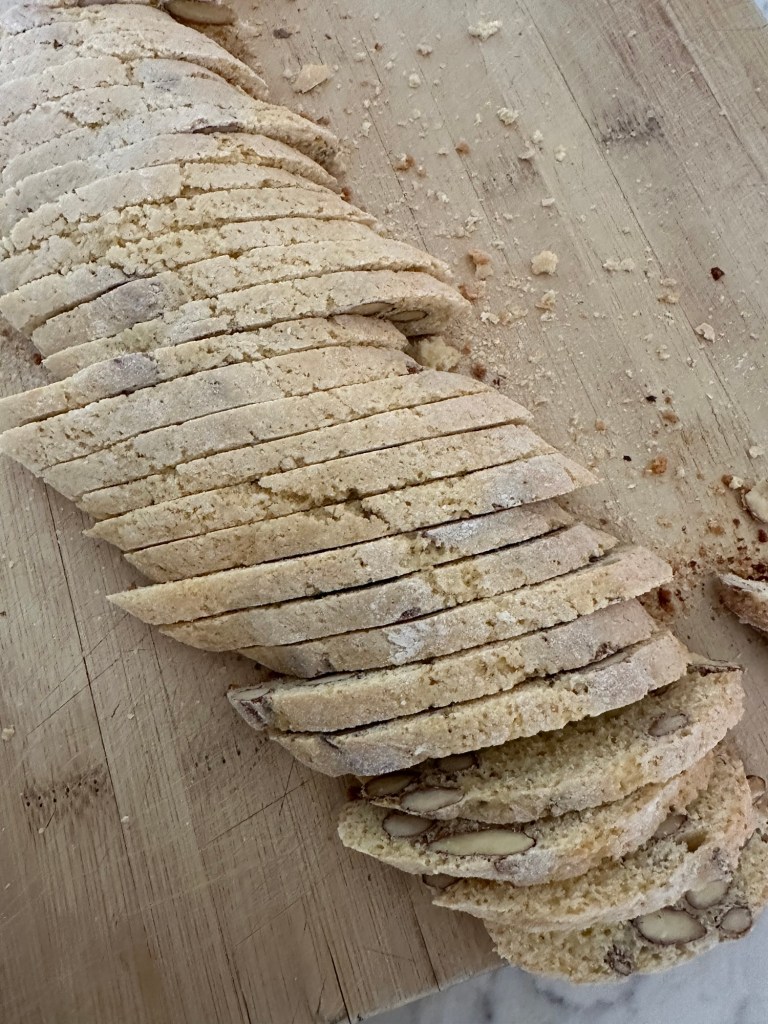
In about 1 hour or when they are cooled but not cold, slice the cookies 1/4 inch wide on a slight angle for longer cookies or perpendicular to the log if you want shorter cookies.
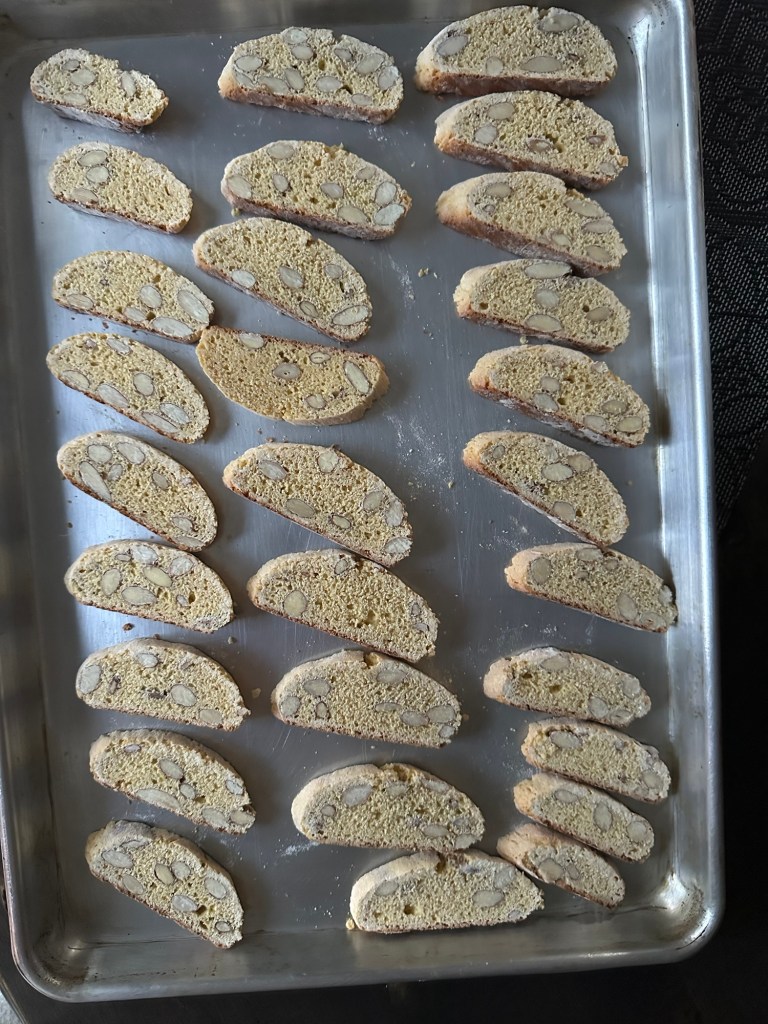
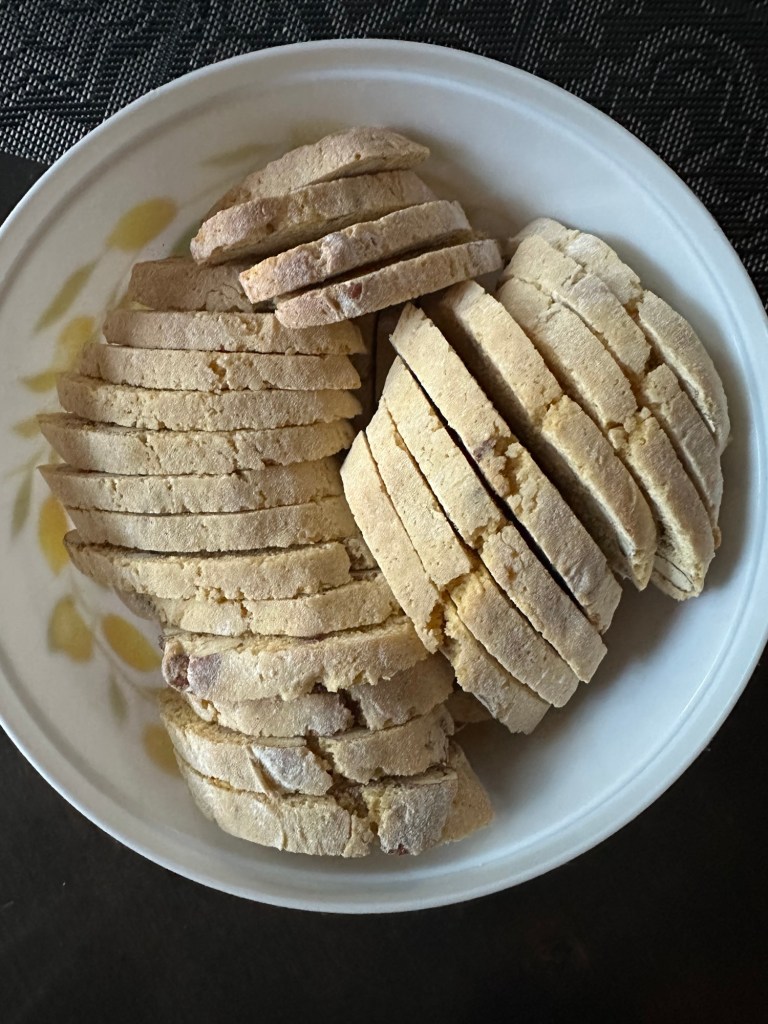
Place cookies on one side on 2 baking sheets. Bake for 10 minutes. You don’t need parchment paper for the second baking.
Store in a cookie tin.
Voila!
Grate Lemon Zest into Flour Mix
Toss Almonds into Flour Zest MixWhisk Eggs, Lemon Juice & Vanilla TogetherAdd Liquid to Dry Ingredients Combine & Add Flour Place Dough on Floured Surface & Sprinkle with FlourKnead for 1 MinuteDivide Dough in HalfRoll into LogsFlatten Top to 2 inches WideFlatten tops with a Bread KnifeCool Baked Loaves on a RackSlice 1/4 Inch Pieces on an AngleSlice into 1/4 inch CookiesTwice Baked BiscottiLemon Biscotti
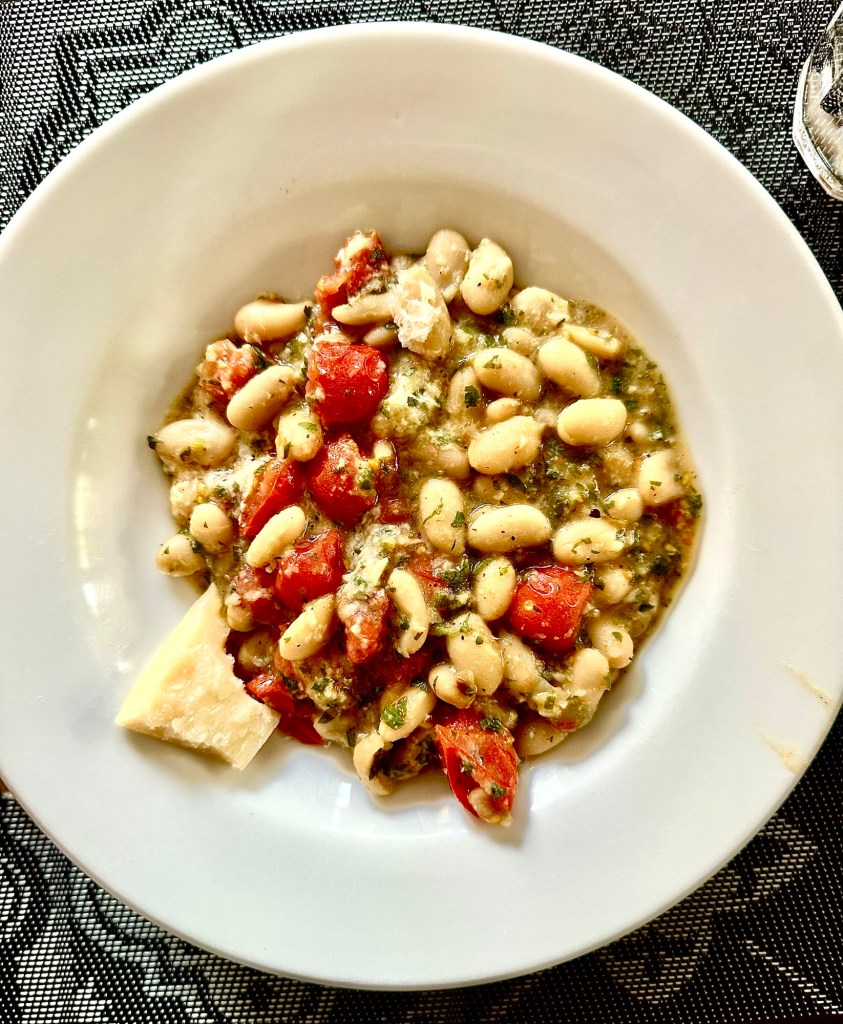
The Mediterranean Dish introduced me to this recipe and I love it! Easy, flavorful, healthy and satisfying!! You can add more or less of the ingredients to meet your own taste
Ingredients
2 tablespoons olive oil
4-6 large cloves garlic, minced
1/4 teaspoon red pepper flakes
1/2 teaspoon cumin
Salt and pepper
2-15 oz. cans cannellini beans, drained
2 cups cherry tomatoes, halved
1/3 cup Parmesan cheese, grated
1/3 cup Romano cheese, grated
1 cup chopped flat leaf parsley
3 tablespoons fresh lemon juice
Directions
Heat a large sauté pan over medium heat. When hot add the olive oil.
Add garlic and sauté and stir 30 seconds.
Add beans and 1/2 cup water; mix well.
Add spices and cherry tomatoes and cook throughly until hot, about 5-10 minutes.
Add Parmesan, Romano, parsley and lemon juice. Mix well.
Voila! That’s it! You’re done. Serves 4 as a main dish or 6-8 as a side
You can serve with warmed pita or crusty bread as you like
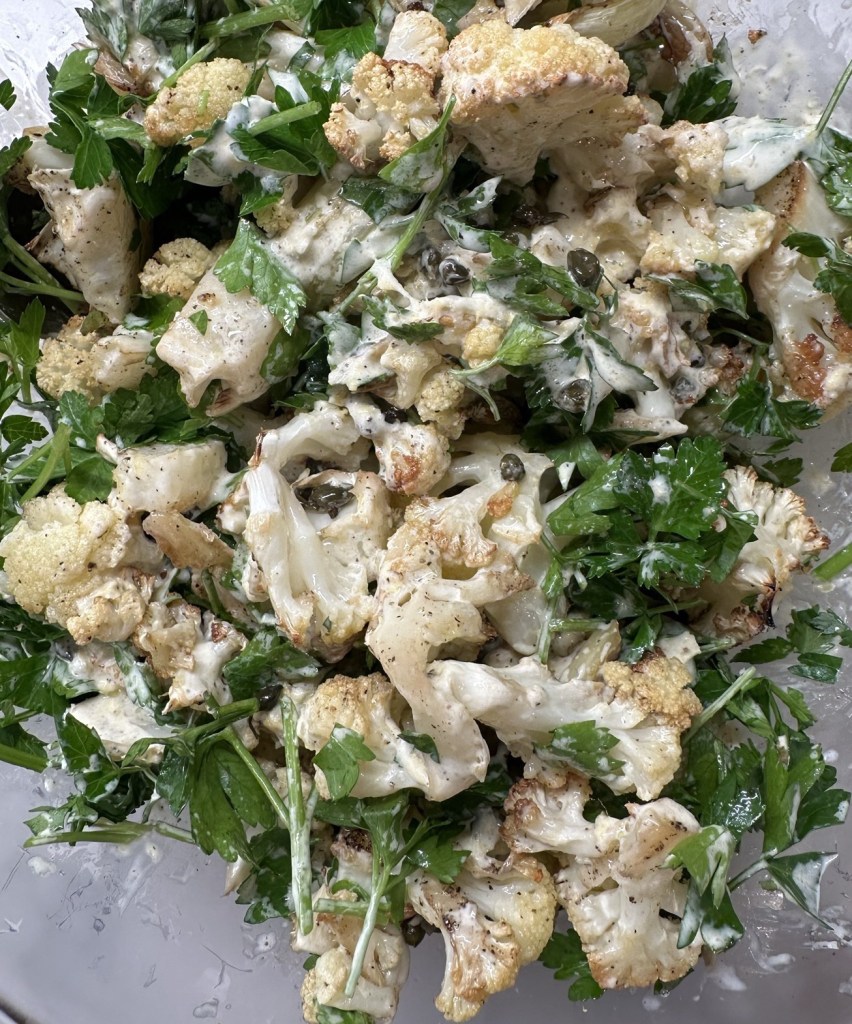
This New York Times recipe is a full flavored take on cauliflower. Served warm or cold it works both ways. The cauliflower can be roasted ahead of time and served cold with the dressing and added parsley or it can be reheated and tossed with the cold additions. I prefer the warm cauliflower.
Slicing thick slabs of cauliflower was a great way to cut this up. It somewhat falls apart into uneven pieces which you can break further apart as you choose.
It’s great as a side salad or a vegetarian main dish. I’ve also made it with broccoli which is good too but the broccoli adds even more flavor to this dish.
Ingredients
1 medium cauliflower (2 pounds)
1/4 – 1/2 cup capers, drained
1/4 cup olive oil
Salt and pepper
1 lemon, zest and juice (1/4 cup or so)
1/2 cup Parmesan finely grated plus more for serving
1/4 – 1/2 cup mayonnaise
1 tablespoon Dijon mustard
2 anchovies, drained and chopped, optional
2 cloves garlic, minced
1-2 cups whole leaf Italian parsley
Directions
Heat oven to 450 degrees
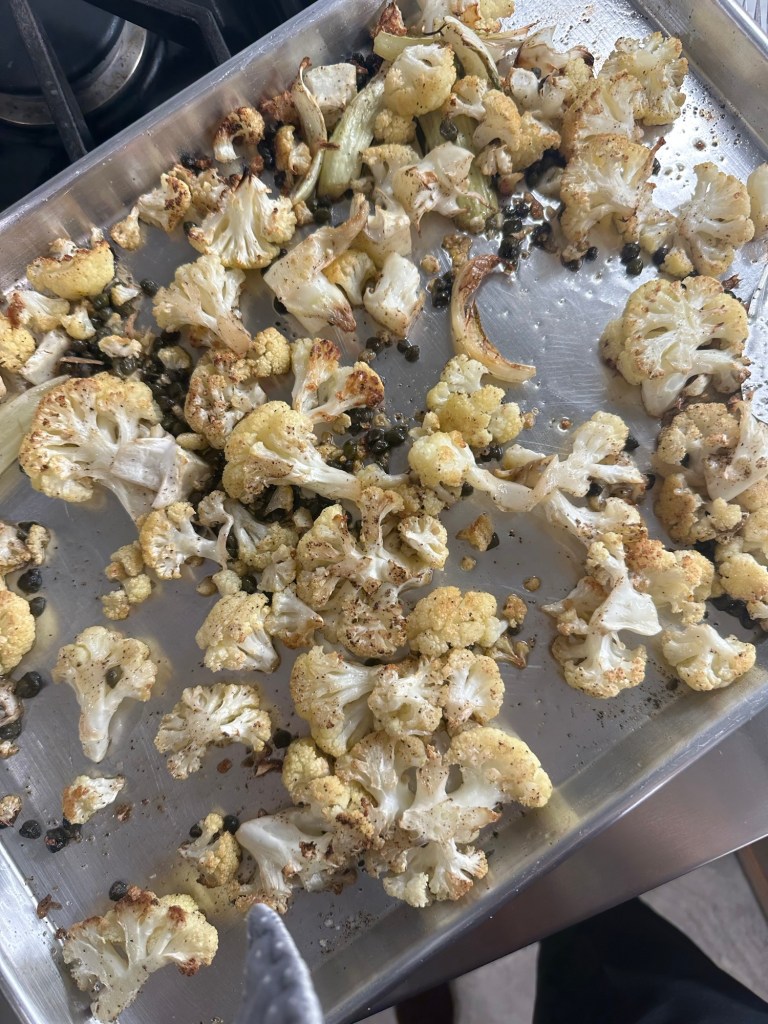
Remove outer leaves from cauliflower and cut into large pieces. Trim stem so the cauliflower can stand upright. Slice thick slabs, about 5, and break off flowerettes. Pieces can be small or quite large and you can cut them into bites at the table.
Place all cauliflower bits and pieces on a large baking sheet. Toss with capers and olive oil, salt and pepper. Spread cauliflower evenly without overlapping to promote browning.
Turn cauliflower mixture over after 15 minutes and roast another 15 minutes. Color should be lightly or medium browned. Capers will be crisped.
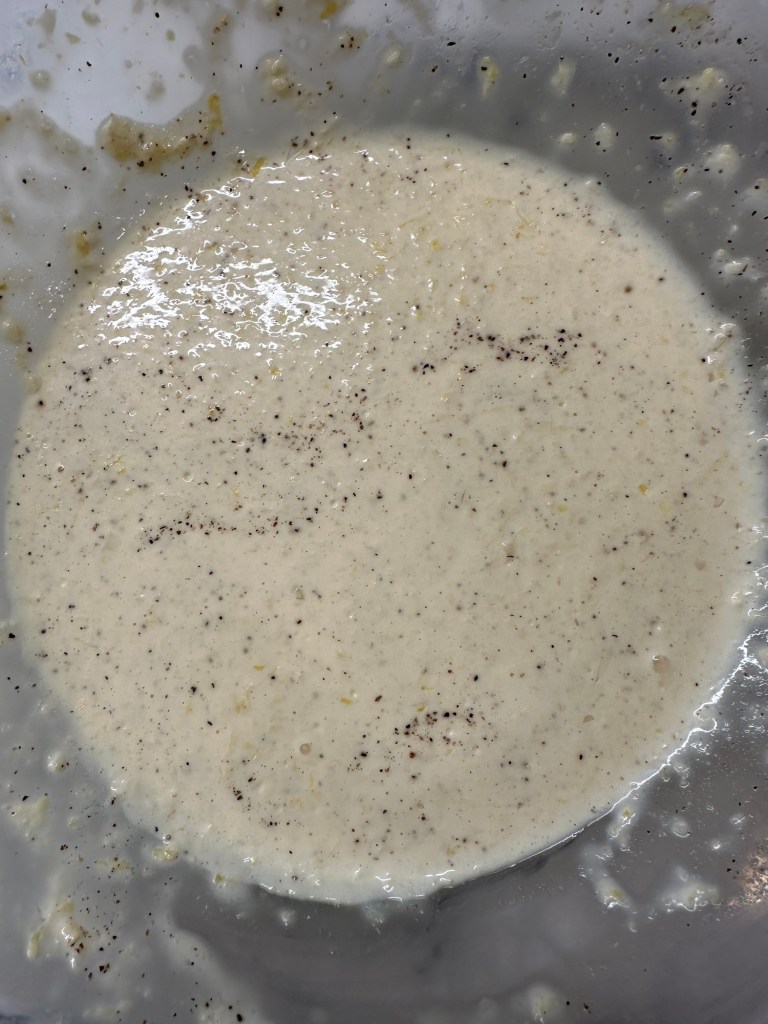
Remove from oven and set aside. In a large bowl combine dressing ingredients: zest and juice of 1 lemon, mayonnaise, Parmesan, Dijon, garlic, anchovies, salt and pepper. I don’t add the anchovies.
Just before serving scrape all of the cauliflower into the salad dressing. Toss in as much parsley as you like. I added 2 cups which is twice as much as the original recipe.
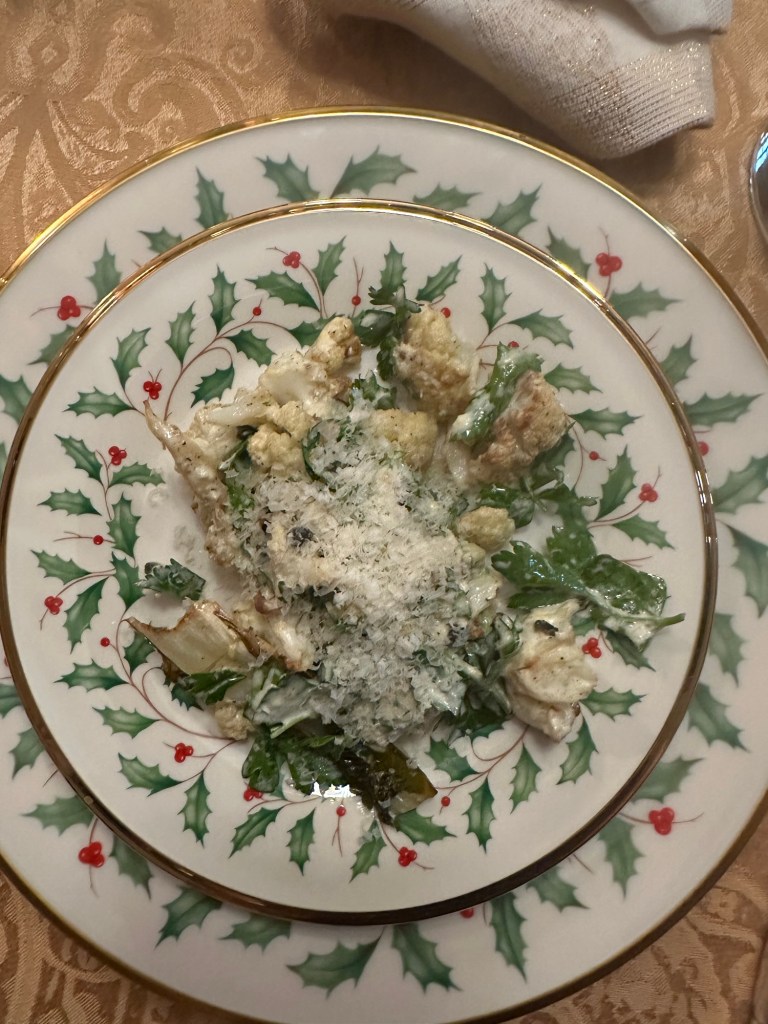
Serve onto plates and add more Parmesan to each.
Serves 4 as a main course or 6 as side dishes.
Roasted Cauliflower and CapersCaesar DressingChristmas Dinner Salad
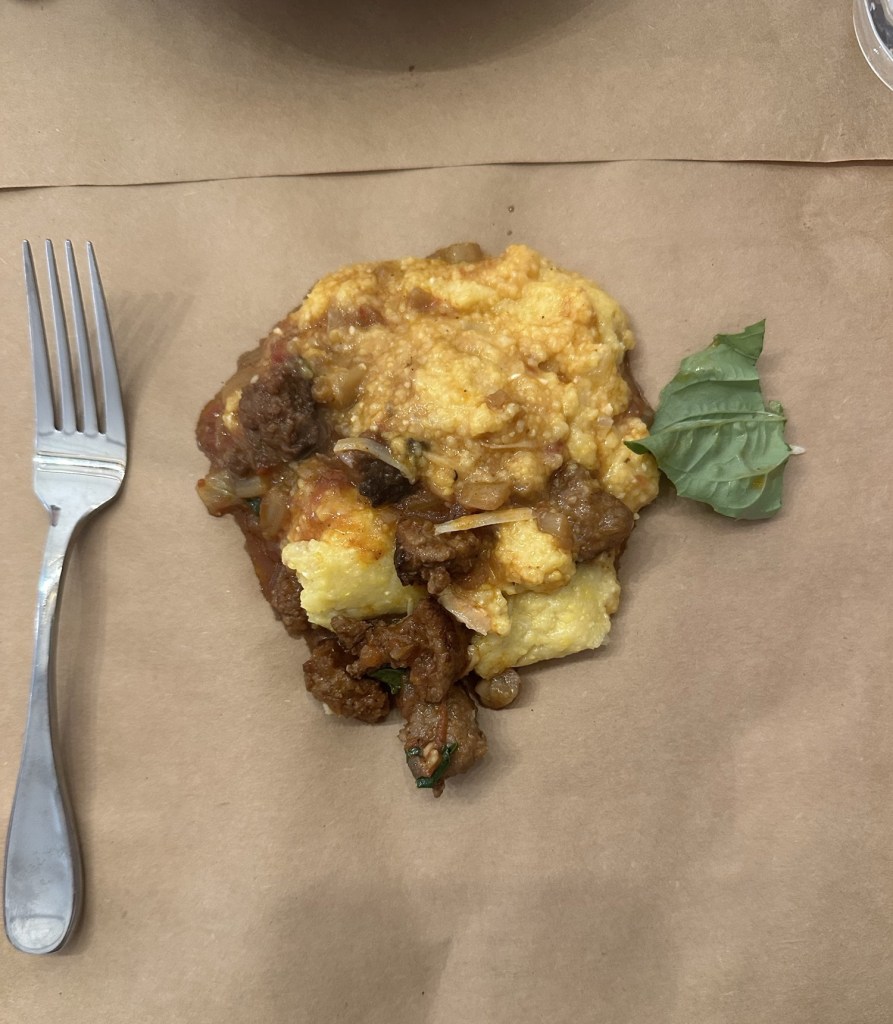
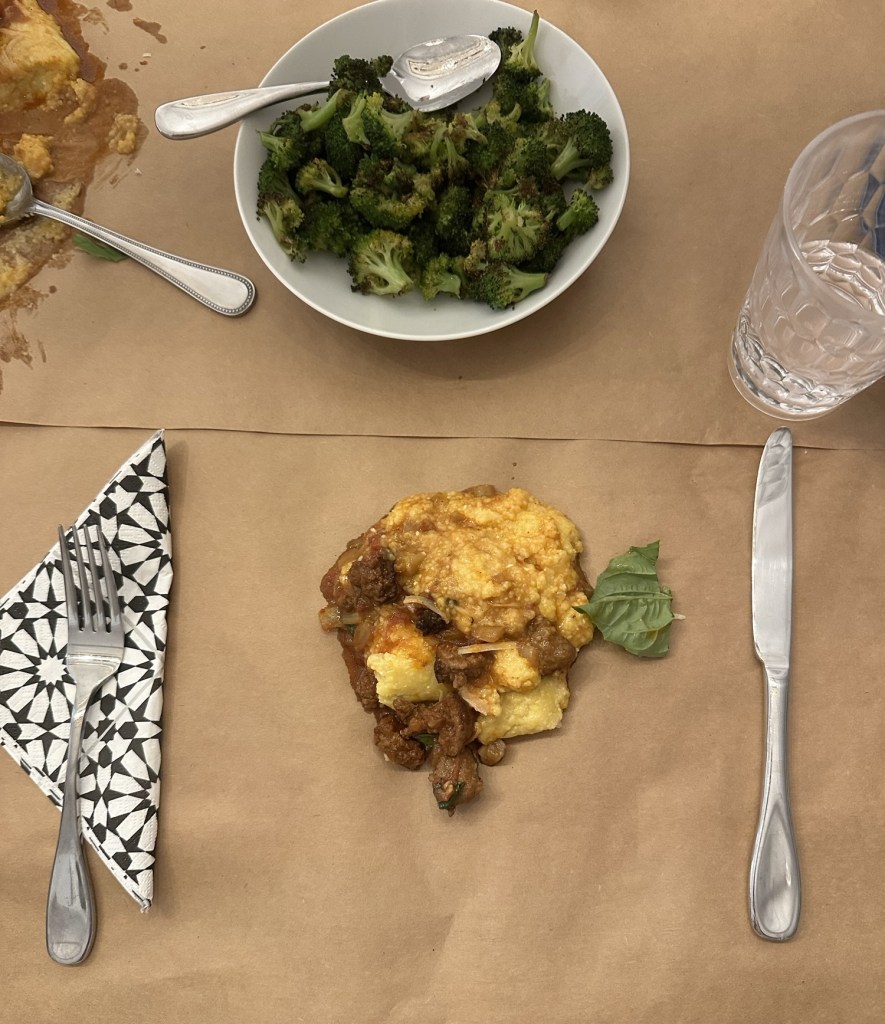
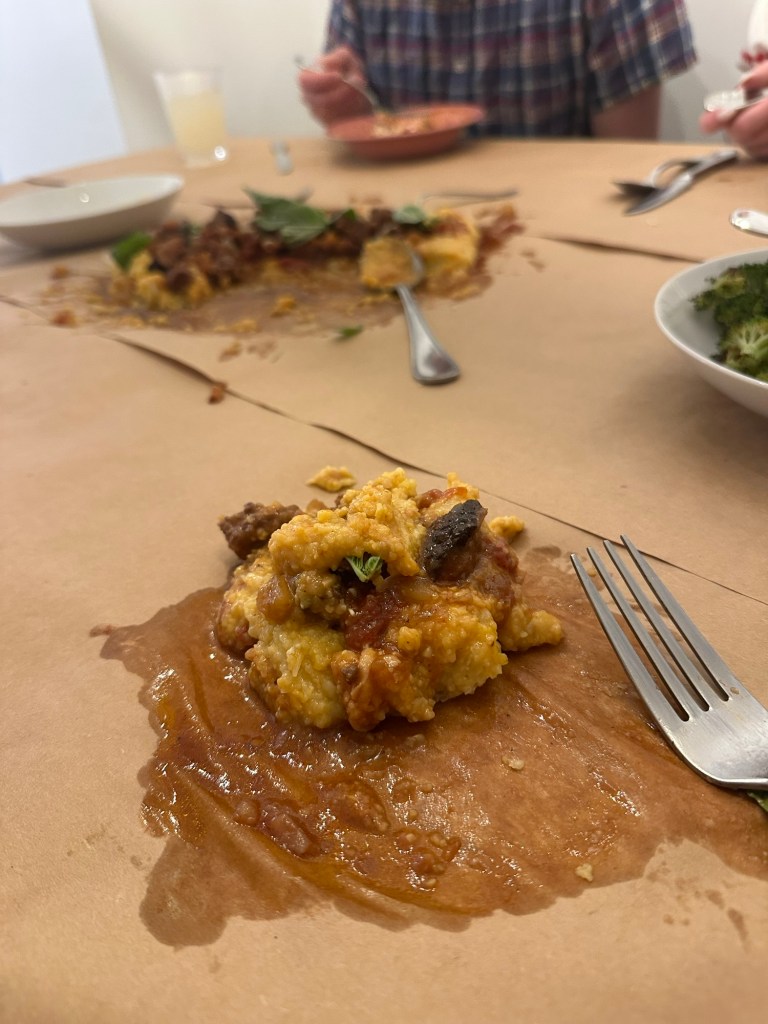
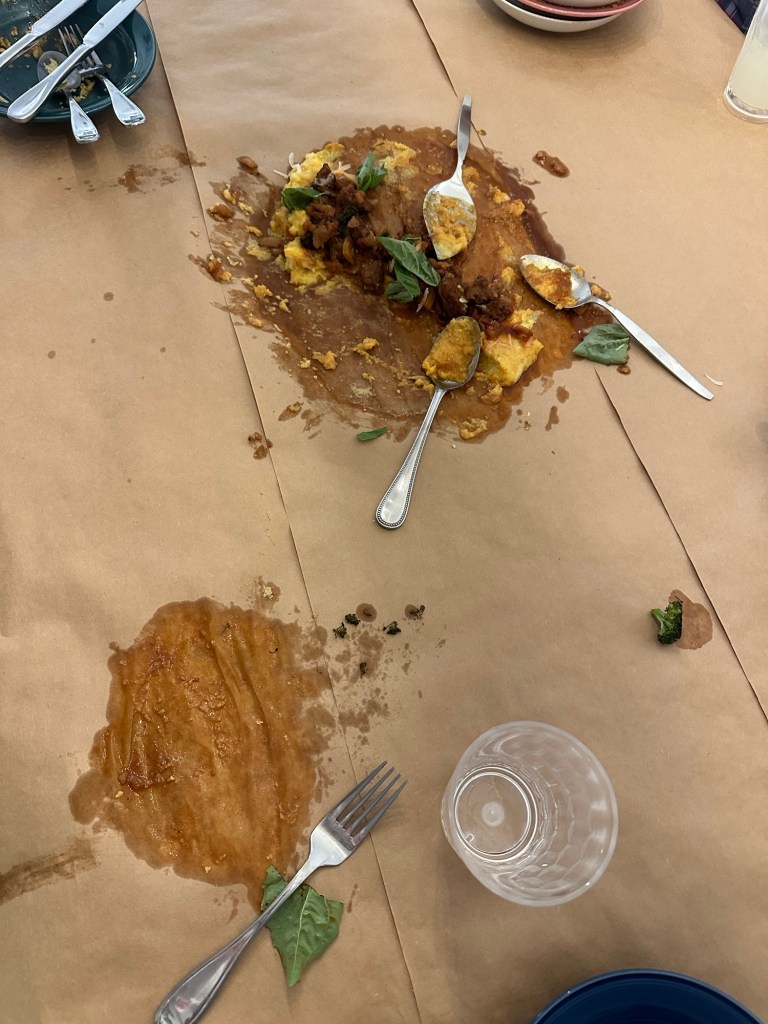
There’s shock and laughter when you serve this directly on the table as they do all over Italy! Kids love it! It’s an ancient way of serving food. This rustic meal is specifically from Italy. We experienced this near a small village northwest of Milano near Lake Maggiore called Arcumeggia. It’s known as “the village of paintings.” We were taken there by our friends Marino and Giovanna Nebuloni and are forever grateful to them for sharing so much of their cuisine and culture with us over the years.
For the full effect, line your table with a plastic covering. Then top it with a heavy paper or a craft or butcher paper. Pour the polenta in the middle and using a large spoon give it a bowl like shape. Then fill the “polenta bowl” with the Italian sausage and tomato sauce. Add a final shredding of Parmesan, scatter fresh basil over it all and you’re ready to go. If you want more veggies, add a pile or bowl of roasted broccoli to the table.
This meal is a thick creamy polenta which can hold the meaty tomato sauce. A jar of tomato sauce is NOT a substitute!
Polenta on the Table
You can use a large wood cutting board to serve this. There is even a special Italian board called a spianatora used for this. Plates are also optional.
Polenta refers to cornmeal today. But maize did not arrive in Italy until 1650. Before then polenta was made from barley, spelt, chickpea or walnut flour. The word polenta came from the Latin pulmentum. Polenta is also known as grits.
Serves 8
If you are only serving 4, make 1/2 the polenta recipe. It is not good when reheated. The leftover sauce can be frozen.
Ingredients
Sauce
4 tablespoons olive oil
2 pounds Italian sausage meat, casings removed. We use HOT Italian sausage
2 large onions, chopped
2 large fennel bulbs, chopped
6 garlic cloves, minced
1 cup red wine
1-1 pound 15 oz can Italian plum tomatoes, San Marzano is best. Break tomatoes into smaller pieces with your hands into a bowl
1 teaspoon sugar
Large handful fresh basil, roughly torn, plus some for the table
Polenta
4 cups chicken stock
1 1/3 cups Bob’s Red Mill Polenta (medium grind cornmeal) or regular grits
5 tablespoons butter
1 cup grated Parmesan plus more served at the table
Directions
Sausage Tomato Sauce
In a wide heavy bottom sauce pan or casserole over medium high heat place 2 tablespoons olive oil.
Add the sausage and chop it with a large spoon or metal spatula into large chunks as you brown it. You want large size pieces about 1 inch or so in size.
When browned, remove meat from pan. Then add another 2 tablespoons olive oil to the pan. Reduce heat to low and add the onion and fennel. Stir and sauté until tender.
Add the garlic and sauté 30 seconds. Increase heat to medium and add wine and let bubble for 1 minute.
Add tomatoes, sugar and cooked sausage meat. Reduce heat to low, cover and simmer gently 20 minutes.
Add the basil and reserve some for the table. Taste for seasoning. Voila!
This sauce can be made the day before. The polenta can not because it thickens up too much as it cools and becomes too solid.
Polenta
Immediately before you are ready to serve the Polenta on the Table, make the polenta. It thickens too much as it sits in the saucepan to be made ahead of time.
Bring stock to a boil in a large saucepan. Slowly add the polenta while whisking.
Reduce heat to a simmer. Whisk constantly while simmering 10 minutes or until thick, creamy and tender.
Add butter and Parmesan, whisking till blended in.
Another option for the polenta is in the same saucepan melt 2 tablespoons butter and sauté a chopped onion and then when translucent add 2 cloves minced garlic for 30 seconds. Then add the stock and proceed.
You are now ready to serve!
If you are serving 8, make 2 mounds of polenta at the table. If you are serving 4, then make 1 mound.
Use a large spoon to make a bowl shape in the polenta with sides high enough to hold the sauce.
Pour 1/2 the Sausage Tomato Sauce into each polenta bowl.
Sprinkle some Parmesan over the sauce and toss basil over it all.
Voila! Time to eat! Everyone helps themselves. I like to use a flat metal spatula for serving.
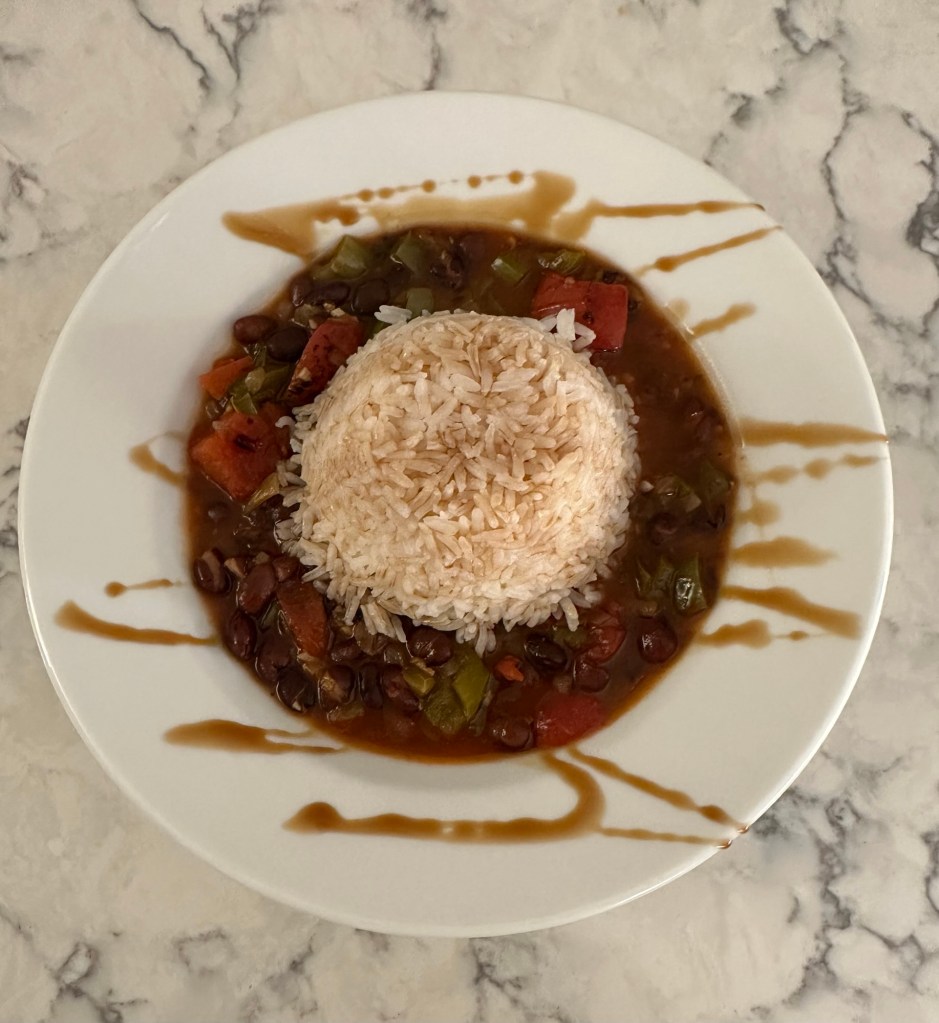
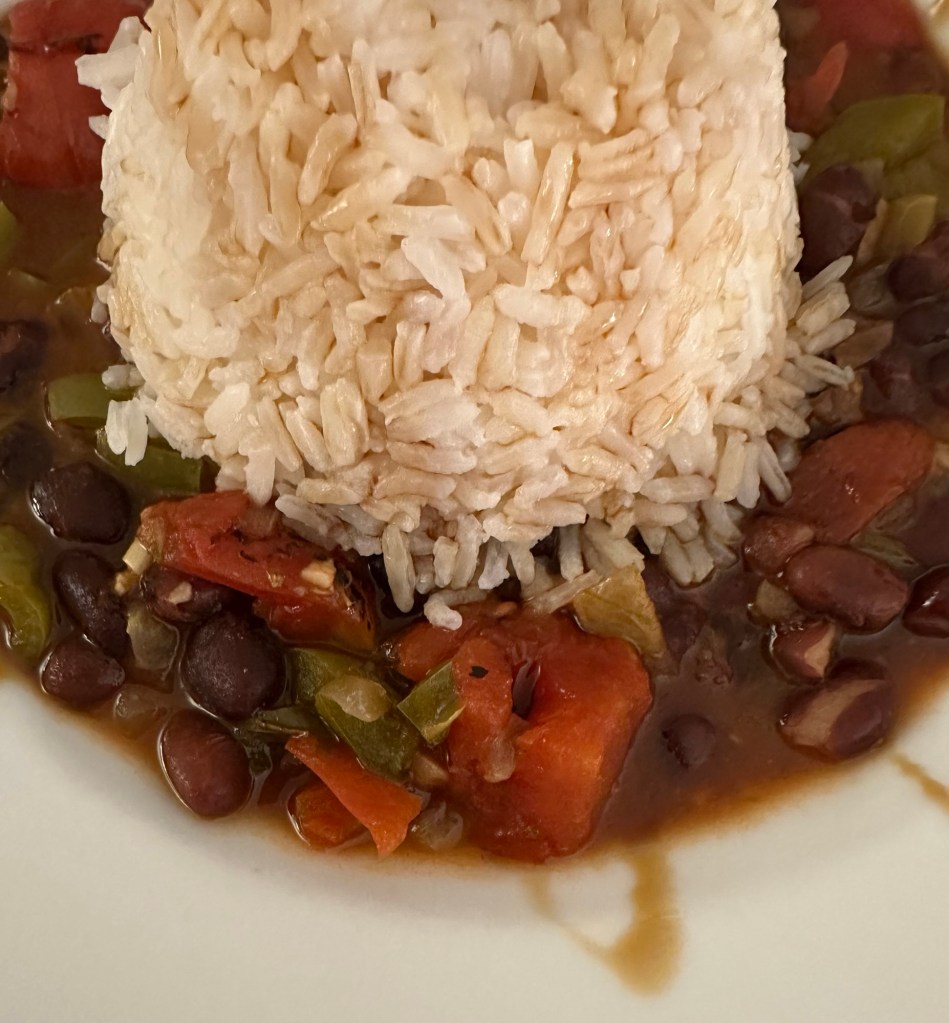
This is a quick and easy way to make Cuban style soup. The fastest method is to only use 2 canned foods: seasoned black beans and fire roasted tomatoes. Simmer them together 10 minutes and Voila! Serve with white rice.
You can step it up a notch by first sautéing onion and green pepper. Then adding garlic, cumin and oregano. Simmer a bit and add red wine vinegar at the end, or a nice thick balsamic vinegar.
It’s great comfort food. Traditional Cuban style is served with hard boiled egg on top. This recipe makes 4 servings.
Ingredients
2 tablespoons olive oil
1 medium onion, chopped
1 large green pepper, chopped
1 teaspoon minced garlic
1-2 teaspoons oregano
1 teaspoon cumin
1-15 oz. can black beans, not drained, seasoned if possible
1-15 oz can fire roasted tomatoes
Red wine vinegar or balsamic for the table
3 cups cooked white rice
Hard boiled eggs, chopped, optional
Directions
Heat a medium saucepan over medium high heat.
Add onion and green pepper and sauté until wilted
Add garlic, cumin and oregano and simmer and stir over medium heat 1 -2 minutes.
Add black beans and tomatoes. Stir well and simmer 10 minutes
Ladle soup into serving bowls. Top with a scoop of rice. You can make a nice looking mound by packing the rice in a scoop or measuring cup. Top with vinegar and chopped eggs
Tomato Sauce with a Halved OnionPasta with Tomato Sauce and Grated Parmesan with Meatballs
This Marcella Hazan recipe from the New York Times is my new favorite way to make pasta now!! It’s quick and delish! Easy and fast. Slice an onion in half and simmer it in a can of tomatoes or tomato sauce with 5 tablespoons butter! That’s it. Here’s the details
Ingredients
1-29 oz can Marzano whole tomatoes without skins or tomato sauce, or any other canned tomato
1 onion cut in half
5 tablespoons butter
Pinch or two of salt
Directions
In a saucepan or frypan combine tomatoes, onion, butter and salt
Bring to a simmer for 30-45 minutes, covered at least partially. Stirring occasionally. I try to keep it covered.
Break any tomato pieces with a spoon on the side of the pan.
Remove onion and add 1/2 to 1 pound cooked and drained pasta. It depends how saucy you like your pasta. I like mine saucy so I add only 1/2 pound or so of pasta.
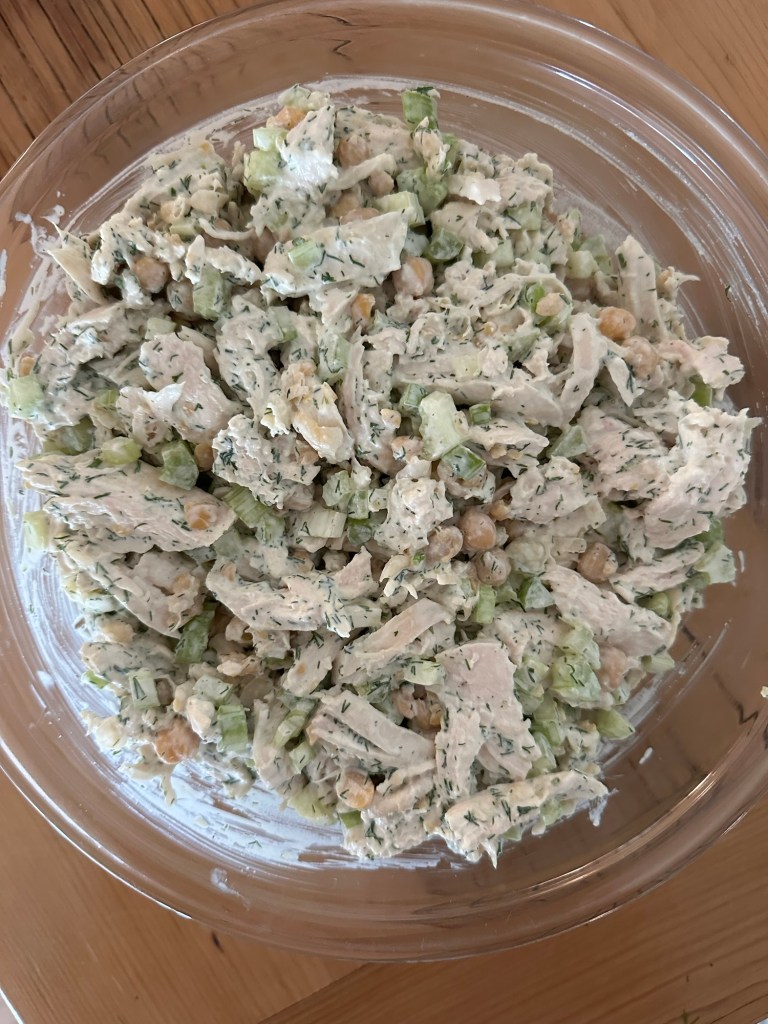
This is a very forgiving flexible recipe. Dill and chickpeas are optional. Even the celery is optional. You can cube the chicken if you prefer. I think most important is to not overcook the chicken. I think an instant read digital thermometer is extremely helpful to prevent overcooking.
I poach it in a pot of water with salt and a few herbs and veggies for added flavor. Bring it to a boil and then turn the heat off until done. I’ll give you more specifics below
Ingredients ready to go
Ingredients
3 chicken breasts, boned and skinless and cut in half crosswise
2 teaspoons salt for water
1 medium onion, quartered , optional
2 sticks celery, halved, optional
5 whole peppercorns, optional
1 bay leaf, optional
2 cups diced celery
2 handfuls of fresh dill, chopped fine
1 can chickpeas, drained
1/3 cup mayonnaise
1/3 cup nonfat Greek yogurt
1/3 cup sour cream
1 teaspoon salt
1/4 teaspoon pepper
2 tablespoons white balsamic vinegar
Directions
Fill a large pot with water and add onion, celery sticks, 2 teaspoons salt, peppercorns and bay leaf. Bring to a boil.
Add chicken breasts. Try to make sure they’re all about the same size so they cook evenly.
Bring to a boil, cover and turn off the heat. If you have a gas stove turn the heat on as low as possible. An electric stove will maintain a low heat for some time.
Using an instant read digital thermometer check the temperature of the breasts every 5 minutes. When it reaches 155 remove from hot water and place in a colander to drain. The chicken will continue cooking as it cools. All the breast halves may not get to the 155 degrees at the same time.
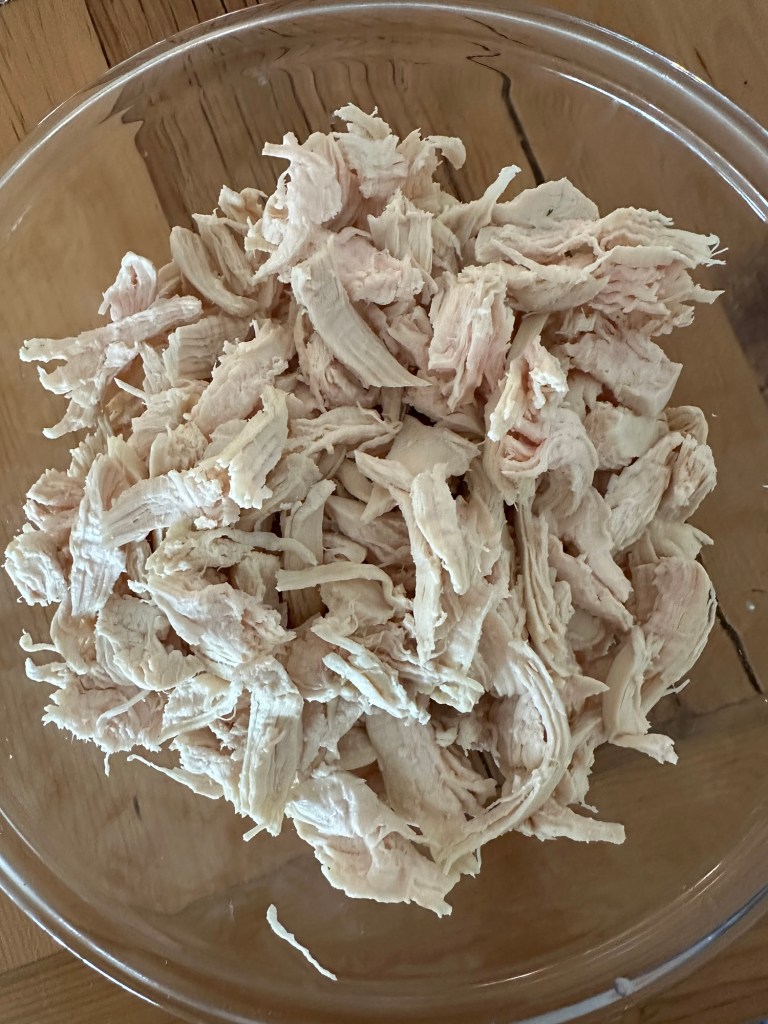
When it’s cooled start shredding the chicken into a large bowl
In a medium bowl combine mayonnaise, yogurt, sour cream, dill, salt, pepper, and white balsamic vinegar. Taste the dressing and add seasonings if you think it’s needed.
Add chickpeas to the dressing and smash them against the side of the bowl with a fork. Smash as many as you like. They all don’t need to be smashed.
Add the dressing to the chicken and mix well. Then add the celery and mix again.
That’s it! Ready to serve or store in the frig. This keeps about 4 days.
Shredded chickenDressing with DillDressing Chicken Salad with Dill and Chickpeas