RSS Feed

Italian Meat Balls

This recipe is from an Italian-French cooking school called The Antoinette Pope School. It was in downtown Chicago and my mom took lessons there in the 1940’s. This recipe is straight from their cook book. 

I always make a large quantity of these meatballs because they freeze well and everyone loves them. They’re great plain or with Italian tomato sauce. Usually I’ll make the 3 lbs of beef but sometimes even 6 lbs. the recipe always turns out great

Here’s a head of garlic minced for 6 lbs of beef

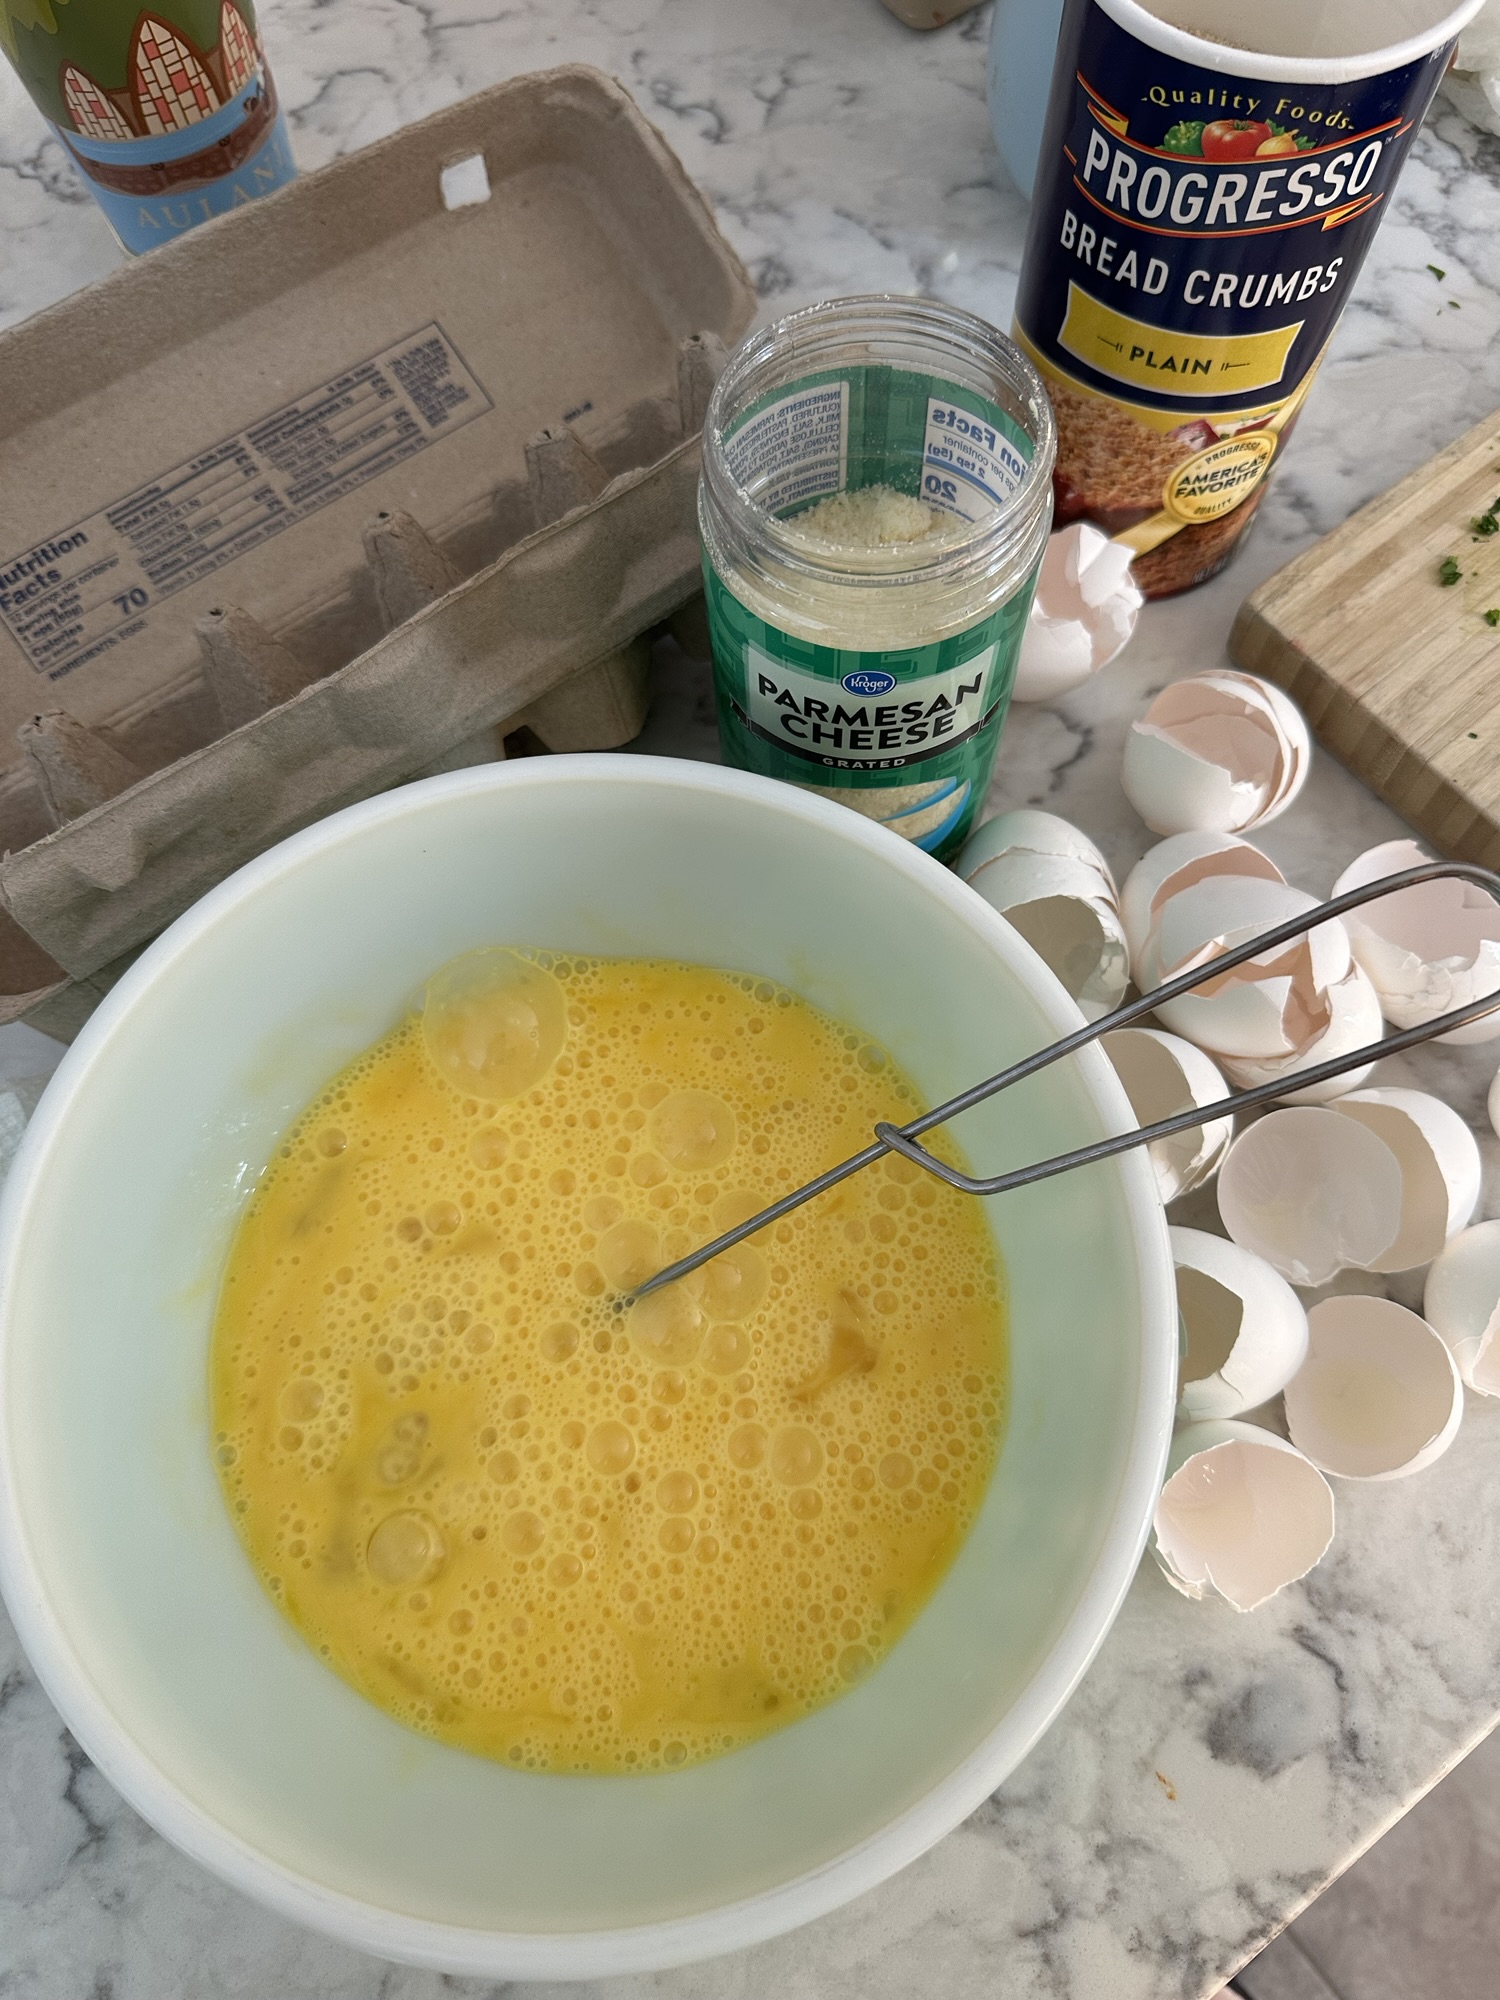
Beat the eggs in a separate bowl

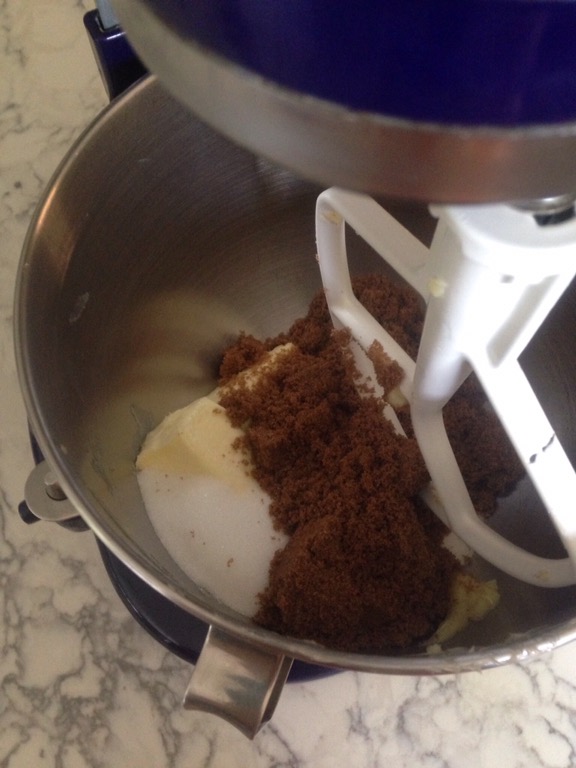
Mix in all the seasonings

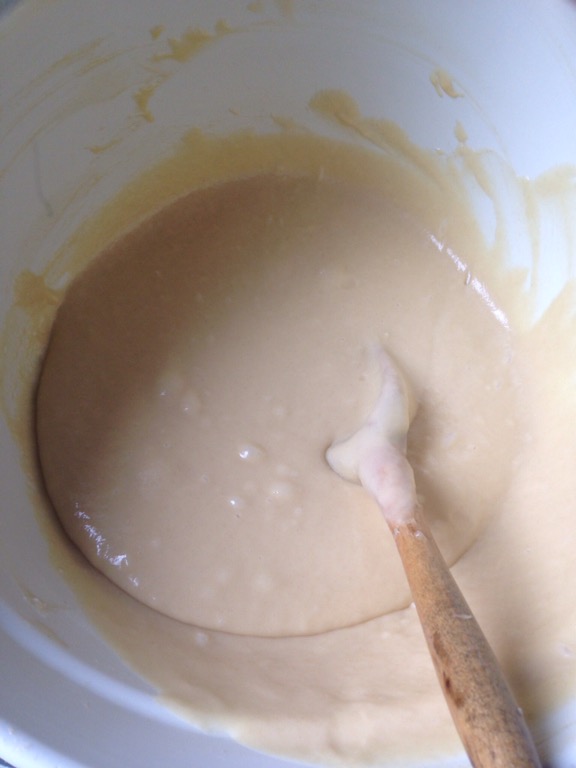
Add the eggs and mix well before adding the breadcrumbs, Parmesan and milk

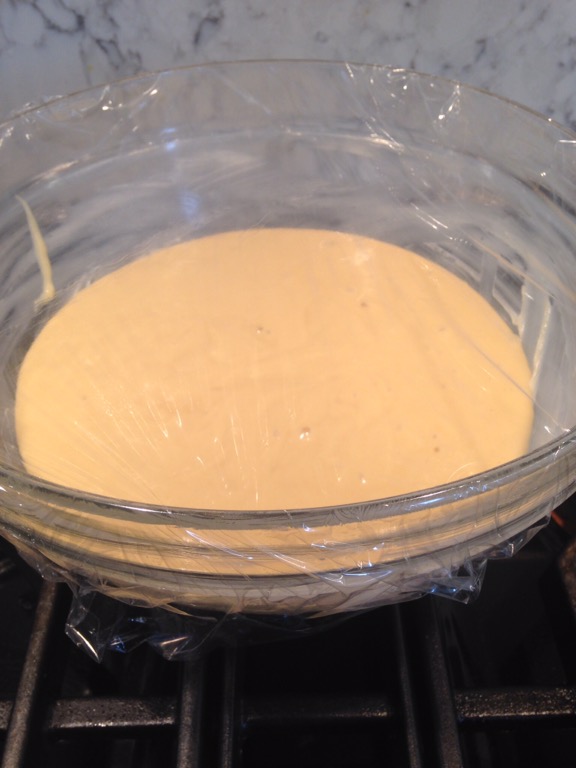
Here is the mixture which needs to set for 30 minutes

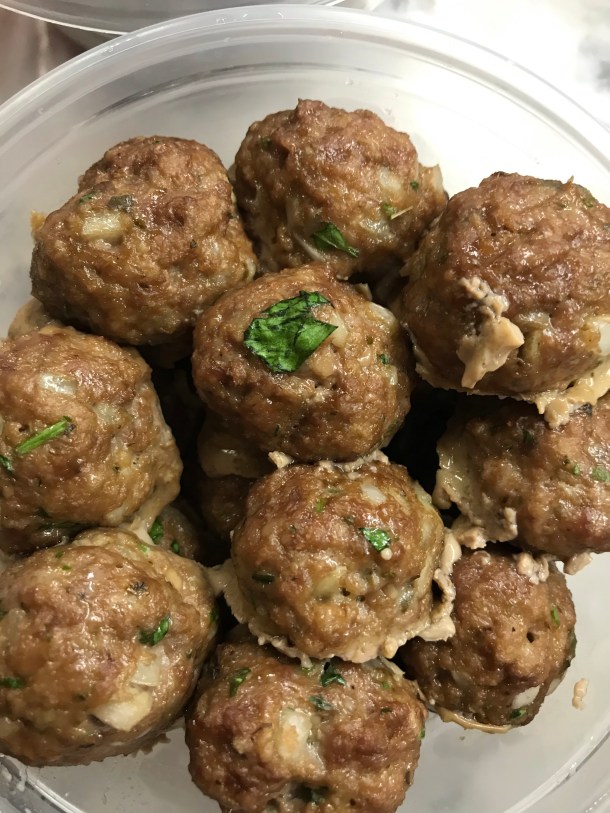
These meatballs are ready to bake to 165 degrees F. Parchment paper is a better liner than foil for baking
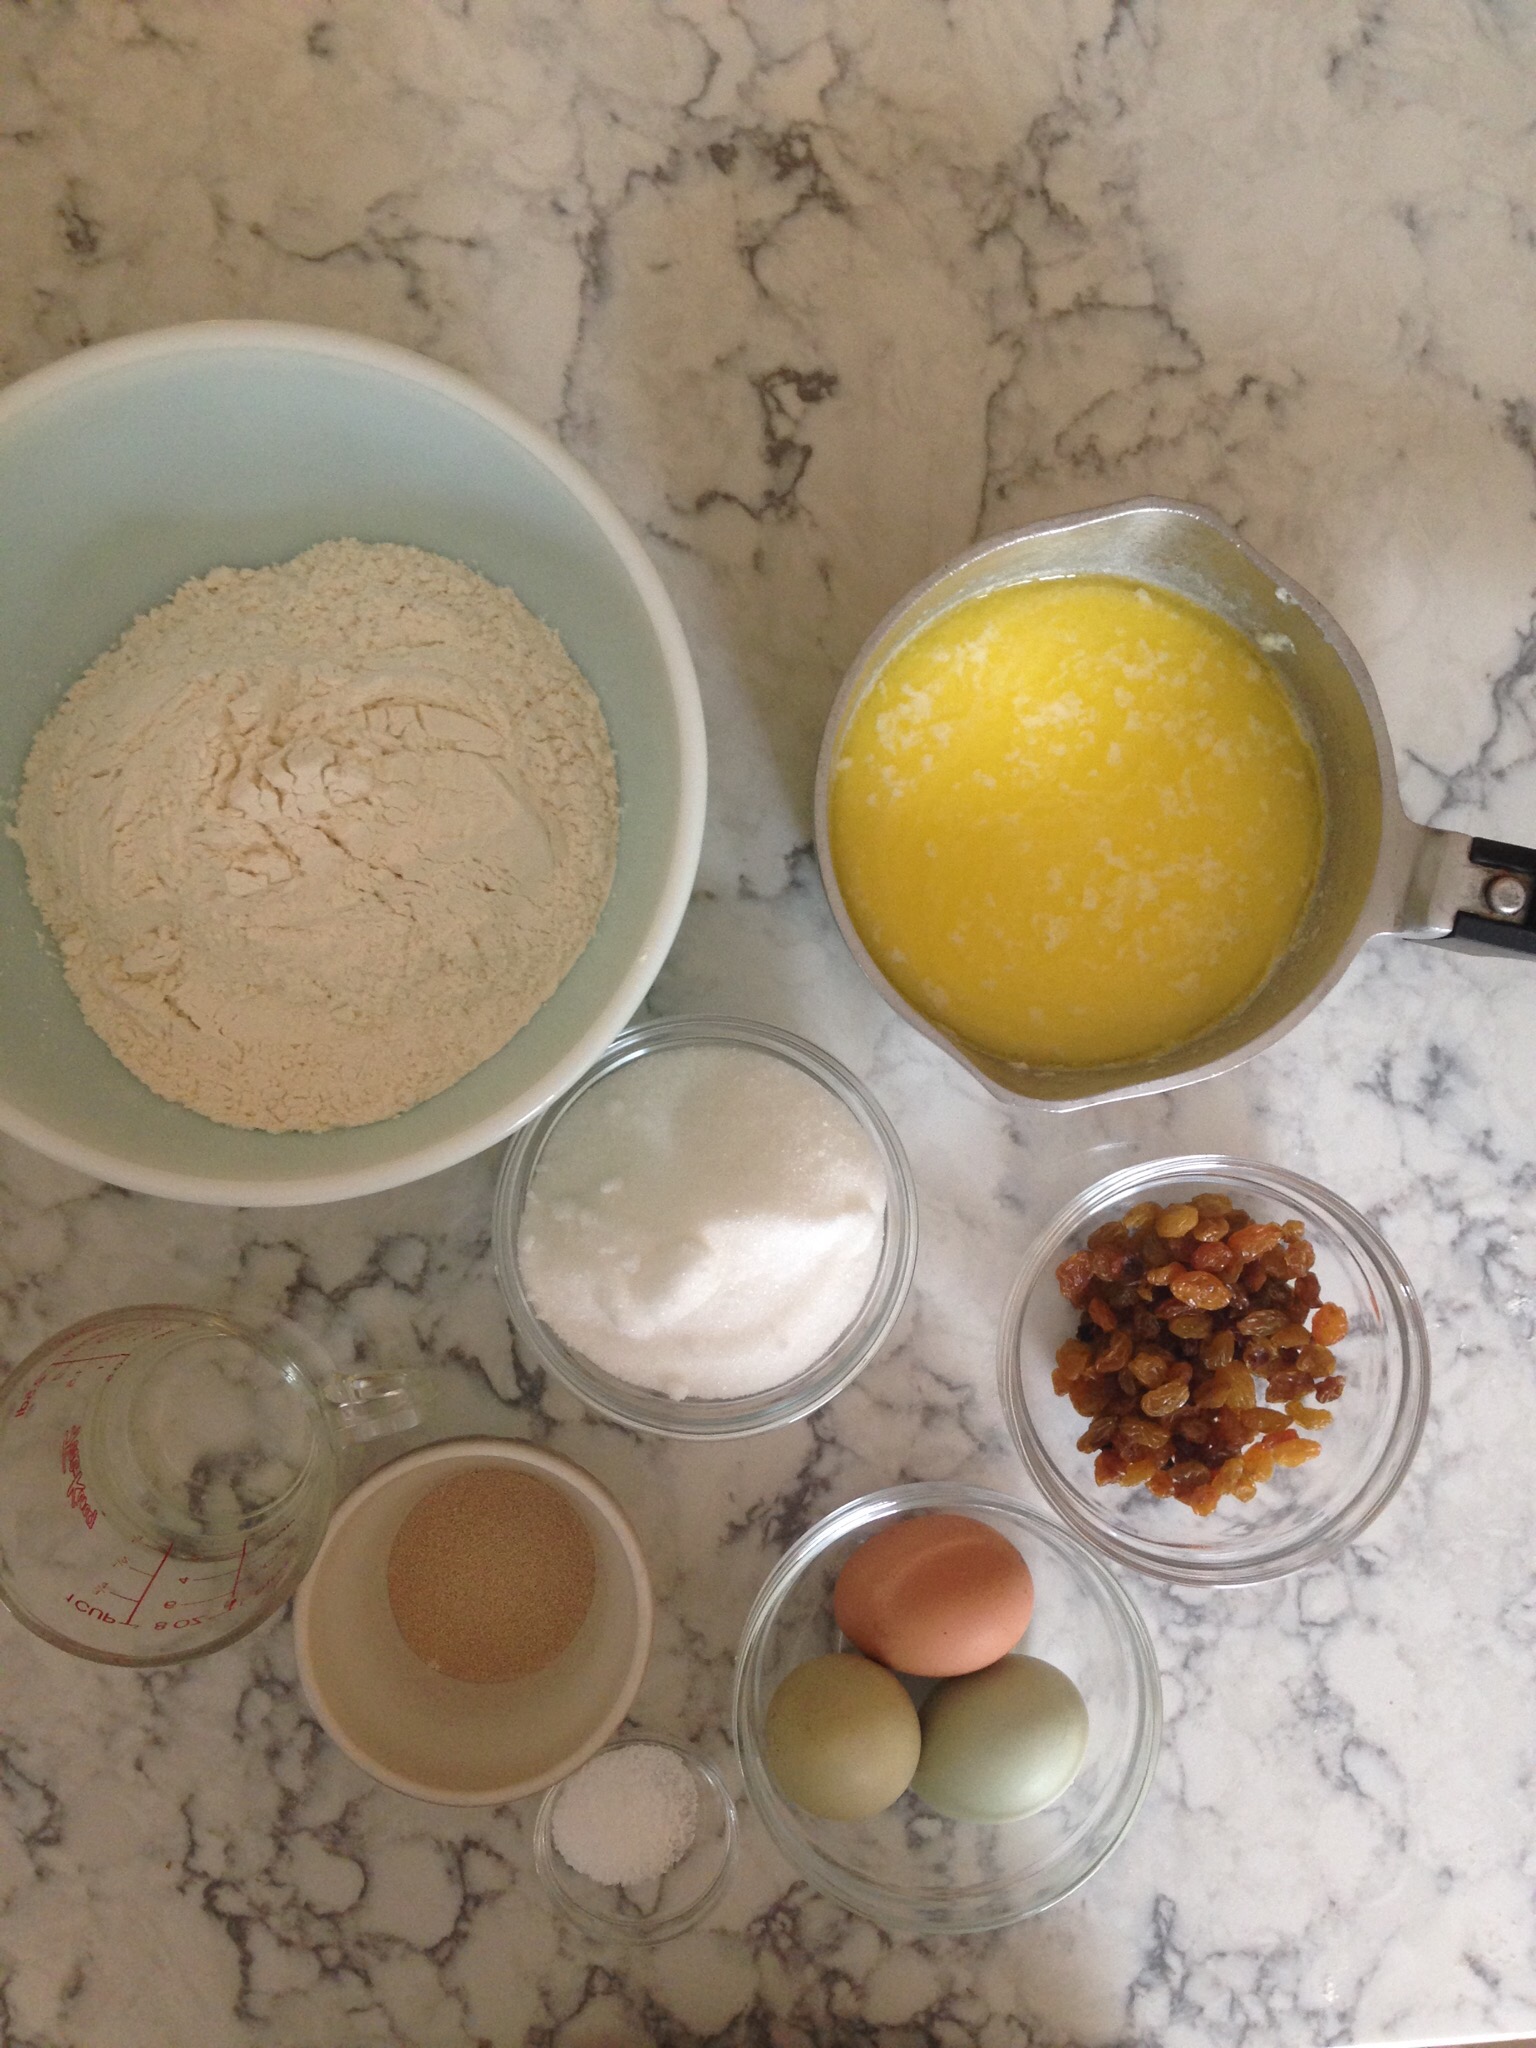
Ingredients

3 pounds 90% -95% lean ground beef

2 cups finely chopped onion

1 tablespoon or more dried oregano

2 teaspoons salt

1 teaspoon black pepper

6 cloves garlic, minced

1 cup chopped flat leaf parsley

6 eggs, beaten with a fork 

1 and 1/2 cups cool milk or water

1 cup grated Parmesan cheese

1 and 1/2 cups dry bread crumbs

Directions

  • Preheat oven to 350 degree F
  • In a very large bowl place beef
  • Add the above ingredients in the order listed and mix well into beef after each addition
  • Now let the mixture stand for 30 minutes.
  • Form into 1 1/2 inch size balls using a scoop if possible. It makes it easier. I use a Noropro scoop that holds about 2 tablespoons. Also keep a small bowl of cold water nearby to keep your hands wet. This will help you more smoothly roll the meatballs in your hands.
  • Place on  baking sheets lined with parchment paper. Do not crowd the meatballs.
  • This recipe makes 80-90 meatballs
  • Bake 15-18 minutes or until internal temperature reaches 165 degrees F. Try not to go much higher than 165. The meatballs will get dry if cooked too long. Use an instant read thermometer. I like the Classic Thermapen.
  • Cool thoroughly before freezing. 
  • Serve as is or with an Italian tomato sauce.

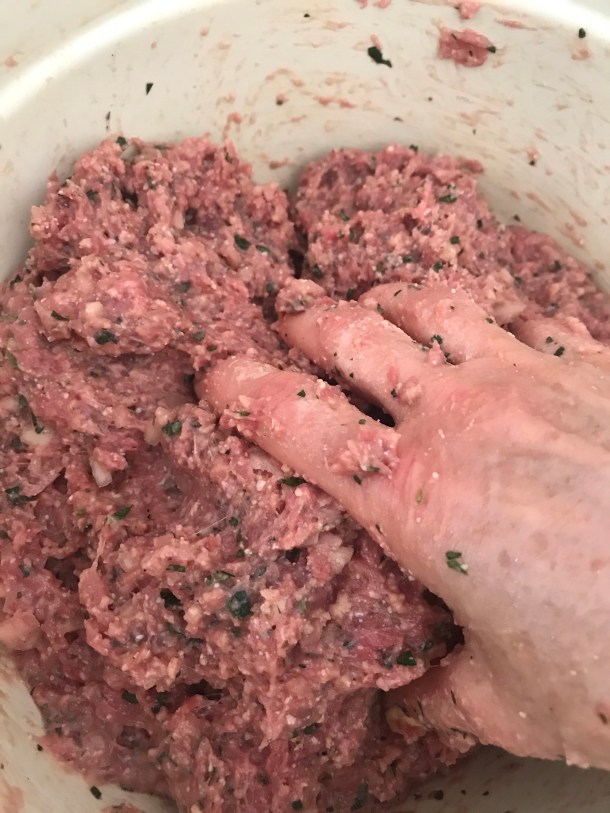
Mix and work in each ingredient into the beef with your hands

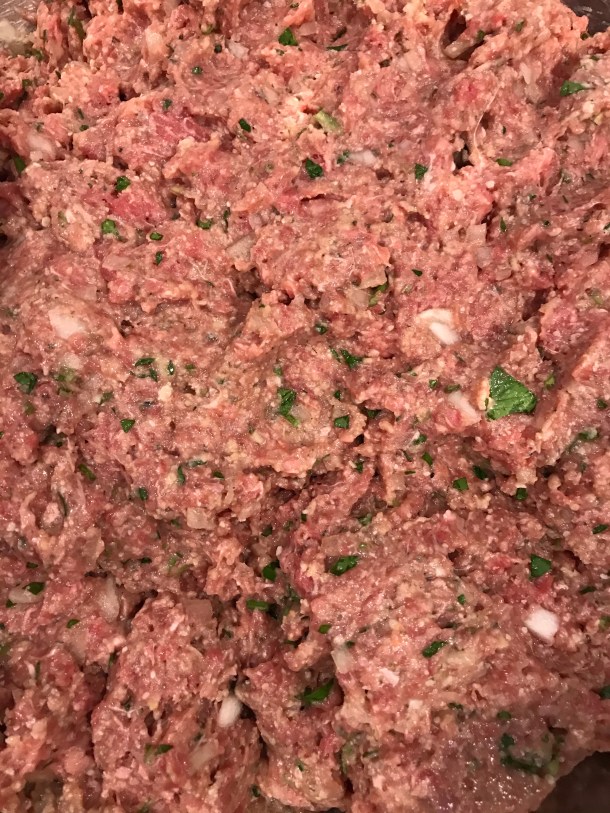
Let mixture sit for 30 minutes before making meatballs

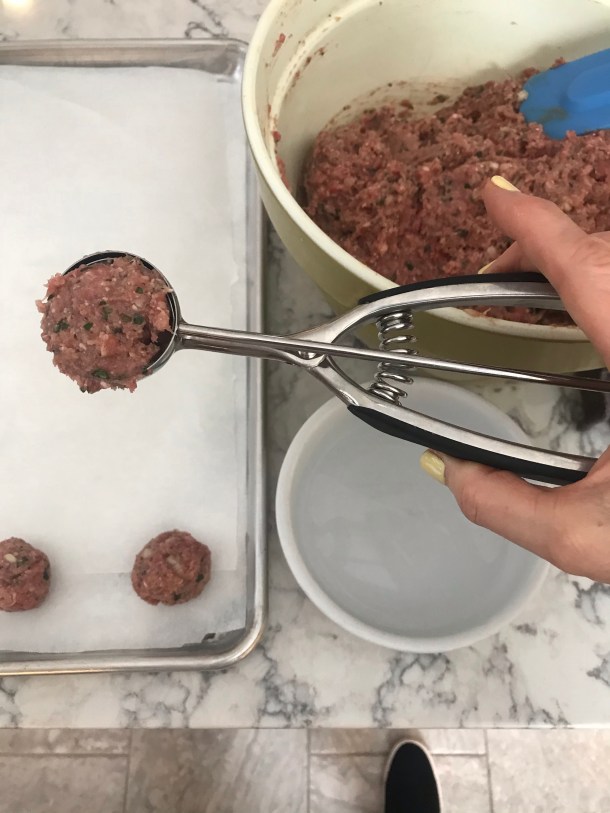
I like my Noropro scoop for measuring out the meatballs. Notice the bowl of water and the parchment paper too!

Love my Classic Thermapen for quickly taking food temperatures!

These meatballs are baked perfectly!
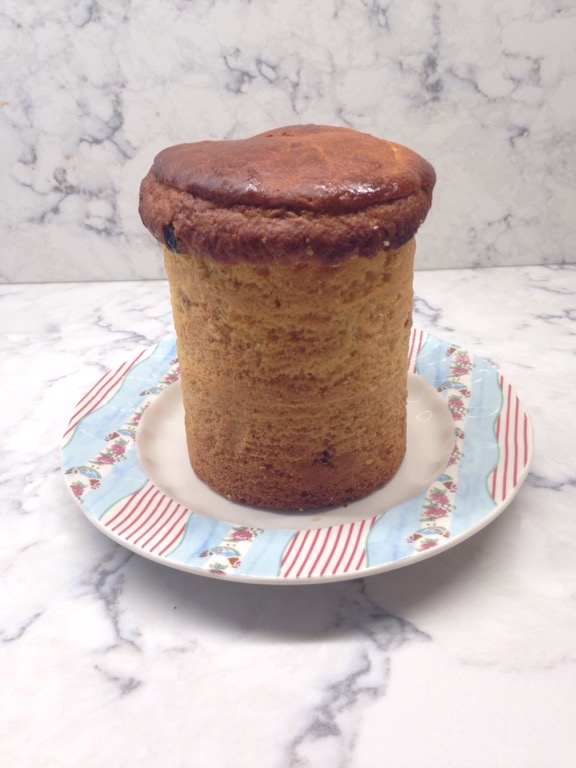
Voila!

Limoncello


Limoncello is  a tart slightly sweet liquor that’s best ice cold. It’s served all over Italy as an after dinner drink, aperitif or  anytime you want! The original recipe is from Sorrento along the Amalfi Coast where we learned the secrets for making true limoncello from a local family, the Coppelli’s. Gino and his sister gave us lessons over a several day process at their Residence Santa Lucia where we stayed for 2 heavenly weeks.

Dave made the Coppeli family limoncello this week for the holidays to give as Christmas gifts. He found 125 ml and 250 ml bottles with cork stoppers, similar to the bottles our friends in Sorrento used. 


Here is the process

  • In  a 1 or 2 gallon glass jar combine

Yellow rind from 14 large or about 20 typical size organic lemons (only use the yellow peel, not the white pith and not the juice either!) use a sharp vegetable peeler to peel the yellow rind

2 liters 96% alcohol (we used Everclear purchased in Ohio since 96% is unavailable in Michigan. Vodka is NOT a substitute!)


  • Cover and let sit 4 days to 2 weeks. The lemon rind will take on a leather like texture and the alcohol will turn a beautiful lemon yellow

  • Make a simple syrup solution by combining and heating to a boil

5 cups sugar

10 cups water

  • Let the syrup cool overnight
  • Add the syrup to the lemons and alcohol


The limoncello becomes milky when the 96% alcohol is used. Because vodka contains less alcohol you end up with a clear solution which is not what you want. We made that mistake last year!

  • Mix and cover. Let sit 1-4 days
  • Ladle into 4 or 8 ounce clear jars by pouring into a funnel lined with 2-4 layers of cheesecloth

In Sorrento our master instructor used rolled cotton rather than cheese cloth to strain the limoncello. This is the best filter. Use a Watman filter paper or something similar.The cheese cloth allows a fine residue to pass through.


Store in a cool place. Place a bottle of limoncello in the freezer several hours before serving ice cold. Freeze your serving glasses too!

This is Gino Coppelli. He and his sister were our limoncello instructors in Sorrento.


Bella Bella!

Feta Cheese Ball Pops 


My family loves cheese balls which are usually cheddar, blue and cream cheese rolled in walnuts and spread on crackers. 

This recipe has a Middle Eastern edge to it made with feta cheese and a Greek cream cheese and yogurt blend, rolled in cashews and drizzled with honey and sprinkled with flaked sea salt.  Plus these are individual bites stuck on a pretzel stick. Like a cake pop!

  • First thing is to blend with a hand or stand mixer

8 ounces of softened cream cheese or Greek cream cheese and yogurt, which contains less fat and has a tang to it!

8 ounces feta cheese, softened

  • Roll into bite size balls with your hands and place on a wax paper or parchment paper covered flat pan
  • Chill in the frig for 1 hour. The balls should keep their shape. If they are soft, place them in the freezer 15 minutes.
  • This recipe can be prepared in advance up to this point. The rest should be done just before serving or the nuts may get soggy.

Raw unsalted cashews have a real nutty flavor I crave!

If you have a source of home grown honey as I do, that’s the best! You’ll get the flavors of the local plants the bees polinate! Thank you Peachie Martin!

Flaked sea salt from Cypress is what I use. I purchase it at our local Mercato Di O & V, an olive oil, balsamic vinegar and salt shop in Midland MI. This salt adds a little crunch and potent flavor.

Any brand of pretzel sticks will do. Just a bit of gluten here.

  • Roll the balls in

1 and 1/2 cups chopped raw unsalted cashews

  • Place on your serving platter
  • Drizzle heavily with 

1/4 – 1/2 cup honey

  • Sprinkle with

1/2 – 1 teaspoon flaked sea salt

  • Skewer each ball with

A 2 and a 1/2 inch pretzel stick

Voila! Finger food is the preferred party food!

Roasted Carrot and Ginger Soup

This is a recipe I found at The Mediterranean Dish! It’s similar to pumpkin or squash soup, but for those who don’t like pumpkin or squash, it’s super! Very easy with a food processor or stick blender.

Roasted carrots get a caramelized glow


Puree the carrots with grated ginger and minced garlic, adding some of the stock.


Pureed mix is quite thick at this point 


Ground coriander and allspice ready to be added to the pot


The puree is poured into a cooking pot. Then more stock is added with the allspice, coriander and finally the half and half.


A bit of chopped parsley or mint is layered on the bowl of soup. Voila!

  • On a large baking sheet, drizzle some olive oil. Then place 4 pounds peeled whole carrots and drizzle with more olive oil. 
  • Sprinkle with salt and pepper
  • Roast at 425 degrees. Turn the carrots after 20 minutes. Bake another 20-30 minutes or until carrots are browning and fork tender.
  • Cut into 1/3s and place in the food processor, scraping the oil from the baking sheet
  • Add

2 teaspoons minced garlic

1 tablespoon grated fresh ginger

2 cups warm chicken, turkey or vegetable stock

  • Puree until silky smooth
  • Scrape into a medium saucepan
  • Add

1 teaspoon ground allspice

1 teaspoon ground coriander

2-3 cups stock

  • Whisk together and bring to a simmer
  • Add slowly

1-2 cups half and half 

  • I give the range of stock and half and half. If you want a stronger carrot flavor add less liquid.
  • This makes about 8 cups. 

Isn’t it pretty in my Ball canning jars! I love to store food in these containers.


Goat Cheese and Cashews with Honey and Lemon Salt


This mix of fresh favors was made with memories of Turkey and Sicily. Snack food, dessert, lunch….

  • Goats milk feta cheese is centered on a platter.
  •  Then my addicting raw unsalted cashews are poured around it. 
  • Local Michigan honey from my friend Peachie Martin is then drizzled over the cheese and nuts, as much as you like in a few layers.
  • Sprinkle over it all a sea salt. Mine is from the salt pans of western Sicily which was mixed with dried bits of lemon. These salt pans and windmills of western Sicily, north of Marsala were one of our most favorite memories of travel. Part of the tour were the Phoenician islands, a salt tasting and the windmill museum.

We stayed in Erice, a hill town high above the Trapani region. With our car we took day trips to Segusta and Selinunte, the Greek ruins and to the ancient tuna fishing village Castellammare del Golfo and nearby Scopello. Took a boat tour of the Egadi Islands and had private tours of a cheese manufacturing facility and their local sheep farm and milking barn! Look for more video and pics under “travel” here at NinaintheKitchen.

Quick Thai Spicy Coconut Shrimp 


We’ve made this dish several times this year. It’s a New York Times recipe. I hope you love it too!

I’ve found you can serve this as a soup with a little rice or as a stew with a lot of rice. To make as a soup use only 1 pound of shrimp. To make a stew, use 2 pounds shrimp and more broccoli. I think using the frozen broccoli flowerettes works well. Just thaw them and add to the pot!

Ingredients

2 tablespoons red curry paste

2-4 tablespoons fish sauce

1/4 cup sambal

1/4 cup sweet chili sauce

2 pounds medium raw, deveined, shelled shrimp. Remove tails too!

3 tablespoons light sesame oil

1 cup scallions

2 cups steamed fresh or thawed frozen broccoli pieces

2 tablespoons soy sauce

1-14 ounce can coconut milk

1 bunch cilantro, chopped coursely

Rice for serving

Directions

  1. In a medium bowl combine curry paste, fish sauce, sambal olek and sweet chili sauce. Add shrimp and mix together.
  2. Heat a medium saucepan over medium heat. Add sesame oil. After it is hot add shrimp mixture. Heat and cook 1 minute. Don’t cook shrimp through yet.
  3. Add scallions and broccoli. Heat through
  4. Add soy sauce and coconut milk. Heat through and bring to a simmer. Stir and simmer 1 minute or until shrimp is just cooked and not overdone.
  5. Add cilantro to the saucepan and/or at the table and serve with rice.

Voila!

Three Bean Salads

This cold marinated salad became popular in the 1960’s and was commonly served at picnics, BBQs and as a side salad. I’ve adapted the original recipe by using fresh rather than canned green beans and yellow wax beans. I’ve also cut the sugar way back and used no added salt canned kidney beans and garbanzo beans.
Here is the green, yellow and kidney bean salad.

This is another version made with sugar snap peas, dark red kidney beans and garbanzo beans! Everything else is the same as the above 3 bean salad.

Snap peas are peas with an edible pod. The pod and peas are very tender and sweet and easier to prepare than peas. All you have to do is break off the stem end and in one continuous motion, tear off the string from one side of the pod. Voila!


Beans are trimmed and cut in thirds

Beans have been blanched for a minute and then rinsed with cold water and tossed with ice

Diced green pepper and onion 


Recipe:

5 cups yellow and wax beans, approximately, trimmed, cut in thirds and blanched for 1 minute and quickly cooled

1- 15 oz can dark red kidney beans, rinsed and drained

1/2 green pepper, diced

1/2 cup onion, diced

  • Marinade: Whisk together in a large bowl:

1/3 cup sunflower oil or other vegetable oil, not olive oil

1/3 cup white vinegar

1 teaspoon salt

1 teaspoon black pepper

1 tablespoon sugar

  • Add the prepared vegetables to the marinade.
  • Mix well.
  • Pour into a container with a tight fitting lid.
  • Refrigerate overnight.
  • Invert the container a few times every so often to distribute the marinade.

The other recipe is made the same, except instead of the green and yellow beans, use:

3 cups sugar snap peas, approximately, strings removed and blanched 1 minute and quickly cooled

1-15 ounce can garbanzo beans

Mrs. Field’s Chocolate Chip Cookies

These cookies are said to be the secret recipe of the Mrs. Field’s Cookie Company. My friend Lisa Williams gave the recipe to me in 1988. It’s been our favorite chocolate chip cookie ever since! I’ve added a bit more salt and I usually omit the walnuts. My cookies are also smaller than Mrs. Field’s huge 4 inch cookies. I make 7 dozen cookies from this recipe.

All my ingredients, ready to go!

  • Preheat oven to 350 degrees F
  • In a mixer cream together:

1/2 pound softened butter

3/4 cup sugar

1 cup brown sugar, lightly packed 

  • Add:

2 large eggs

3/4 teaspoon vanilla

  • In a medium size bowl whisk together:

3 cups flour

3/4 teaspoon baking soda

3/4 to 1 teaspoon salt

  • Add flour mix to the butter mixture.
  • Mix only just until barely combined. Don’t beat the dough or the cookies won’t be tender.
  • Add and mix only a few seconds:

12 oz chocolate chips or chocolate chunks (I prefer Ghirardelli bittersweet chocolate)

1 cup chopped walnuts, optional

  • Drop by a teaspoon on a baking sheet with at least 2 inches apart.

  • Bake at 350 degrees F for 8-9 minutes. Don’t over bake! They will crisp up when cooling.
  • Remove from oven and let cool slightly.
  • Remove from baking sheet when slightly cooled, after about 4 minutes, and place on cooling racks until crisp and firm.


Enjoy!

Paella on the Grill

Last night Dave made his best paella yet! This is a Cook’s Illustrated recipe for Paella on the Grill, found in the July/August 2016 issue or online at CooksIllustrated.com.

Here is the link to the recipe. You may need a subscription to open it.

https://www.cooksillustrated.com/recipes/8890-paella-on-the-grill?incode=MCSCM00L0&ref=new_search_experience_2

Paella is a Spanish rice dish with many variations. We enjoyed paella in Albufera, a town near Valencia in southern Spain. They are known for growing rice and making their paella with a dry caramelized crust of rice that is the most prized part of the dish!  It’s called the socarrat.

Traditional paella is made on the grill which provides a large cooking surface to develop the socarrat and a charcoal heat that gives the smokey flavor. The amount of shrimp, chicken and chorizo you see here is more generous than the traditional Valencia style. It’s all about the rice!

Notice the paella pan is thin, has impressions hammered on the bottom and is not covered with a non-stick surface.


We use a 17 inch traditional paella pan you can buy online or at our local Eastmans Party Store in Midland Michigan. It does NOT have a Teflon-like coating. We coat it with oil after using to prevent rusting.

We use a Weber charcoal grill with a gas starter. 

This is a great recipe to serve for family and friends!

https://www.cooksillustrated.com/recipes/8890-paella-on-the-grill?incode=MCSCM00L0&ref=new_search_experience_2

Sweet Yeast Bread

My grandmother was from Belarus, part of the former Soviet Union. This is her recipe for sweet yeast bread.

My Russian and Ukrainian friends are familiar with this style bread. There is a special tall, cylindrical baking pan they use for Easter, but we use empty vegetable cans for small loaves or larger coffee cans. The shape looks like a mushroom or a dome of the Russian Orthodox Churche. But my Grandma for everyday baking used traditional glass bread pans and she made this year round, not only at Easter.


1 cup milk

1/4 pound butter

4 and 1/2 cups flour, sifted

1 cup sugar

4 large eggs

1 teaspoon salt

1 tablespoon dry yeast

2 teaspoons sugar

1/3 cup warm water

1/2 cup raisins, optional

  • In a saucepan heat milk. Add butter and melt. Keep warm.
  • In a large bowl beat eggs with a whisk till lemon color. Add sugar slowly and continue beating until thick and light
  • In a very large bowl combine flour and salt.
  • Add warm milk mix to eggs.
  • Add egg mix to flour and beat with the back of a wooden spoon against the front side of the bowl. Turn the bowl 180 degrees frequently.Or beat with the paddle of a mixer.

  • Combine 2 teaspoons sugar and 1/3 cup water. Dissolve and mix in yeast. Cover with a towel and allow to rise to double in volume.
  • Add yeast to dough and continue beating until smooth and glossy.
  • Pour dough into a buttered large bowl. Cover with plastic wrap, a rubber band and a towel. Rise until doubled.


  • After risen once, cut through the dough with a spatula.
  • Add raisins.
  • Pour into 3 buttered and floured cans. Fill to only 1/2 full.

  • Rise till dough reaches the top of the can.
  • Bake at 350 degrees F for 35-40 minutes.
  • You can drizzle with a thin icing if you like.