
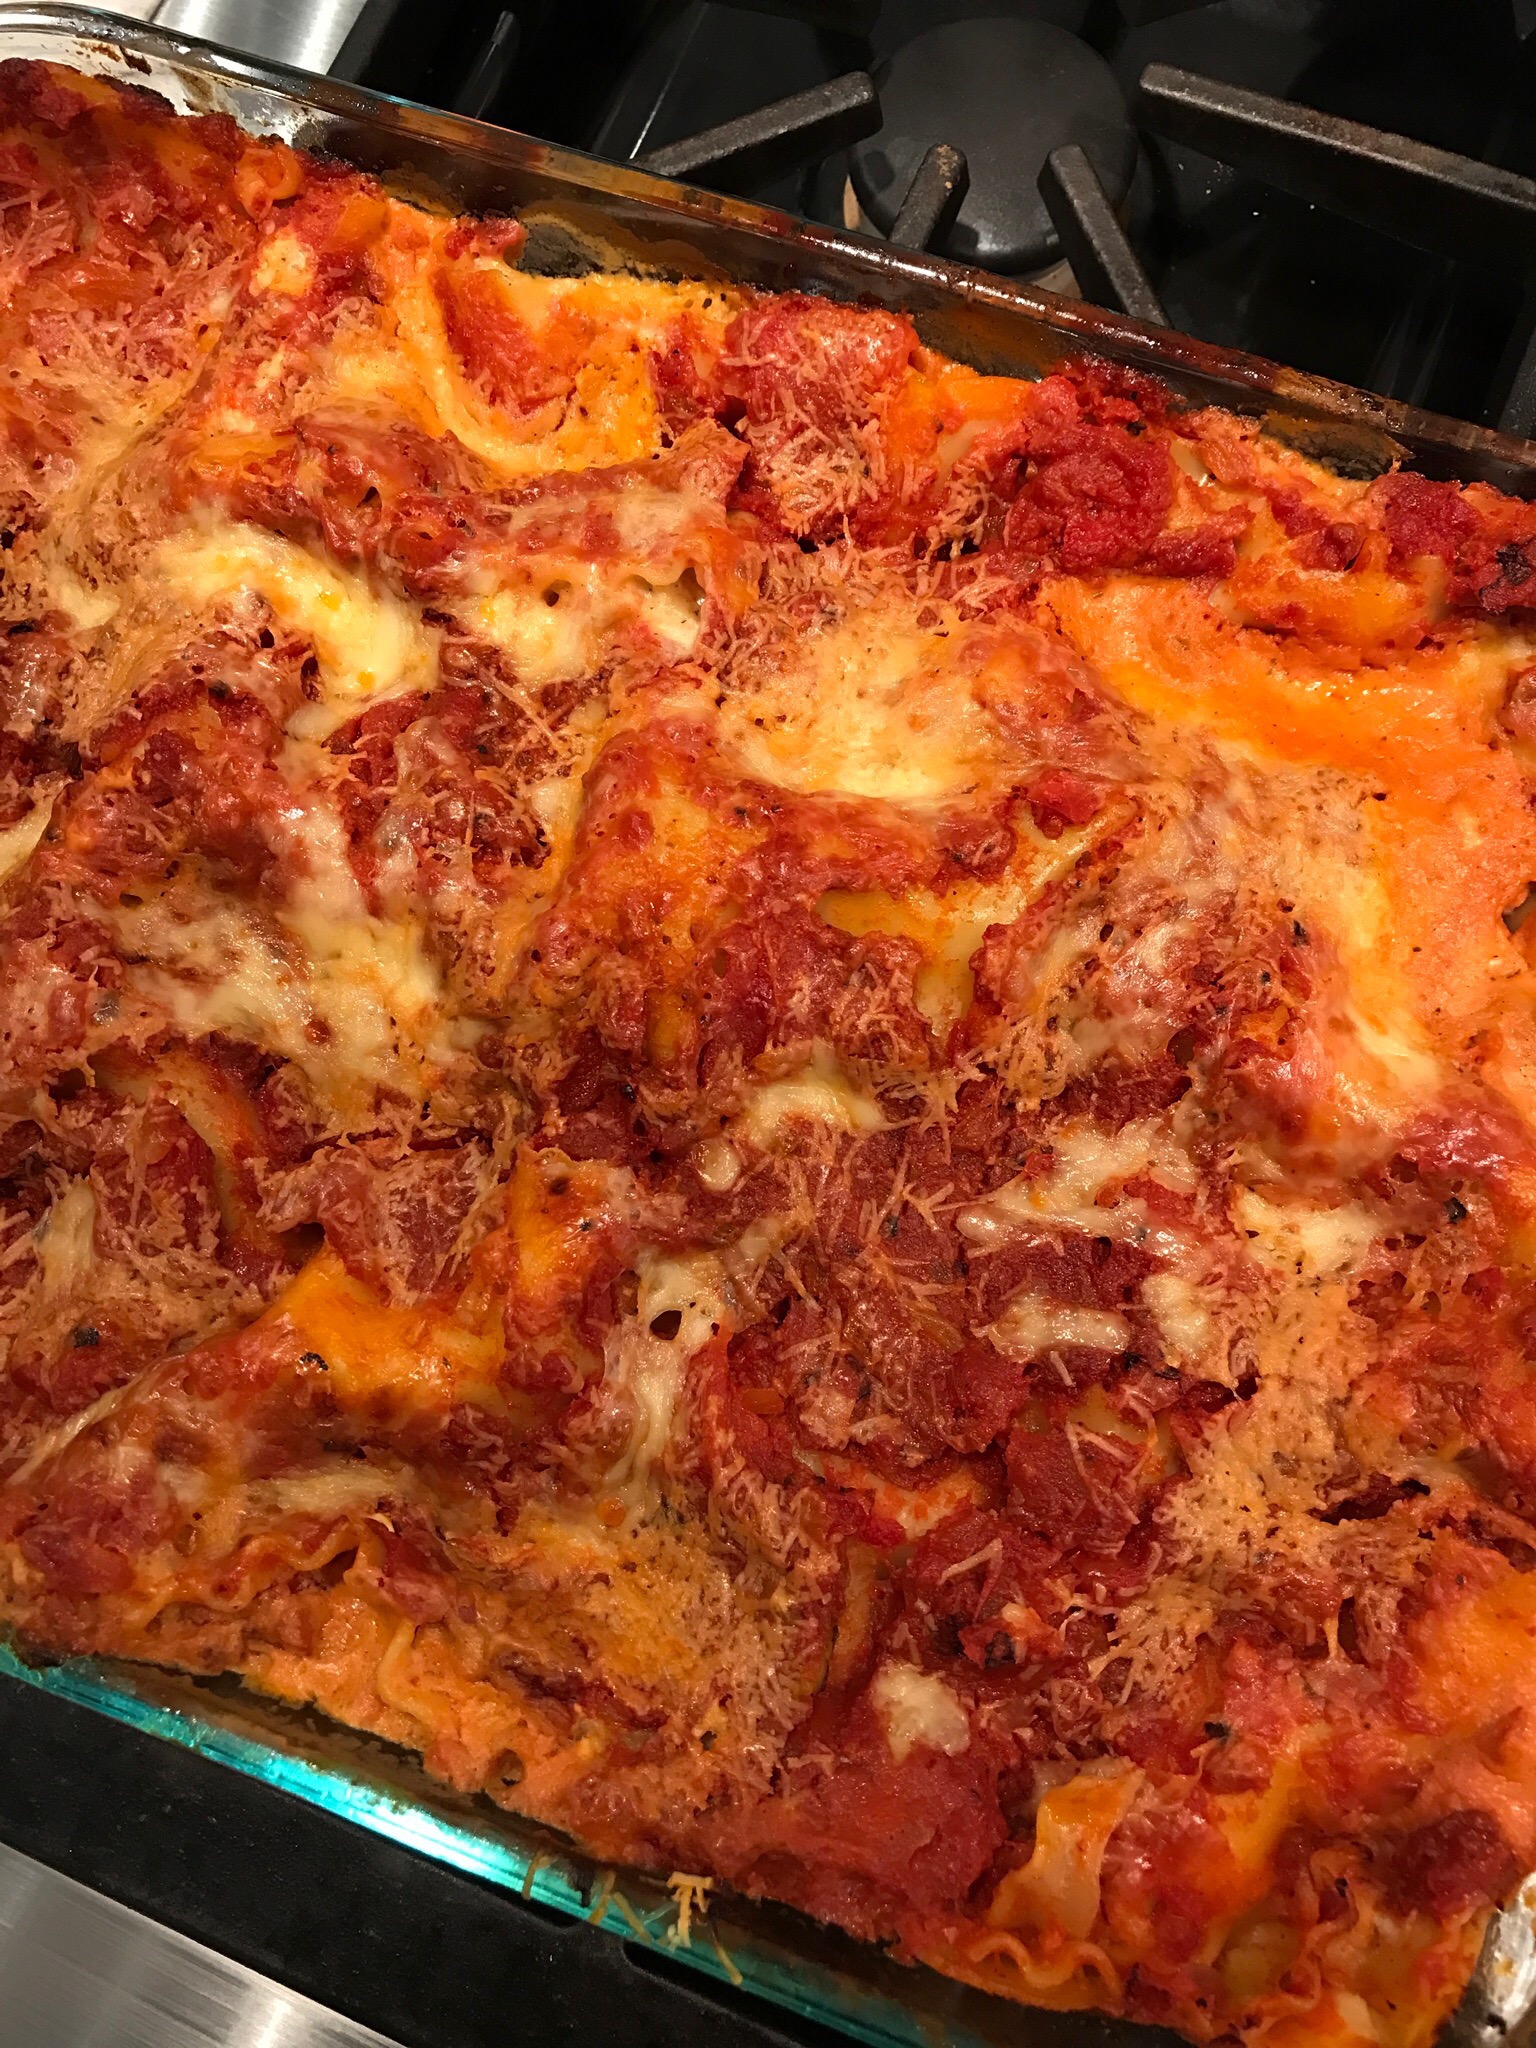
This is a full of flavor lasagne that’s not glorpy or heavy! It’s similar to the light lasagne of Italy which is all about the pasta, not the thick sauce!
Look up the recipe at Cooks Illustrated or America’s Test Kitchen. These two links will both take you there. You do need a subscription to have access to their recipes. If you don’t have one, take advantage of their one month free offer! I love these sites! They are a great source for recipes, testing and product recommendation, and will always provide interesting background info!
I often double the recipe and make 2 lasagnas. I freeze one before baking. Then I thaw it before baking.
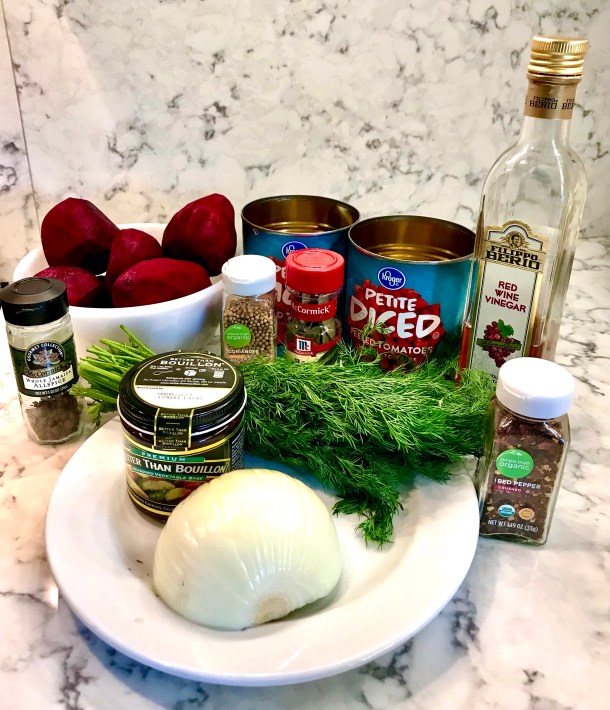
Ingredients
1/2 pound pecorino Romano cheese
1 pound fontina cheese
2 cups cottage cheese
1/2 cup heavy cream
1 head garlic, minced, separated
2 teaspoons cornstarch
Salt
Pepper
1/4 cup olive oil
1 yellow onion, chopped medium
1 – 28 oz can whole tomatoes or crushed ( prefer whole San Marzano Italian tomatoes)
1 – 15 oz can chopped tomatoes
1/4 cup tomato paste
1 1/2 teaspoons sugar
1 teaspoon oregano or more
1/2 teaspoon hot pepper flakes, optional
1/2 can anchovies (I always add these)
1 pound box Barilla lasagne pasta or Barilla Oven Ready lasagna pasta
Instructions
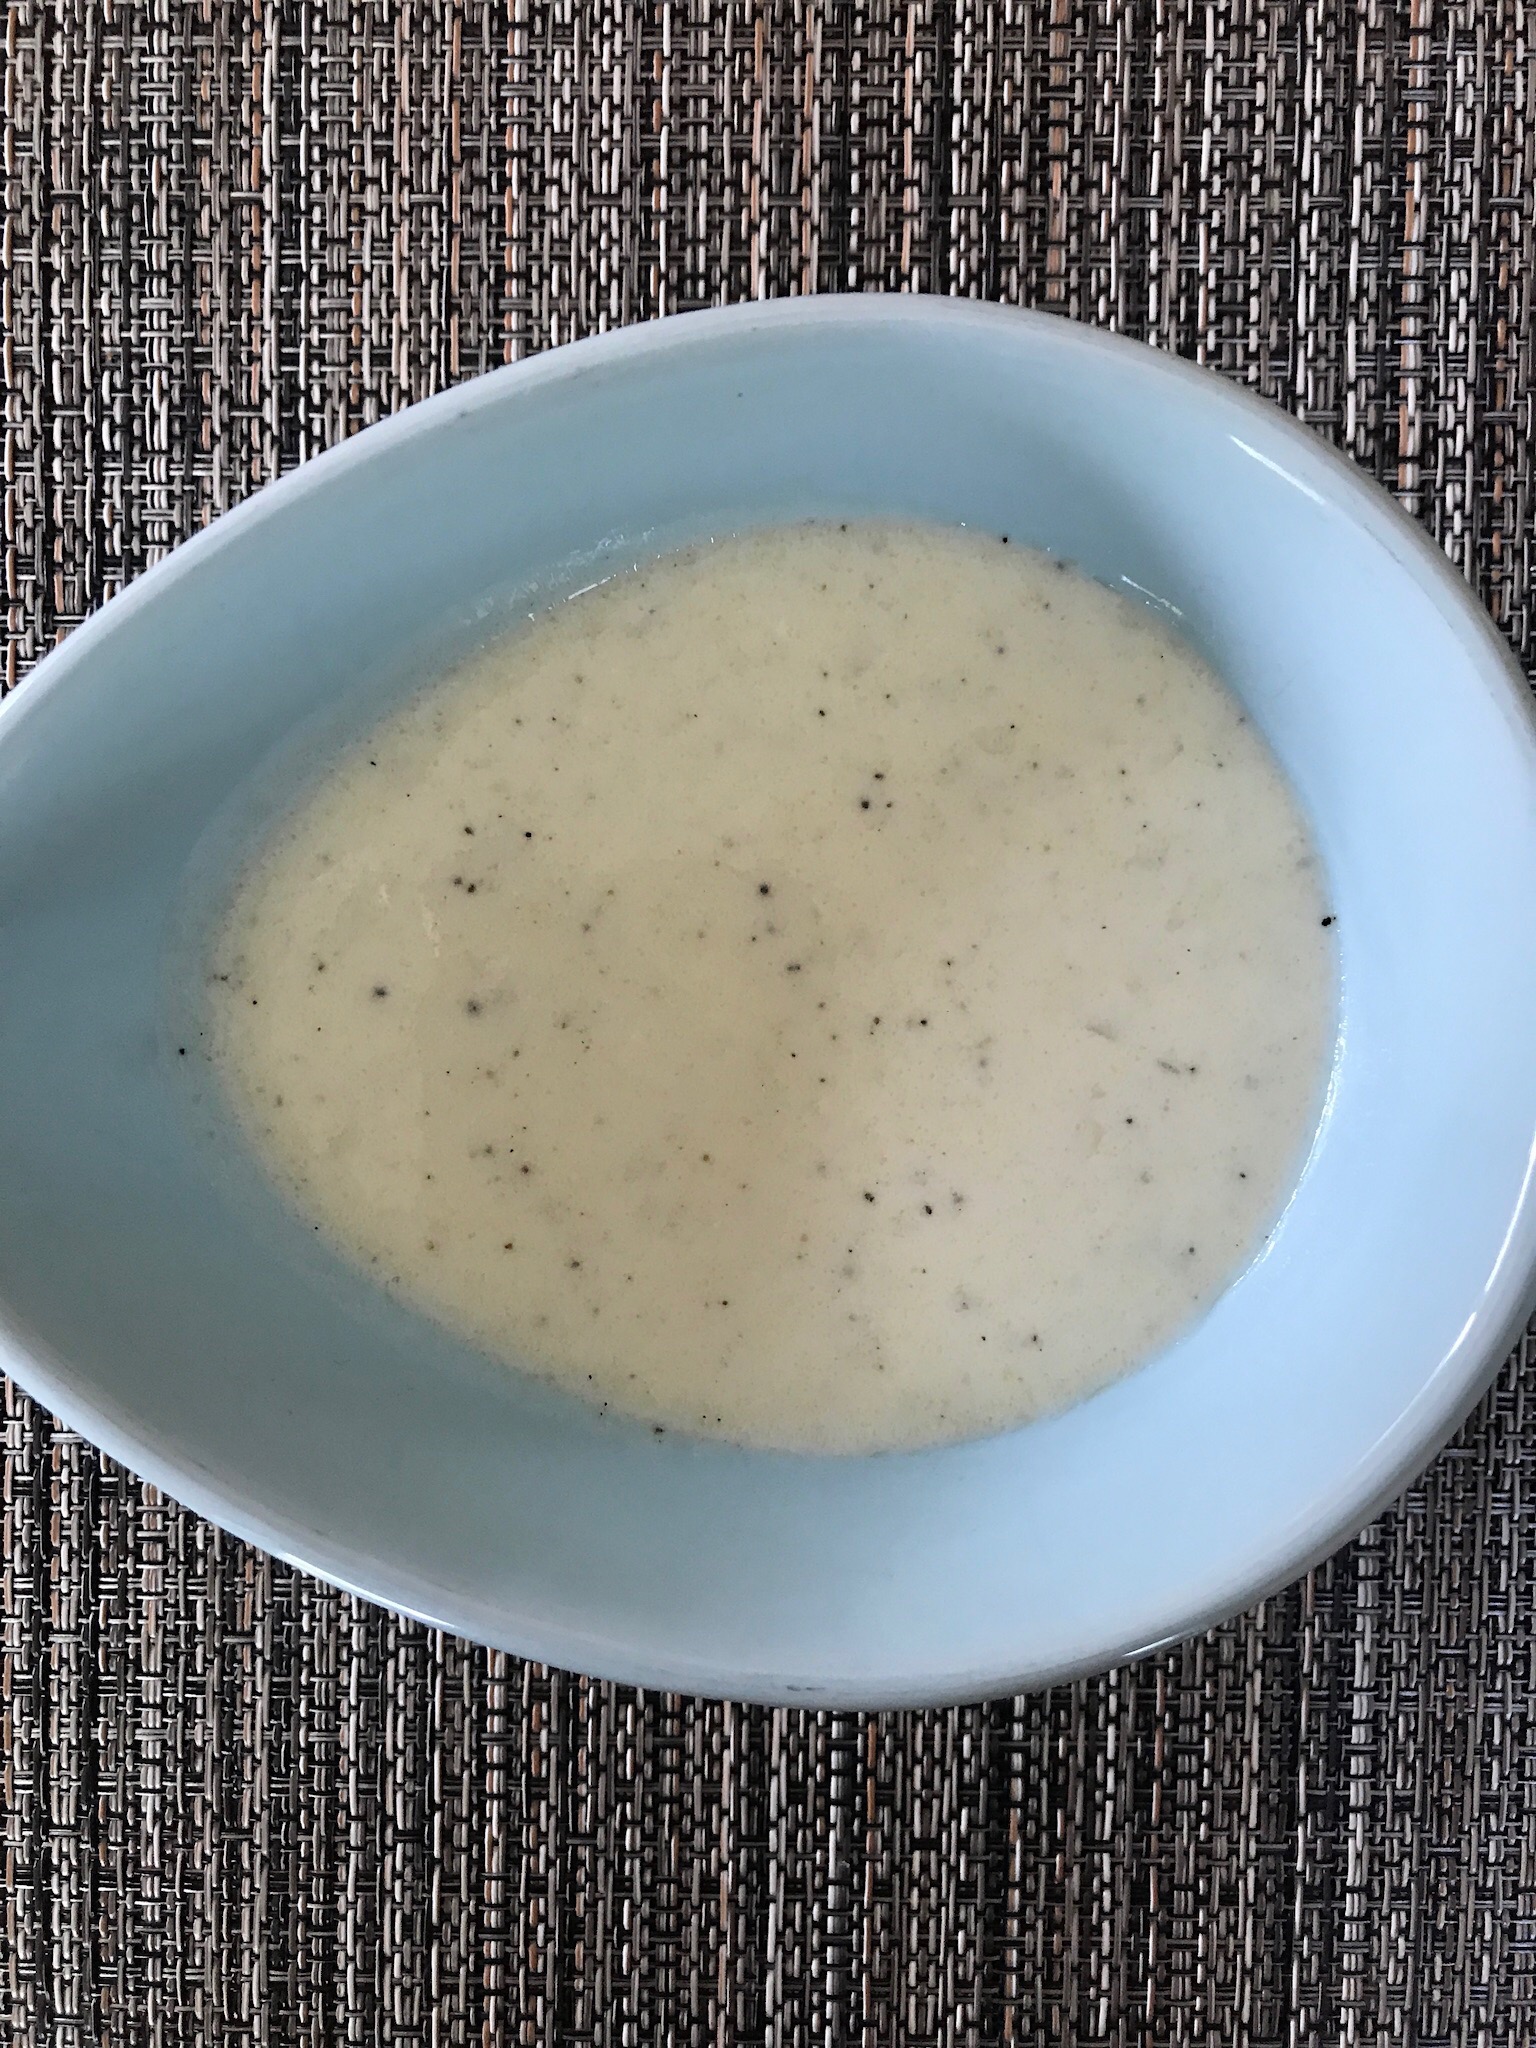
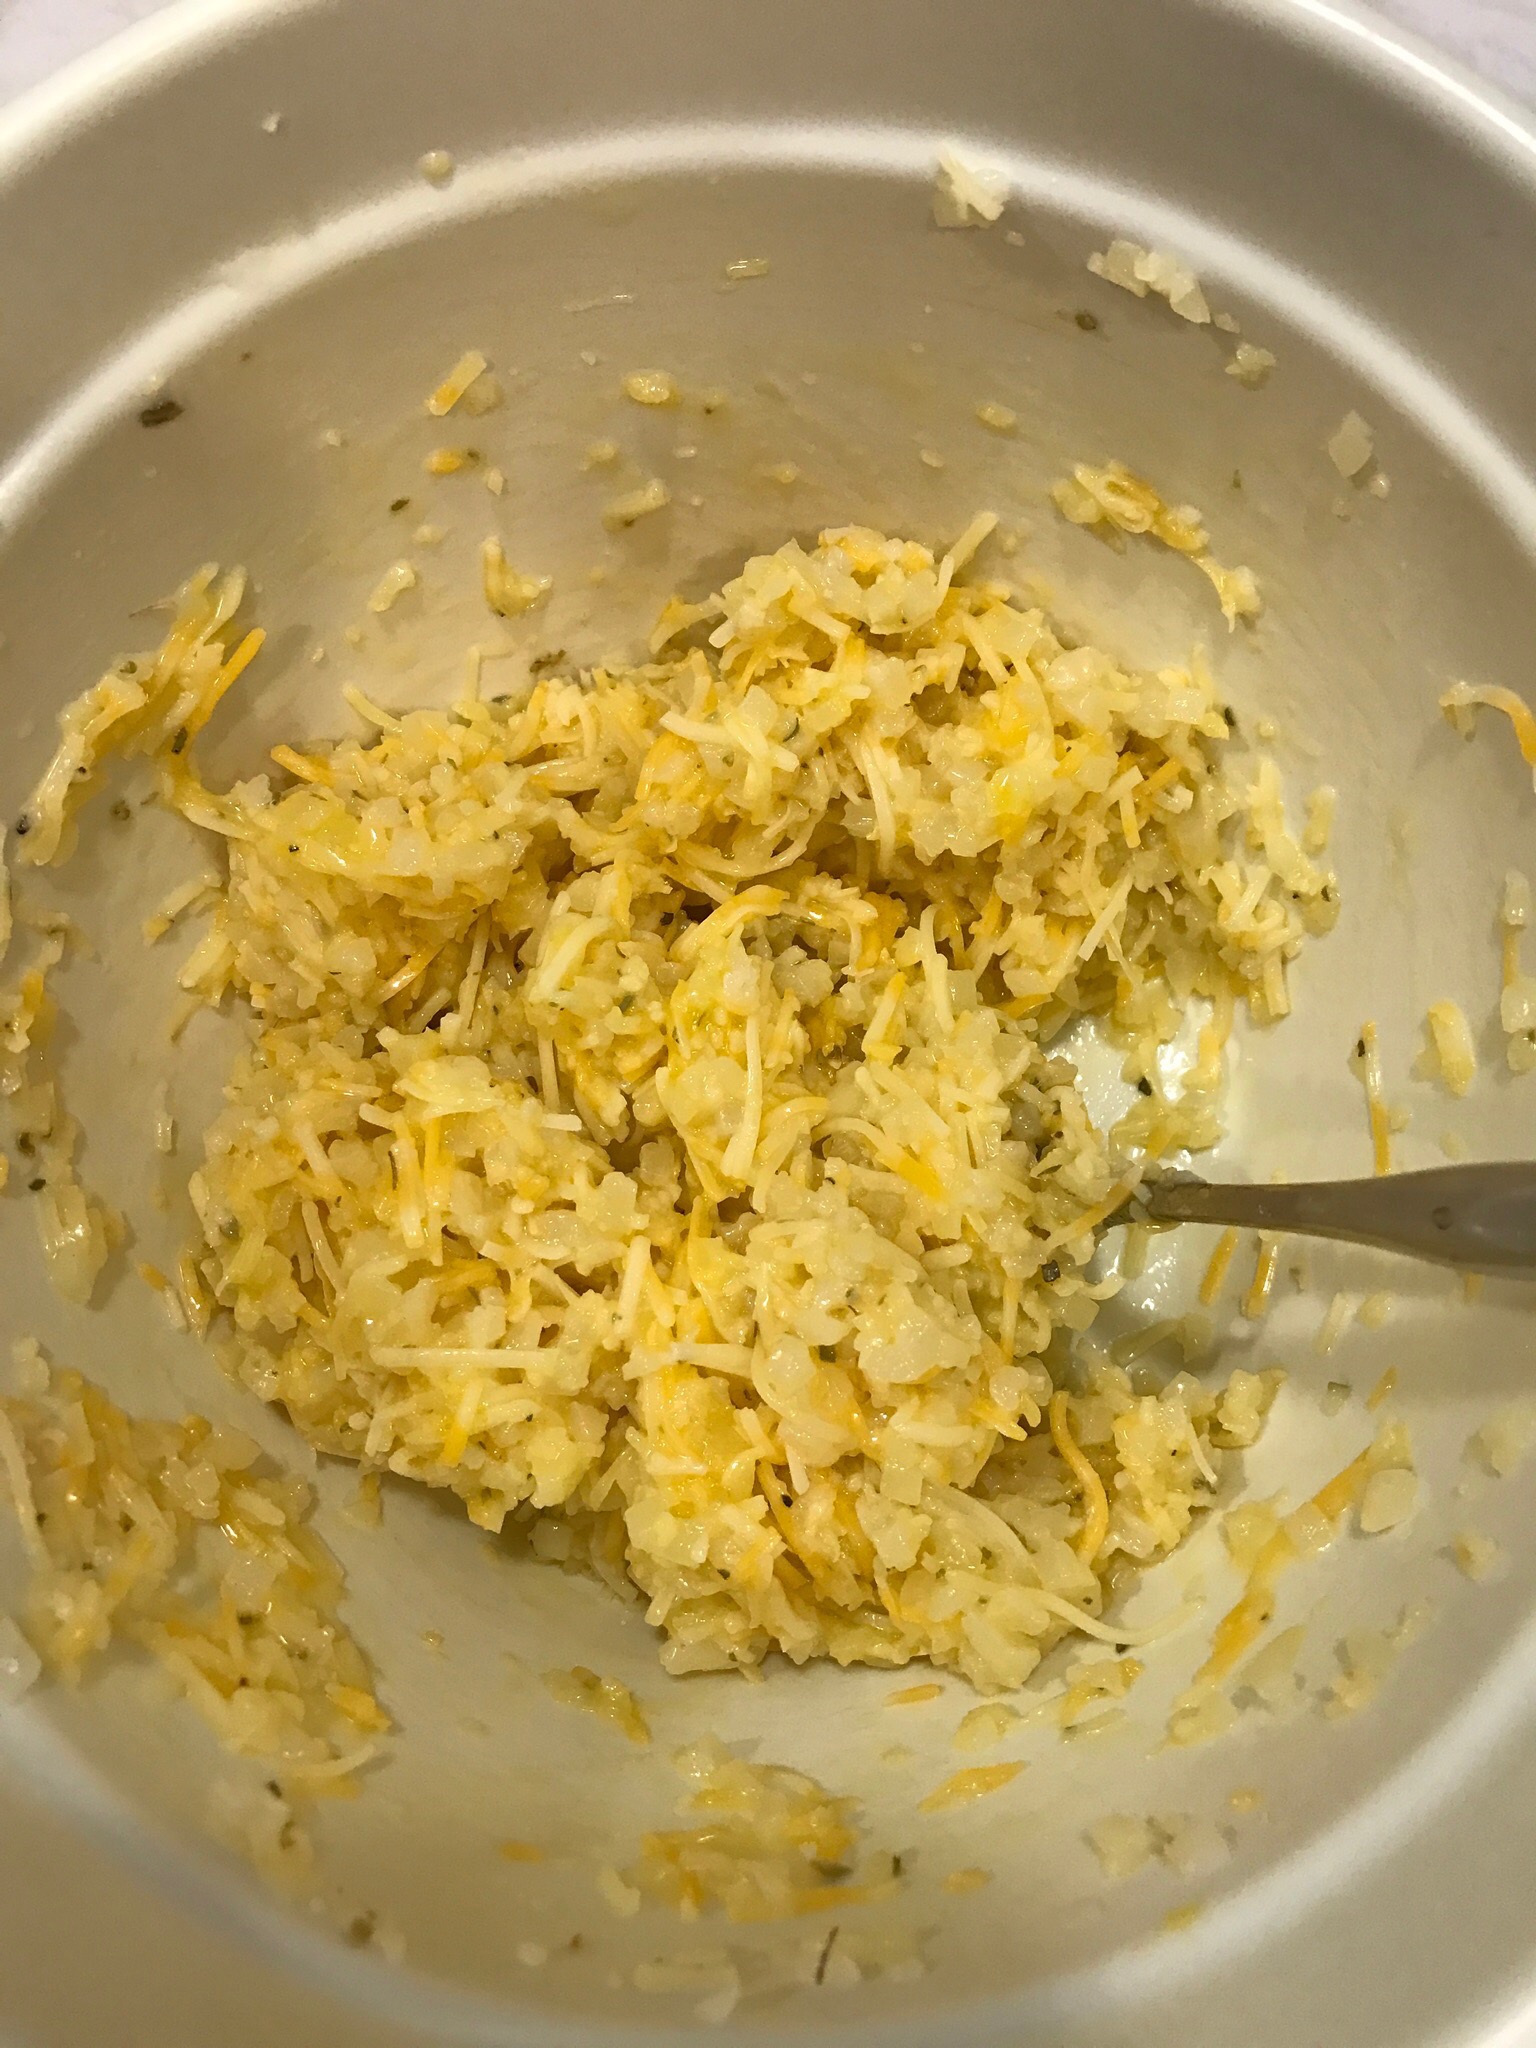
Cheese Sauce
- In a medium bowl whisk together
4 oz or 2 cups grated Pecorino Romano cheese
2 cups cottage cheese
1/2 cup heavy cream
2 cloves garlic minced
1 teaspoon cornstarch
1/4 teaspoon salt
1/4 teaspoon pepper
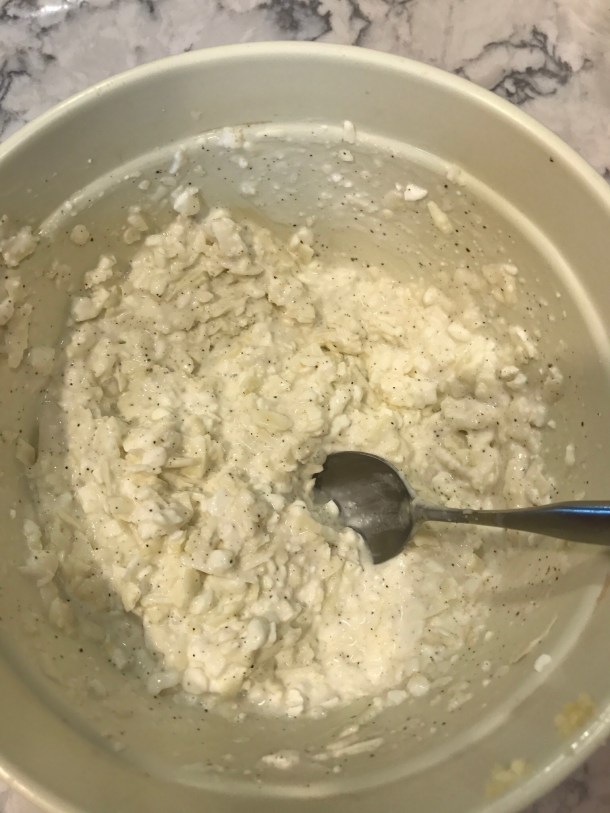
Cheese Sauce
Tomato Sauce
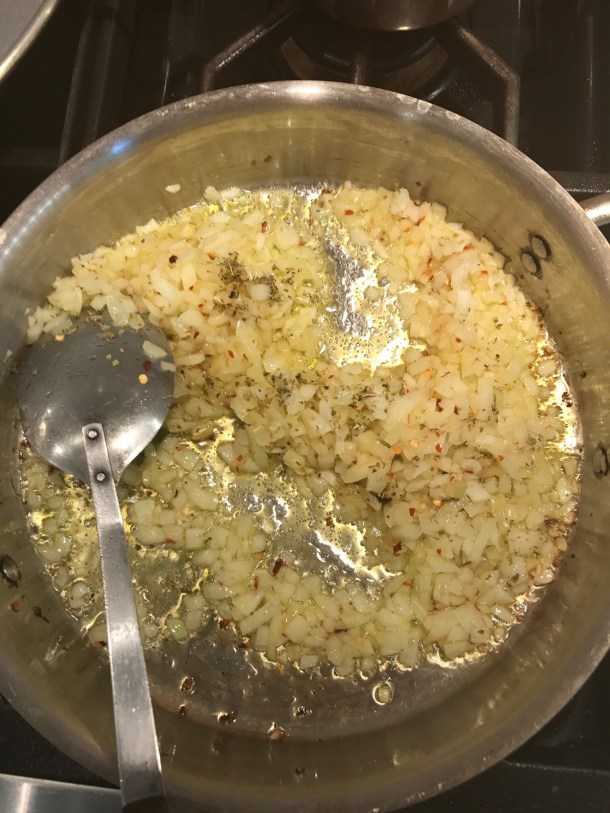
1/4 cup olive oil
1 chopped onion.
- Add and sauté together until onions are softened:
1 1/2 teaspoon sugar
1 teaspoon oregano
1/2 teaspoon red pepper flakes, optional if you don’t want spicy
- Add and cook about a minute:
4 cloves garlic, minced
8 or more anchovy fillets, rinsed, patted dry and minced, optional but it adds a nice earthy flavor!
Sautéed onion and herbs:
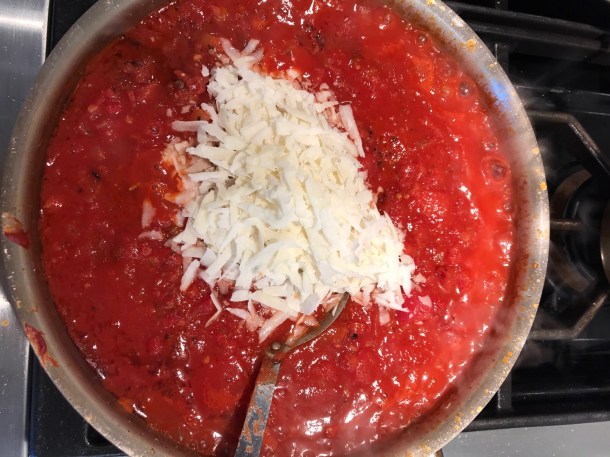
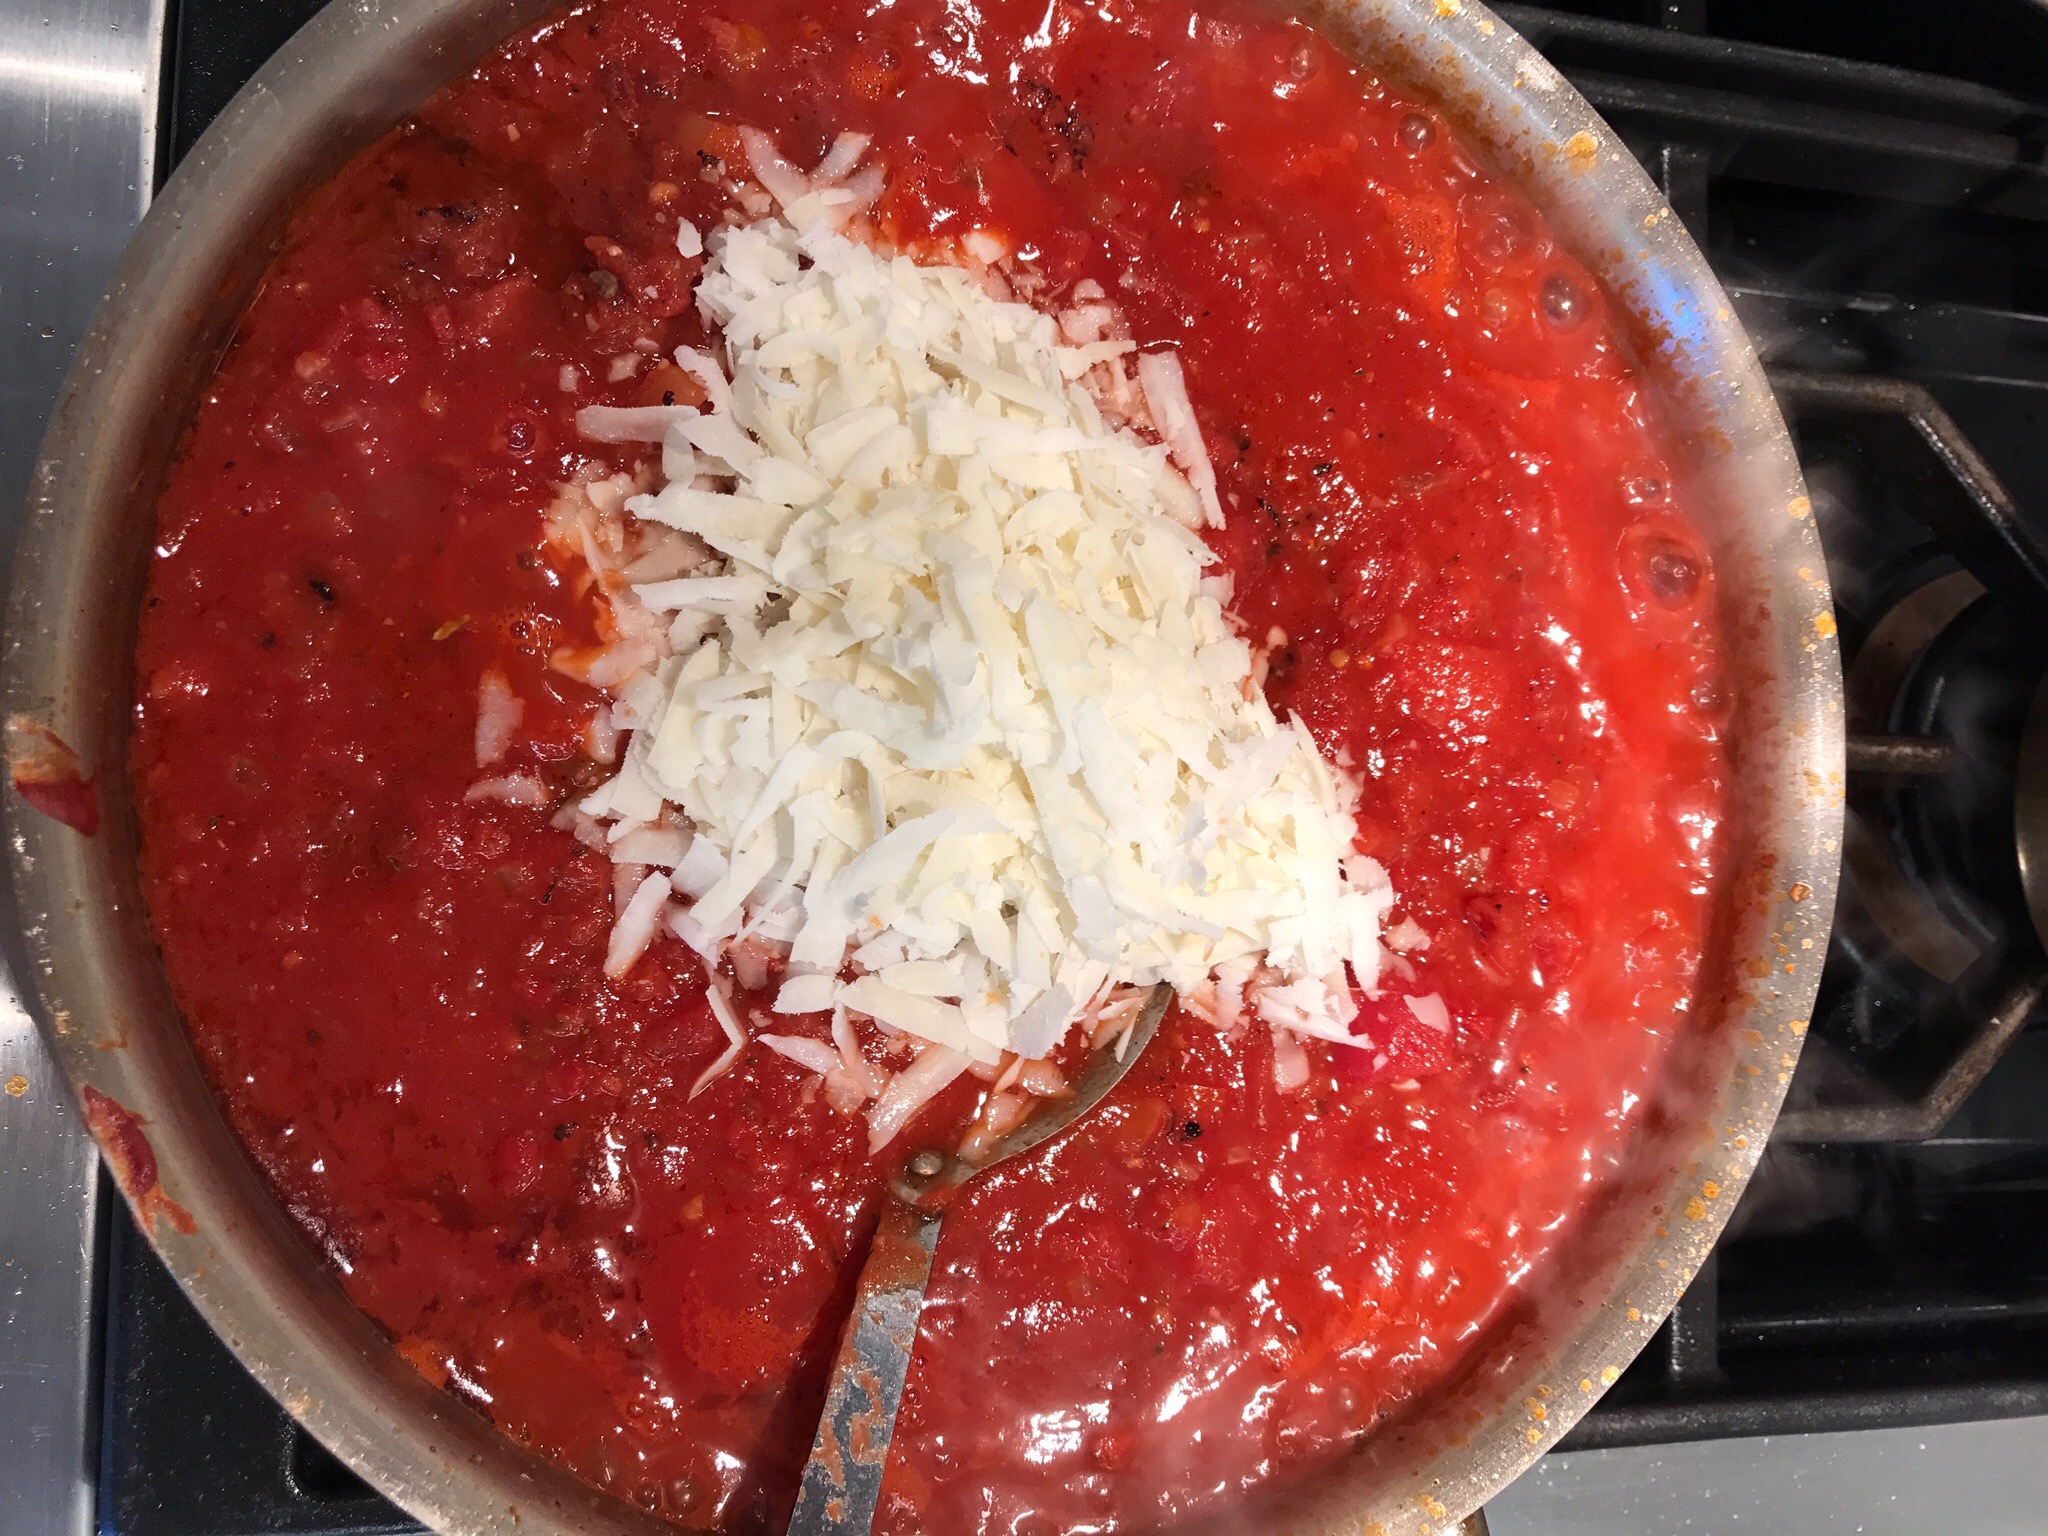
- To the onion add and simmer 20 minutes:
28 oz can crushed tomatoes
14.5 oz can diced tomatoes
1/4 cup tomato paste
1/2 cup Pecorino Romano cheese
Tomato sauce nearing completion:
Lasagna
You will need:
16 Oz or 14 curly type regular lasagne noodles, such as Barilla OR
2-9 oz boxes Barilla Oven Ready Lasagne
12 oz or 3 cups fontina cheese, grated
1/2 teaspoon cornstarch (to keep grated cheese from sticking together, I don’t add this)
1/2 cup Pecorino Romano
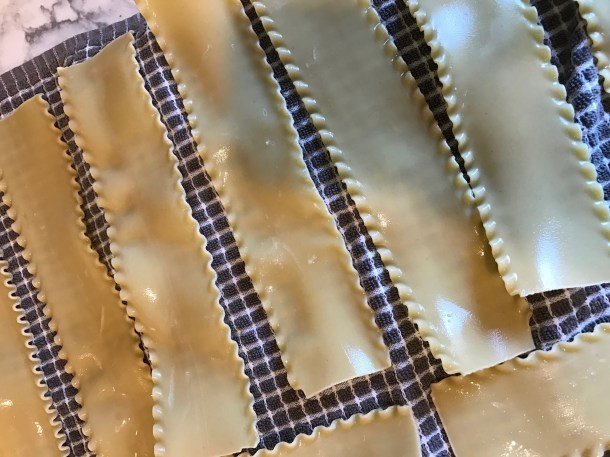
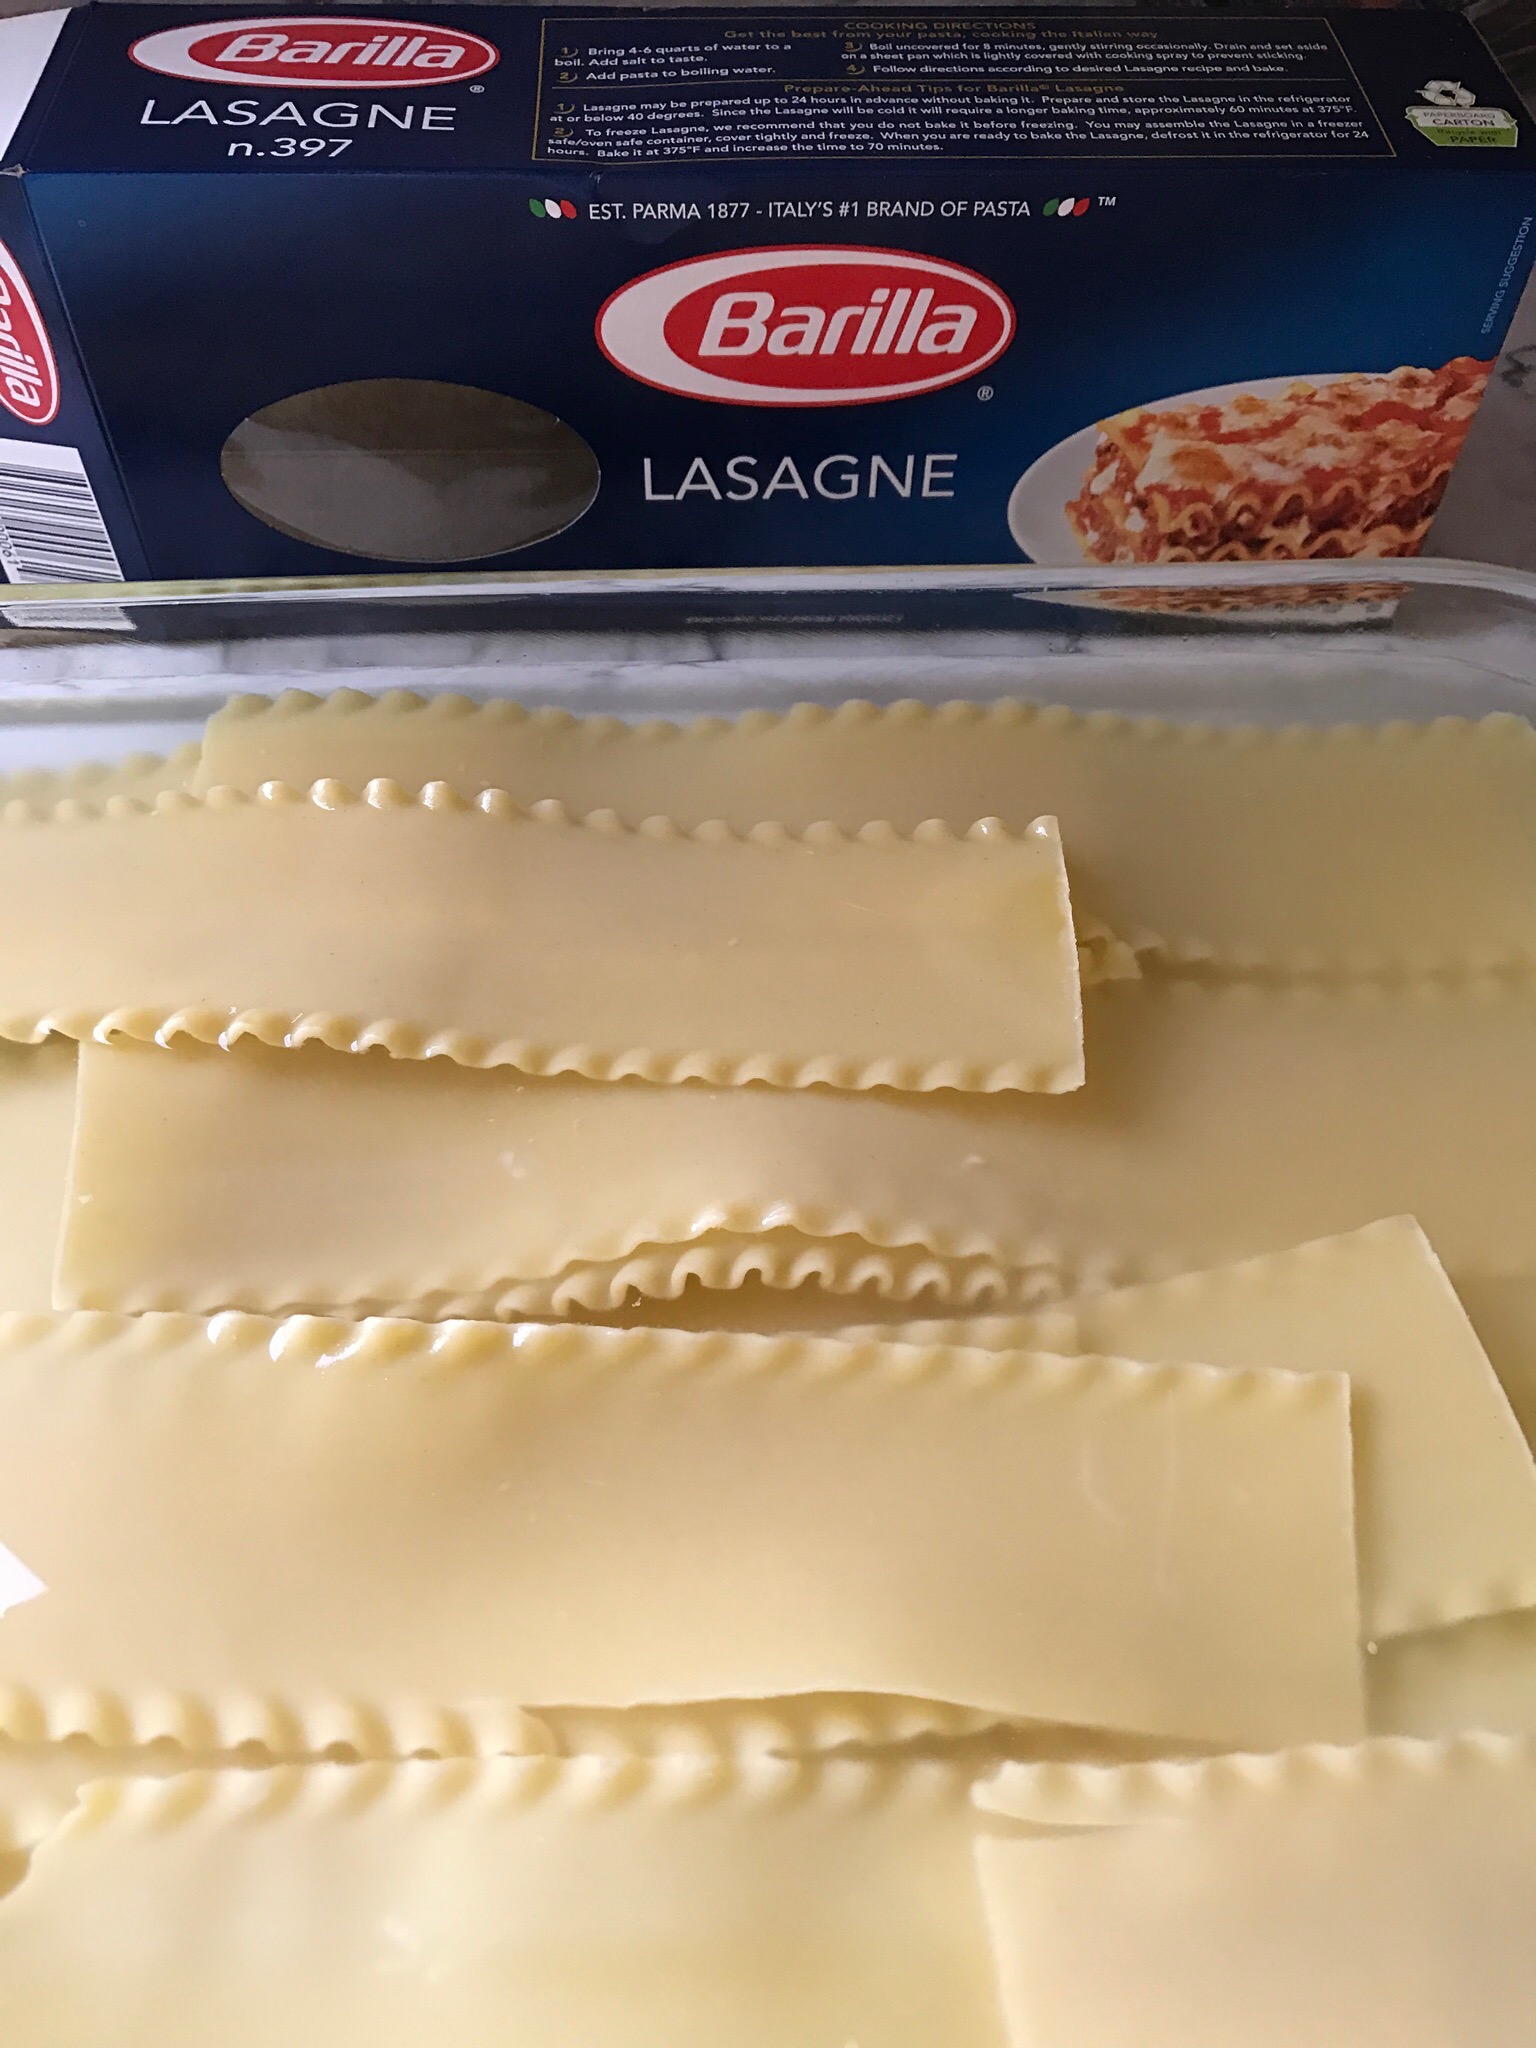
- If you use regular lasagne pasta, don’t cook it! Instead soften them! Use the curly variety
- Place 14 noodles in a 9×13 inch baking pan. Pour hot tap water over the noodles to cover them
- Use the tip of a sharp knife to keep the noodles separated
This is the pasta brand used and the pasta soaking in boiling water:

- When the pasta are bendable, drain or lift them out of the water and place them on towels to dry.

Pasta drying on kitchen towels:
Here is the Oven Ready Lasagne: No soaking or boiling needed. Just layer them in! They are quite thin in comparison though. I don’t like these as much as traditional pasta.

- Preheat oven to 350 -375 degrees with a rack in the middle of the oven (350 if using a glass baking pan as I do)
- Place 1 1/2 cups tomato sauce in the bottom of a 9×13 inch baking pan or a 9x14x3 inch pan. If you use a larger deeper pan like I do you can add an extra sheet of lasagna to each layer. You end up using most of the box of pasta.
- Cut 2-4 noodles in half crosswise and set aside.
- Layer 3-4 full noodles lengthwise over the sauce with one end up next to the short end of the pan.
- Place 1 – 2 half noodles at the other end of the pan perpendicular
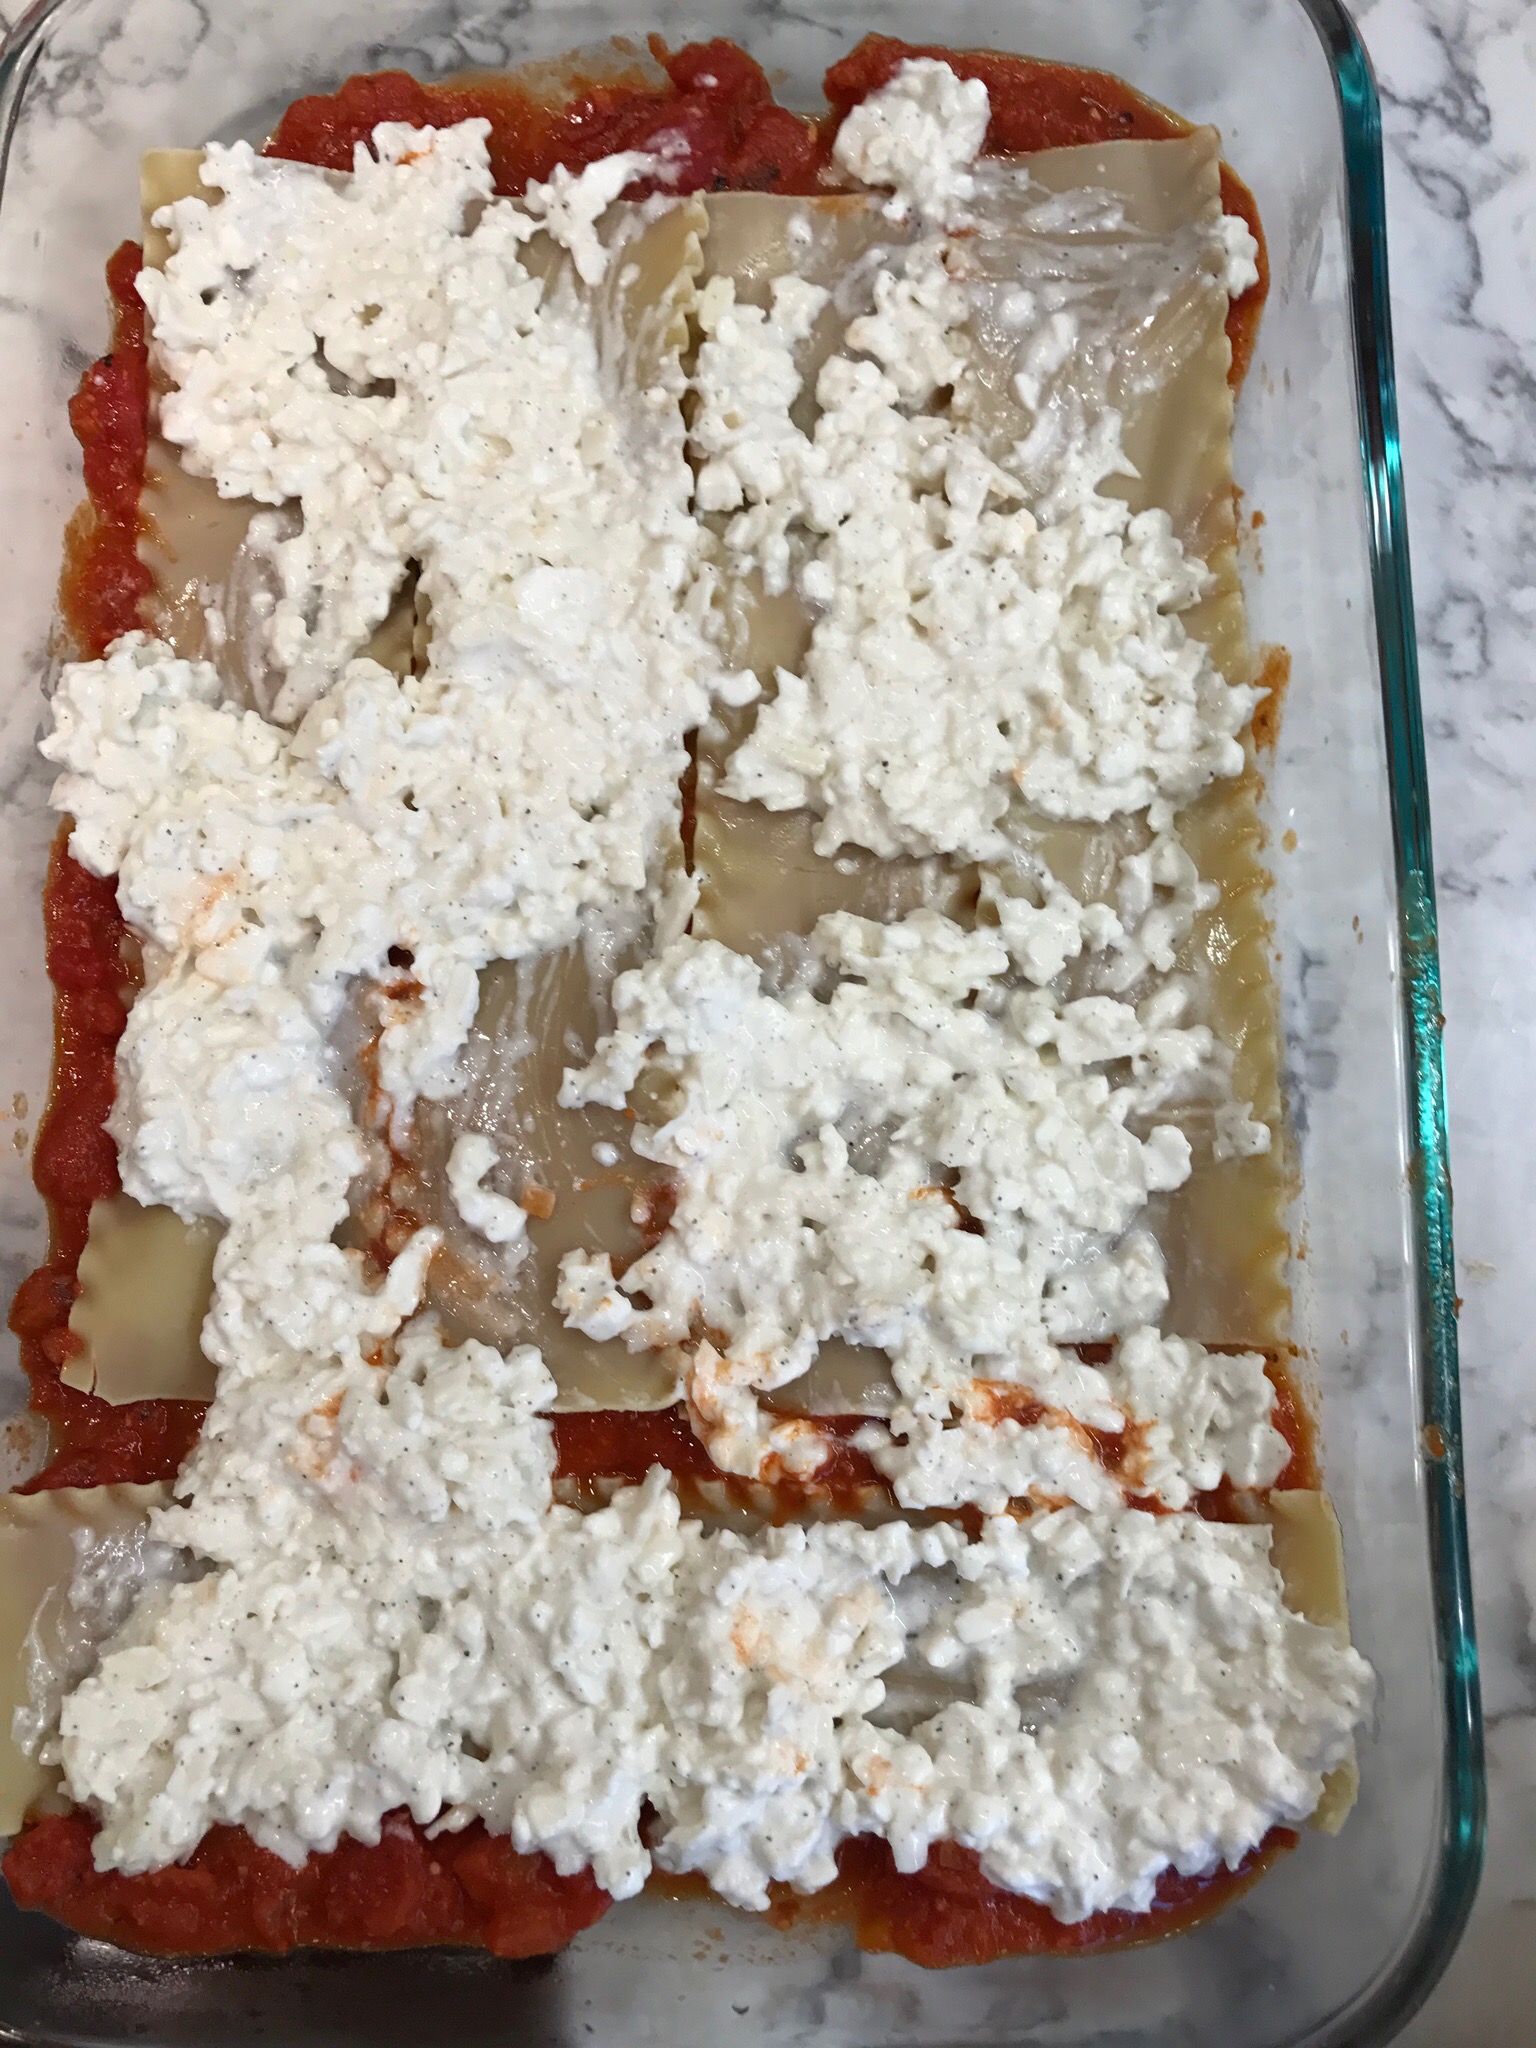
- Spread half of cheese sauce over noodles
- Sprinkle 1/2 cup grated fontina cheese over cheese sauce
- Layer noodles next in the same manner but switch the half noodle to the other end of the pan
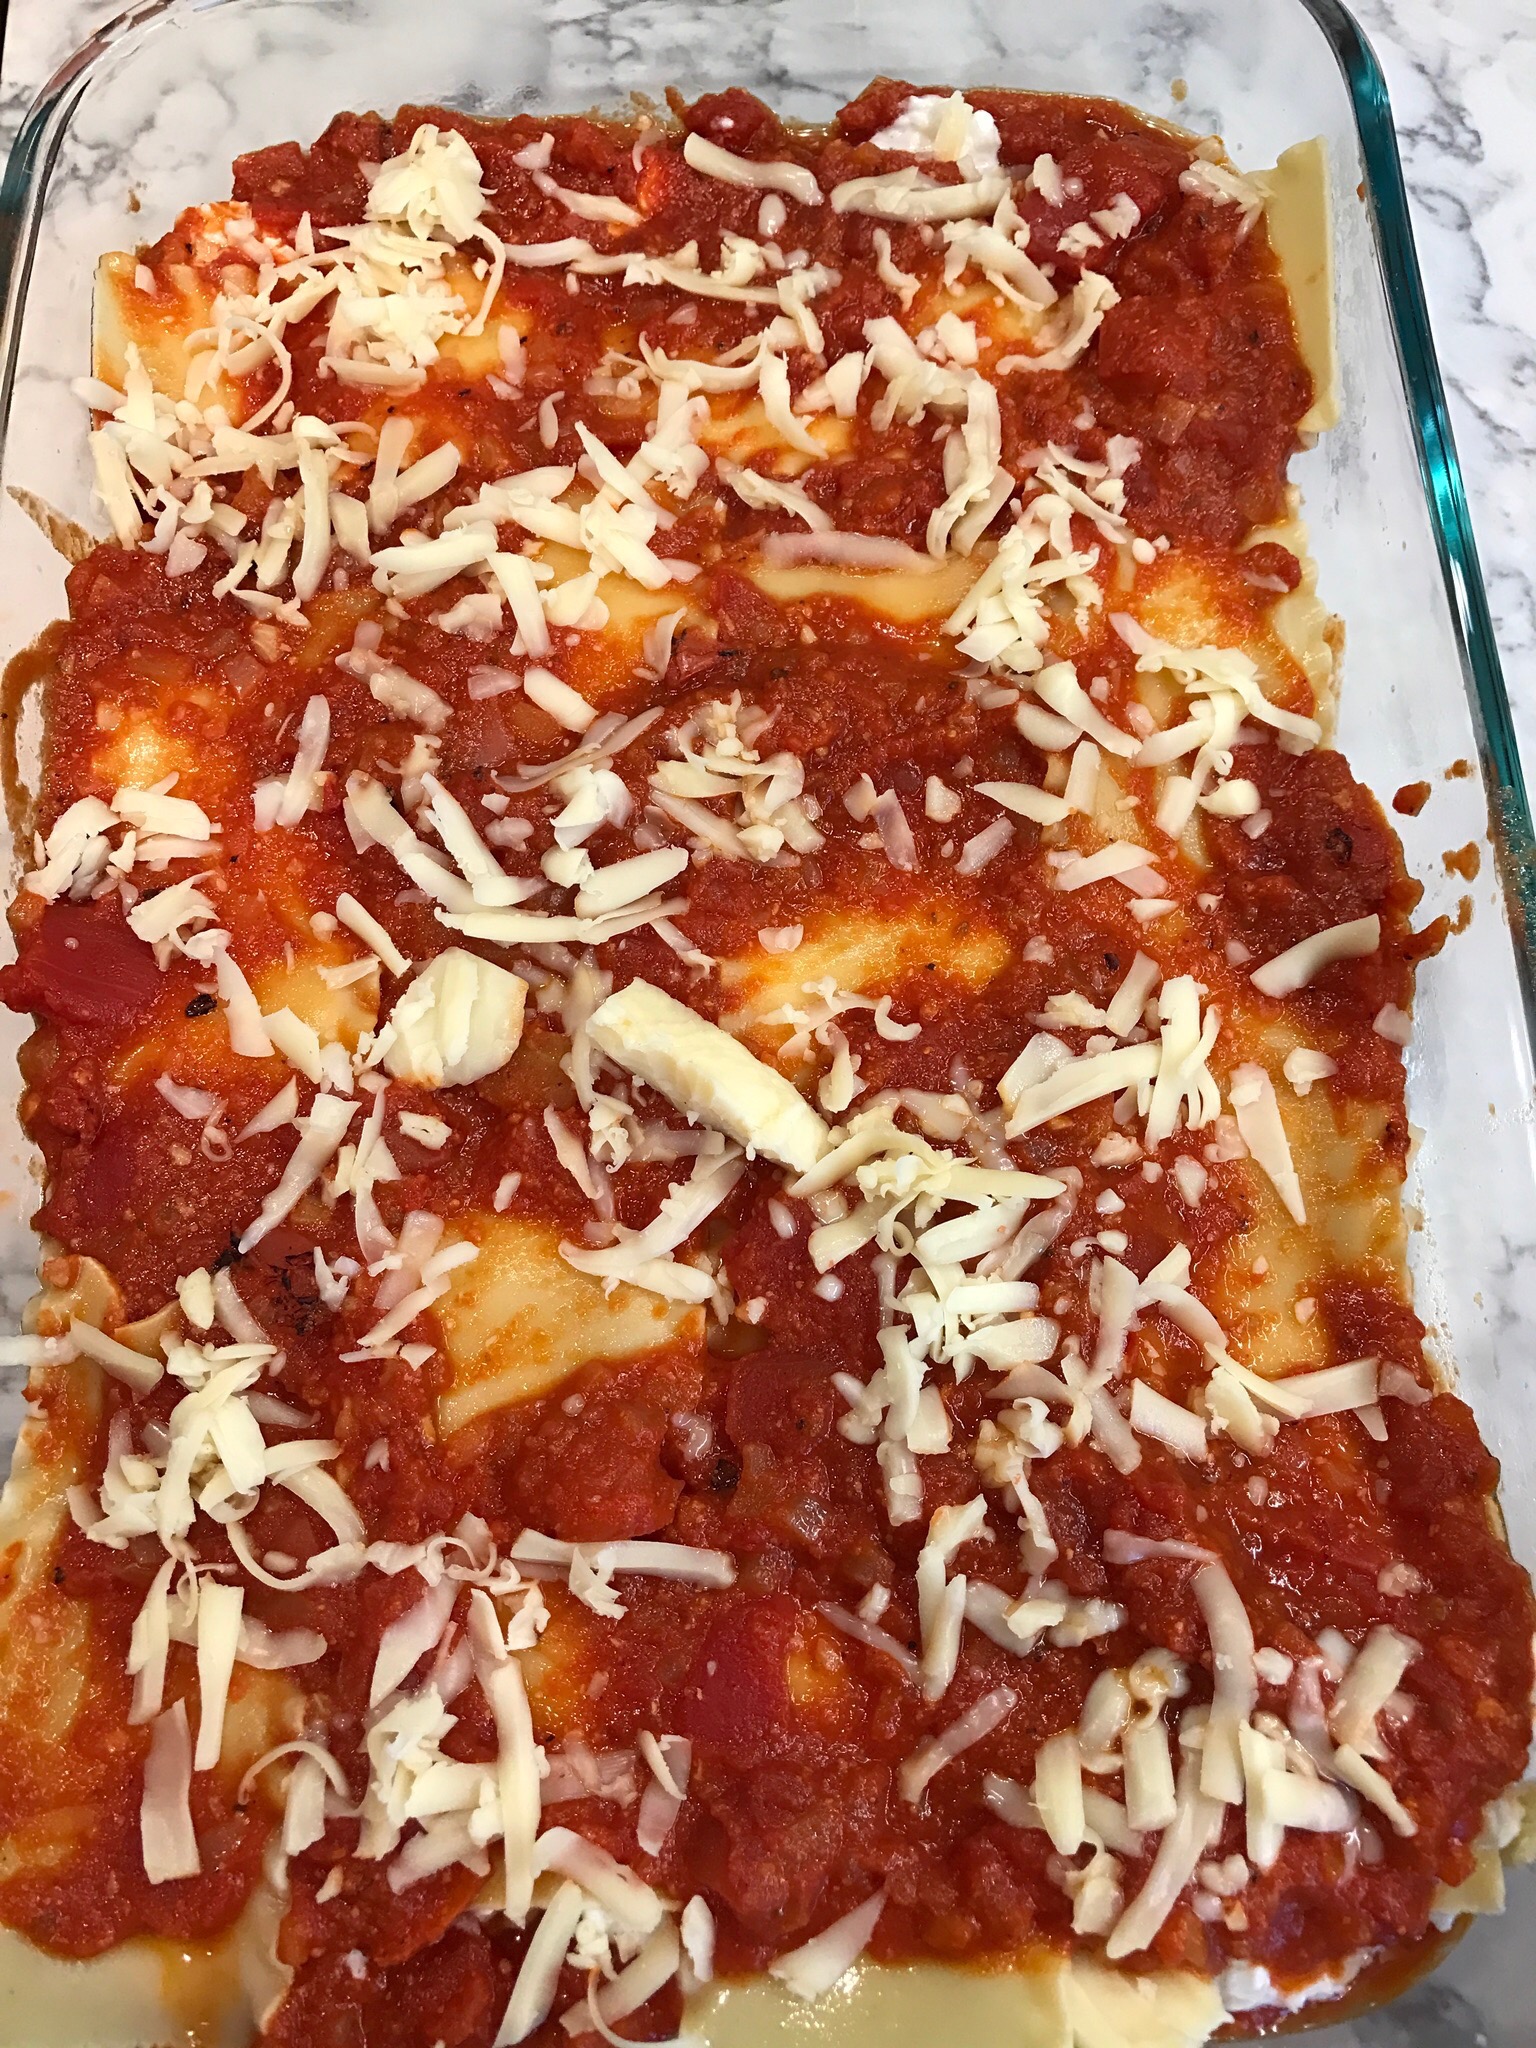
- Spread 1 1/2 cups tomato sauce over the noodles
- Sprinkle 1/2 cup fontina cheese over sauce
- Place 3rd layer of noodles with 3-4 noodles, again switching the 1-2 short noodles to the other end from the last time
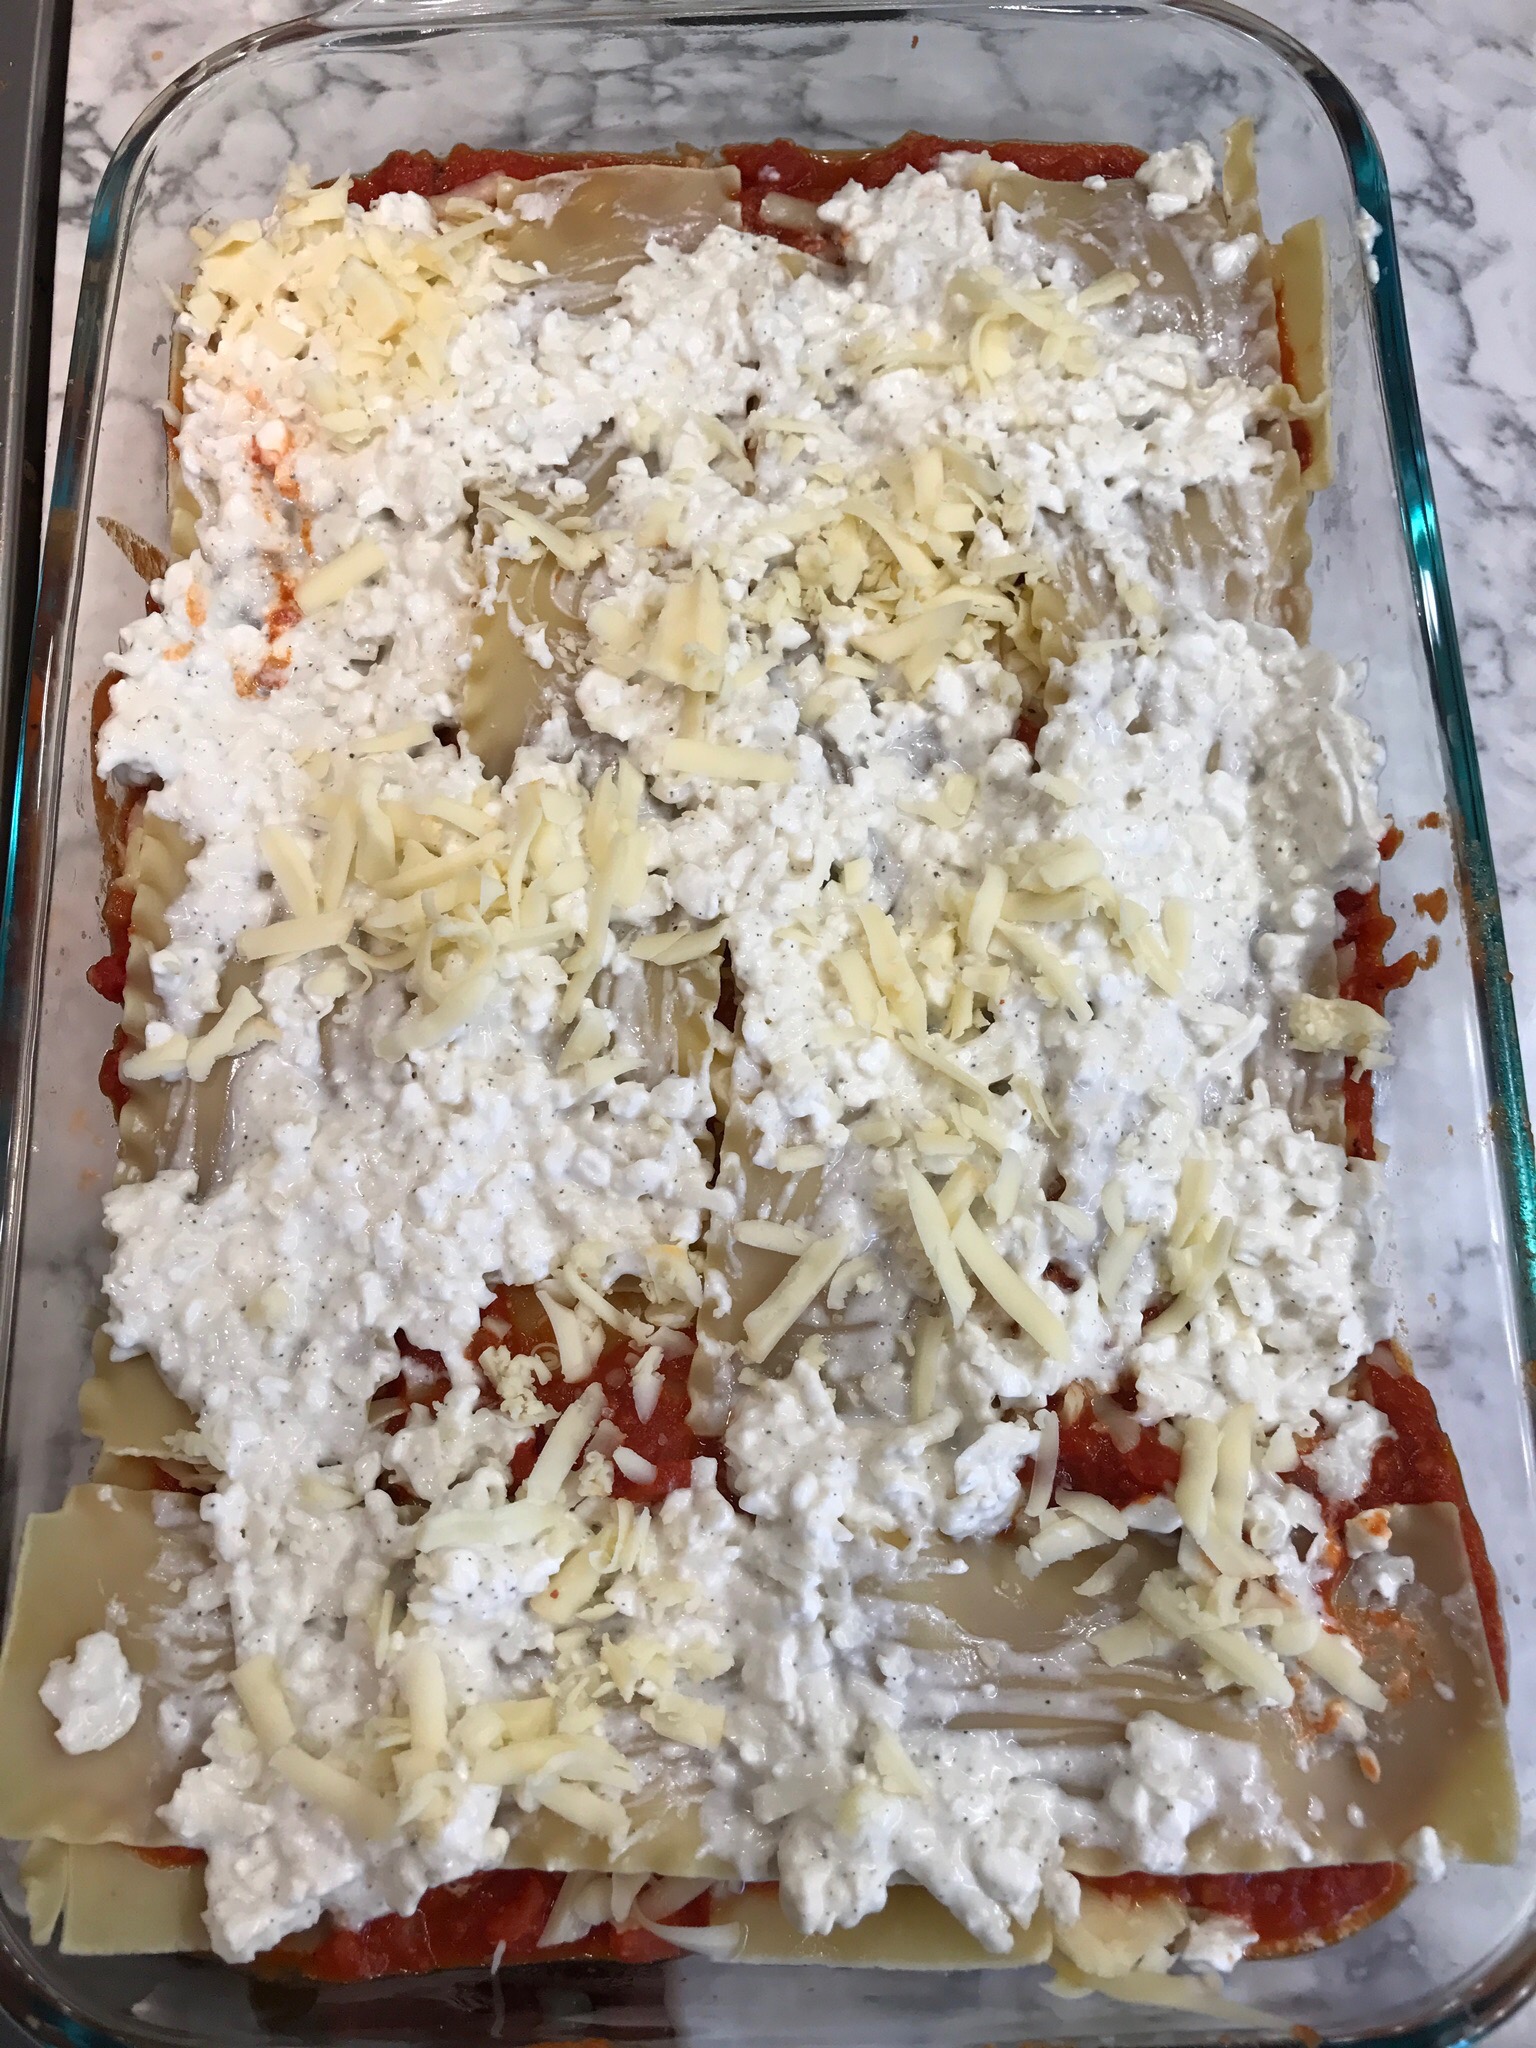
- Spread remaining cheese sauce and then 1/2 cup fontina
- Layer 3-4 noodles and again switch their placement. This is to make the layers an even height. Again add 1 – 2 half noodles to end
- Spread the remaining sauce over the noodles.
- Mix 1 cup fontina with cornstarch and sprinkle it on (I don’t add the cornstarch)
- Finally layer the remaining grated Pecorino Romano over the top
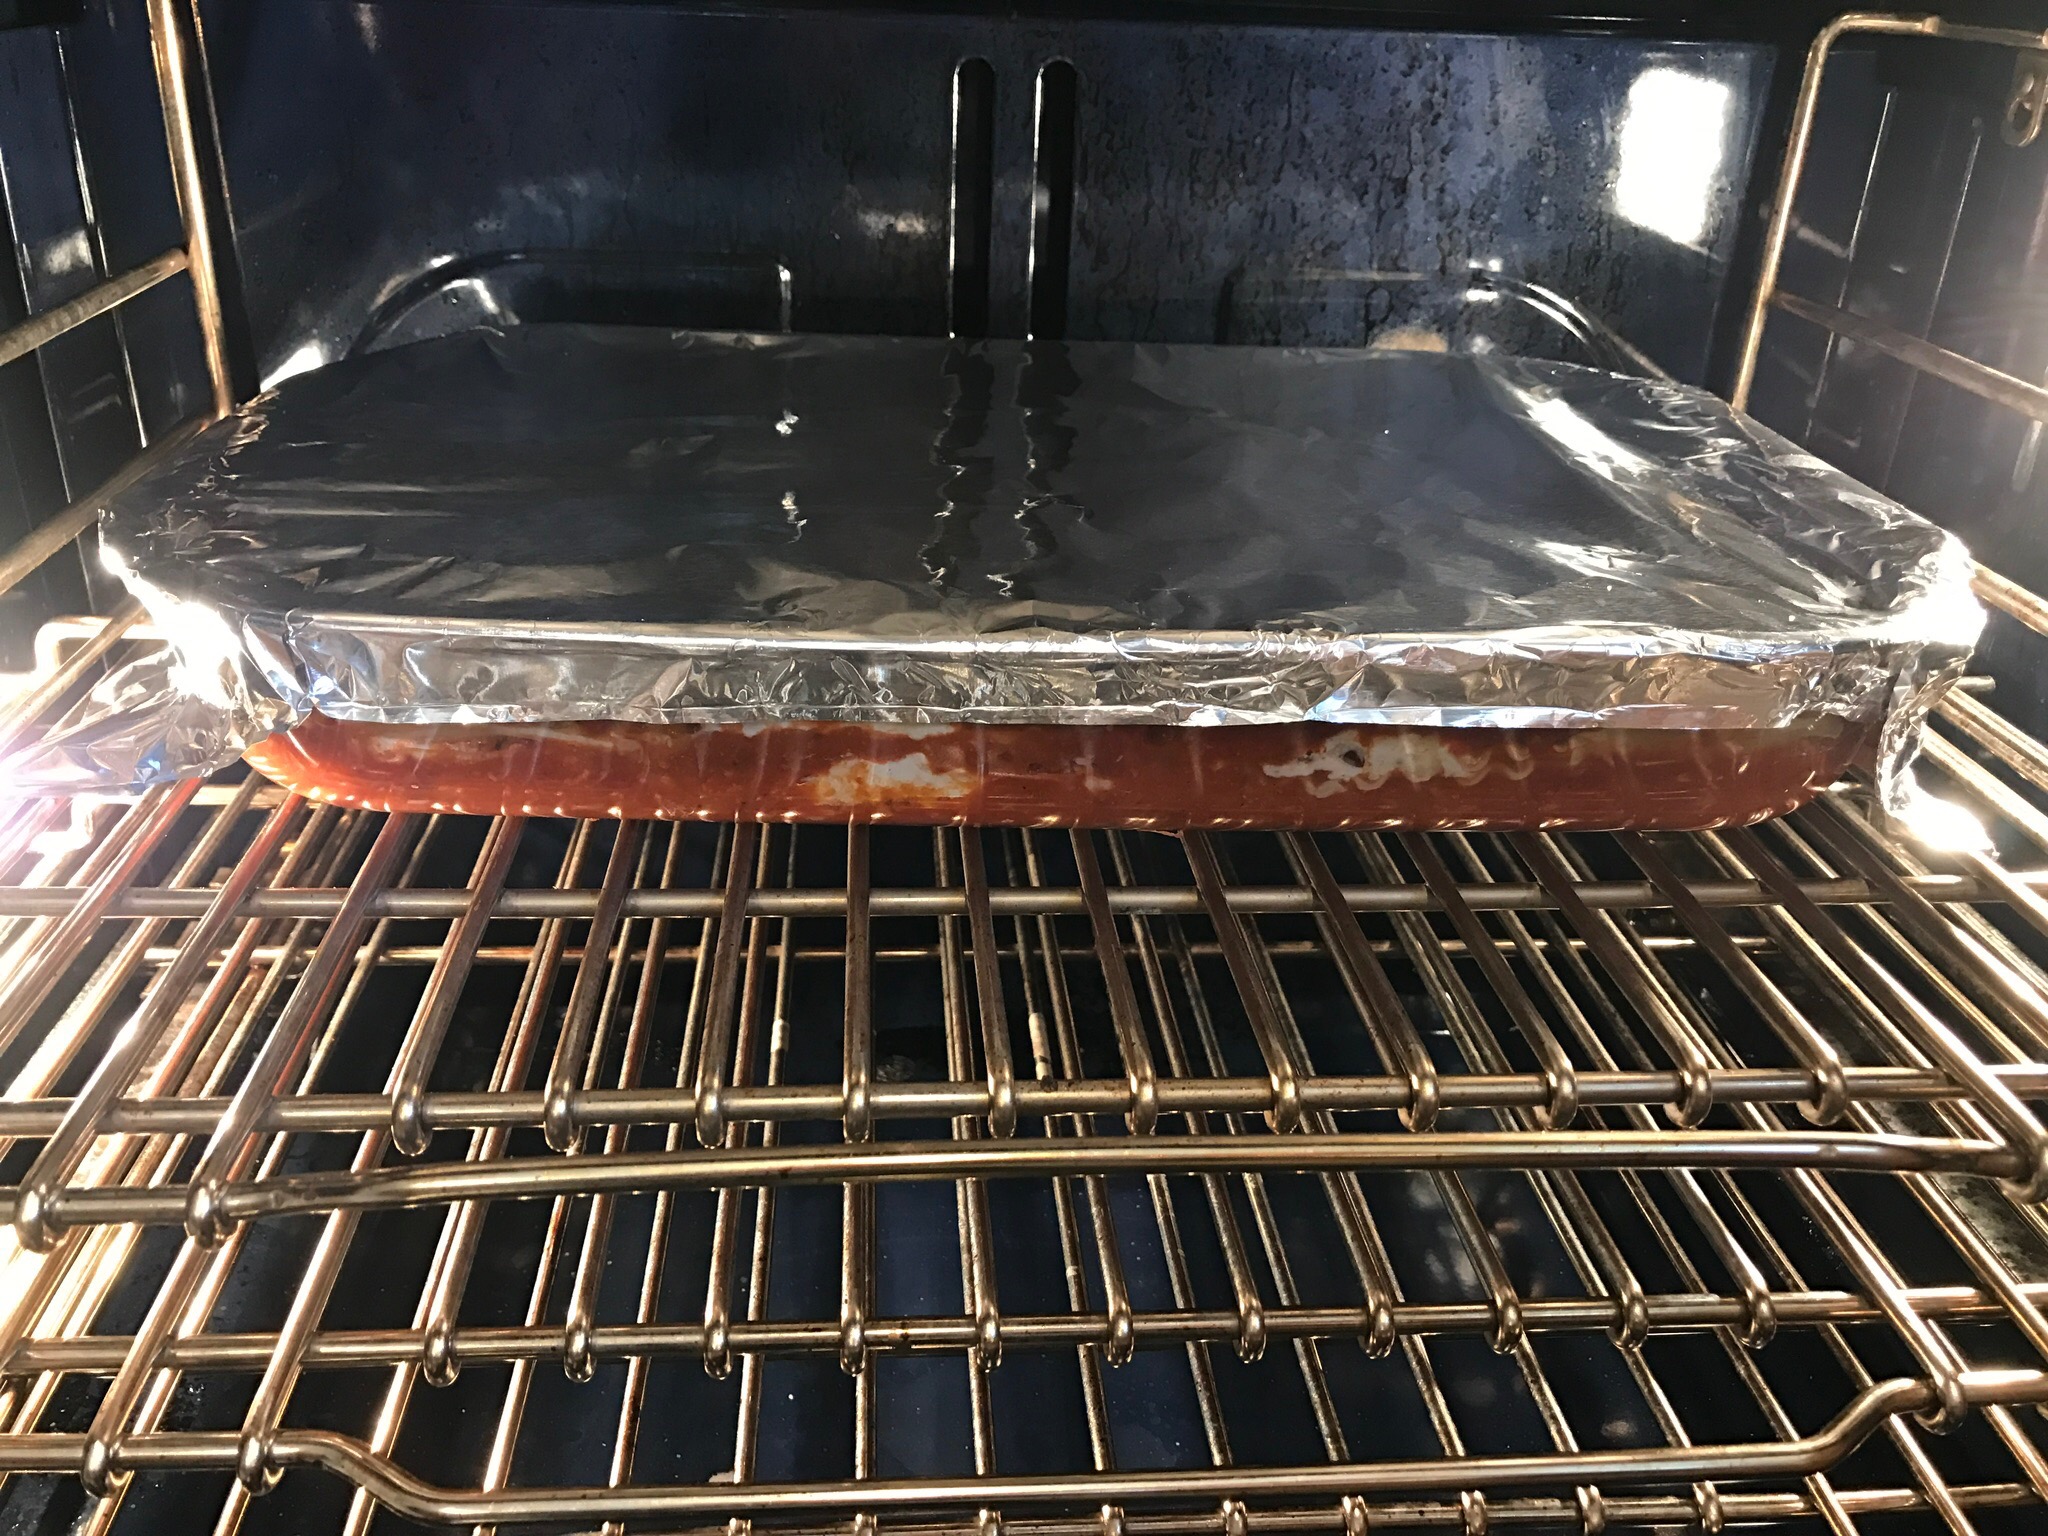
- Spray a sheet of foil with oil and place it oil side down on the lasagne (I don’t find this necessary)
- Bake at 350 or 375 for 25 minutes
- Remove lasagne from oven
- Increase temp to 450 and remove foil.
- Return lasagne to the oven and bake 5-10 minutes until lightly browned
- Remove from oven and let sit 20 minutes before serving
- I have made this lasagne ahead and refrigerated it before baking. Bring it to room temperature before placing it in the oven for baking
Cheese Sauce layered over first layer of pasta:

Fontina layered over tomato sauce:

Fontina layered over cheese sauce:

Final layer of the lasagna: Pecorino Romano!

Cover the lasagne with an oiled sheet of foil and bake at 350 or 375 degrees for 25 minutes.

The final stage is to remove the foil and increase the oven temperature to 450 or 500 for 5-10 minutes or until lightly browned.
Then let rest for 20 minutes before serving.
You can use more or less of any ingredients as you like. The cornstarch is not essential. Store bought sauce is fine also. You’ll need at least 5 cups of sauce or about 40 oz

Voila!


