
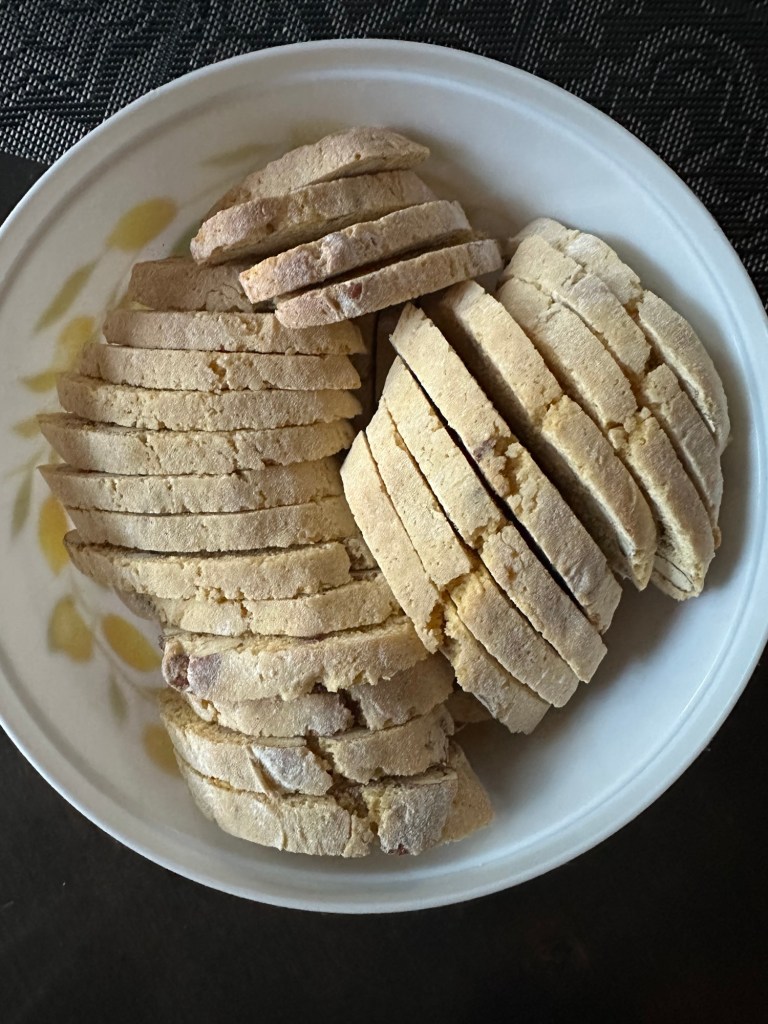
Biscotti is a twice baked cookie that is always crisp and not real sweet. It’s Italian and one of my favorite foods from their rich culture.
This recipe is the same as my original Cantuccini which is from Baking with Julia. It’s a long time favorite. This new recipe is a softer cookie. Not nearly as rock hard crisp as my original. These crisp twice baked cookies are meant to dunk and soften in coffee or vin santo, an Italian dessert wine.
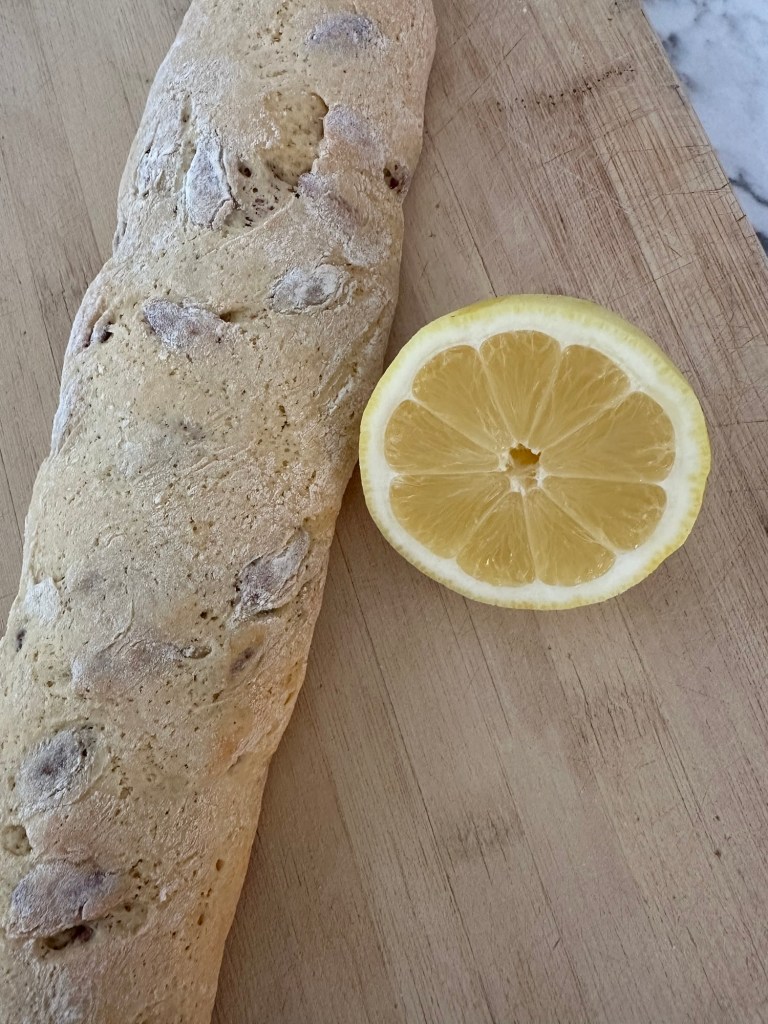
Adding the 3 tablespoons plus of lemon juice makes this a more tender cookie that’s not as hard to bite into and certainly does not have to be softened in coffee or wine. The grated rind of an entire large lemon adds a huge fragrance and flavor. But as I’ve experimented I’ve learned not all lemons are the same. When purchasing lemons buy the fragrant ones. If you have fresh lemons available that would be best! Enjoy!
Ingredients
- 2 cups all purpose flour + more for mixing and kneading
- 3/4 cup sugar
- 2 teaspoons baking powder
- 1/4 teaspoon salt
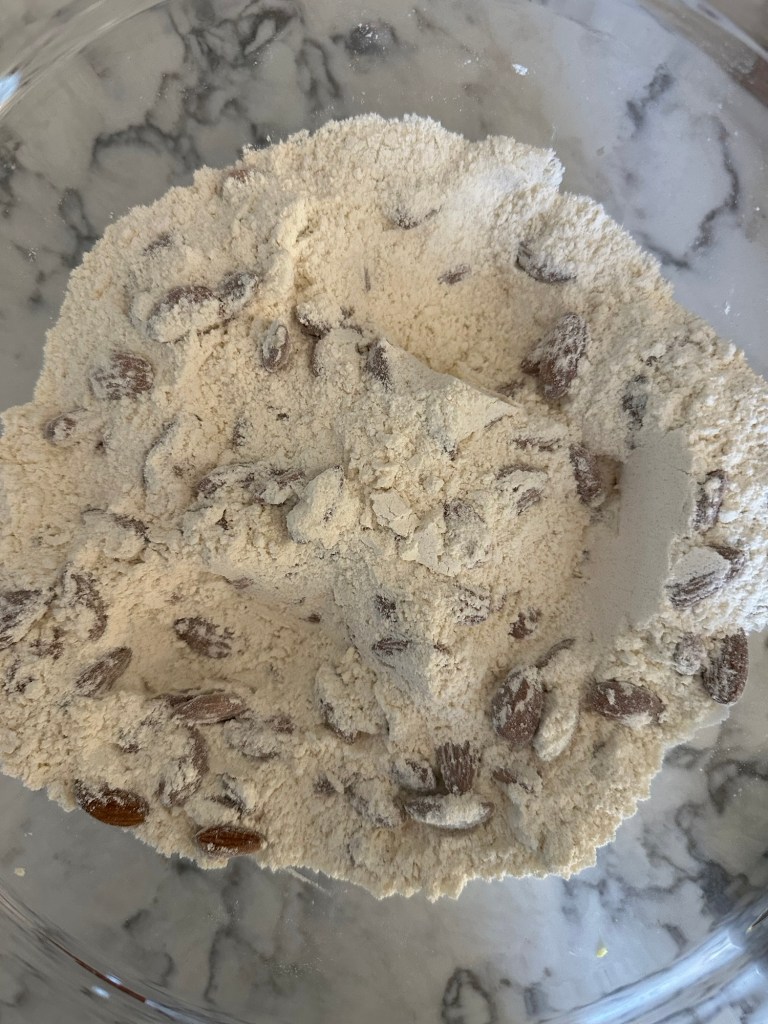
- 1 1/2 cups whole almonds
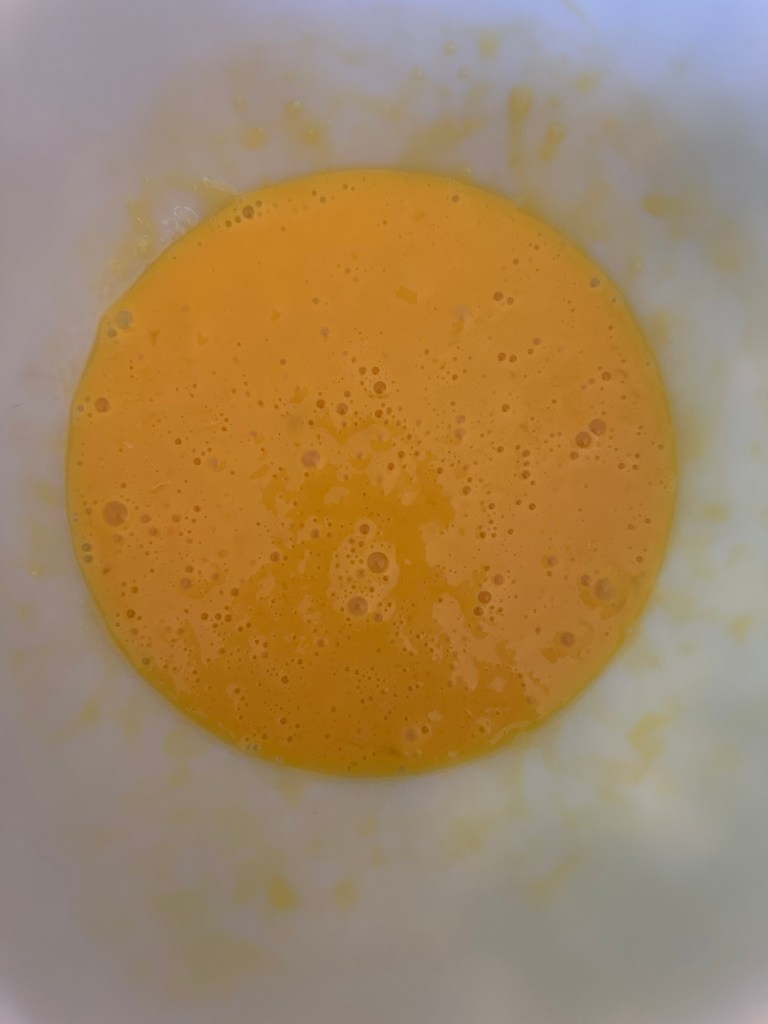
- 3 large eggs
- 1 teaspoon vanilla
- 3 tablespoons fresh lemon juice
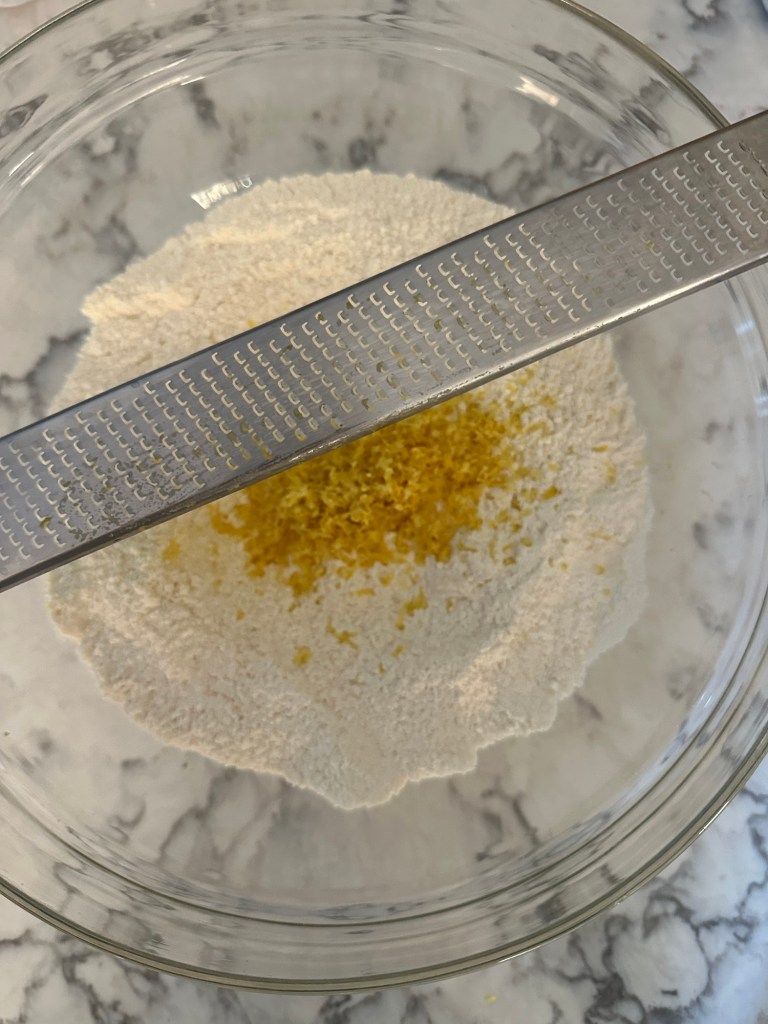
- Grated rind from 1 large lemon
Directions
- Heat the oven to 350 F.
- In a large bowl whisk together flour, sugar, baking powder, and salt. Whisk in lemon rind. Stir in almonds. Set aside.
- In a medium size bowl whisk together eggs, vanilla and lemon juice.
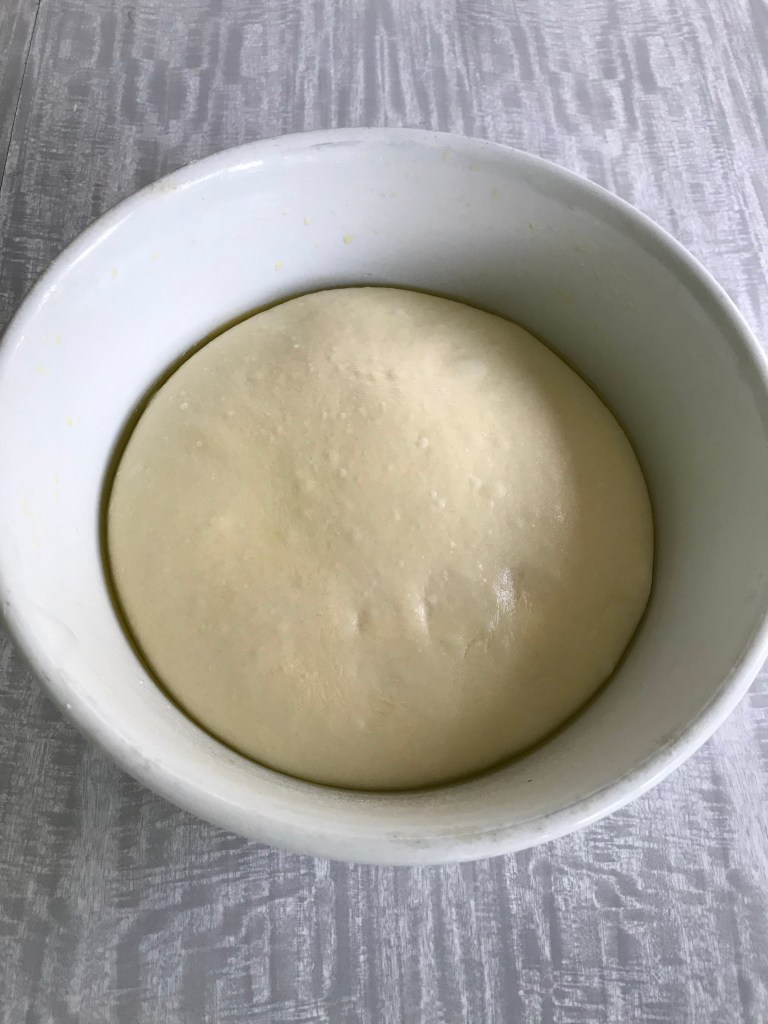
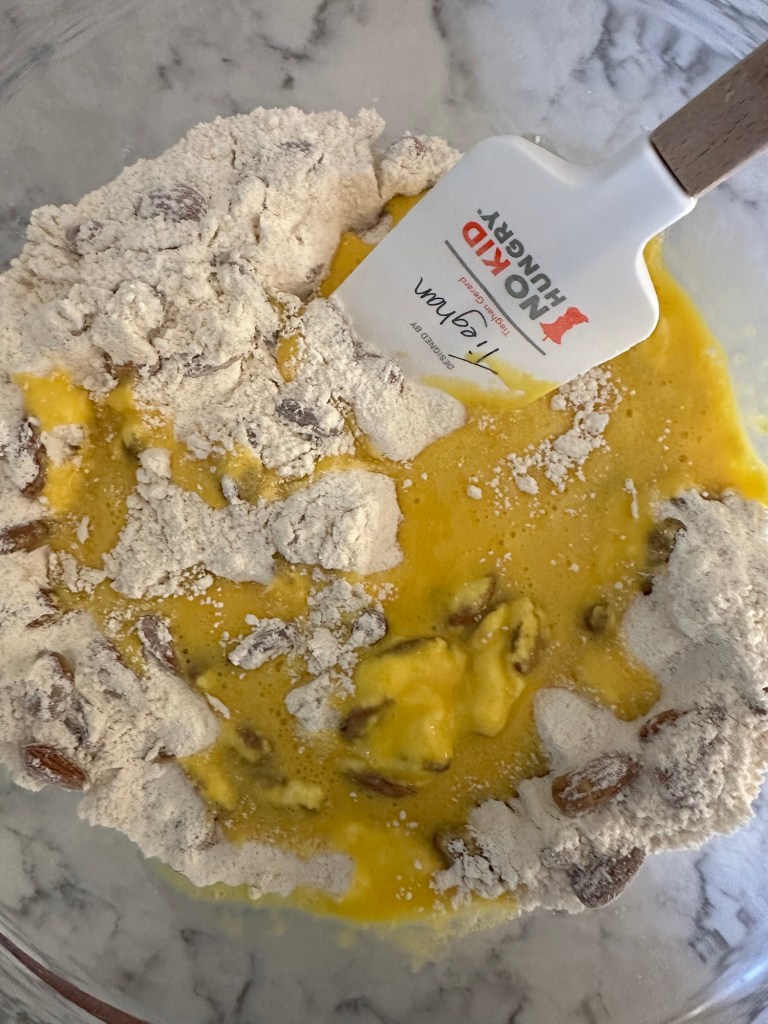
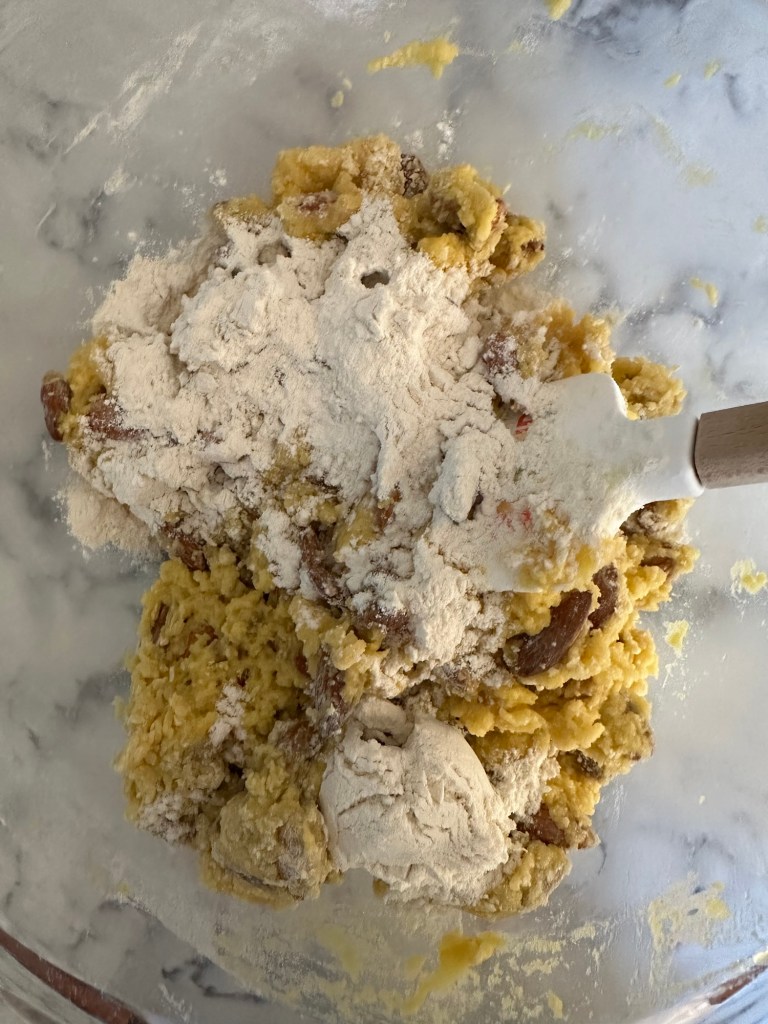
- Using a rubber spatula, add liquid mixture to dry ingredients. It will be sticky. Add 3 tablespoons of flour or more and mix until it is dry enough to handle, using a spatula.
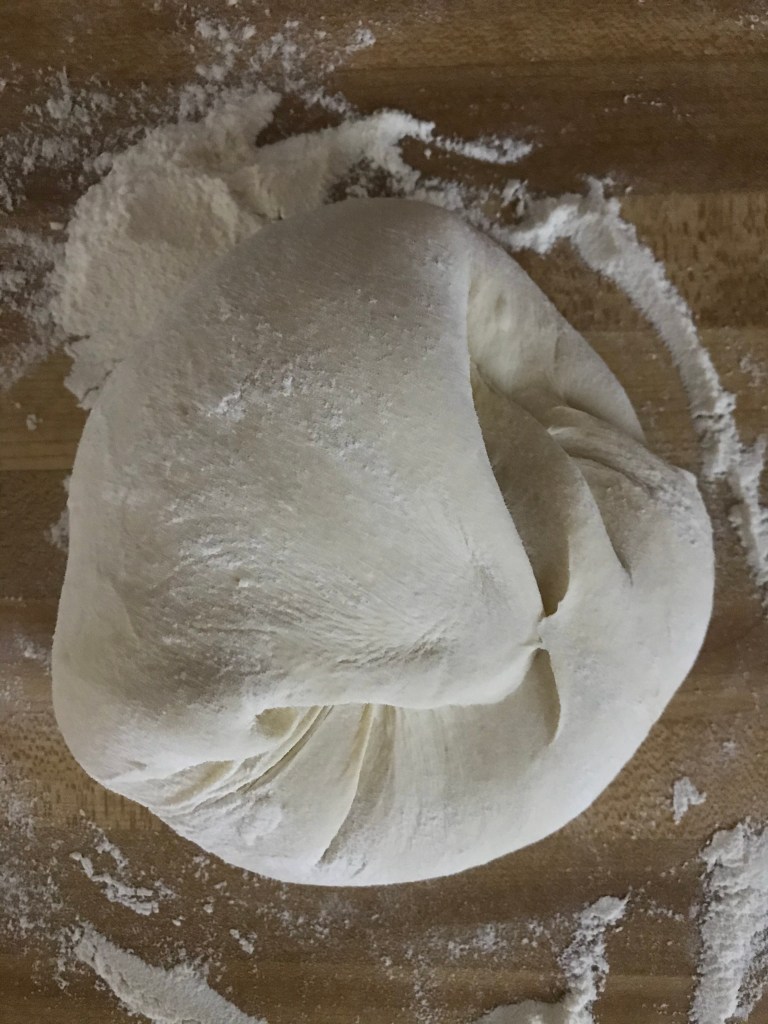
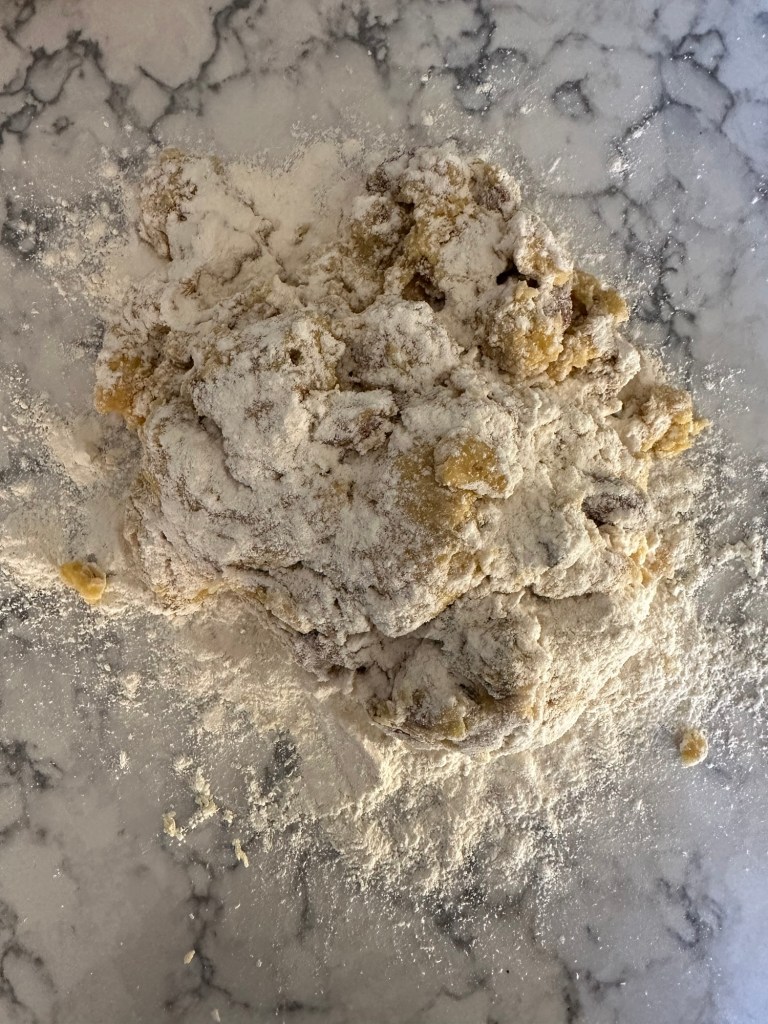
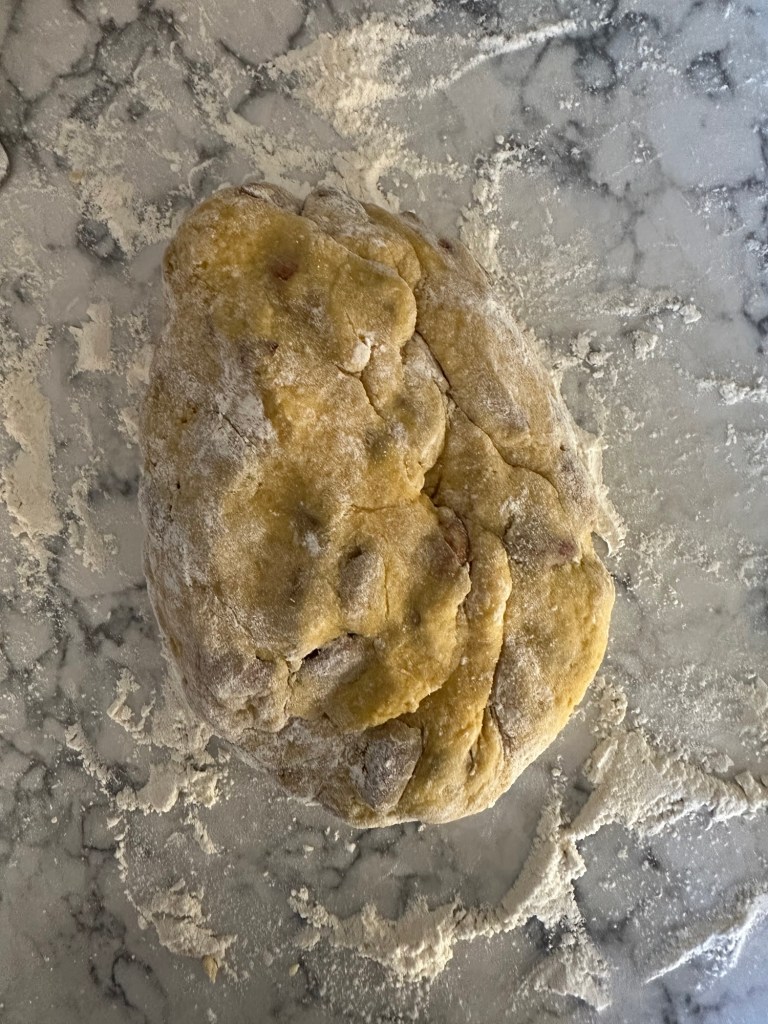
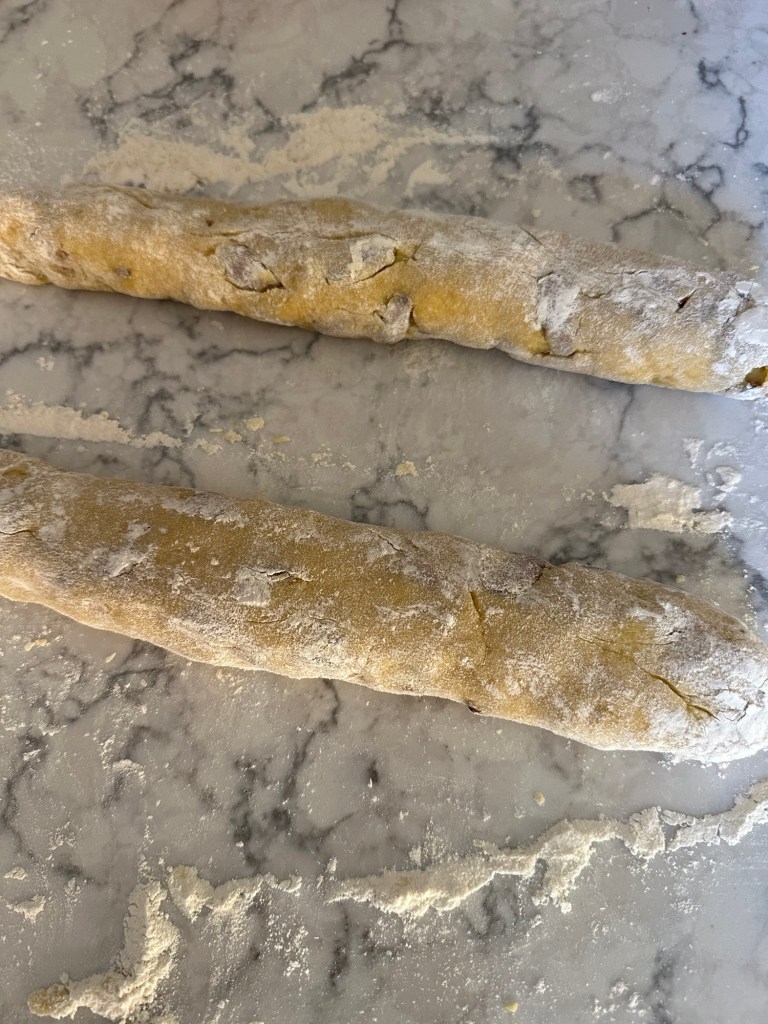
- Sprinkle a flat surface with flour and pour dough onto it. Sprinkle the dough with flour. Knead it in quarter turns for 1 minute, adding flour to keep it from being too sticky. Also keep your hands floured to prevent sticking.
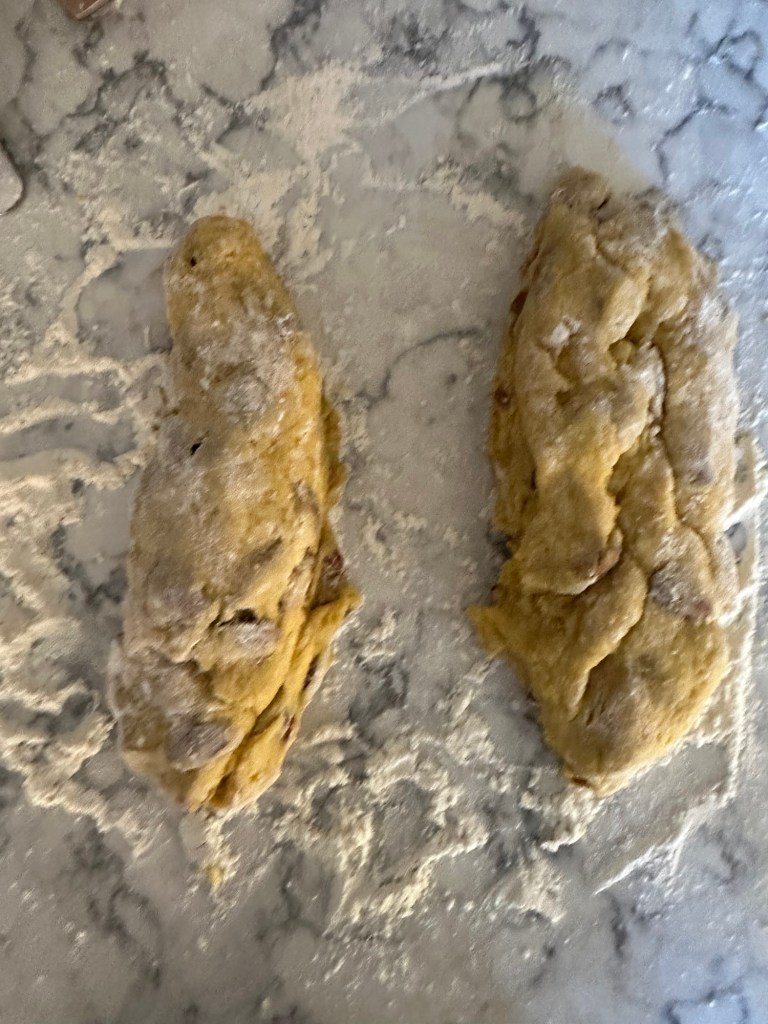
- Using a bread knife or another knife, cut dough into 2 even pieces.
- Adding more flour as necessary, roll each piece into a 12 inch log.
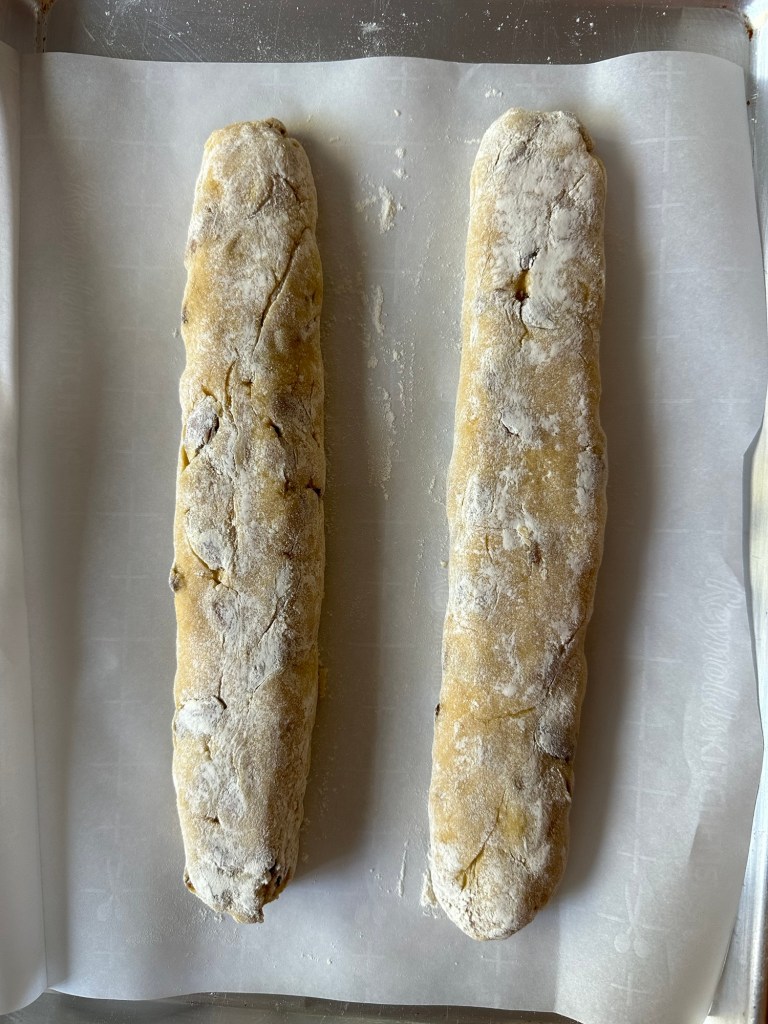
- Place logs onto a parchment paper lined cookie sheet. Flatten the ends and the top of the logs so they form a 2 inch wide flattened log shape.
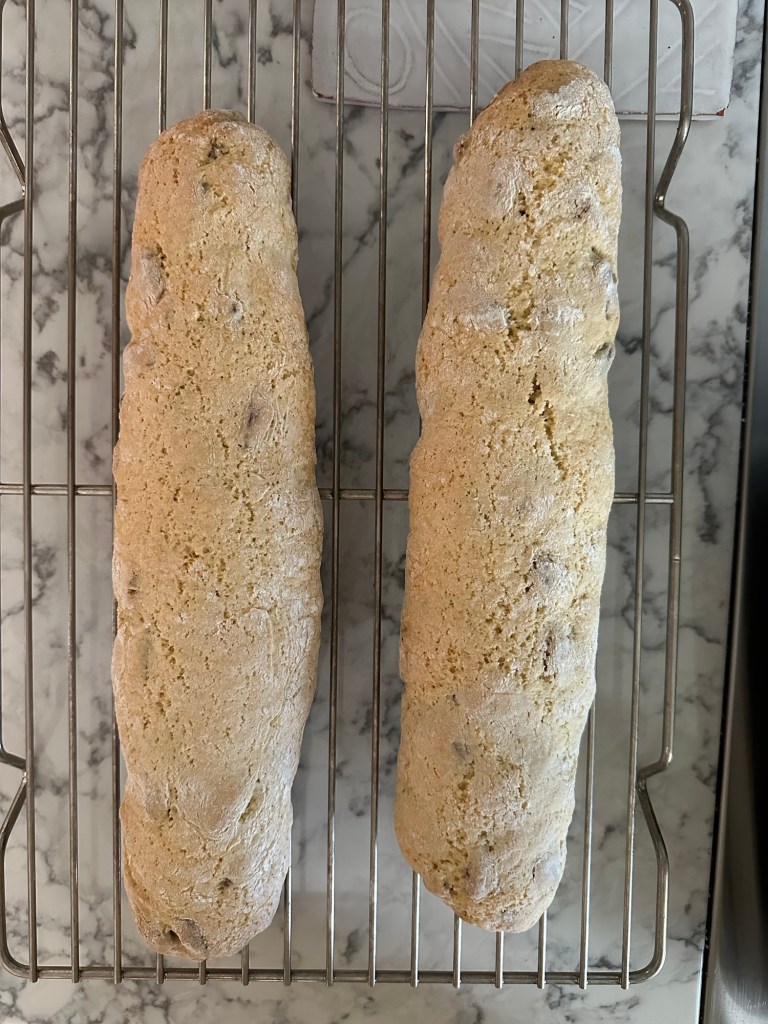
- Bake at 350 degrees F for 30 minutes. Cool on a rack.
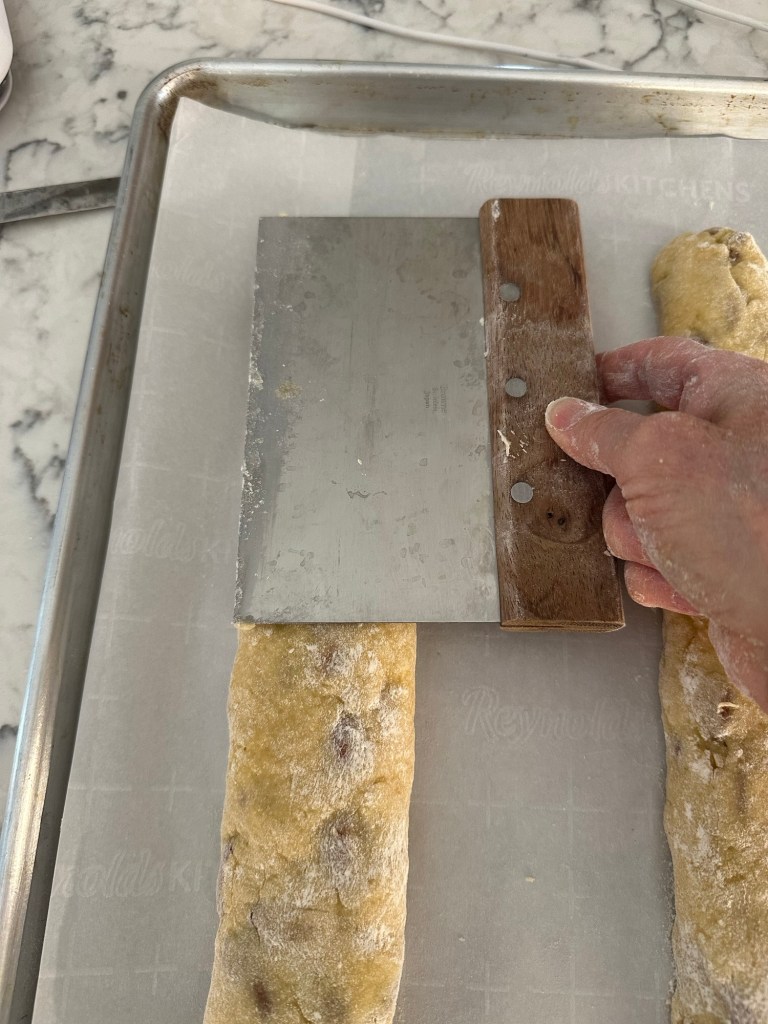
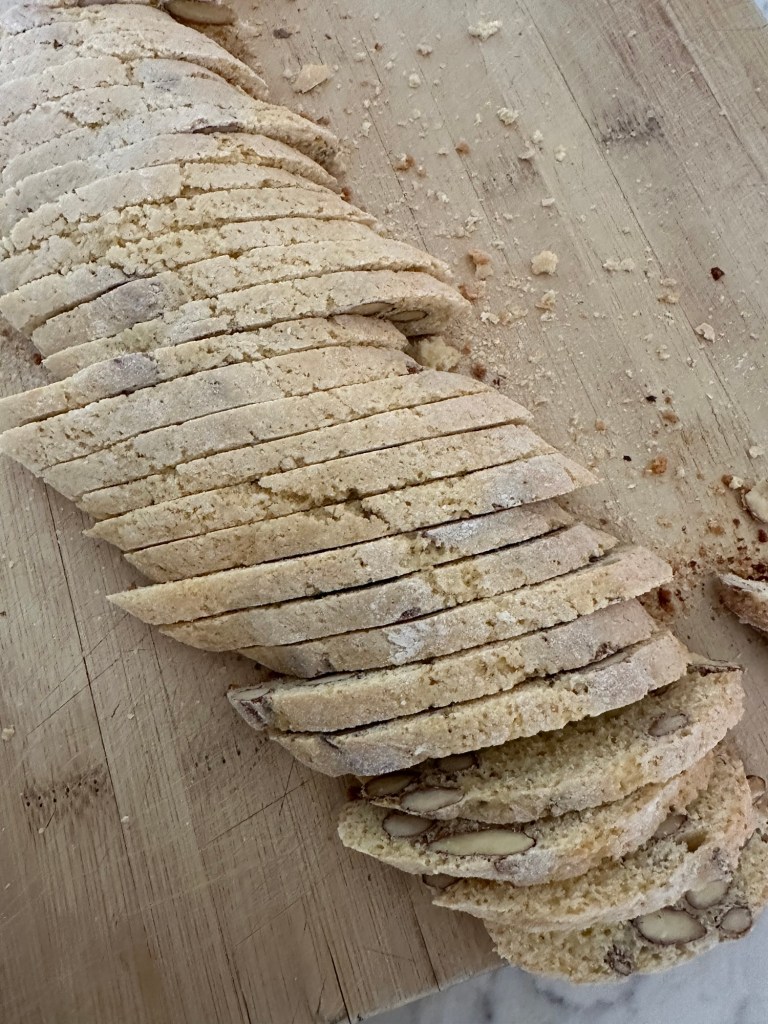
- In about 1 hour or when they are cooled but not cold, slice the cookies 1/4 inch wide on a slight angle for longer cookies or perpendicular to the log if you want shorter cookies.
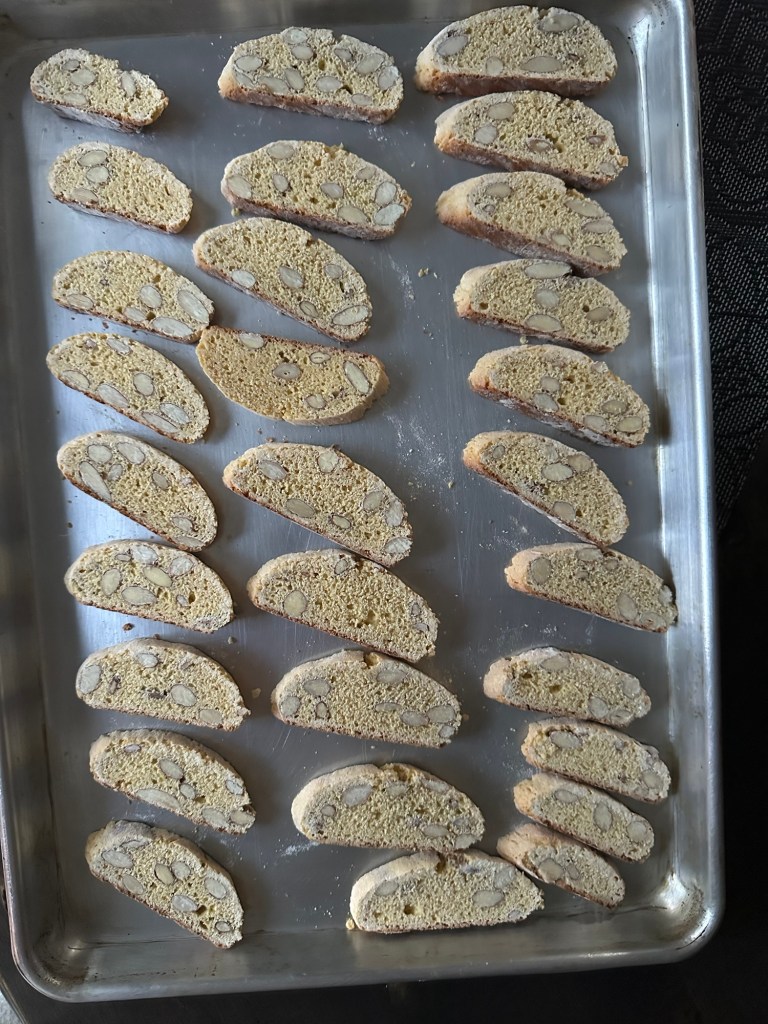
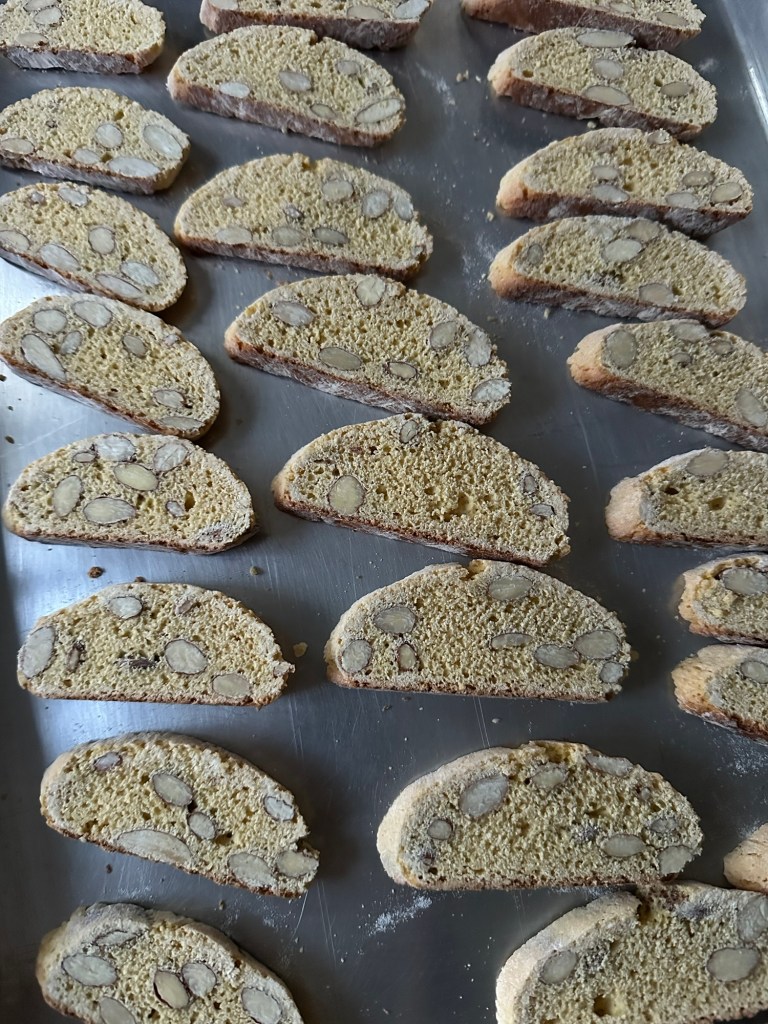
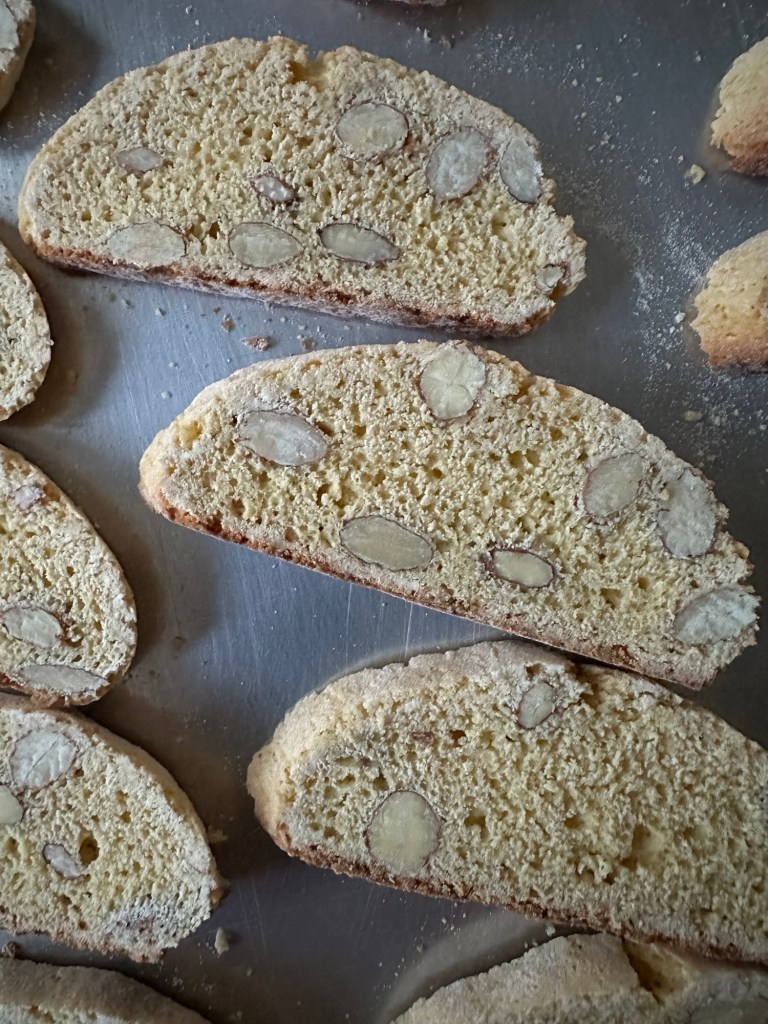
- Place cookies on one side on 2 baking sheets. Bake for 10 minutes. You don’t need parchment paper for the second baking.
- Store in a cookie tin.
- Voila!
Lemon Biscotti