RSS Feed

Category Archives: main dishes

Russian Sausage

This is the sausage my Russian grandparents would make several times a year. It was served at every family gathering. They were from a small village outside of Minsk in Byelorussia. Preparing today for our family and friends is a wonderful way to carry on traditions through the generations.

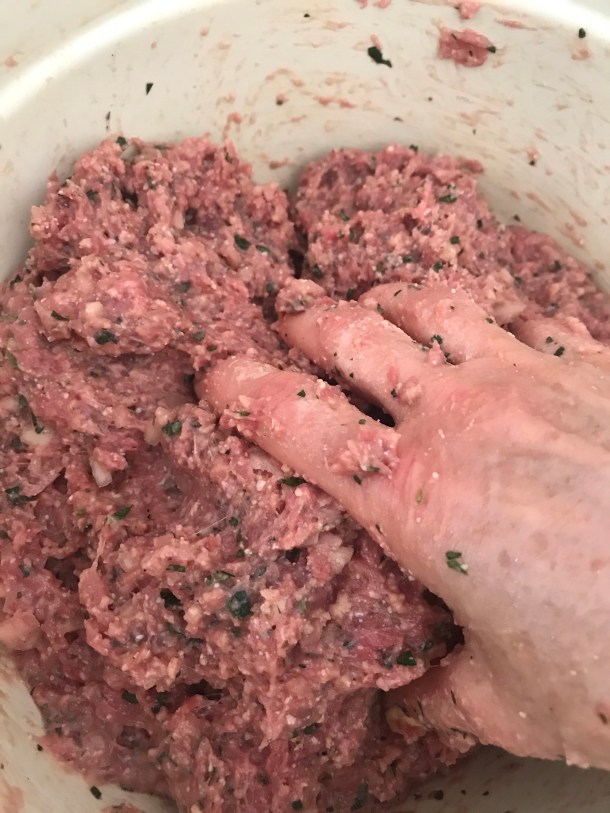
This sausage is not made with the typical ground pork used in most sausages, it is made with hand cut 1 inch pieces of pork butt or pork shoulder. The leaner cuts do not work. We tried. The meat needs to be fatty.

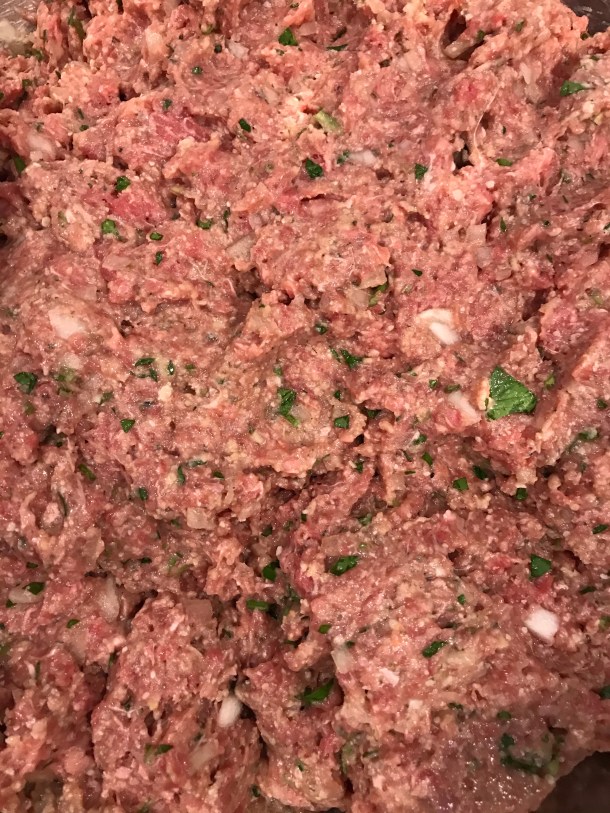
The pieces of pork is mixed with a special combination of spices and garlic. Then it is marinated a day or so

The marinated pork mixture is stuffed into casings and then simmered in lots of water. The final step is roasting and browning the sausage in the oven

Ingredients

10 pounds boneless pork butt or shoulder

Hog casings, soaked in water and then rinsed inside and out

Spice and seasoning mixture:

1 tablespoon sugar

10 teaspoons salt

1 1/2 teaspoons ground black pepper

4 large cloves garlic, minced

2 teaspoons dill seed, ground

1 teaspoon ground allspice or 20 seeds ground

1/4 teaspoon ground cloves or 2 whole cloves, ground

1 teaspoon ground coriander or 20 seeds, ground

1/2 bay leaf, crumbled fine

1 teaspoon ground mustard seed or 1 teaspoon mustard seeds, ground

1 teaspoon hot red pepper flakes or 1 dried hot red cayenne pepper, chopped fine

3/4 cup water

Directions

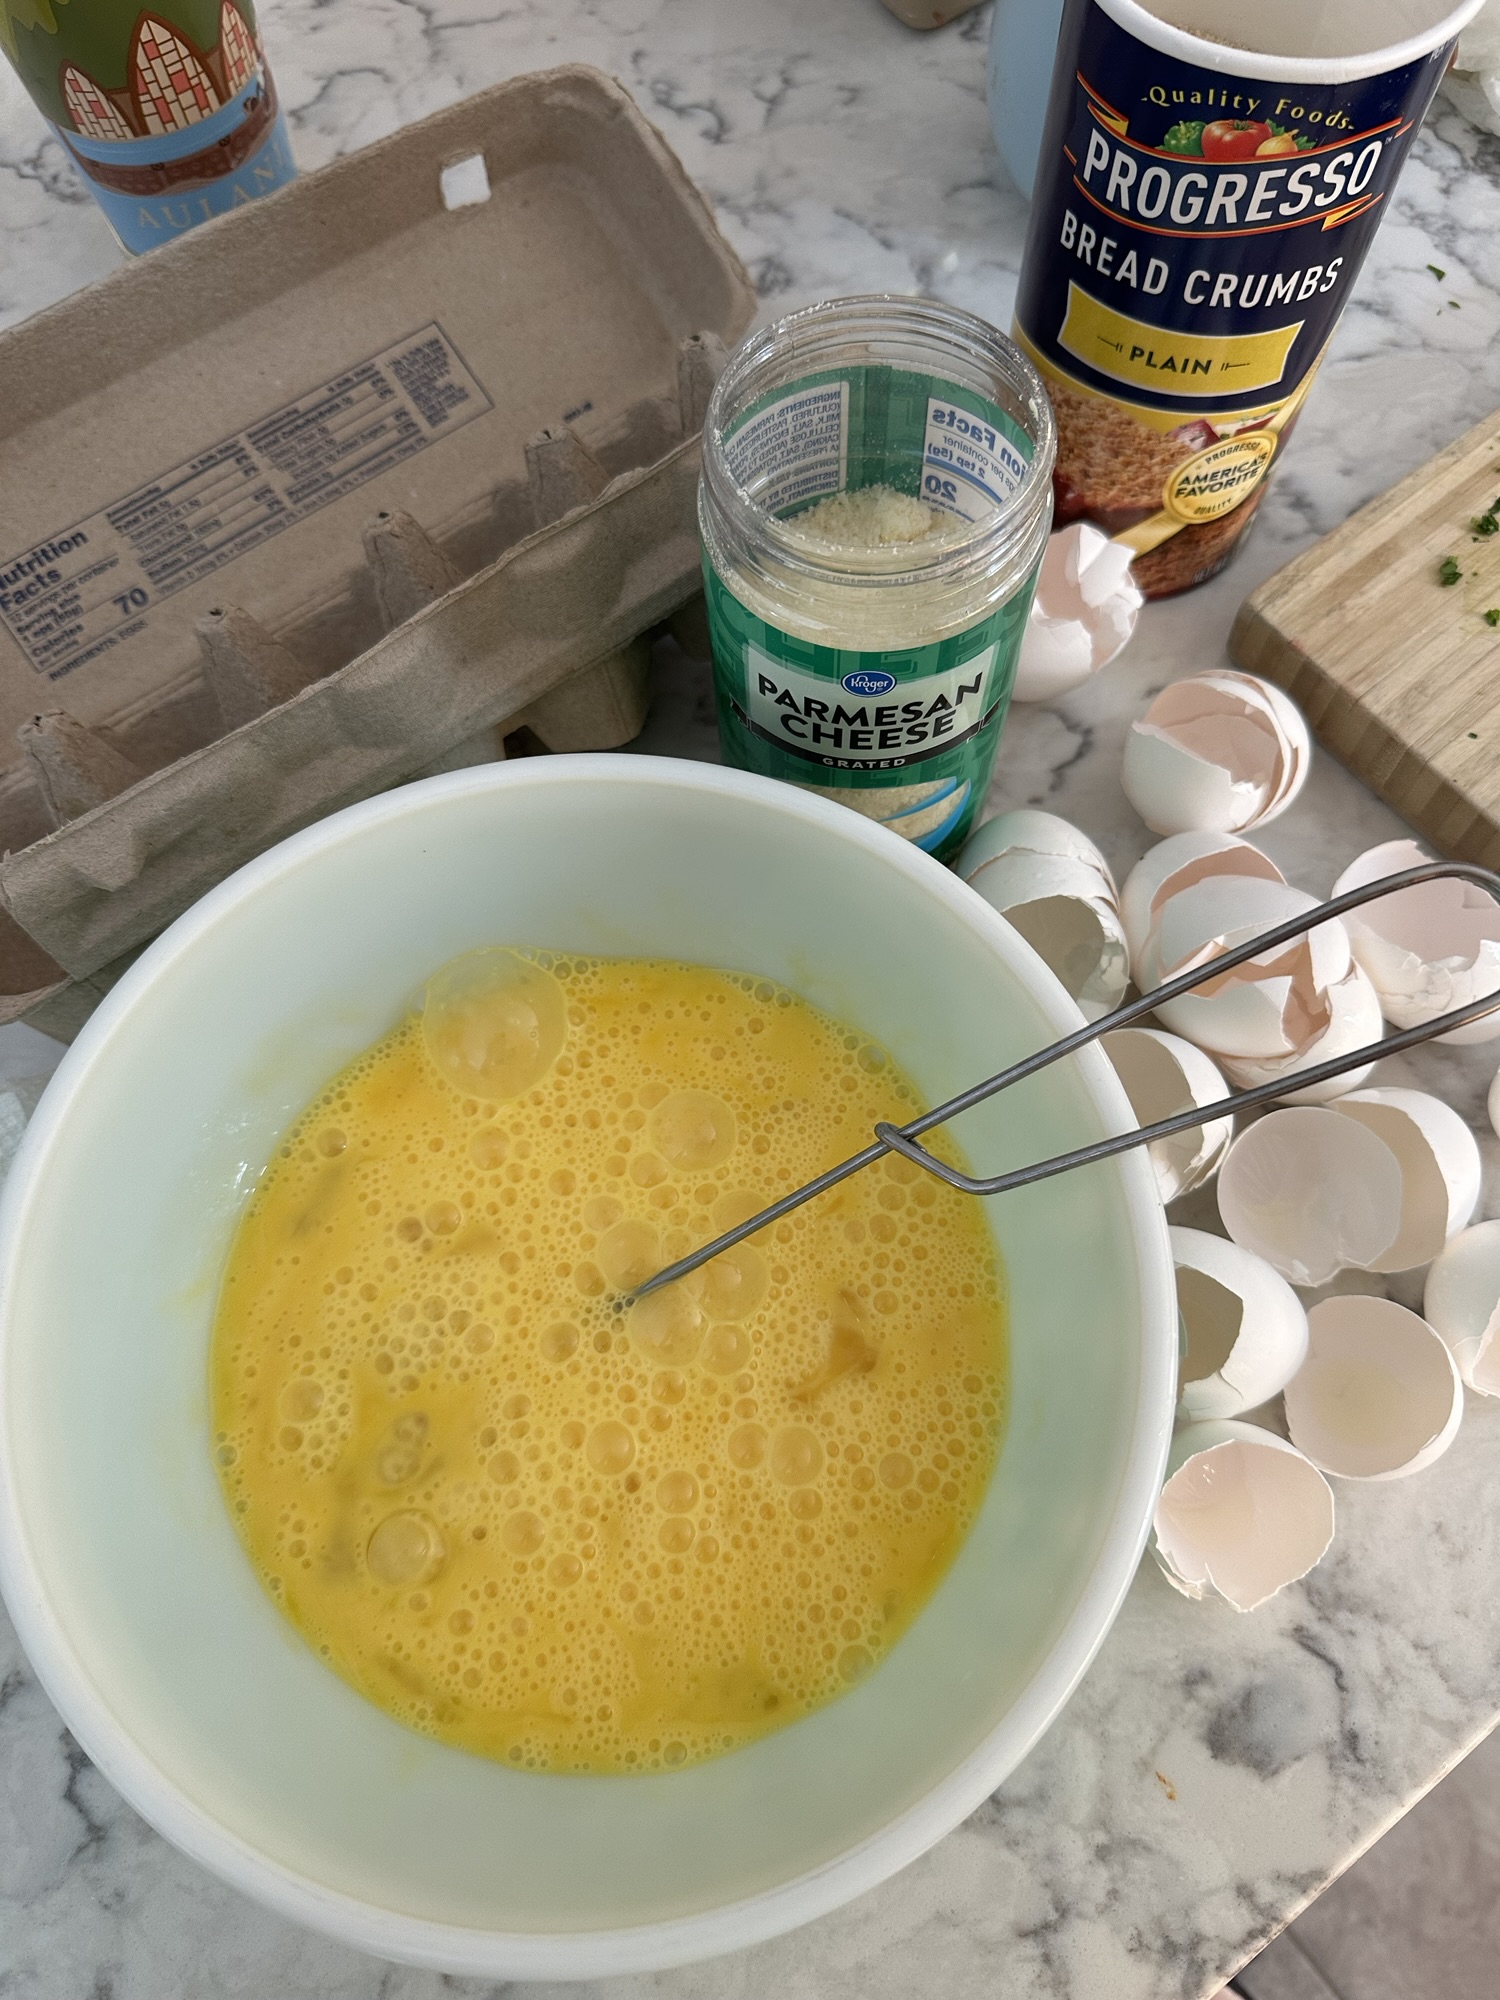
  • Combine the dry seasonings in a small bowl.
  • Mince the garlic and add 1 teaspoon of the salt to it and mash it with the knife side.
  • Cut the pork shoulder or butt into 1 inches pieces. Place in a very large ceramic or glass bowl.
  • Add garlic, water and seasonings to pork and mix well with your hands
  • Cover and refrigerate 1 day.
  • Using an automatic sausage stuffer, slip the casings over the stuffing tube. I have an attachment to my Kitchen Aid stand mixer.
  • Twist the links every 12 inches or so and break off from the tube. Set the sausage link aside. Continue until all the meat is in the casings.
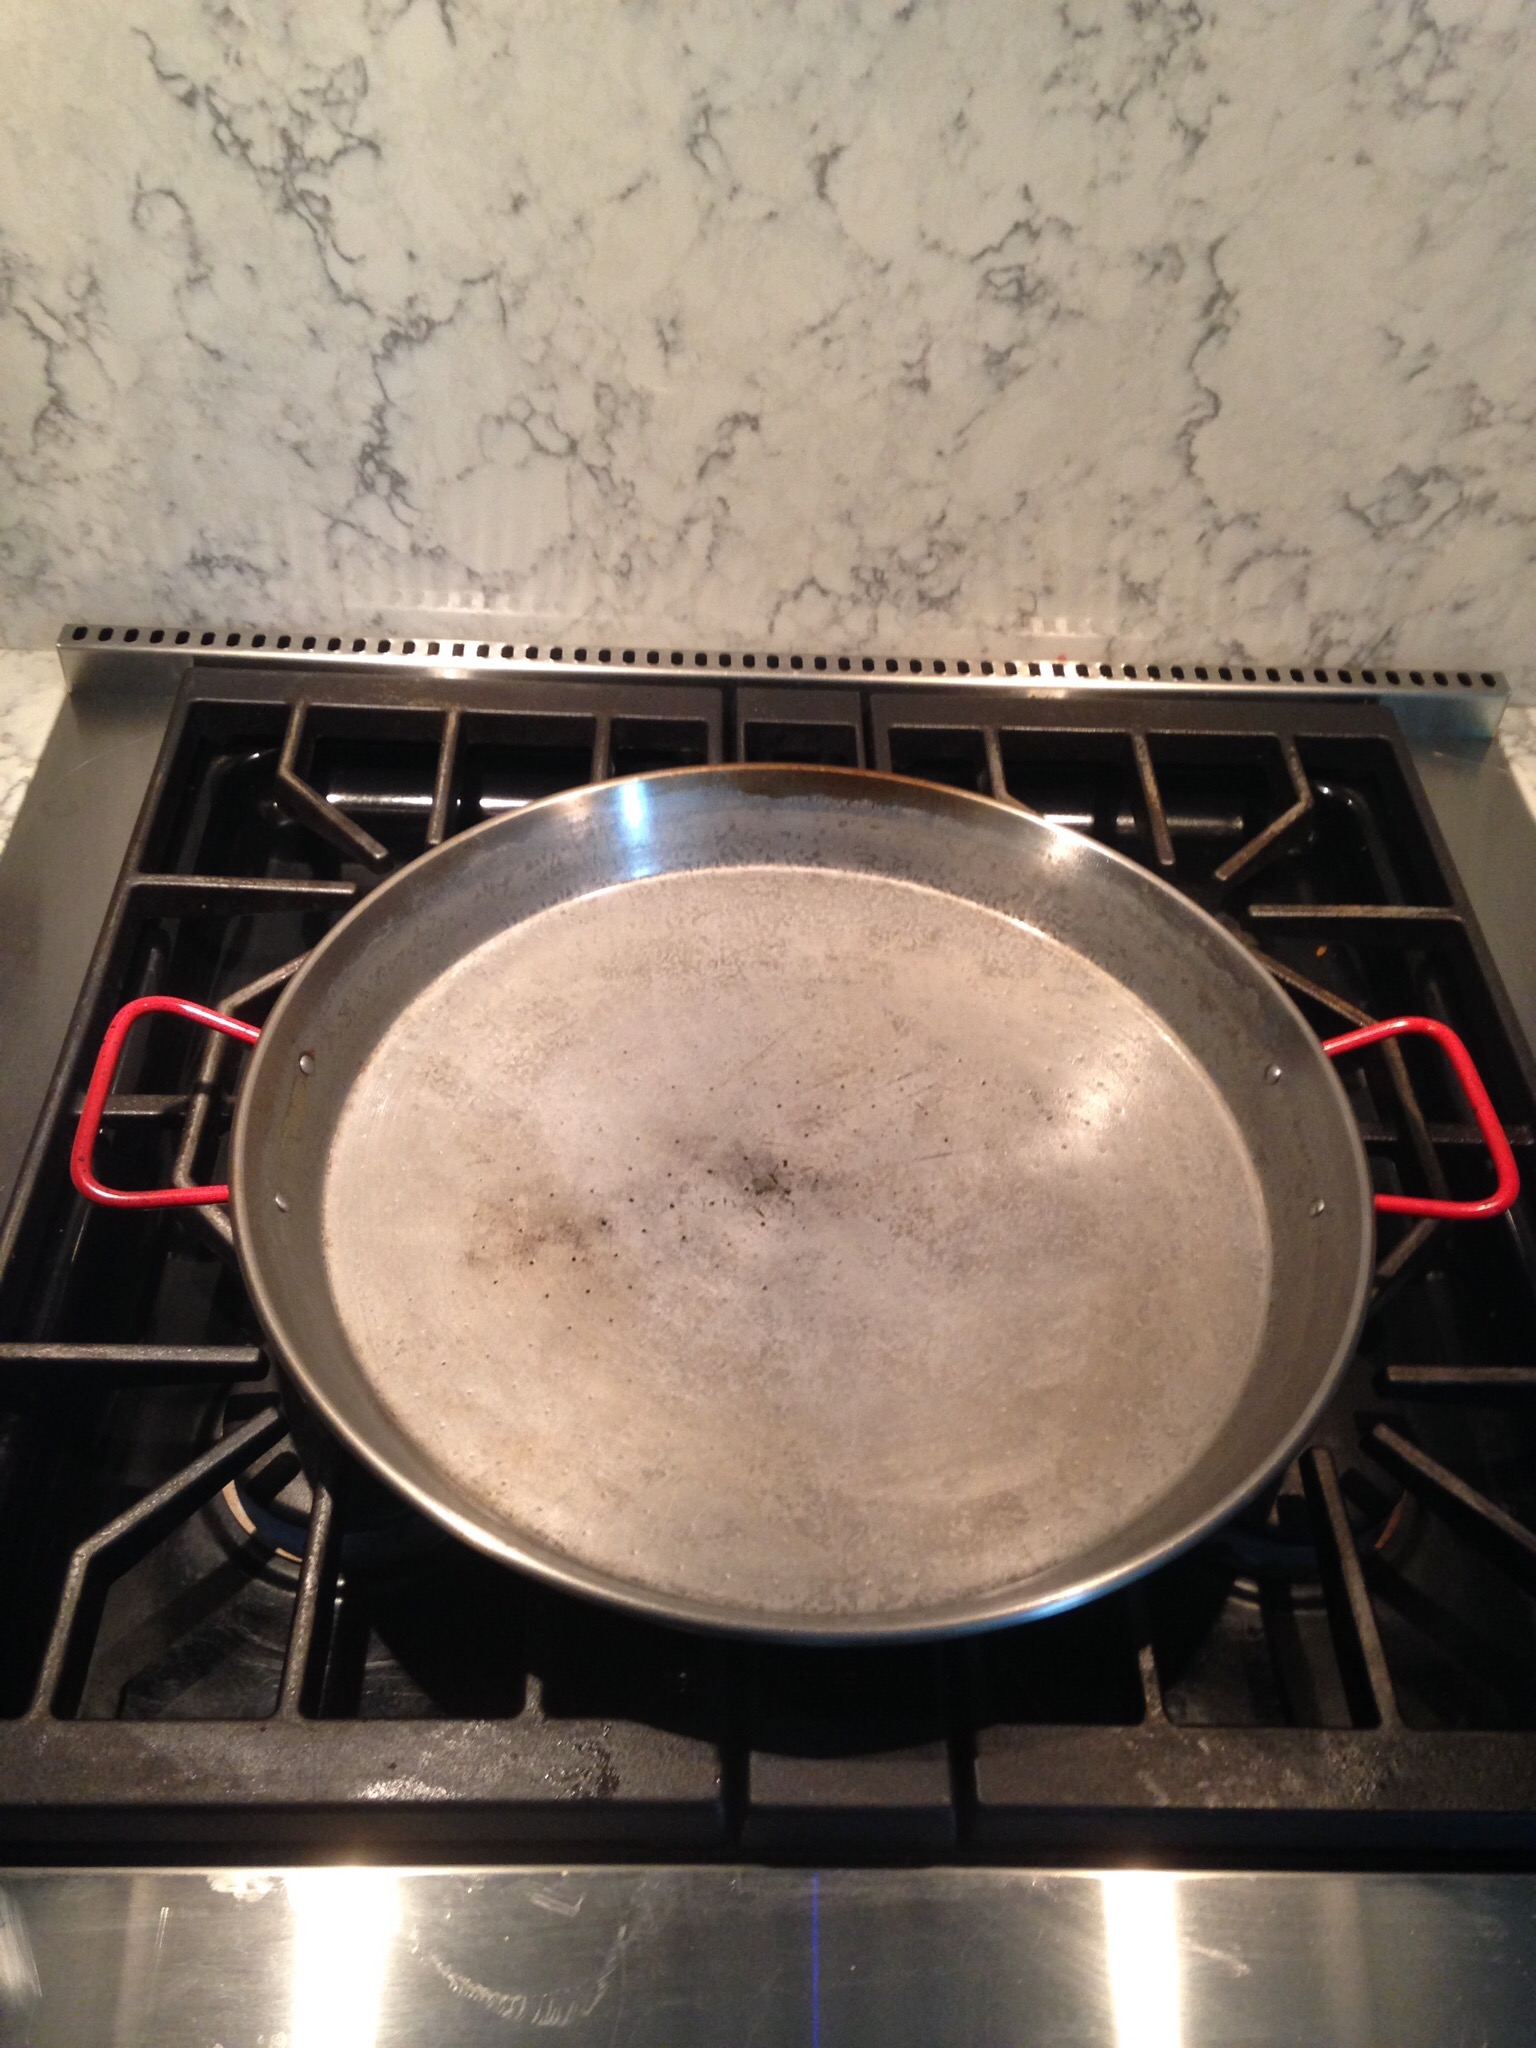
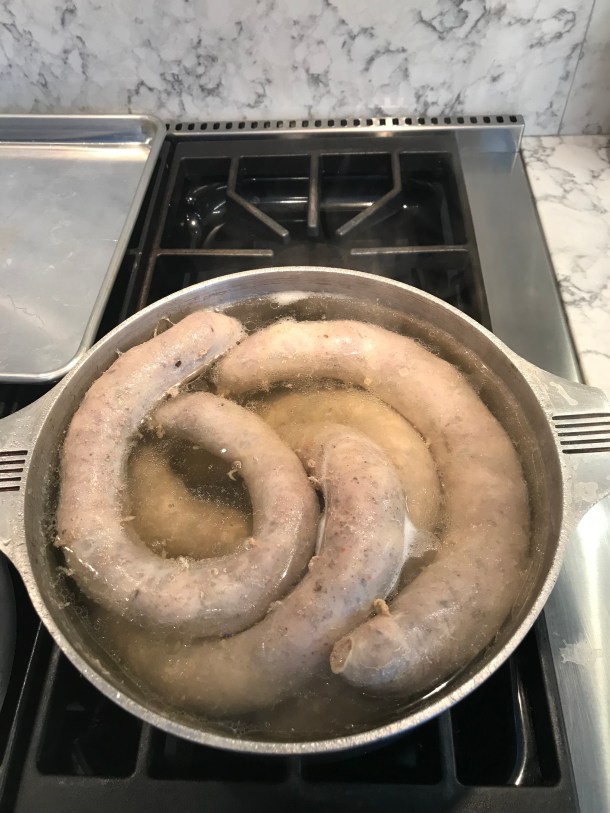
  • Bring 1 or 2 large pots of water to a boil. Allow enough space for the sausage
  • Add the sausage, return to a boil and then simmer 15 minutes.
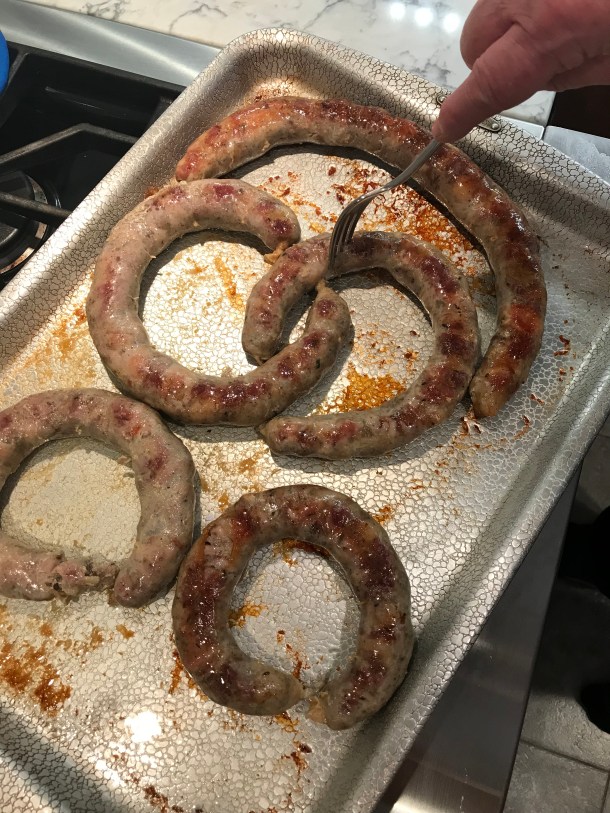
  • Remove sausage from the pot and place on 2 shallow baking sheets. Poke holes in the sausage with a fork to prevent it from exploding!
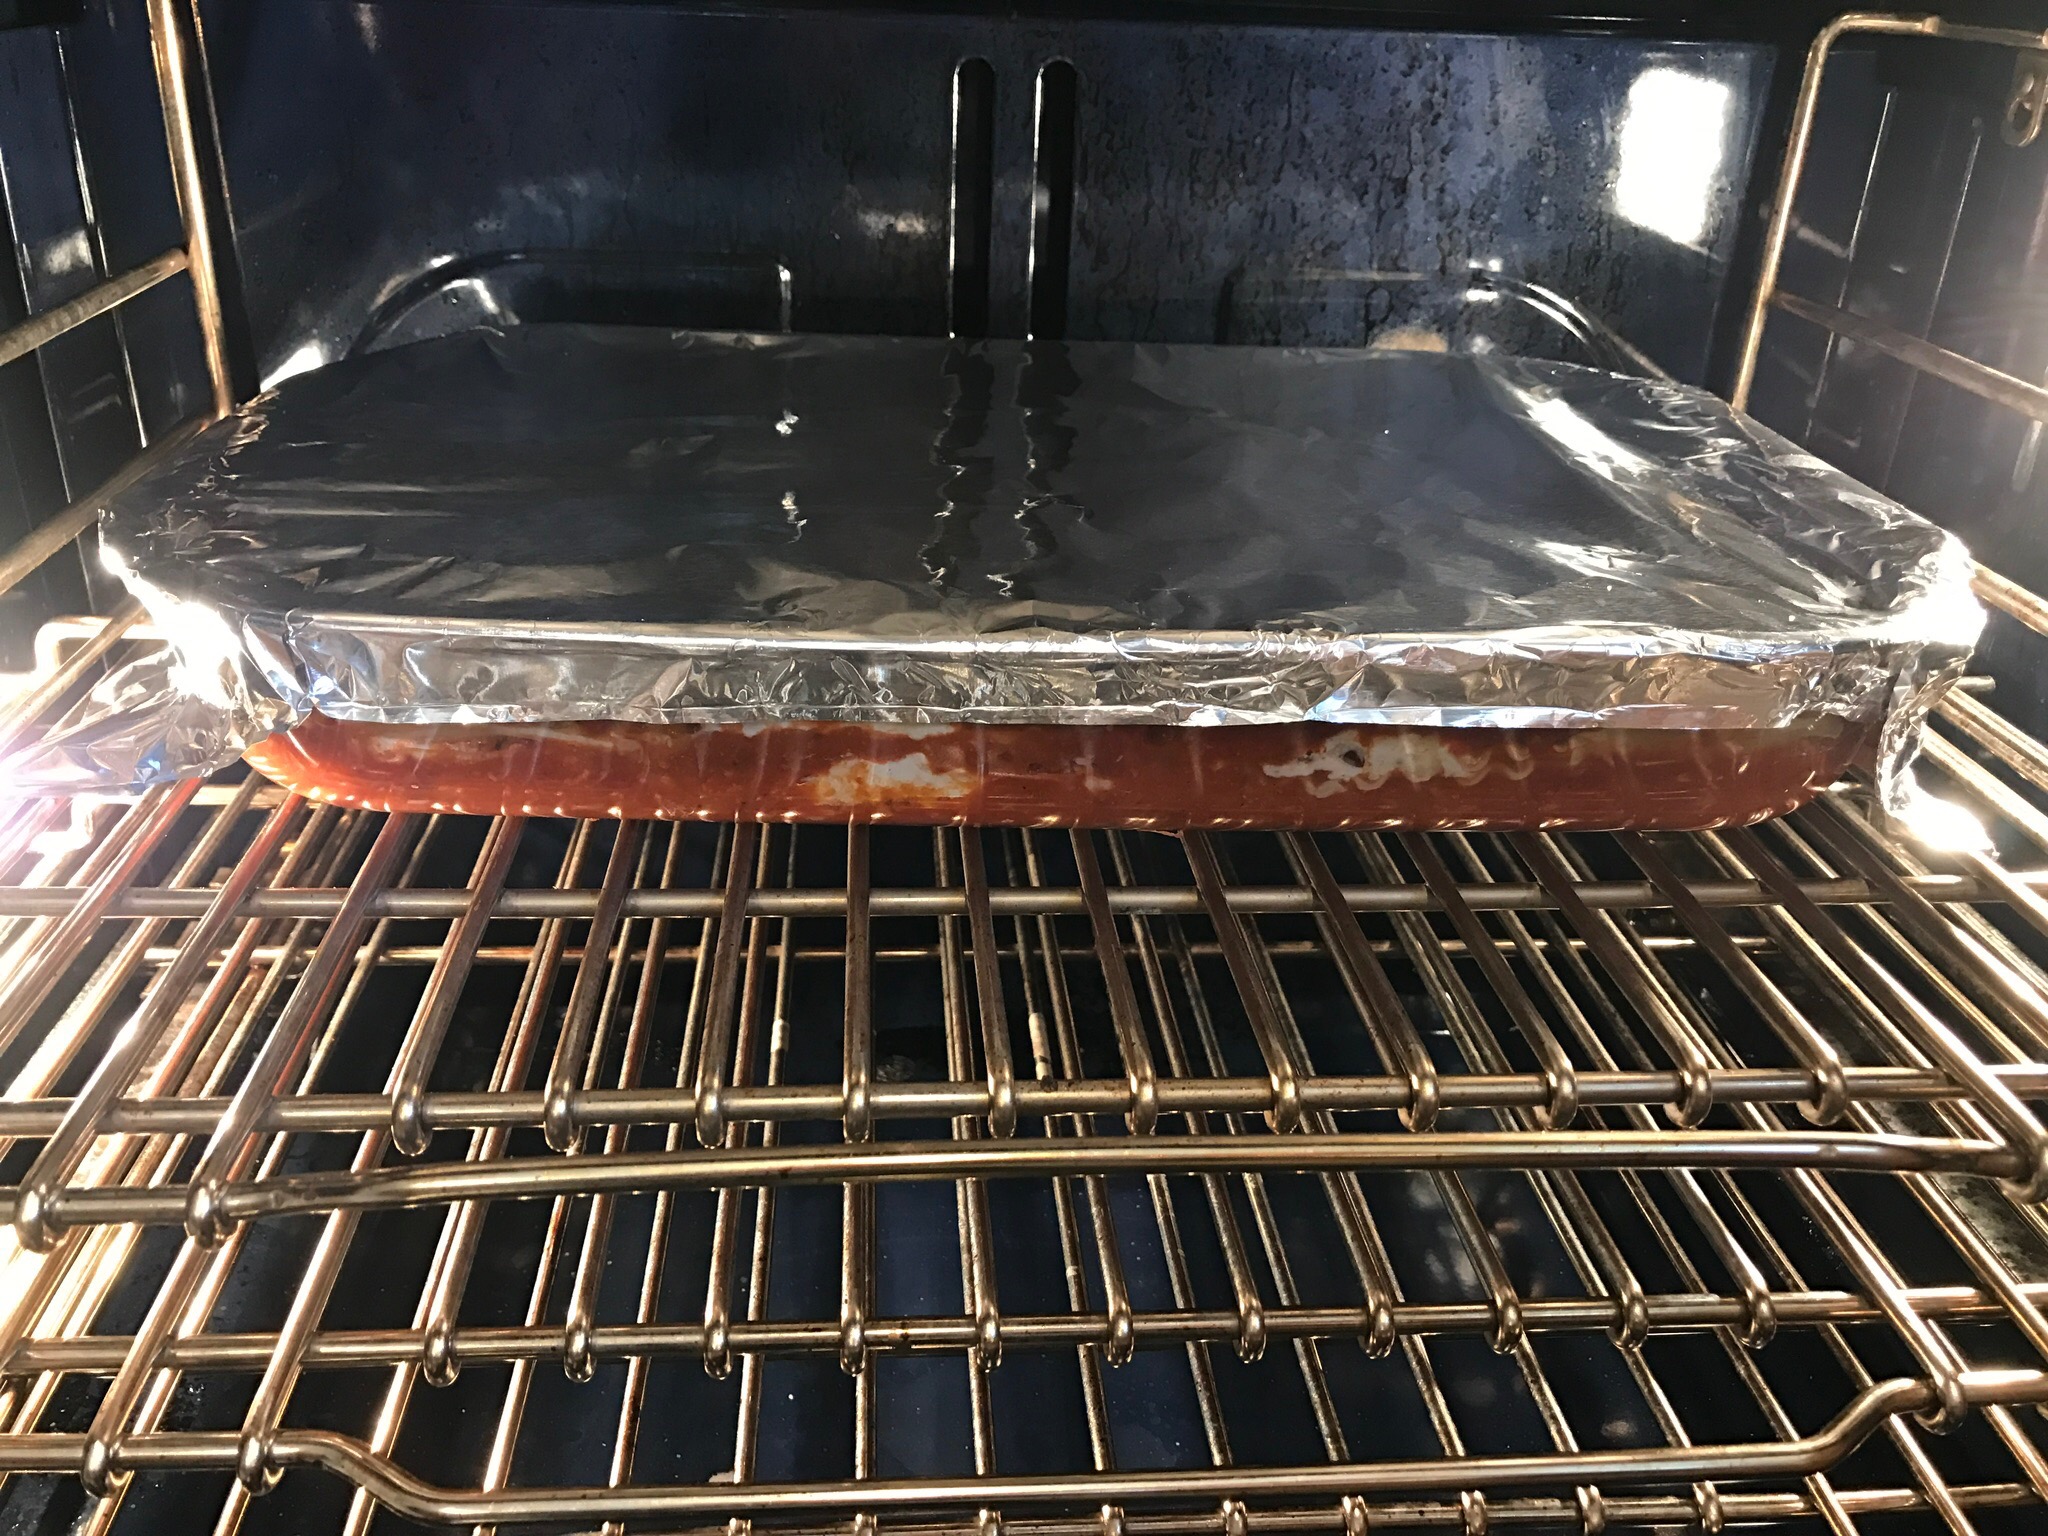
  • Place 1/2 cup water in each pan with sausage and cover with foil.
  • Bake at 350 degrees covered with foil for 30 minutes. Remove foil and roast until browned, about 10-15 minutes. Turn over once to brown on other side another 10-15 minutes. Don’t over cook! It needs to be tender.
  • Cut the roast sausage in 3 inch serving pieces for serving.
  • Serve with horseradish! To fill out the meal add rye bread with caraway seeds and butter. Russian Style Cabbage is a great addition too! https://ninainthekitchen.com/2011/01/31/grandma-korzins-russian-cabbage/

Boil the sausage in a large pot of water

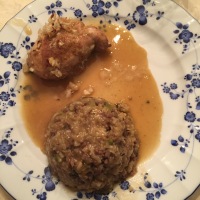
Roast the sausage on shallow baking pans in a 350 F oven
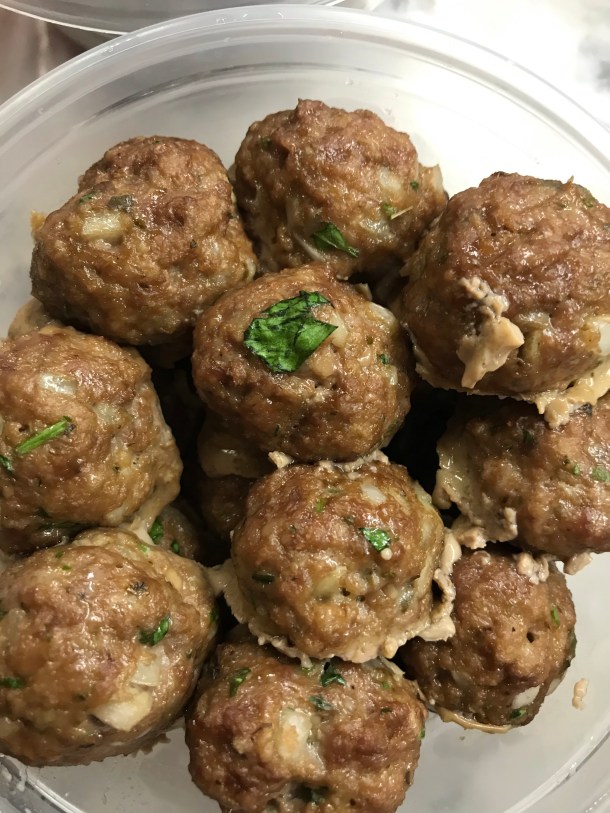
Voila!

Homemade Labneh/Yogurt Cheese

Spread this yogurt cheese on toasted or crispy bread and top it with roasted cherry tomatoes, onion and garlic like I have here. Drizzle with thick aged balsamic and sprinkle with flaked sea salt


Raw grape tomatoes are a tasty topping too! Especially these sweet yellow ones from the farmers market

IMG_1900IMG_1901Labneh spread on crispy bread and topped with raw tomatoes, thick balsamic and flaked sea salt

img_2623

Thick spreadable labneh


Labneh is a form of yogurt. You can strain regular yogurt to make Greek yogurt which ends up a bit thicker. If you strain it further to a spreadable consistency you get labneh! So simple!

So why bother? It’s a cows milk alternative to spreadable goat cheese. It’s cheaper than goat cheese and other spreadable cheeses. It’s super easy and you get your calcium and protein big time!

I like this for lunch but also cut into bite size pieces as an appetizer

My source for this recipe is an Egyptian girl at Mattersofthebelly.com  Check her post for more details! It’s authentic!

I like labneh spread on crisp bread and topped with:

1. Raw tomatoes, thick balsamic and flaked sea salt or

2. Roasted cherry tomatoes, garlic and onion drizzled with balsamic and sea salt or

3. A delish jam of your choice or

4. Drizzled honey and flaked sea salt

If you want to order the absolute best homemade jam go to Plumtreejam.com for a variety of fruit jams made in Portland Oregon. #plumtreejam

Ingredients:

16 oz whole milk yogurt

1 pinch salt

cheesecloth or sterile gauze

  • Place a colander over a large bowl.
  • Line the colander with 3-4 layers of cheese cloth or gauze
  • In another medium bowl combine yogurt and a 3 finger pinch of salt
  • Pour yogurt into cheesecloth and enclose it into a ball and tie up with a string or twist tie
  • Cover the colander and bowl with plastic wrap and refrigerate overnight.
  • Continue straining to your desired consistency. Overnight is good for me
  • Scrape the labneh into a small bowl, cover and refrigerate.

Yogurt is straining through cheesecloth and a colander into a bowl

IMG_1902

Cover the yogurt with plastic and refrigerate overnight

IMG_1903

This is the consistency I like to spread on crispy bread

IMG_1905

Voila! I hope you enjoy this taste of the Middle East!


Eggs in Purgatory with Capers

Just in time for a grand and easy to make Fathers Day Breakfast!

Bring out your grandmothers cast iron!


Eggs in Purgatory is a spicy briney tomato sauce and a perfect complement to some mellow eggs. I discovered this recipe online from Karen Palmer at Food52.com

This dish is an Italian style Shakshuka which is a Middle Eastern food made with a salsa type tomato sauce. Eggs in Purgatory has chili flakes added to your taste for heat and capers to give a briney almost fishy flavor. It’s like adding anchovies to tomato sauce which wouldn’t be a bad addition to this sauce either! 

Italian Puttanesca is a tomato sauce with added capers and anchovies for a briney flavor. Italian Arrabbiata is a spicy tomato sauce with added chili flakes. Eggs in Purgatory is a blend of both of these flavorful tomato sauces.

Add some toast with rhubarb jam to complete breakfast or brunch that combines the salty with the sweet. I like to sprinkle flaked sea salt over my rhubarb jam toast to add to the salty component. 

2 tablespoons olive oil

A pinch or more hot pepper chili flakes

1/2 cup chopped onion or shallot

Kosher salt

Black pepper

3 cloves garlic, minced with 1/2 teaspoon salt

1-28 oz can crushed tomatoes

1 tablespoon capers and 1 tablespoon of the caper brine

1-2 anchovies, rinsed and patted dry and then minced, OPTIONAL

4 eggs

Shaved or grated Parmesan or Romano cheese 

  • Preheat the oven to 375 degrees F
  • Heat an 8-10 inch cast iron pan over medium heat
  • Add the olive oil
  • Sauté the chili flakes and stir quickly with a spoon or spatula until fragrant, less than a minute.
  • Add the onion and sauté until translucent, turning down the heat as needed to prevent browning.
  • Add the garlic and sauté only a 1/2 minute while stirring. Do not brown or burn!
  • Add the tomato sauce, capers and brine. If you want to add the anchovies, do it now.
  • Simmer uncovered until thickened, simmering slowly. About 20-30 minutes. 
  • Season with salt and pepper.
  • With a large spoon place 4 indentations in the sauce. Place an egg in each cradle
  • Bake 9-10 minutes or less until the whites just turn white and still jiggle when shaken. 
  • Serve with grated or shaved Romano or Parmesan  cheese
  • You can sprinkle with chopped parsley or cilantro if you like 
  • Toast up some crusty bread of your liking
  • Voila!

Buttermilk Or Sour Cream Waffles


These recipes are from the Joy of Cooking cookbook. They both are prepared the same way.  Only a few of the ingredients are different. 

My favorite way to eat Waffles is with butter and homemade maple syrup. But they’re also yummy with fruit jam, fruit syrup, or fresh fruit. I usually make the Buttermilk Waffles. We always keep buttermilk in our frig. It’s yummy to drink too! 

Buttermilk reminds me of a drink we had in Istanbul called ayran. It was made with yogurt, water and salt. Served cold it’s refreshing! You can find it anywhere in Turkey and other Arab countries. The basic recipe is whisking together 2 cups Greek yogurt, 2 cups water and 1 teaspoon salt. Yum!

Buttermilk Waffles

  • In a medium bowl whisk together:

1 3/4 cups flour

1/4 teaspoon baking soda

1 1/2 teaspoons baking powder

1 tablespoon sugar

1/2 teaspoon salt

  • In a medium bowl beat together until thick and lemon colored with a hand mixer:

2 egg yolks

  • Add and beat in:

2 cups buttermilk

6 tablespoons butter, melted

  • Combine the 2 mixtures with a few quick strokes
  • In a small bowl beat until stiff:

2 egg whites

  • Fold egg whites into batter
  • Drop by large spoonfuls onto hot waffle iron 
  • Use about  1/2 cup batter per waffle 


Sour Cream Waffles

  • In a medium bowl whisk together:

3/4 cup flour

1 1/4 teaspoons baking powder

1/8 teaspoon salt

1 teaspoon sugar

1 teaspoon baking soda

  • In a medium bowl beat until thick and lemony:

3 egg yolks

  • Add and combine:

 2 cups sour cream

  • Combine the 2 mixtures together with a few quick strokes
  • In a small bowl beat until stiff:

3 egg whites

  • Fold egg whites into batter. With a large spoon add about 1/2 cup batter to a hot waffle iron to make 1 waffle

Cheese and Tomato Lasagna


This is a full of flavor lasagne that’s not glorpy or heavy! It’s similar to the light lasagne of Italy which is all about the pasta, not the thick sauce! 

Look up the recipe at Cooks Illustrated or America’s Test Kitchen. These two links will both take you there. You do need a subscription to have access to their recipes. If you don’t have one, take advantage of their one month free offer! I love these sites! They are a great source for recipes, testing and product recommendation, and will always provide interesting background info!

I often double the recipe and make 2 lasagnas. I freeze one before baking. Then I thaw it before baking.

Ingredients

1/2 pound pecorino Romano cheese

1 pound fontina cheese

2 cups cottage cheese

1/2 cup heavy cream

1 head garlic, minced, separated

2 teaspoons cornstarch

Salt

Pepper

1/4 cup olive oil

1 yellow onion, chopped medium

1 – 28 oz can whole tomatoes or crushed ( prefer whole San Marzano Italian tomatoes)

1 – 15 oz can chopped tomatoes

1/4 cup tomato paste

1 1/2 teaspoons sugar

1 teaspoon oregano or more

1/2 teaspoon hot pepper flakes, optional

1/2 can anchovies (I always add these)

1 pound box Barilla lasagne pasta or Barilla Oven Ready lasagna pasta

Instructions

Cheese Sauce

  • In a medium bowl whisk together 

4 oz or 2 cups grated Pecorino Romano cheese

2 cups cottage cheese

1/2 cup heavy cream

2 cloves garlic minced

1 teaspoon cornstarch

1/4 teaspoon salt

1/4 teaspoon pepper

Cheese Sauce

Tomato Sauce

  • In a skillet heat

1/4 cup olive oil

  • Sauté

1 chopped onion.

  • Add and sauté together until onions are softened:

1 1/2 teaspoon sugar

1 teaspoon oregano

1/2 teaspoon red pepper flakes, optional if you don’t want spicy

  • Add and cook about a minute:

4 cloves garlic, minced

8 or more anchovy fillets, rinsed, patted dry and minced, optional but it adds a nice earthy flavor!

Sautéed onion and herbs:

  • To the onion add and simmer 20 minutes:

28 oz can crushed tomatoes

14.5 oz can diced tomatoes

1/4 cup tomato paste

1/2 cup Pecorino Romano cheese

Tomato sauce nearing completion:

Lasagna

You will need:

16 Oz or 14 curly type regular lasagne noodles, such as Barilla OR

2-9 oz boxes Barilla Oven Ready Lasagne

12 oz or 3 cups fontina cheese, grated

1/2 teaspoon cornstarch (to keep grated cheese from sticking together, I don’t add this)

1/2 cup Pecorino Romano 

  • If you use regular lasagne pasta, don’t cook it! Instead soften them! Use the curly variety 
  • Place 14 noodles in a 9×13 inch baking pan. Pour hot tap water over the noodles to cover them
  • Use the tip of a sharp knife to keep the noodles separated 

This is the pasta brand used and the pasta soaking in boiling water:

  • When the pasta are bendable, drain or lift them out of the water and place them on towels to dry.

Pasta drying on kitchen towels:

Here is the Oven Ready Lasagne: No soaking or boiling needed. Just layer them in! They are quite thin in comparison though. I don’t like these as much as traditional pasta.

  • Preheat oven to 350 -375 degrees with a rack in the middle of the oven (350 if using a glass baking pan as I do)
  • Place 1 1/2 cups tomato sauce in the bottom of a 9×13 inch baking pan or a 9x14x3 inch pan. If you use a larger deeper pan like I do you can add an extra sheet of lasagna to each layer. You end up using most of the box of pasta.
  • Cut 2-4 noodles in half crosswise and set aside.
  • Layer 3-4 full noodles lengthwise over the sauce with one end up next to the short end of the pan.
  • Place 1 – 2 half noodles at the other end of the pan perpendicular
  • Spread half of cheese sauce over noodles
  • Sprinkle 1/2 cup grated fontina cheese over cheese sauce
  • Layer noodles next in the same manner but switch the half noodle to the other end of the pan
  • Spread 1 1/2 cups tomato sauce over the noodles
  • Sprinkle 1/2 cup fontina cheese over sauce
  • Place 3rd layer of noodles with 3-4 noodles, again switching the 1-2 short noodles to the other end from the last time
  • Spread remaining cheese sauce and then 1/2 cup fontina 
  • Layer 3-4 noodles and again switch their placement. This is to make the layers an even height. Again add 1 – 2 half noodles to end
  • Spread the remaining sauce over the noodles.
  • Mix 1 cup fontina with cornstarch and sprinkle it on (I don’t add the cornstarch)
  • Finally layer the remaining grated Pecorino Romano over the top
  • Spray a sheet of foil with oil and place it oil side down on the lasagne (I don’t find this necessary)
  • Bake at 350 or 375 for 25 minutes
  • Remove lasagne from oven
  • Increase temp to 450 and remove foil. 
  • Return lasagne to the oven and bake 5-10 minutes until lightly browned
  • Remove from oven and let sit 20 minutes before serving
  • I have made this lasagne ahead and refrigerated it before baking. Bring it to room temperature before placing it in the oven for baking

Cheese Sauce layered over first layer of pasta:

Fontina layered over tomato sauce:

Fontina layered over cheese sauce:

Final layer of the lasagna: Pecorino Romano!

Cover the lasagne with an oiled sheet of foil and bake at 350 or 375 degrees for 25 minutes.


The final stage is to remove the foil and increase the oven temperature to 450 or 500 for 5-10 minutes or until lightly browned. 

Then let rest for 20 minutes before serving. 

You can use more or less of any ingredients as you like. The cornstarch is not essential. Store bought sauce is fine also. You’ll need at least 5 cups of sauce or about 40 oz

Voila!

No Sear Lamb or Beef and Chickpea Stew

This is an easy one pot stew for lamb or beef. I chose lamb and was not disappointed! Add the greens at the very end just before serving. Serve with an earthy flavored yogurt such as Organic Valley Grassmilk Plain Yogurt

This delish lamb stew recipe comes from the cookbook Taste of Persia by Naomi DuGuid. She was featured on Christopher KimballsMilkStreetRadio where she shared this recipe. You can find it at: 

Milkstreetrecipes

Recipes.177milkstreet.com

Italian Meat Balls

This recipe is from an Italian-French cooking school called The Antoinette Pope School. It was in downtown Chicago and my mom took lessons there in the 1940’s. This recipe is straight from their cook book. 

I always make a large quantity of these meatballs because they freeze well and everyone loves them. They’re great plain or with Italian tomato sauce. Usually I’ll make the 3 lbs of beef but sometimes even 6 lbs. the recipe always turns out great

Here’s a head of garlic minced for 6 lbs of beef

Beat the eggs in a separate bowl

Mix in all the seasonings

Add the eggs and mix well before adding the breadcrumbs, Parmesan and milk

Here is the mixture which needs to set for 30 minutes

These meatballs are ready to bake to 165 degrees F. Parchment paper is a better liner than foil for baking

Ingredients

3 pounds 90% -95% lean ground beef

2 cups finely chopped onion

1 tablespoon or more dried oregano

2 teaspoons salt

1 teaspoon black pepper

6 cloves garlic, minced

1 cup chopped flat leaf parsley

6 eggs, beaten with a fork 

1 and 1/2 cups cool milk or water

1 cup grated Parmesan cheese

1 and 1/2 cups dry bread crumbs

Directions

  • Preheat oven to 350 degree F
  • In a very large bowl place beef
  • Add the above ingredients in the order listed and mix well into beef after each addition
  • Now let the mixture stand for 30 minutes.
  • Form into 1 1/2 inch size balls using a scoop if possible. It makes it easier. I use a Noropro scoop that holds about 2 tablespoons. Also keep a small bowl of cold water nearby to keep your hands wet. This will help you more smoothly roll the meatballs in your hands.
  • Place on  baking sheets lined with parchment paper. Do not crowd the meatballs.
  • This recipe makes 80-90 meatballs
  • Bake 15-18 minutes or until internal temperature reaches 165 degrees F. Try not to go much higher than 165. The meatballs will get dry if cooked too long. Use an instant read thermometer. I like the Classic Thermapen.
  • Cool thoroughly before freezing. 
  • Serve as is or with an Italian tomato sauce.

Mix and work in each ingredient into the beef with your hands

Let mixture sit for 30 minutes before making meatballs

I like my Noropro scoop for measuring out the meatballs. Notice the bowl of water and the parchment paper too!

Love my Classic Thermapen for quickly taking food temperatures!

These meatballs are baked perfectly!

Voila!

Quick Thai Spicy Coconut Shrimp 


We’ve made this dish several times this year. It’s a New York Times recipe. I hope you love it too!

I’ve found you can serve this as a soup with a little rice or as a stew with a lot of rice. To make as a soup use only 1 pound of shrimp. To make a stew, use 2 pounds shrimp and more broccoli. I think using the frozen broccoli flowerettes works well. Just thaw them and add to the pot!

Ingredients

2 tablespoons red curry paste

2-4 tablespoons fish sauce

1/4 cup sambal

1/4 cup sweet chili sauce

2 pounds medium raw, deveined, shelled shrimp. Remove tails too!

3 tablespoons light sesame oil

1 cup scallions

2 cups steamed fresh or thawed frozen broccoli pieces

2 tablespoons soy sauce

1-14 ounce can coconut milk

1 bunch cilantro, chopped coursely

Rice for serving

Directions

  1. In a medium bowl combine curry paste, fish sauce, sambal olek and sweet chili sauce. Add shrimp and mix together.
  2. Heat a medium saucepan over medium heat. Add sesame oil. After it is hot add shrimp mixture. Heat and cook 1 minute. Don’t cook shrimp through yet.
  3. Add scallions and broccoli. Heat through
  4. Add soy sauce and coconut milk. Heat through and bring to a simmer. Stir and simmer 1 minute or until shrimp is just cooked and not overdone.
  5. Add cilantro to the saucepan and/or at the table and serve with rice.

Voila!

Paella on the Grill

Last night Dave made his best paella yet! This is a Cook’s Illustrated recipe for Paella on the Grill, found in the July/August 2016 issue or online at CooksIllustrated.com.

Here is the link to the recipe. You may need a subscription to open it.

https://www.cooksillustrated.com/recipes/8890-paella-on-the-grill?incode=MCSCM00L0&ref=new_search_experience_2

Paella is a Spanish rice dish with many variations. We enjoyed paella in Albufera, a town near Valencia in southern Spain. They are known for growing rice and making their paella with a dry caramelized crust of rice that is the most prized part of the dish!  It’s called the socarrat.

Traditional paella is made on the grill which provides a large cooking surface to develop the socarrat and a charcoal heat that gives the smokey flavor. The amount of shrimp, chicken and chorizo you see here is more generous than the traditional Valencia style. It’s all about the rice!

Notice the paella pan is thin, has impressions hammered on the bottom and is not covered with a non-stick surface.


We use a 17 inch traditional paella pan you can buy online or at our local Eastmans Party Store in Midland Michigan. It does NOT have a Teflon-like coating. We coat it with oil after using to prevent rusting.

We use a Weber charcoal grill with a gas starter. 

This is a great recipe to serve for family and friends!

https://www.cooksillustrated.com/recipes/8890-paella-on-the-grill?incode=MCSCM00L0&ref=new_search_experience_2

Russian Orthodox Easter Eggs


My grandmother was Russian Orthodox and she was from Belarus. She made these types of colored Easter eggs with dried yellow onion skins. Her technique was to combine cooked eggs and onion skins in a large pot of water and then soak them for several hours.

I like to give the eggs a marble look and also at the same time cook the raw eggs with the yellow onion skins.

  • Wrap medium to large pieces of dried skins from yellow onions around each egg in varying degrees of cover to make patterns.
  • Secure skins by wrapping further with string. Don’t tie too tight.
  • Place eggs in a large pot in a single layer with not too much crowding.
  • Add water and cover the eggs by 2 inches.
  • Cover pot and bring to a boil.
  • Turn heat to the lowest possible level.
  • Cook 20 minutes.
  • Remove from heat and let the color absorb for 1 and 1/2 hours or so.
  • Drain, dry and voila!
  • A quicker technique is to not wrap the onion skins and only combine them in the pot.
  • As Grandma Korzin would say at Easter in Russian “He is Risen!”