RSS Feed

Spinach Cheese Squares

This easy to eat finger food is full of protein, iron, calcium and many other nutrients. It has a mild flavor and can be cut into many different shapes to please kids and adults. Cut them into 1 inch squares for a party snack or 2-3 inches as a side or main dish for breakfast, lunch or dinner.

I discovered this recipe while working at Strongbow’s Turkey Inn while I was studying nutrition at Valparaiso University in Indiana. We served it as a 1 bite appetizer at parties and catered events.

Ingredients and Directions

1. Set oven to 350 degrees

2. In a 9×13 inch pan melt 3 tablespoons butter

3. Whisk together in a bowl:

  • 4 -5 eggs
  • 1 cup milk
  • 1 cup flour
  • 1 1/2 tsp salt
  • 1 tsp baking powder

4. Combine with your hands in a 2nd bowl:

  • 2-10 to 14 oz. packages frozen chopped spinach, thawed. (You can squeeze out some of the water which will give you a denser spinach cheese square. If you don’t squeeze the water out your spinach cheese square will be lighter and moister.)
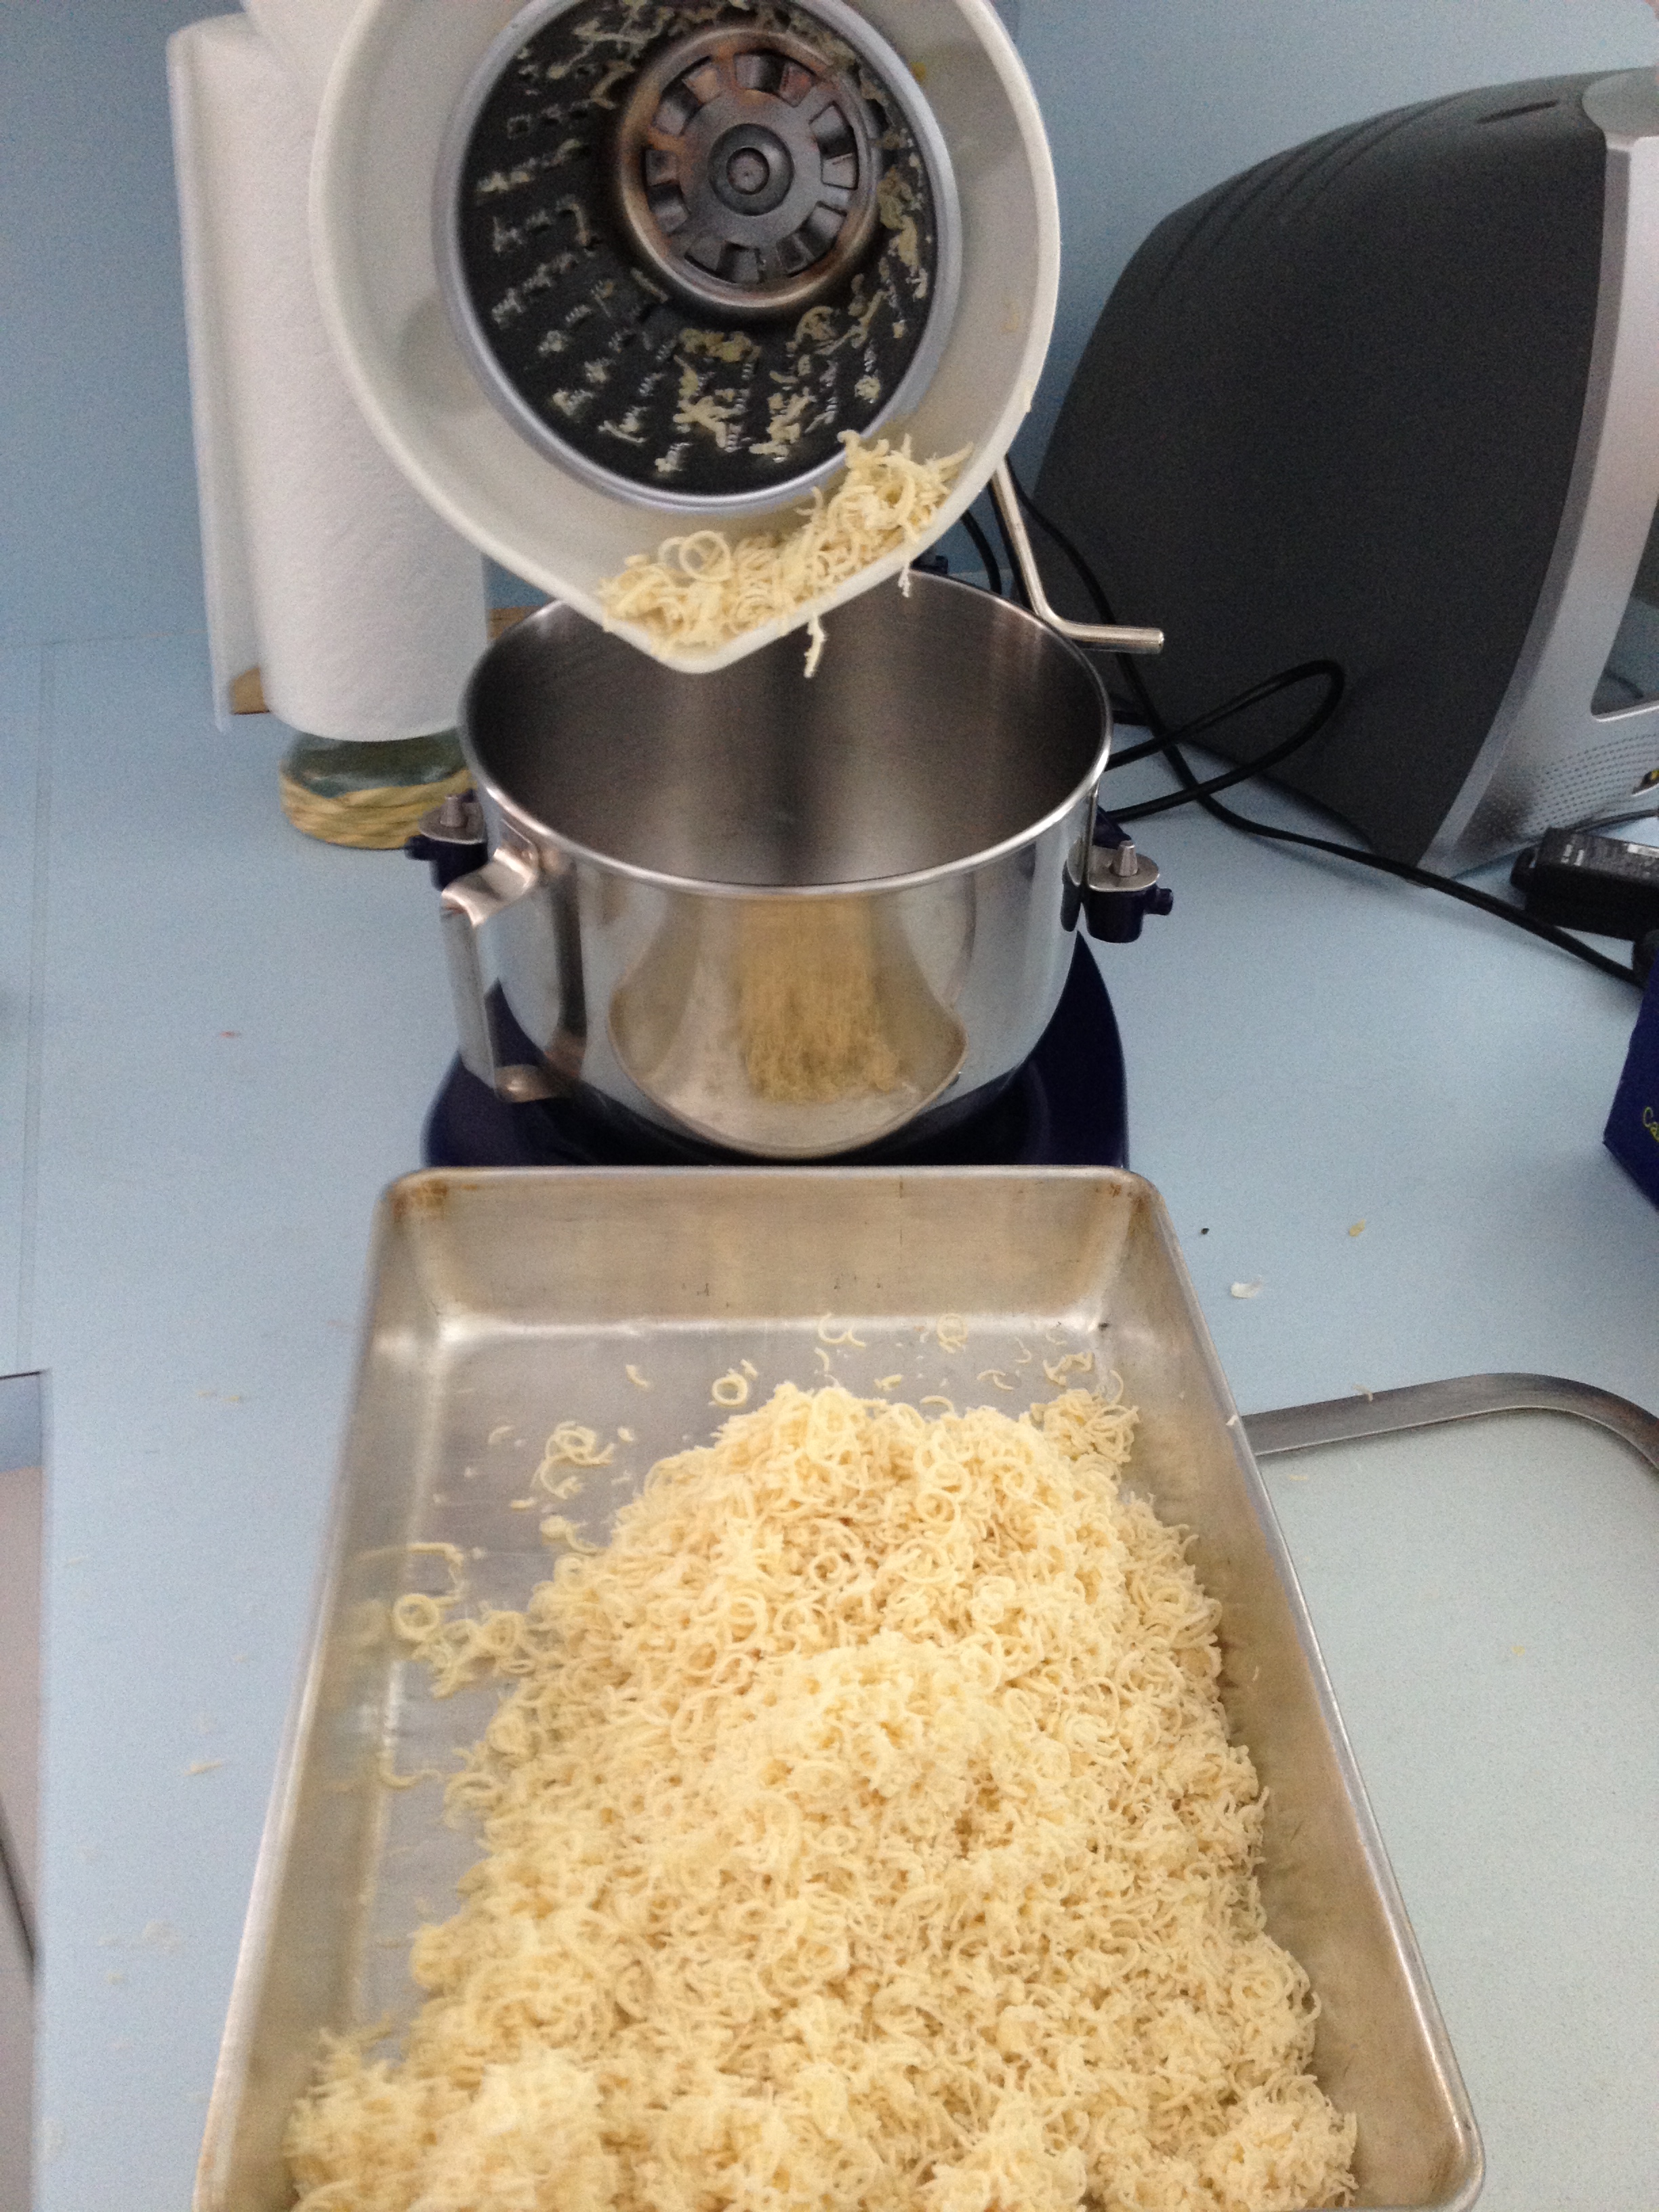
  • 3/4 to 1 lb. Monterey Jack, brick or white cheddar cheese, shredded

5. In a saute pan: this step is optional!!!!! I usually don’t add the onion and garlic. It wasn’t in the original recipe. You can also add other spices and flavors if you like

  • Melt 1 Tbsp butter
  • Saute 1 small minced onion and/or 2 cloves minced garlic
  • Add this to the cheese mixture

6. Combine the egg mixture with the cheese mixture.

7. Pour the batter into the baking pan and spread evenly.

8. Bake at 350 degrees for 25-35 minutes or until edges just start to brown.

9. Cool 10-20 minutes or until spinach feels firm and is cool enough to handle. Cut into squares. Remove them from the pan with a stiff metal spatula while warm so they don’t stick to the bottom of the pan.

Makes 24 – 2 inch squares

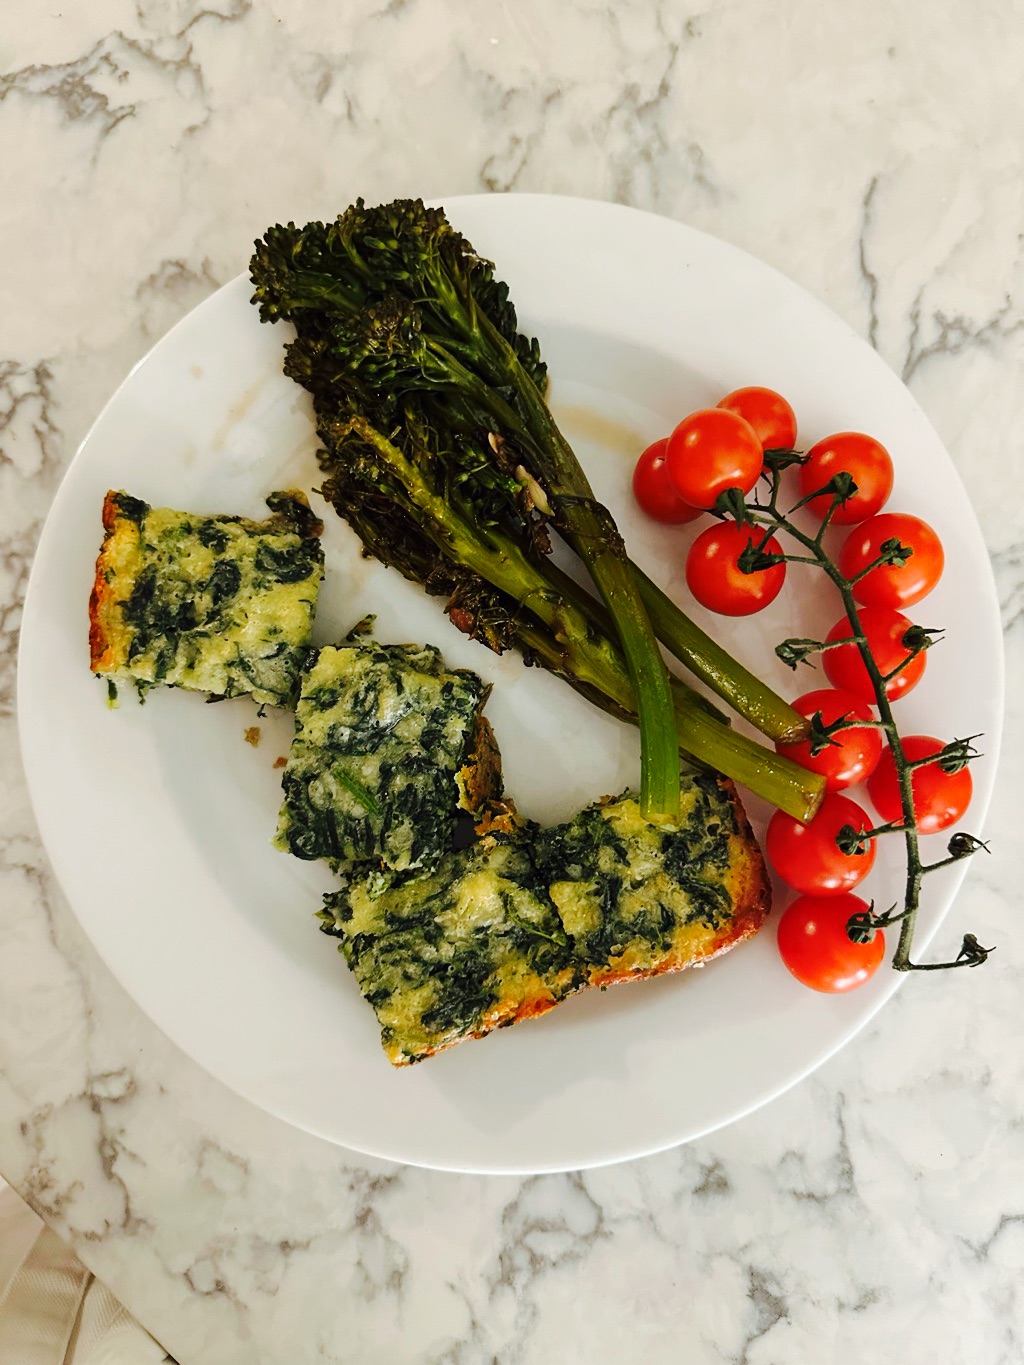
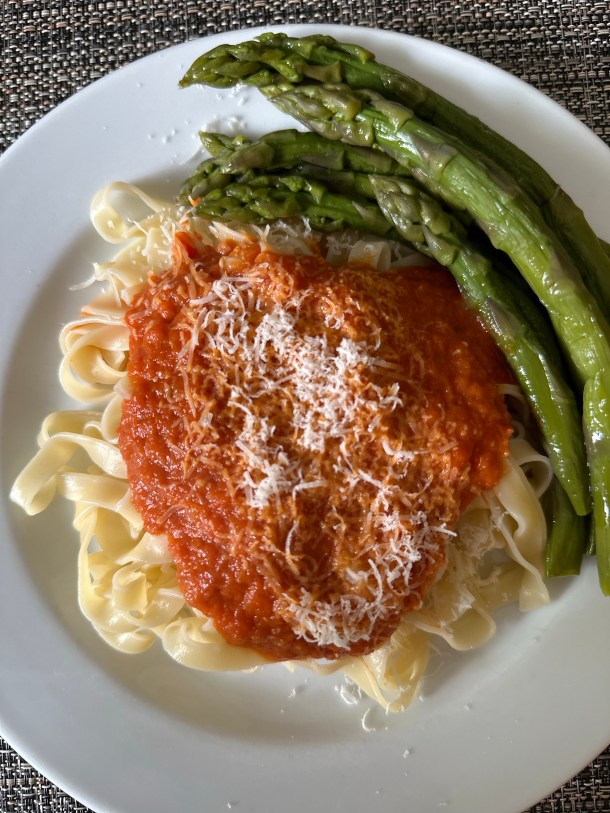
Spinach Cheese Squares served with broccolini and cherry tomatoes

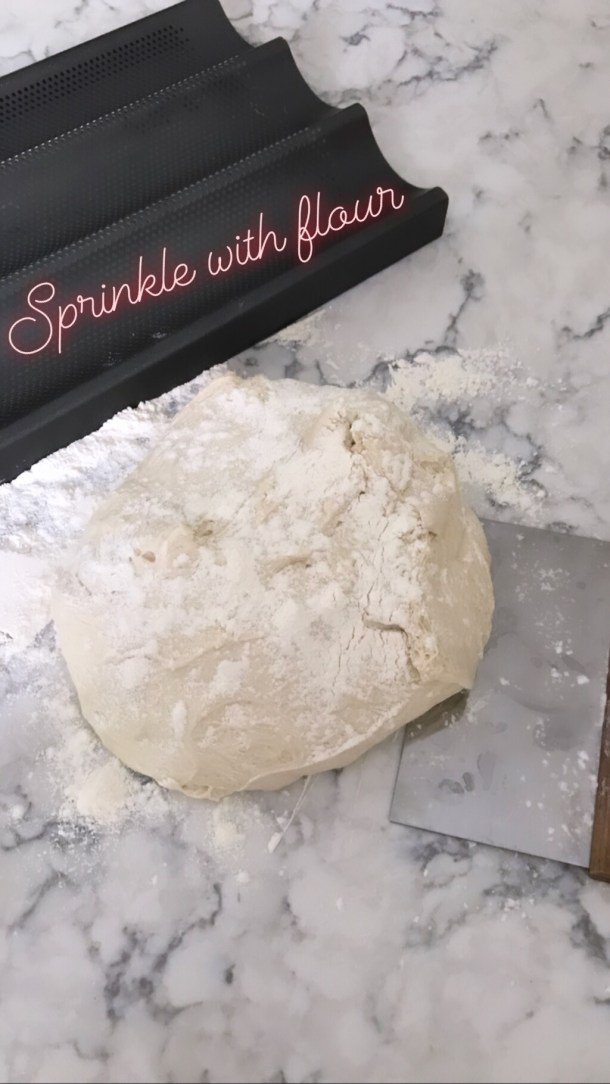
Batter mixed and ready for baking pan

Melt butter in a 9×13 inch baking pan in the oven

Batter spread into pan ready to bake

Lightly browned edges on the baked Spinach Cheese Squares

Voila!

Spanish Salsa

  • 1 or 2 ripe tomatoes, skinned, seeded and chopped
  • ½ red bell pepper, chopped
  • 1 Tbsp chopped Spanish onion
  • 1 Tbsp fresh parsley ( flat leaf)
  • 1 tsp smoked Spanish paprika ( we have this)
  • Salt and pepper

Add smoked hot paprika to taste

NSF 2010

Roasted Red Pepper Sauce or Soup

Roasted Red Pepper Sauce is a very forgiving thing to make. If you want a stronger pepper flavor then add less tomatoes. The proportions do not have to be exact. I like a lot of onion and garlic. The tomatoes can be a sauce or crushed or whole. If you have a favorite variety of tomatoes use those.

Blend it all really well with a stick blender or food processor. The sauce should be very smooth. If you want a more chunky sauce I’d add some extra chopped roasted peppers at the end after the bulk of the sauce has been puréed

Another idea is to use this sauce as a soup! You can thin it out a bit with some broth if it’s too thick. I love it!!

Roasted Red Pepper Soup!

Ingredients

  • 2-4 Tbsp olive oil
  • 1 large onion, chopped
  • 6 cloves garlic, minced
  • 5 12-oz jars DeLallo Grilled Piquillo Peppers in water, not drained or 2-4 cups roasted red peppers you make or any brand you purchase
  • 1/2 or 1 29-oz. can tomato puree or other canned tomato

Directions

  1. Sauté onion in olive oil over medium heat until translucent but not browned
  2. Add garlic and quickly saute, but do not brown.
  3. Add all the roasted and peeled red peppers or the peppers and liquid of the jars of the peppers and the can of tomato and combine.
  4. Puree with an immersion blender or a food processor.
  5. Return to stove top and simmer very low for 10 minutes. May burn easily.
  6. Voila! Serve over pasta or as a sauce with crusty bread sandwiches such as meatball sandwiches. Sprinkle with grated Parmesan cheese
  7. To use as a soup serve it hot and thin it out with a little broth if needed. Sprinkle with Parmesan and serve with crusty bread

NSF 11/09

Olivada

  • 1 ½ cups pitted Kalamata olives
  • 2 tsp minced garlic or less
  • 2 tablespoons capers or less
  • ½ cup extra virgin olive oil

Mince together 1st 3 ingredients in a food processor or emersion blender. I prefer it chunky and do not process this very much. Slowly add olive oil. If you prefer a thicker spread, omit or use less of the oil.  When making a light appetizer, a thinner Olivada will spread like butter.  A chunkier Olivada with less oil can be piled on like a bruschetta and even served as lunch with a salad. My neice Irina ate this for lunch through her childhood! Spread on French bread, hearty whole grain crusty bread or crackers.

Nutrition Notes: Olives are a great source of monounsaturated fats which are also found in nuts, olive and canola oils and avocados. Monounsaturated fats improve blood cholesterol levels, which can decrease your risk of heart disease, and they may help with keeping blood sugar levels in check (potentially helpful for appetite control and reducing the risk for diabetes). A few studies have looked at monounsaturated fats as being beneficial for specifically reducing belly fat, but firm findings are lacking.  To take it a step further, replace saturated fats with whole plant food sources of fat instead of refined plant oils which are stripped of their fiber, vitamins, minerals & phytochemical compounds. Whole plant foods rich in mono and poly unsaturated fats are olives, avocado, nuts, & seeds from plants like sunflowers, olives, soybean & safflower.

The olives are high in salt, so balance this with less salty foods thru the day.


Mango Salsa

  • 2 mangos, peeled and cut up into medium diced pieces
  • ½ cup fresh lime juice
  • 1 tsp Kosher salt
  • ½ cup red onion, cup up into small diced pieces
  • ½ red pepper, cup up into small diced pieces
  • ½ cup green onion, sliced
  • ¼ cup chopped fresh cilantro

Combine ingredients and serve with tortilla chips or as a salad.

NSF  6/2010

Enchiladas with Beans and Cheese

Joan Langhoff made this for her 40th birthday party. She is from California so I trust her with Mexican recipes. I think it’s delicious and I’ve made it many times.

It’s also very versatile. You can make more sauce if you like it saucy. Add more cheese and or beans if you like. Add shredded chicken. Add sautéed peppers.

Use any size tortilla. I use flour tortillas. Sometimes I cut the large ones in half before I fill them. Depends on the crowd. It also depends on the size pan you have to use. Experiment!

Ingredients

2 tablespoons olive oil

1- small to medium onion, minced

1-2 cloves garlic

2 teaspoons cumin

2 teaspoons oregano

1-2 tablespoons chili powder

1-15 ounce can tomato sauce

1 cup broth

1- 15 ounce can beans of choice, not drained, mashed with a fork or potato masher

1 pound grated Mexican or cheddar cheese

6-10 tortillas, depending on size

Directions

  1. Preheat oven to 350 degrees F. Heat a large fry pan over medium heat. Add olive oil
  2. Add onion and sauté till translucent.
  3. Add garlic and sauté 30 seconds.
  4. Stir in spices for 1 minute
  5. Add tomato sauce and broth
  6. Cover and simmer 10-15 minutes
  7. Spoon about 1 cup sauce into bottom of a 9×13 inch baking pan
  8. Lightly dip one side of a tortilla into the sauce. Then flip over and dip again
  9. Place this tortilla in the baking dish.
  10. Spoon about 1/4 cup beans into middle of tortillas making a line down center
  11. Spoon about 1/2 cup cheese over beans
  12. Roll up tortilla and place seam side down in pan
  13. Continue with remaining tortillas
  14. Pour remaining sauce over tortillas. Sprinkle cheese over sauce
  15. Cover and bake at 350 degrees until bubbly. About 20 minutes

Enchilada sauce, cheese, mashed beans, and tortillas

Dip a tortilla into sauce

Flip tortilla and dip the other side

Filled tortillas ready for the oven

If you want to cover the tortillas with sauce then double the sauce ingredients.

Voila!

NSF 1/08

Revised 1/26

Hungarian Shortbread


Everyone always loves this cookie! It is a recipe adapted from Baking With Julia by Gale Gand.

Ingredients

4 cups flour

2 teaspoons baking powder

1/4 teaspoon salt

1 pound butter, softened

2 cups sugar

4 egg yolks

13 Oz jar Bonne Maman raspberry or strawberry preserves. No other store brands are good. Home made is best

1 cup confectionery sugar, about

Directions

1. In a medium bowl whisk together:

  • 4 cups flour
  • 2 tsp baking powder
  • ¼ tsp salt

2. In a stand mixer bowl beat:

  • 1 lb. unsalted butter

3. Add and beat until fluffy:

  • 2 cups sugar
  • 4 egg yolks

4. Add flour mixture to butter mixture and blend until just combined. Do not over beat.

5. Spread out 2 large pieces of plastic wrap on the counter.

6. Divide the dough in half and place a half on each piece of plastic.

7. Form into a roundish size and wrap each piece.

8. Freeze until solid…………several hours or overnight

9. Preheat oven to 350 degrees. If using a dark baking pan try 325 degrees so it doesn’t brown too fast

10. Using the grating attachment of a Kitchen Aid Mixer or the large holes of a box grater, grate 1 piece of dough into a 9 x 13 inch baking pan. Lightly pat the dough evenly and gently, but don’t press down too firmly. A simple aluminum pan is my favorite

Grating Half the Dough into the Baking Pan Grating Half the Dough into the Baking Pan

11. Spread 13 oz. or so of homemade or Bonne Maman Strawberry or Raspberry Preserves on top of the grated dough.

12. Grate the other piece of dough evenly over the jam and pat gently and evenly.

Grating the Dough Over the Strawberry Preserves Grating the Dough Over the Strawberry Preserves

13. Bake 40-60 minutes or until just turning a light golden color. Better to under-bake than over bake! The dark colored baking pans bake more quickly

14. As soon as it is removed from the oven, sift the top of the shortbread generously with confectioner’s sugar. Cool 10 minutes and cut into squares with a sharp paring knife

Hungarian Shortbread, Un-cut and Cut Hungarian Shortbread, Un-cut and Cut

This is my family’s all time favorite cookie!!

Voila!

French Bread

This recipe for French bread is one I’ve been making for decades. My friend Margee Smith, a master bread maker shared it with me. We are so very grateful for her expertise!

It’s an easy recipe. Don’t let French bread intimidate you. The French are very particular about their bread, but they don’t make it at home. They purchase it at grocery stores and boulangeries. Even the fancy boulangeries often buy their baguettes from institutional style bakeries.

French bread is a very wet dough. The high water content is part of the reason you get the desired large holes inside the bread.

The most difficult step for me is dividing the dough in 2 or 3 equal size pieces. As you can see my loaves are not equal in size. You can experiment with this.

If you would like to see a Paris boulangier in action, go to this link. We had a marvelous tour there a couple years ago while we were staying in Montmartre.

Paris Bakery Tour

The first step is combining the ingredients in a Kitchen Aid like stand mixer with a dough hook. Combine the ingredients until it forms a ball, then let it rest 5 minutes, and finally beat it at medium speed 2 minutes.

Pour the dough into a large glass or ceramic bowl. Let it rise until doubled in size.

Add ice and water to hot baking pan beneath bread dough just before baking

Recipe

In a Kitchen Aid Mixer with a dough hook combine:

  • 4 ½ cups bread flour
  • 1/2 to 1 tablespoon Kosher salt (if you use table salt make it 1/3 to 1/2 tablespoon) I prefer less salt and always use 1/2 tablespoon Kosher salt
  • ½ Tbsp yeast (1 Tbsp if you are in a hurry) The flavor develops more the longer the rising time.
  • 15 oz. cold water

Further Instructions

1. Combine the ingredients at medium speed and beat until it forms a ball.
2. Let rest 5 minutes

3. Resume medium speed and beat dough for 2 minutes
4. Scrape dough into a bowl three times the size of the dough
5. Cover with a plate or plastic and let rise 6 hours, overnight or till double. If you use 1 tablespoon of yeast, it will take only 2-3 hours to double in size.  Do not allow to get larger than double in size.

6. Sprinkle about ½ cup flour onto a smooth counter.
7. Scrape dough onto flour and sprinkle more flour to cover entire surface of dough
8. With a bread knife divide into 2 or 3 pieces, depending on the type of Teflon like coated baguette baking pan you have.
9. Shape into 3  baguettes using hands and the side of bread knife.
10. Gently place into perforated Teflon coated bread forms and if desired score loaves with a sharp knife. Scoring the baguettes is not necessary.
11. Let rise 1 hour or more or until doubled in size.

12. At least 30 minutes before baking, preheat oven to 450 F and place one rack in the top 1/3 of the oven and another rack on the very bottom level. At this time also place a shallow old baking pan on the bottom rack.

13. When ready to bake, place bread in top third or center of the oven.  Immediately take 1 cup of ice & ½ cup water and pour it into bottom rack’s baking pan. Close the door right away to keep the steam in the oven & bake 20 minutes. The steam is what makes the crust crisp.

14. Add more ice and water and bake another 10 minutes.

15. You can experiment with the amount of cold water in the recipe. I use 15 oz for a wetter dough which makes a bread with more holes and 14 oz for a denser bread interior.

16. After 1 day, store bread in plastic bag. To crisp up the crust, place bread in a very hot oven for a few minutes with the same ice and water technique.

Bon Apetit! Merci Margee!

NSF 1/09

Beet Horseradish Salad

Horseradish Beet Salad adapted from my experiences working in the 1970s at Strongbow’s Turkey Inn, Valparaiso Indiana

Diced Pickled Beets, but you can use plain beets instead!

The Sauce!

Fold the Sauce into the Beets

Ingredients

  • 2- 16 oz. jars or 3 cups sliced pickled beets
  • 1/3 cup sour cream
  • 1/3 cup pure horseradish
  • ½ tsp hot sauce

Directions

  1. Drain beets at least 30 minutes in a colander. Pat beets gently between paper towels.
  2. Cut beets into julienne or diced pieces and place in a medium bowl.
  3. In a small bowl combine sour cream, horseradish and hot sauce.
  4. Fold sour cream sauce into beets.
  5. Refrigerate 1 hour. Serve within 1 day.

Voila! Let me know what you think!

Blueberry Buckle

This is a delicous recipe for coffeecake my family has made for years. We adapted it from Bon Apetit Magazine. If you want the blueberries to be dispersed throughout, toss them in a small amount of flour before adding them to the batter. The recipe also makes about 27 perfect cupcakes with or without cupcake liners. Be sure to butter and flour the cupcake tins if you don’t use liners. The brand of spices used greatly affects the flavor. I order Penzeys.com spices. My favorite cinnamon is their Ceylon Cinnamon. I also use freshly grated nutmeg. You can always switch your spices up…..cloves, nutmeg, cinnamon, mace, ginger

Butter the bottom and sides of a 9 x 13 inch baking pan.

In a large bowl beat
½ cup butter, softened

Add 1 ½ cups sugar and beat till fluffy

Add 4 eggs and beat until light

In another large bowl whisk together:
3 cups flour
4 tsps. baking powder
1 tsp salt
1 tsp nutmeg
½  tsp cloves

Add 1 cup milk and
Add flour mix to butter mix and blend till just combined.

Gently mix in:
4 cups fresh blueberries or thawed frozen & drained berries of any kind

Pour batter into prepared baking pan.

In a small bowl mix the streusel topping:
Whisk together:
1 cup sugar
2/3 cup flour
1 tsp cinnamon

Cut in with 2 knives: ½ cup cold butter.
Cut until mixture is the size of peas.
Sprinkle over batter
Bake at 375 degrees 45 minutes or until light brown and cake pulls away from sides of the pan.

NSF 1/08