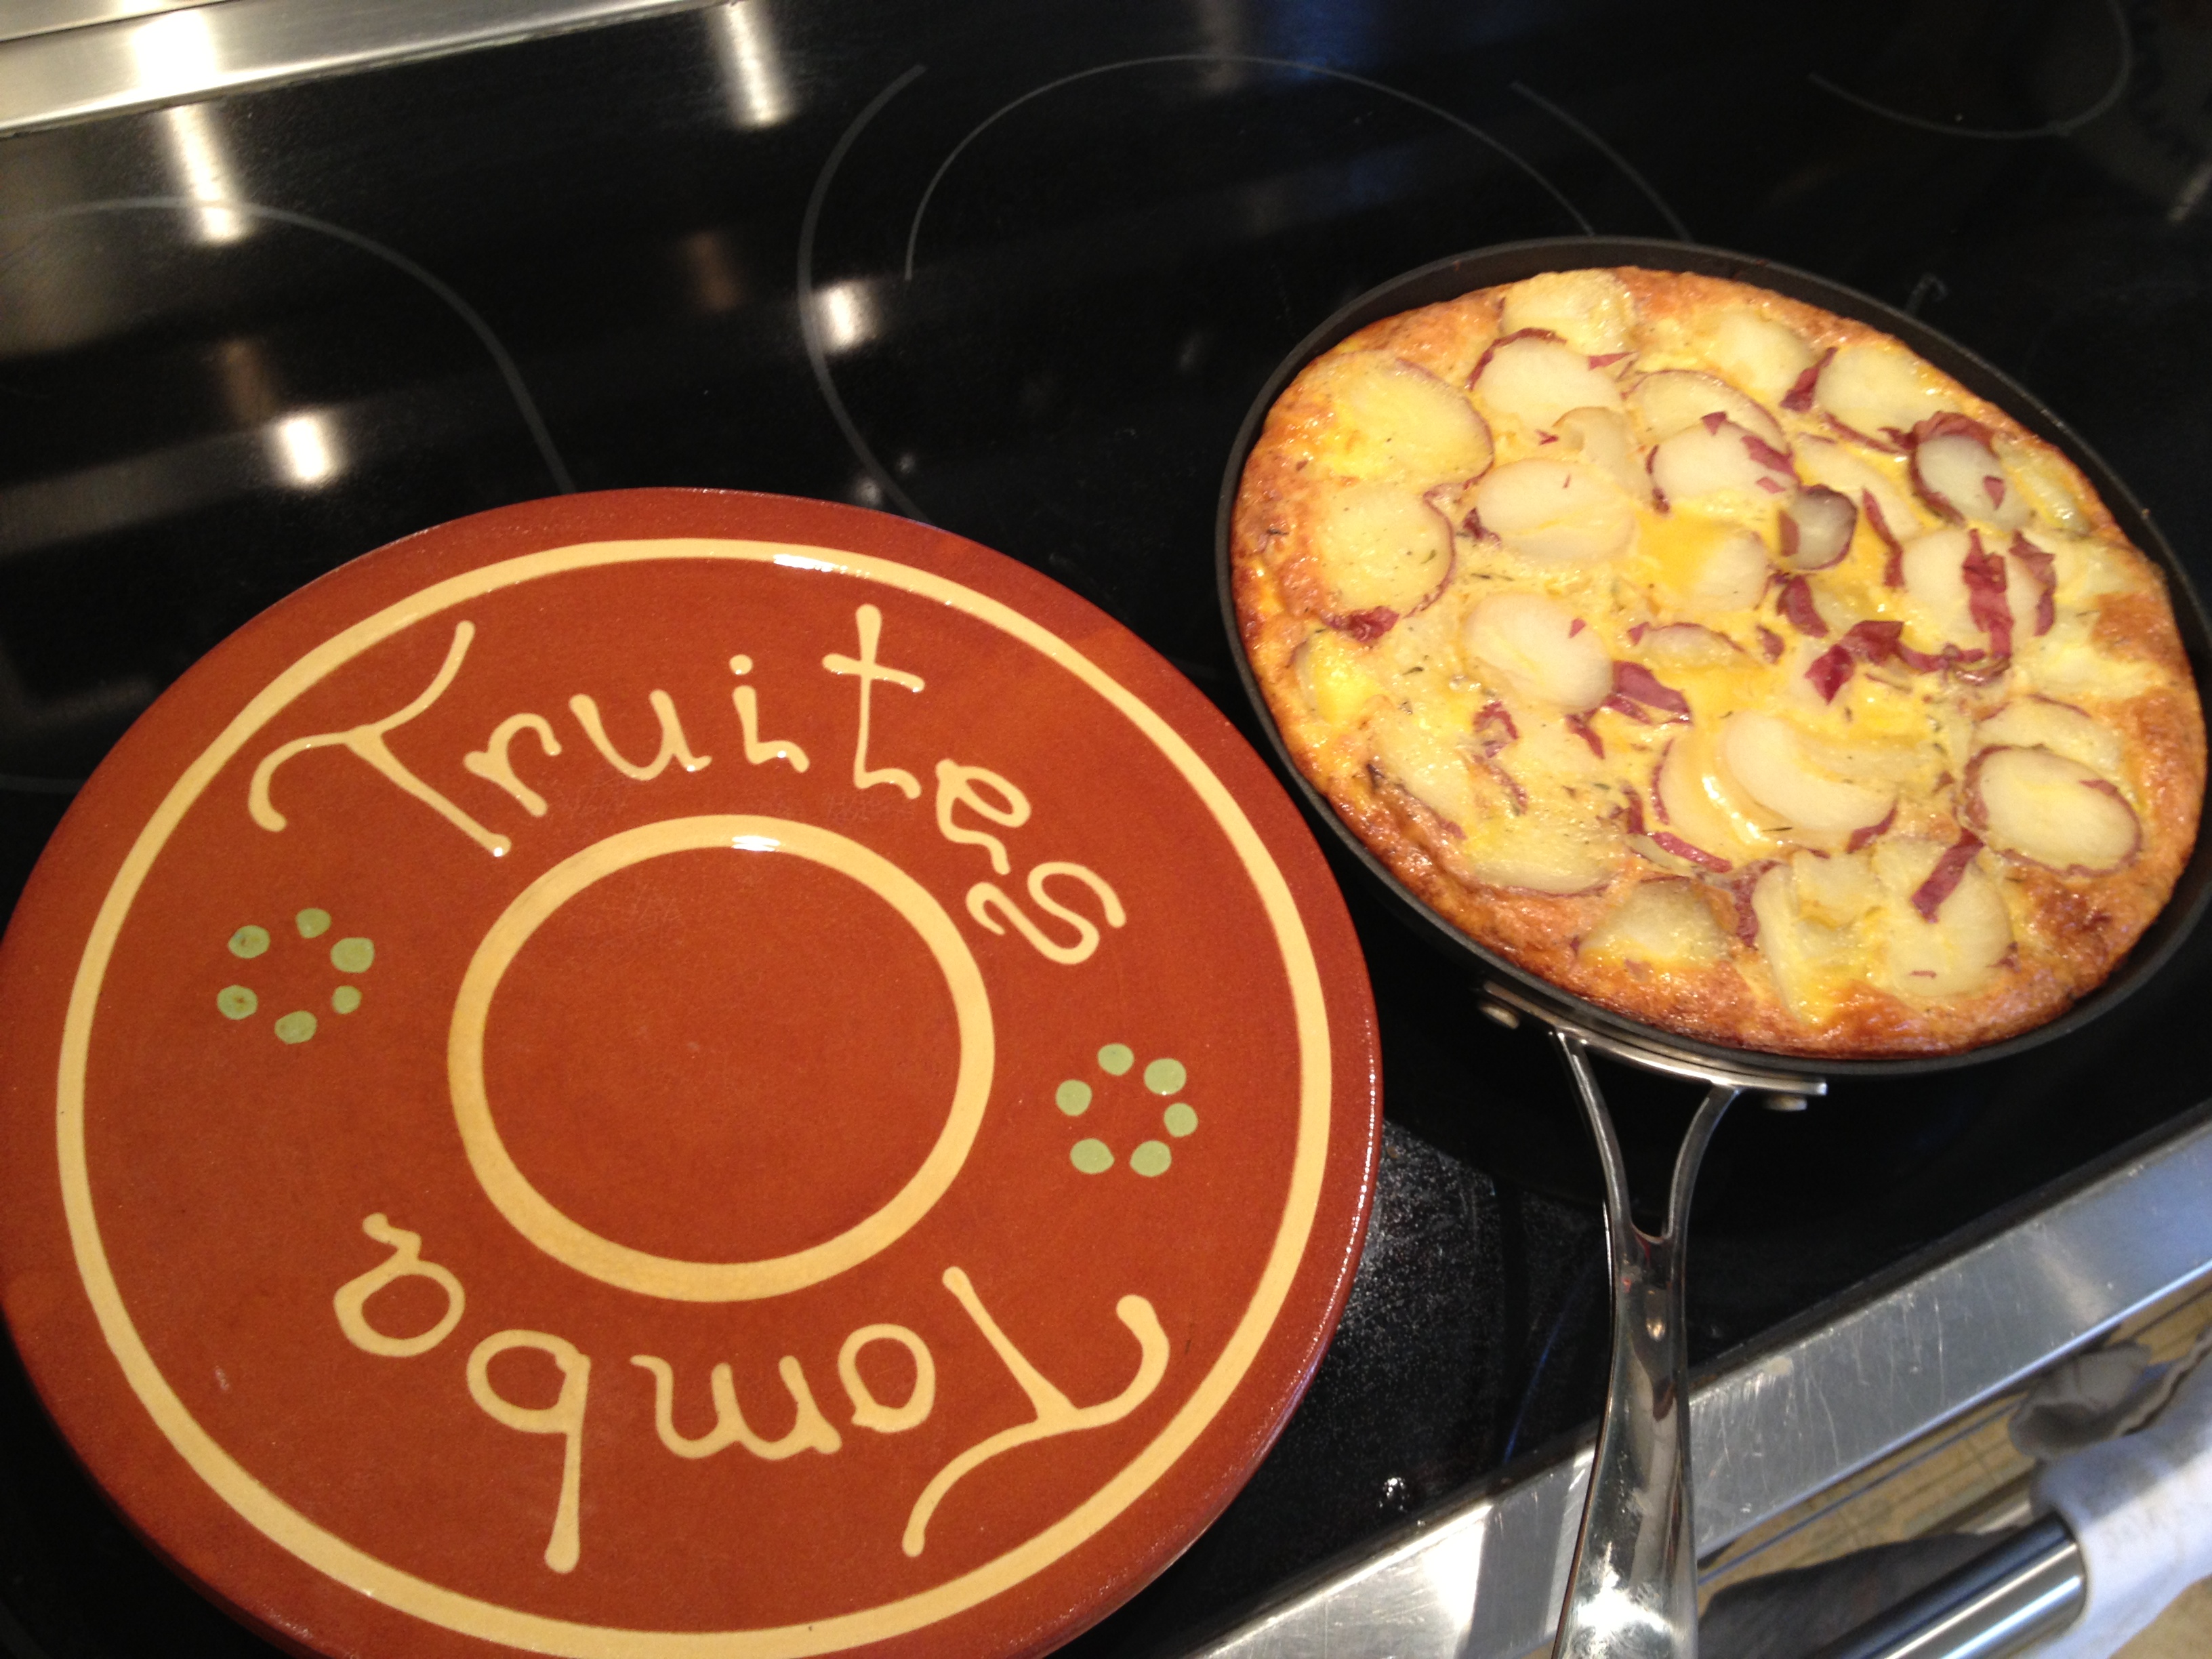
This is the true version of a type of paella made with thin short pieces of pasta rather than rice. Toasting the raw pasta adds a deep earthy flavor. It does remind me of Rice-a-Roni, but with better taste. A shallow paella pan is the best cooking pan to use, but a large sauté pan works too, the larger the better.
Sauté onion

Add drained, minced tomatoes

Add garlic and spices

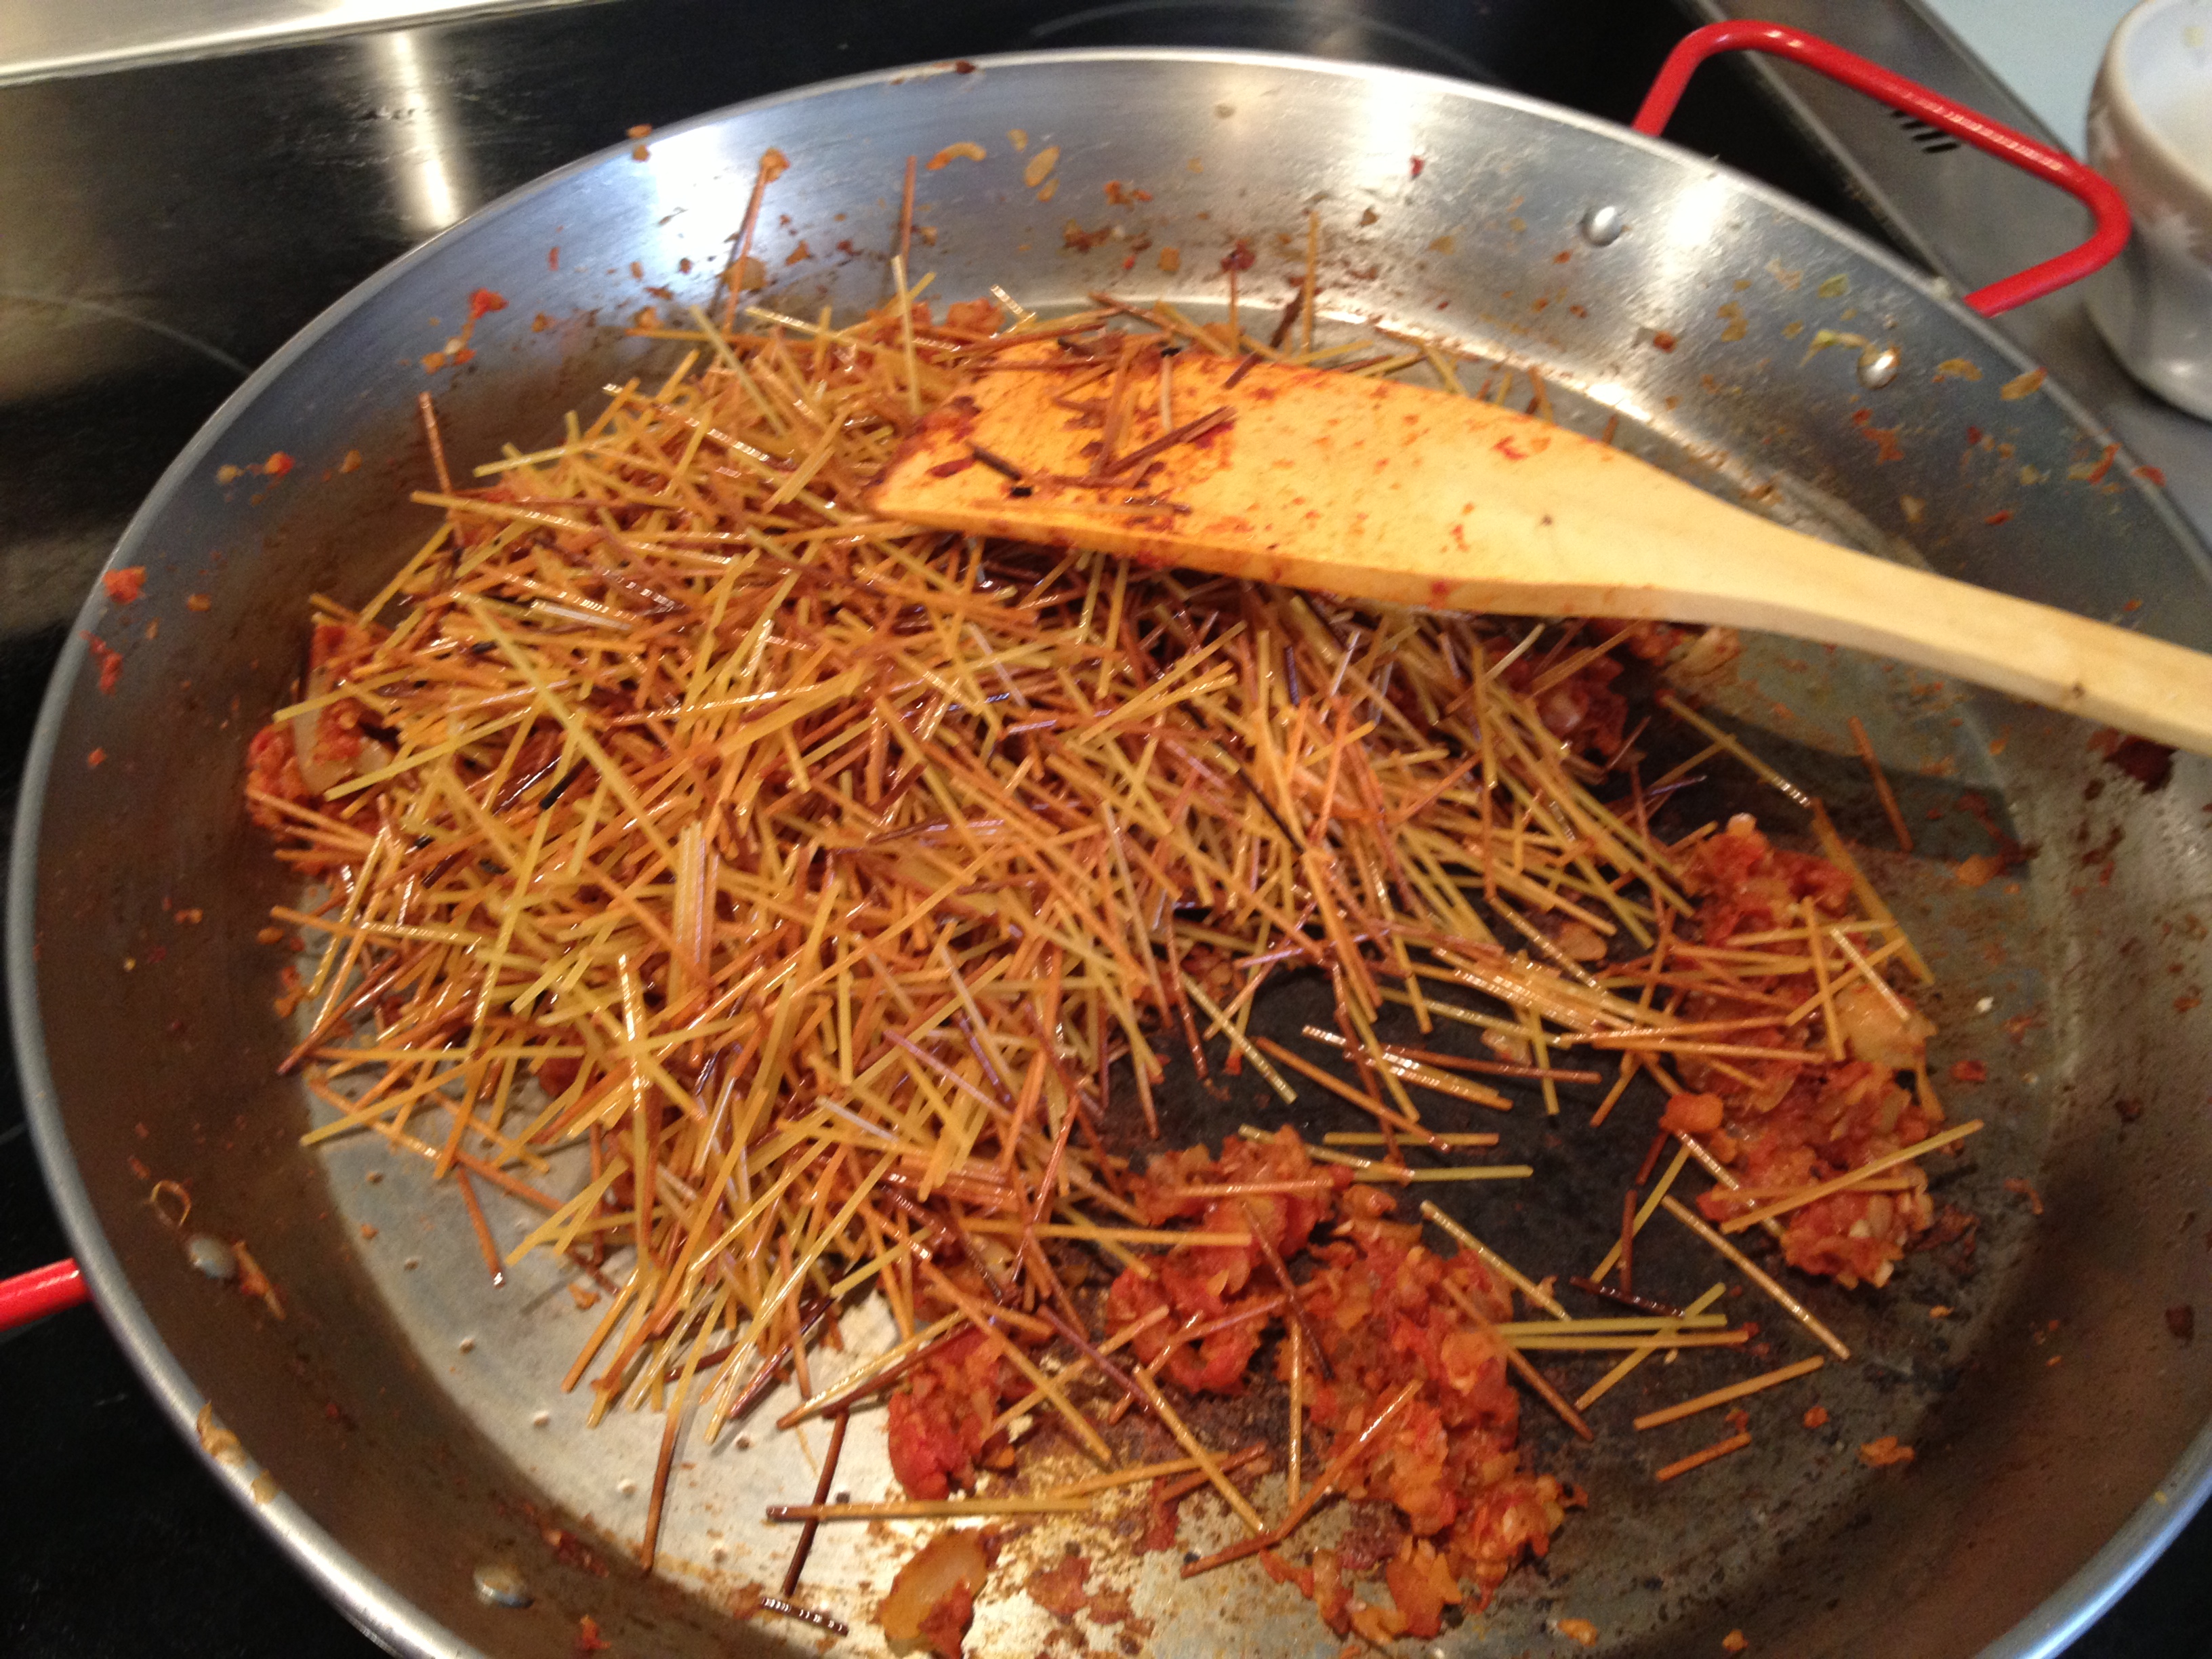
Add the toasted thin spaghetti

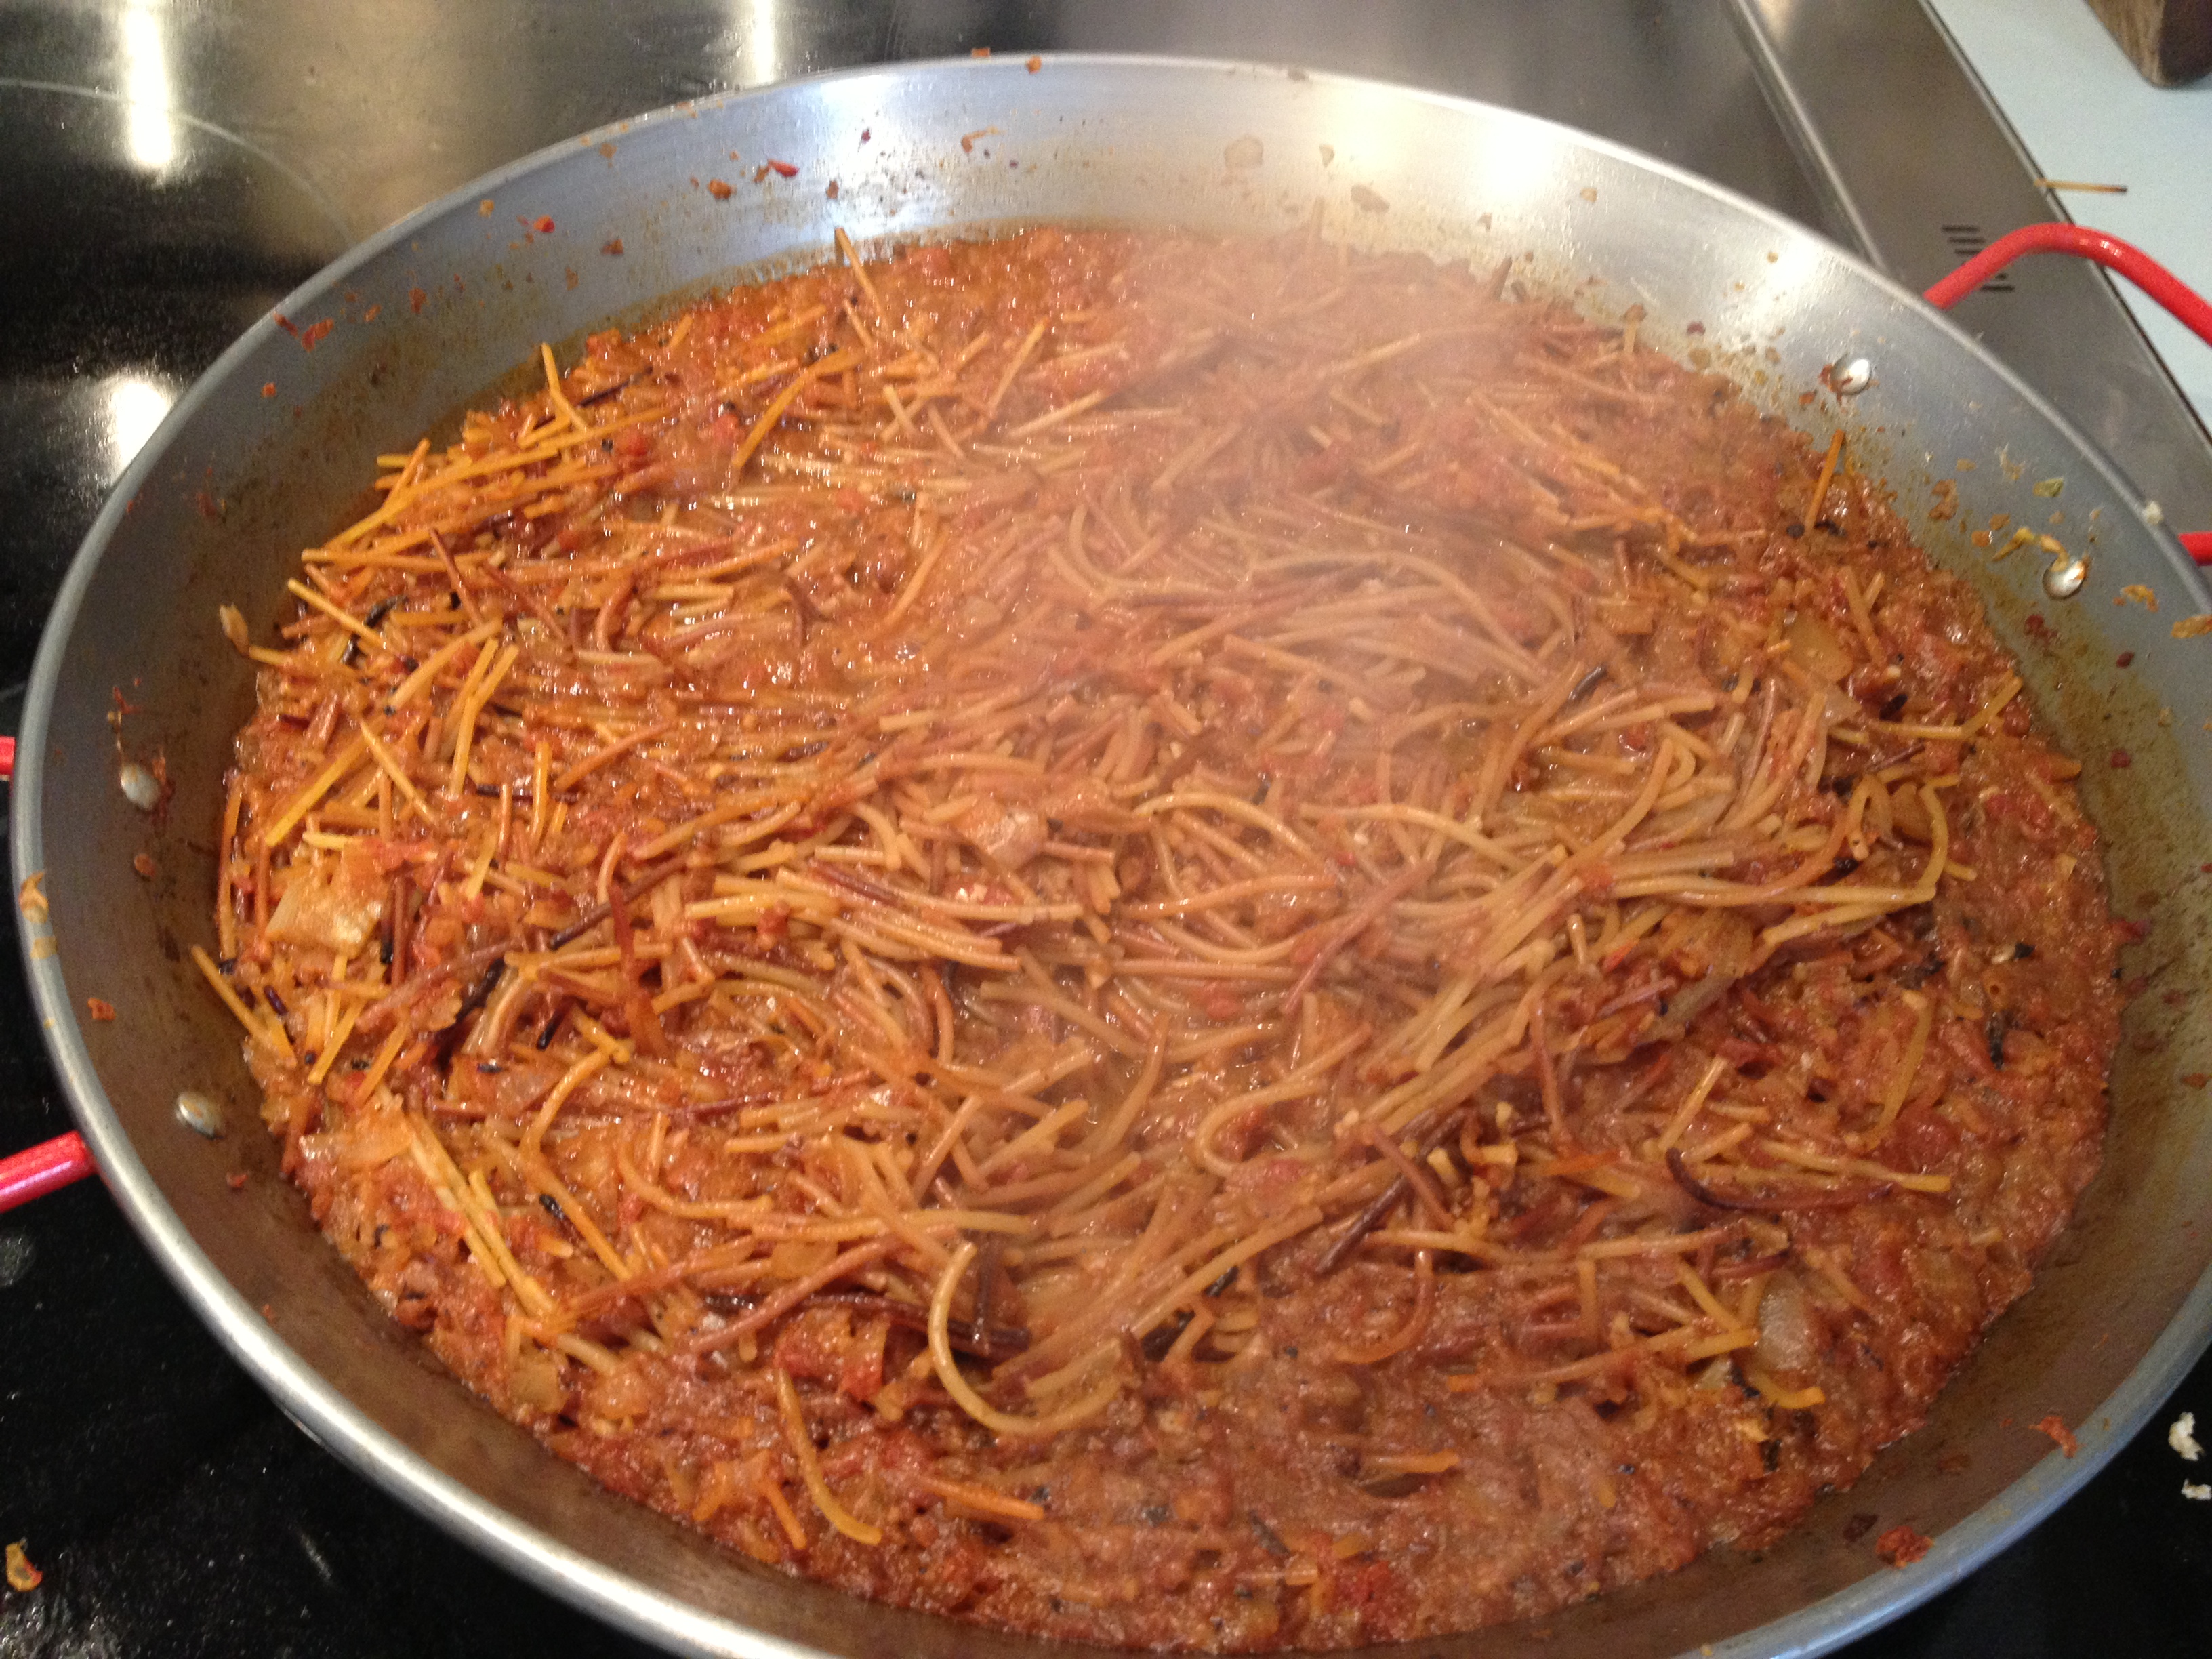
Add the toasted pasta to the browned tomato/onion/seasoning mixture

The broth and wine have been added, the fideau has simmered and is ready to add the shrimp.

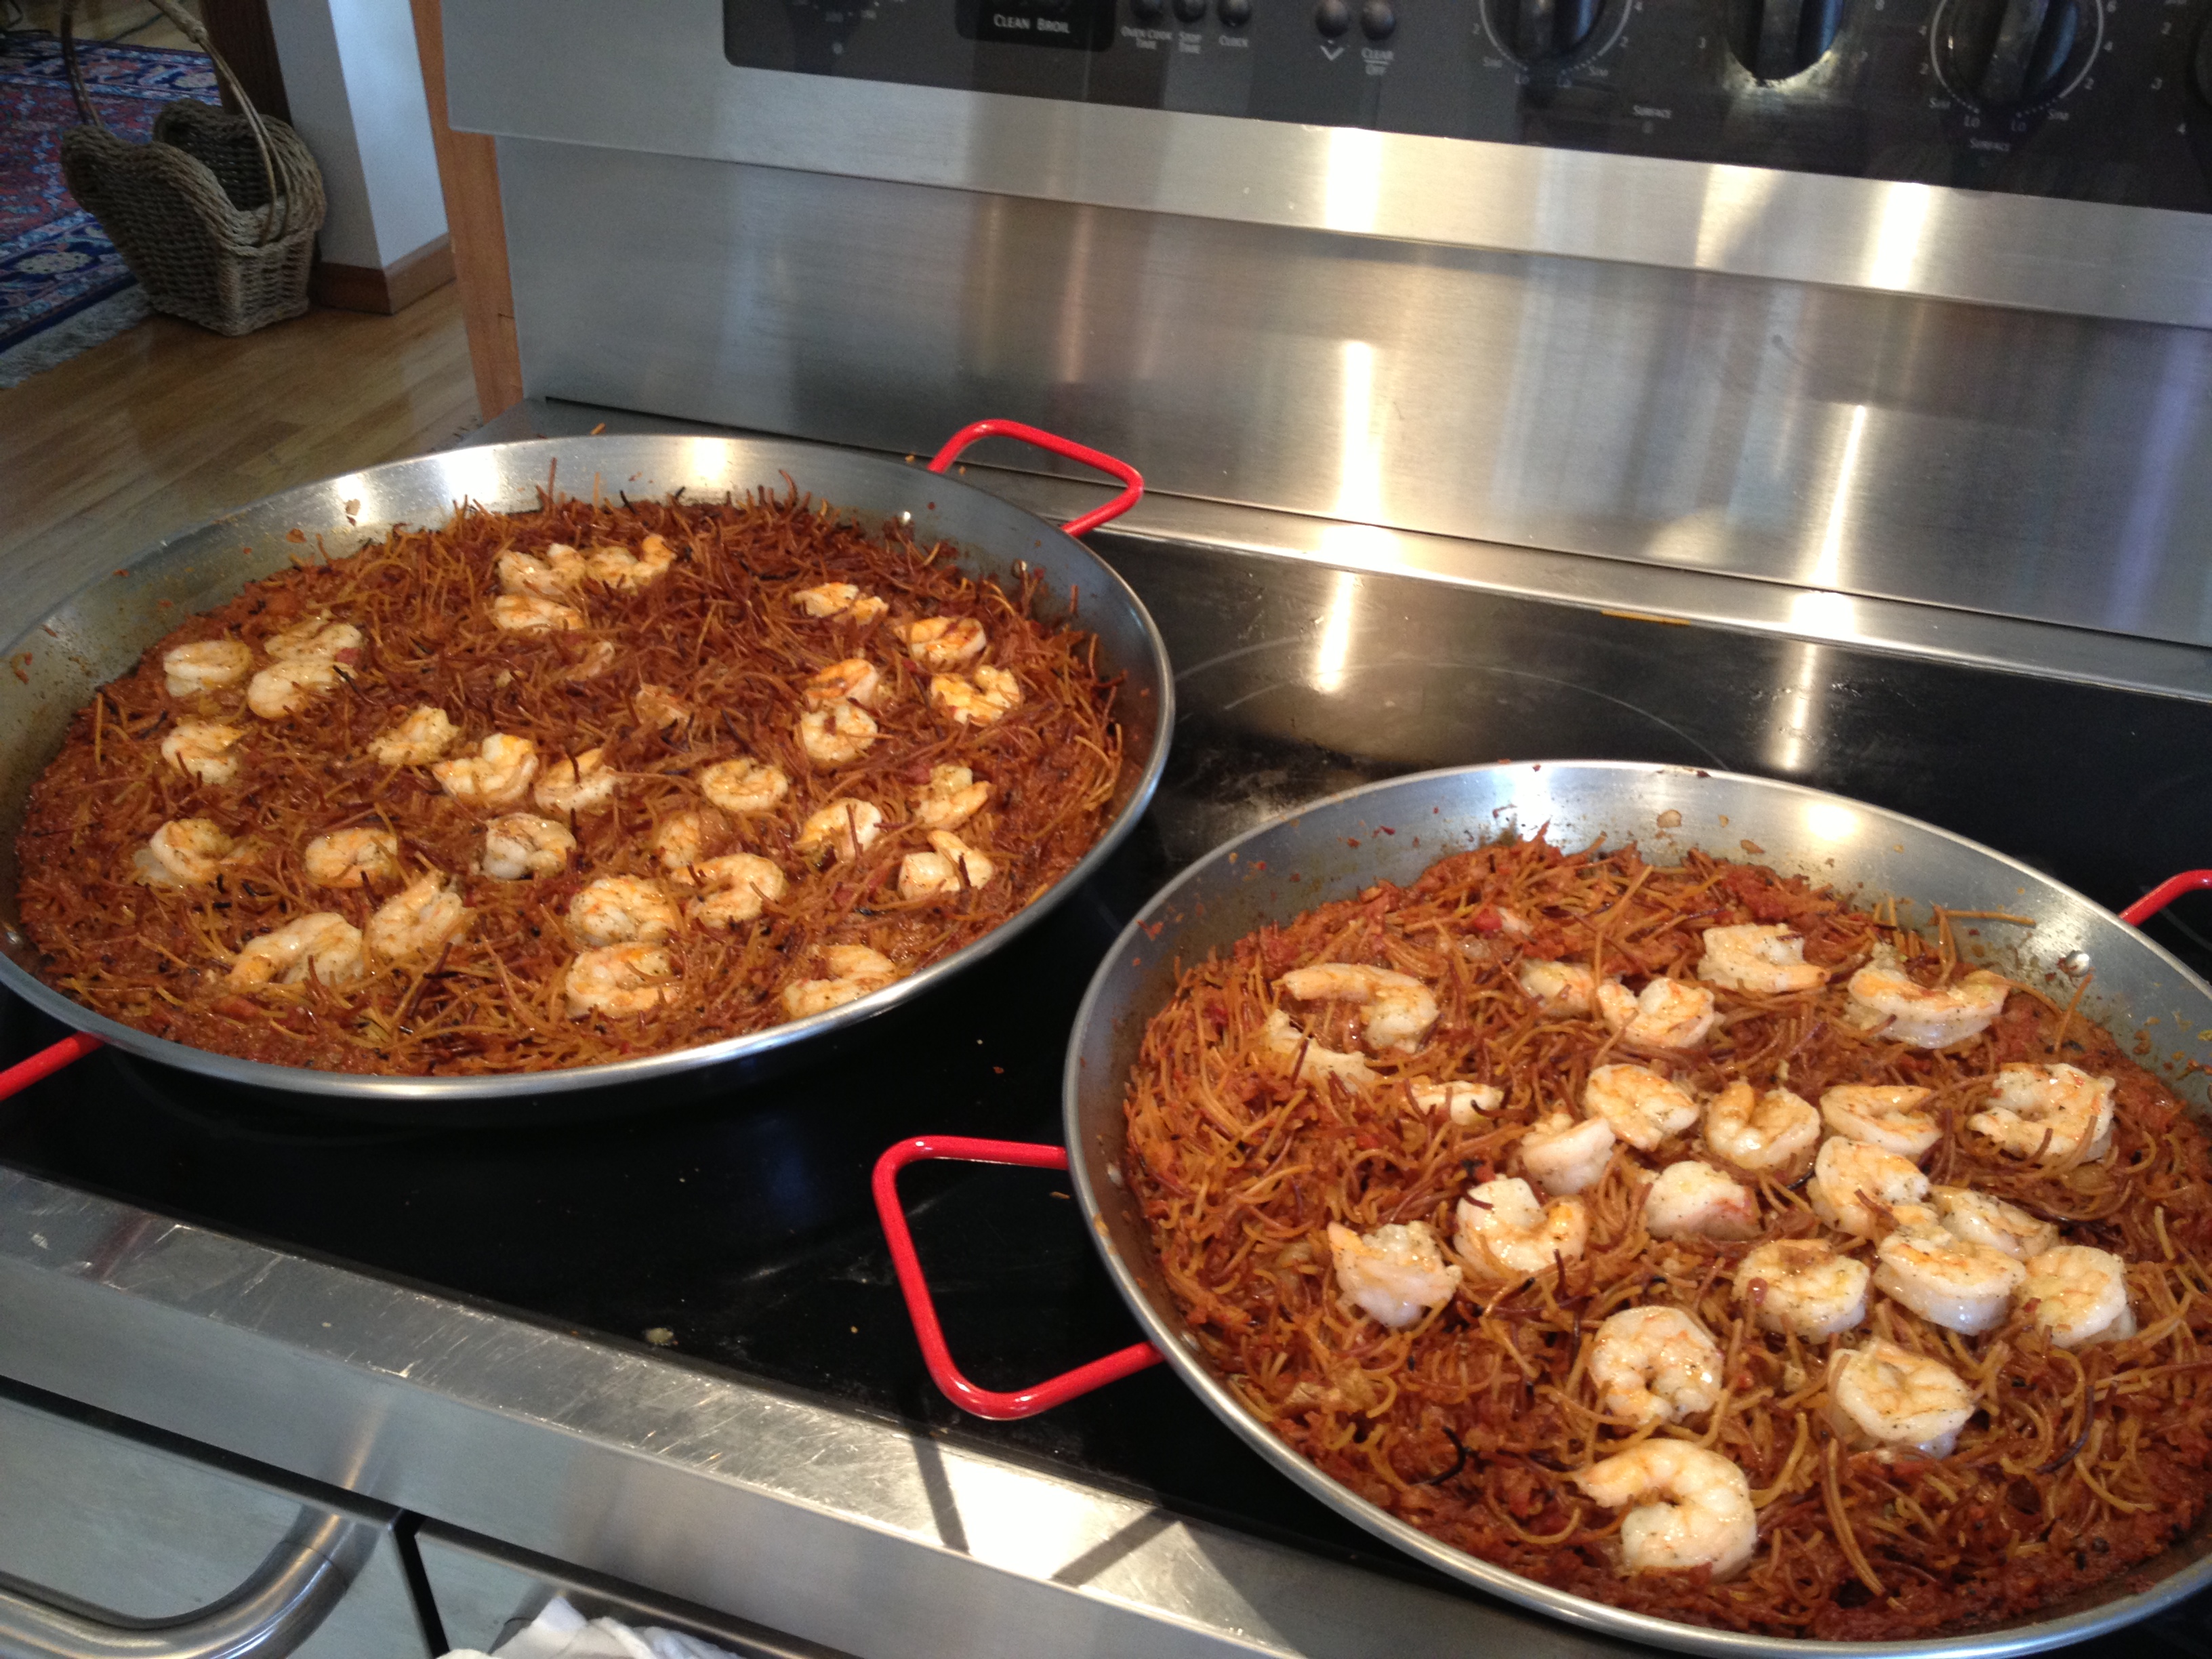
Add the shrimp marinated in garlic, olive oil & salt

Broil the shimp until it turns pink

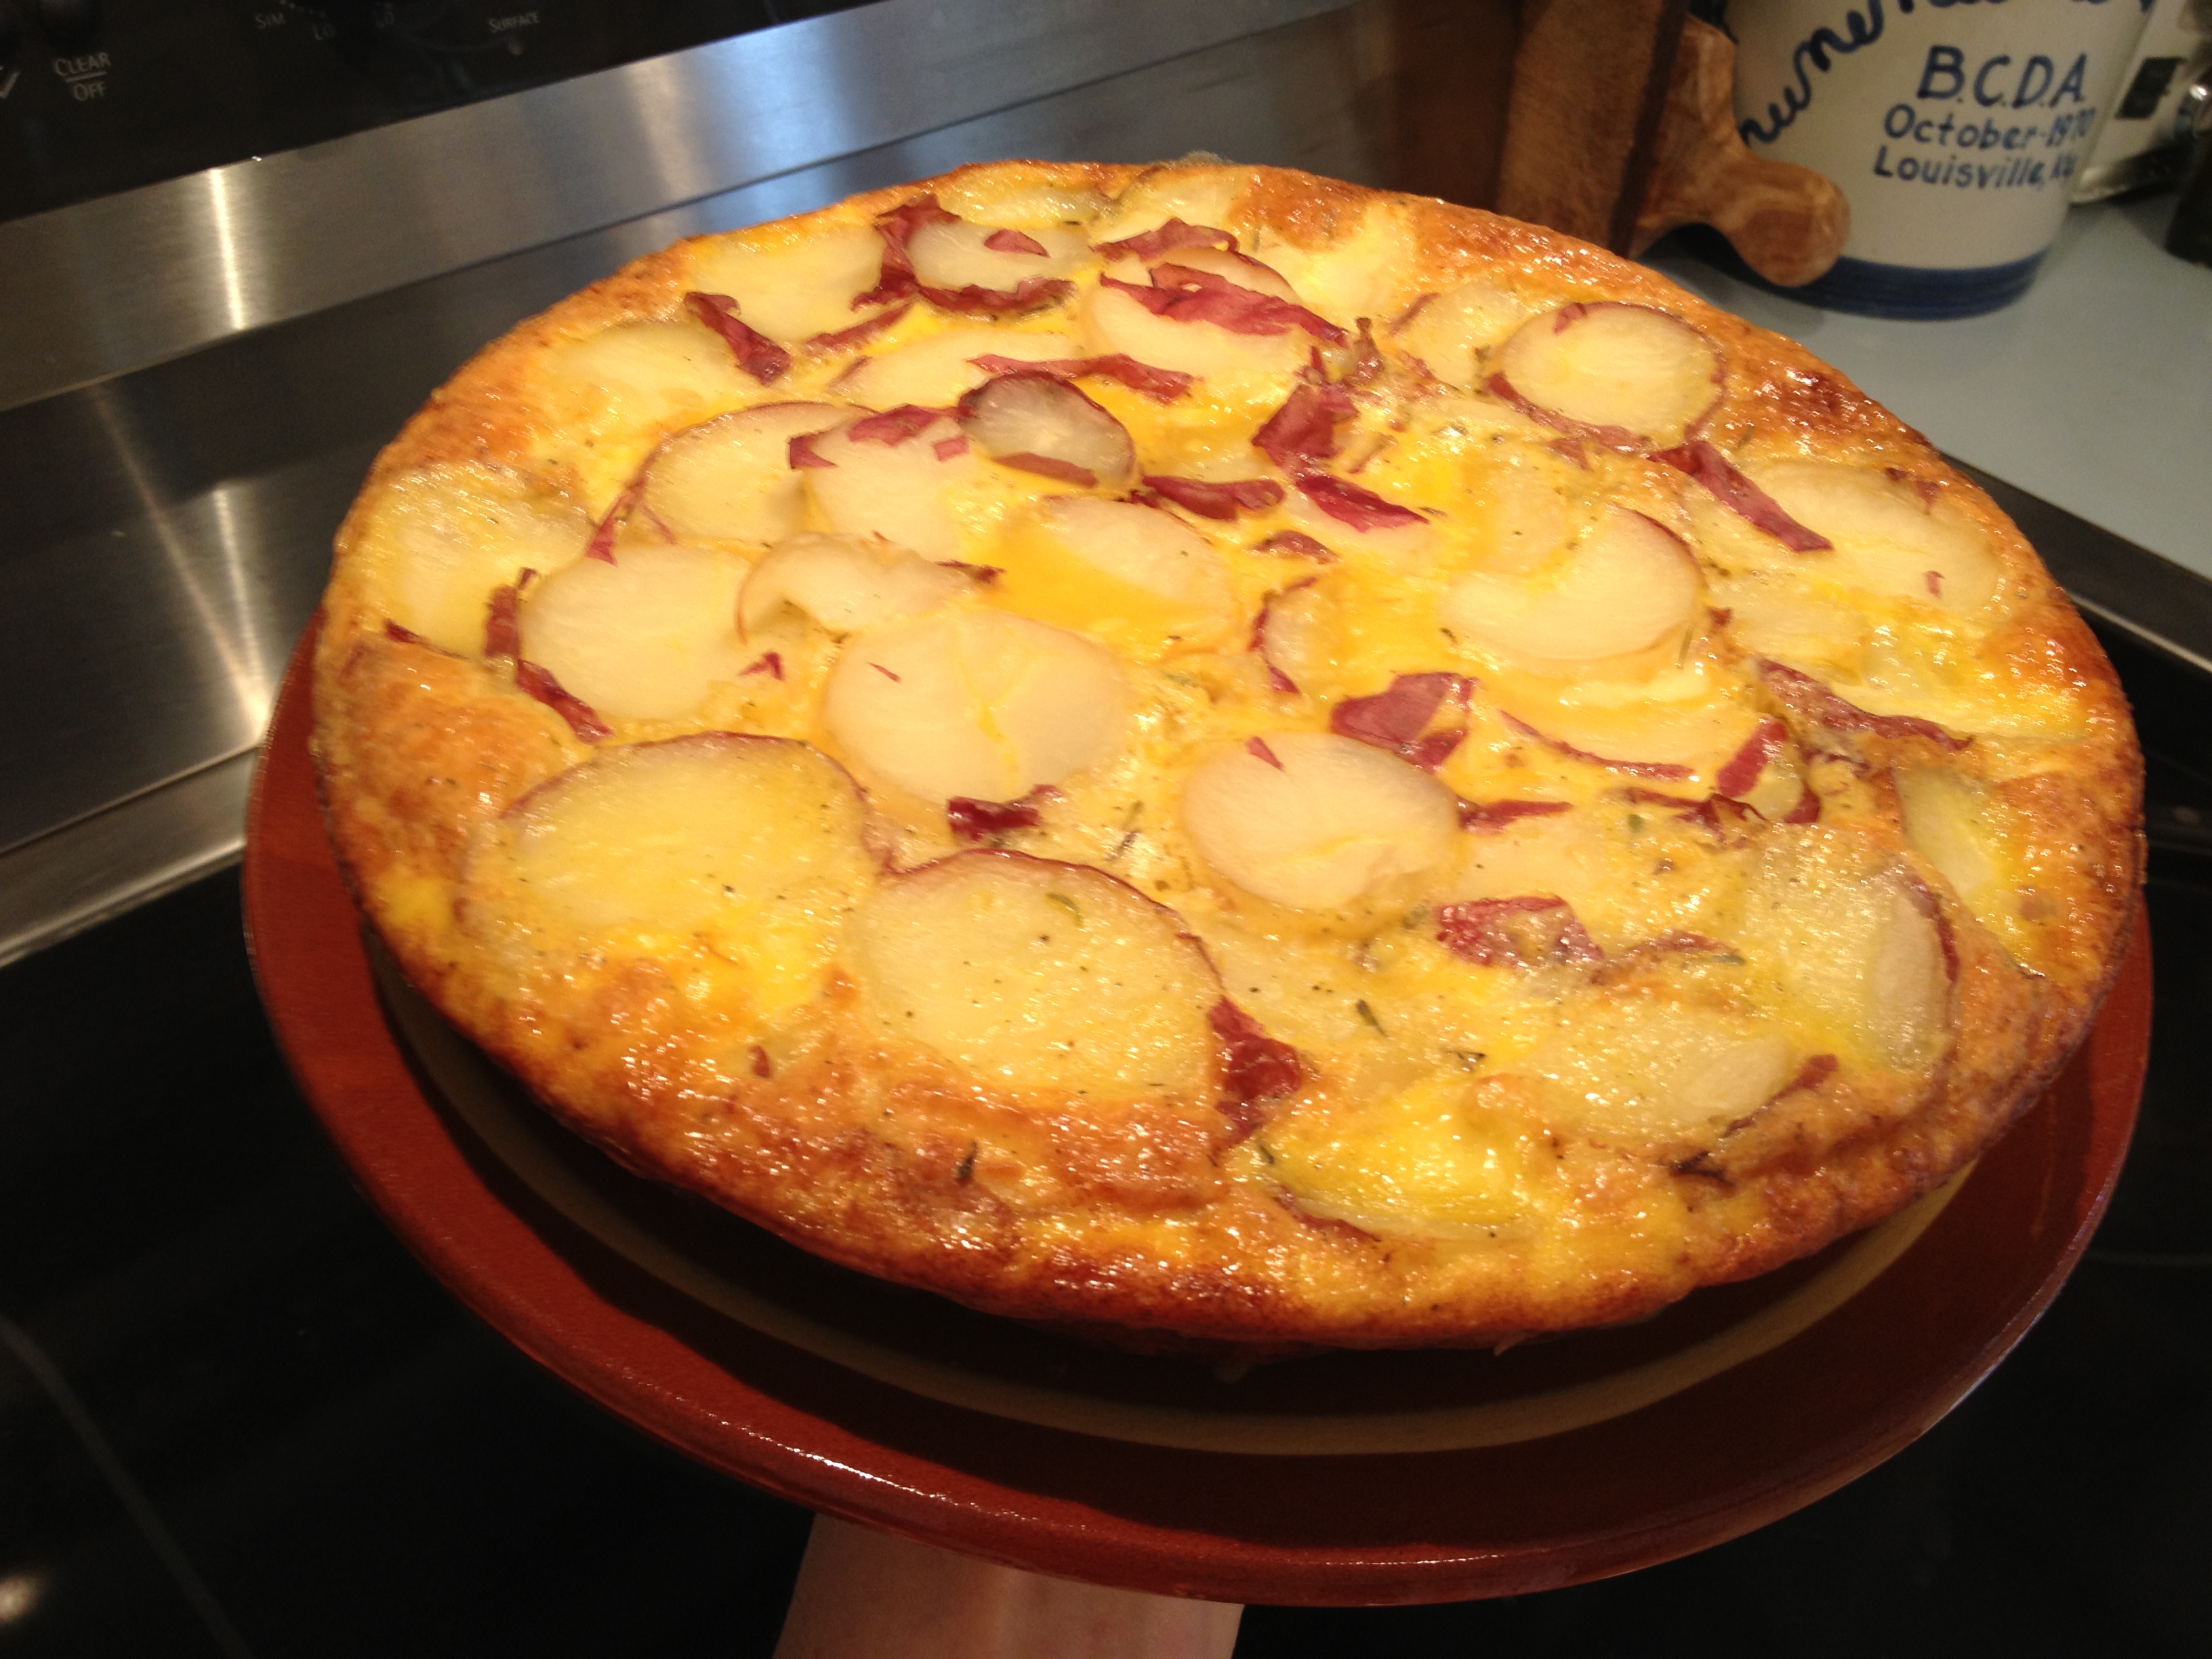
The Fideau rests!
Fideau! /Spanish-Style Toasted Pasta
I doubled this recipe to fill my 17 inch paella pan
3 tablespoons plus 2 teaspoons olive oil
1 tablespoon minced or pressed garlic
Salt and pepper
1 pound or more extra large shrimp, raw,deveined with shells
2 ¾ cups water
1 cup clam juice of fish stick (this is essential for the best flavor)
2 bay leaves
8 ounces spaghettini or thin spaghetti
1 medium yellow onion, finely chopped
1-14.5 ounce can diced tomatoes, drained thoroughly and finely chopped
1 teaspoon paprika, or more
1 teaspoon smoked paprika, or more
1 teaspoon anchovy paste, or more
¼ cup Spanish white wine, or more
Chopped parsley and lemon wedges, optional
Aioli: 1/2 cup Hellmann’s Mayonnaise, 2 teaspoon minced garlic and 2 teaspoons fresh lemon juice. Serve with the Fideau at the table.
- Cut the spaghetti into 2 inch lengths. Using a kitchen towel, loosely fold 4 oz spaghetti keeping it flat. Twist the towel around at each end. Position so 1-2 inches of pasta rests on the counter and remainder hangs off edge. Pressing bundle against the counter, press down on long end of towel to break strands into pieces, sliding bundle back over edge after each break. Pour into a bowl and repeat with remainder of pasta.
- Remove shells from shrimp. Place shells in a microwave proof medium bowl. Place shrimp in a medium ceramic or glass bowl.
- To the shrimp add 1 tablespoon olive oil, 1 teaspoon garlic, ¼ teaspoon salt and 1/8 teaspoon pepper. Mix and refrigerate.
- To the shells add the water, clam juice and bay leaves. Cover and microwave until liquid is hot and shells have turned pink. Set aside.
- In a broiler safe 10 skillet or paella pan, toss spaghettini and 2 teaspoons olive oil over medium high heat. Stir frequently until browned to the color of peanut butter. Place in a bowl.
- Wipe out skillet. Heat remaining 2 tablespoons oil in skillet over medium-high heat. Add onion and ¼ teaspoon salt. Saute until softened and turning brown.
- Add drained and chopped tomatoes and cook, stirring, until mix is thick, dry and slightly darkened, about 6 minutes. Reduce heat to medium and add remaining garlic, paprika, smoked paprika and anchovy paste. Cook until fragrant, about 1 minute or less, stirring.
- Add spaghettini and combine.
- Turn on broiler and adjust rack 5-6 inches from element.
- Pour broth through a fine strainer into the skillet. Add wine, ¼ teaspoon salt and ½ teaspoon pepper. Stir well. Increase to medium high heat and bring to a simmer
- Cook uncovered,lightly stirring occasionally, until liquid is thickened and pasta just tender, 8-10 minutes.
- Scatter shrimp over pasta and partially submerge shrimp. Place skillet under broiler until shrimp are opaque and surface of pasta is dry with crisped browned spots, 5-7 minutes.
- Remove from oven and let stand uncovered 5 minutes.
- Sprinkle with parsley and serve immediately with lemon wedges if you like.
- If using a paella pan, serve at the table.
- This is the same recipe as paella. Use short grained arborio rice or short grained brown rice and follow the same recipe. The brown rice will need to cook longer.
- I have used the traditional carbon steel paella pan from Spain. This requires special seasoning with oil before and after each use. I also have used a traditional stainless steel 10 inch skillet for this recipe. The paella pan is more authentic.
- When making paella, it’s all about the rice. It needs to stick to the paella pan and be scraped off with a metal spatula.
Serves 4 main entrees or 16 tapas.
Adapted from CooksIllustrated.com July 2012