RSS Feed

Tag Archives: high protein

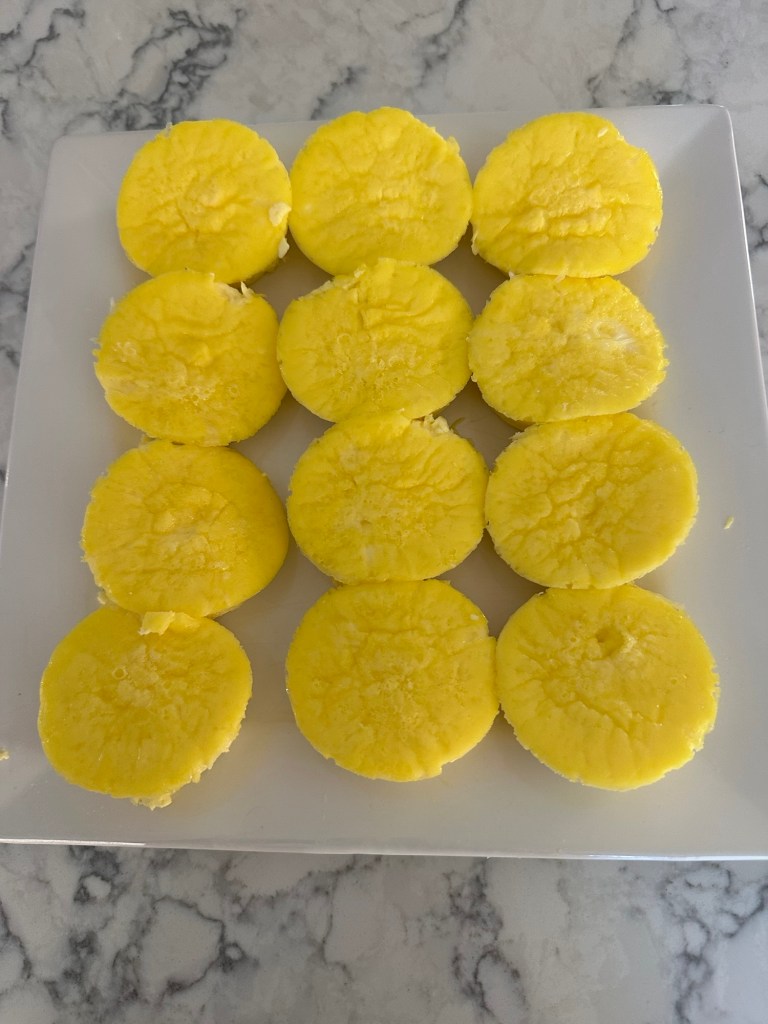
Cheesy Egg Bites

Cheesy Egg Bites

I’ve seen this recipe and versions of it on many food blogs. This one is most similar to Americas Test Kitchen’s. Their ratio is 1 egg to 1 oz cottage cheese. That’s the basic recipe with added “fixings”. My fixin is just grated Gruyère cheese. It’s a Swiss cheese. You can also added bacon. Another combo of fixins is feta, sun dried tomatoes & scallions. Make an Egg McMuffin!

I’ve made this for a crowd. 12 eggs makes 18 bites. 24 eggs makes 36 bites.

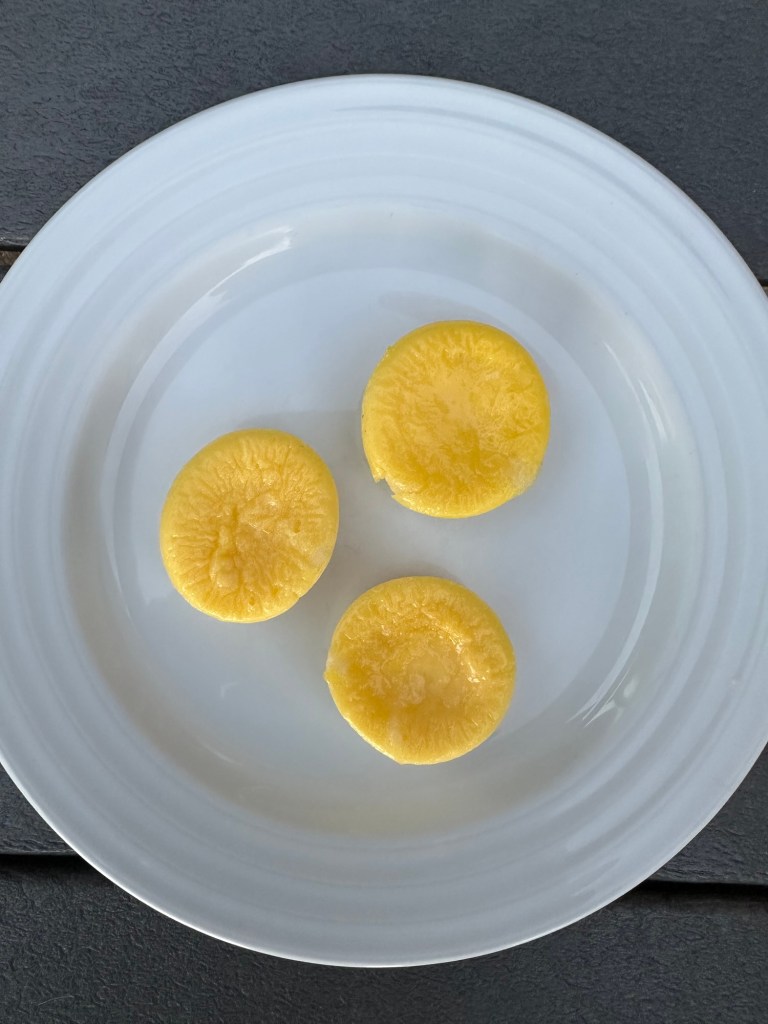
You can also make them in mini muffin pans. Decrease the cooking time!! Check the internal temperature after 5-10 minutes.

I’ve used aluminum muffin tins but you have to scrub them clean because the eggs really stick to the pan. Silicon coated muffin pans would be best.

This is super easy and a high protein food!

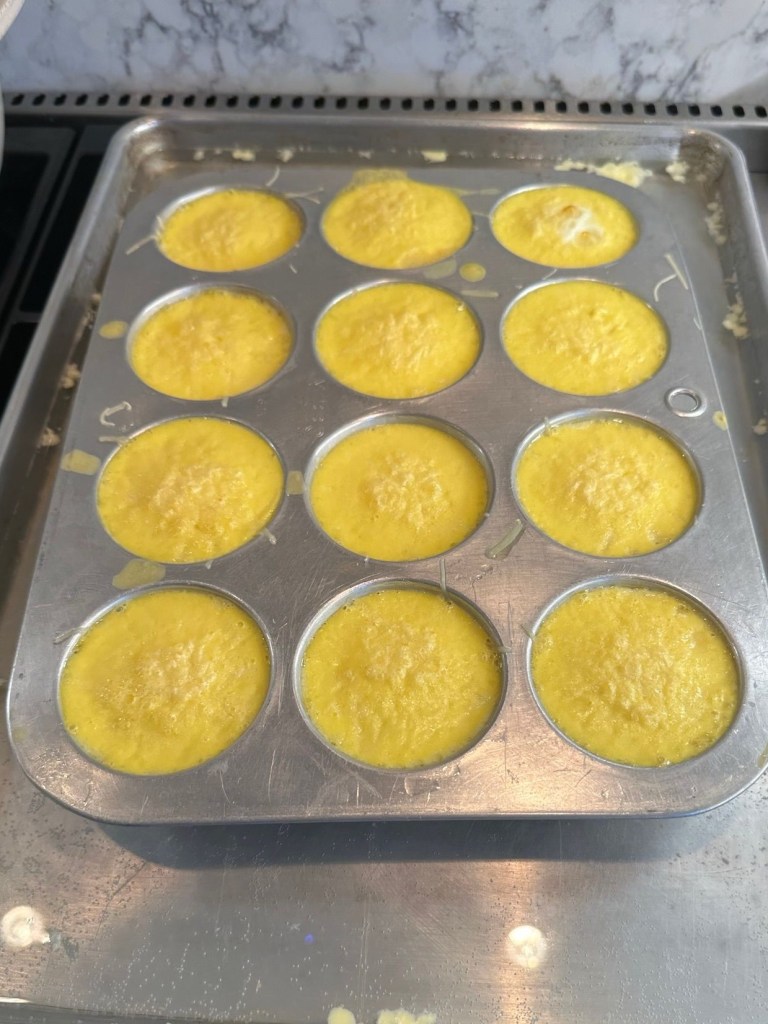
You need to make a water bath so have 2 sheet pans ready and 1/2 filled with hot water in the oven. Also use an instant read thermometer because 170-175 is the perfect doneness point. This is a scientific recipe!!

Ingredients

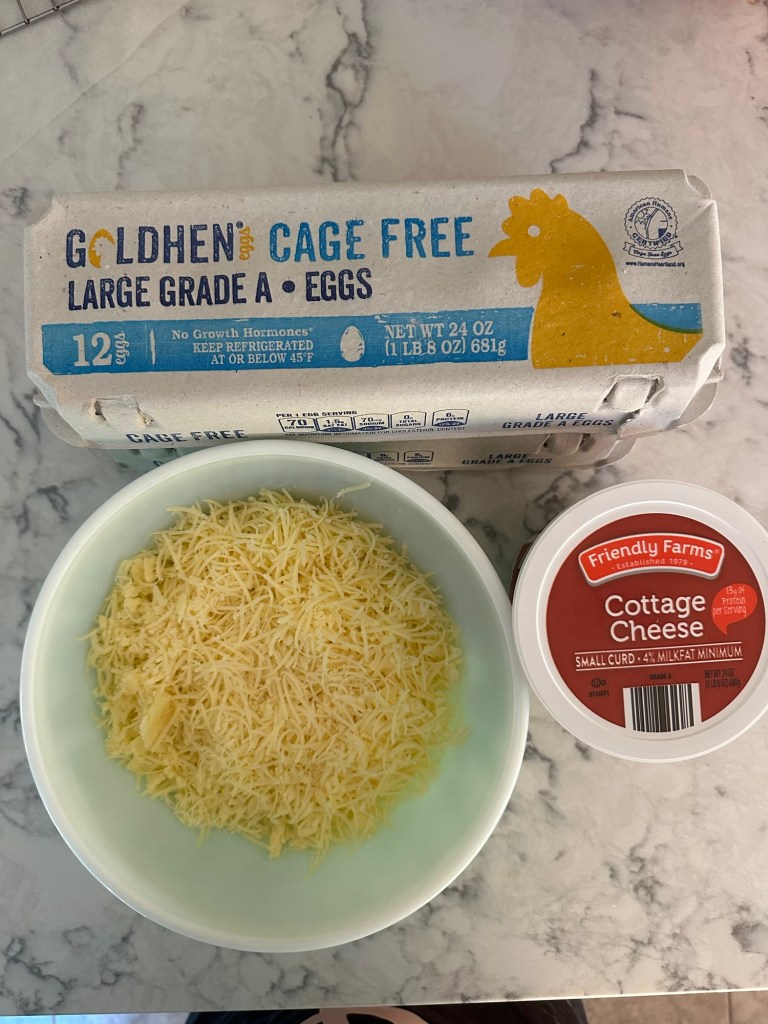
  • 12 eggs
  • 12 oz cottage cheese
  • 1/2 pound gruyere cheese, grated

Directions

  1. Butter your muffin pans if they are not silicon coated. Preheat oven to 325 degrees.
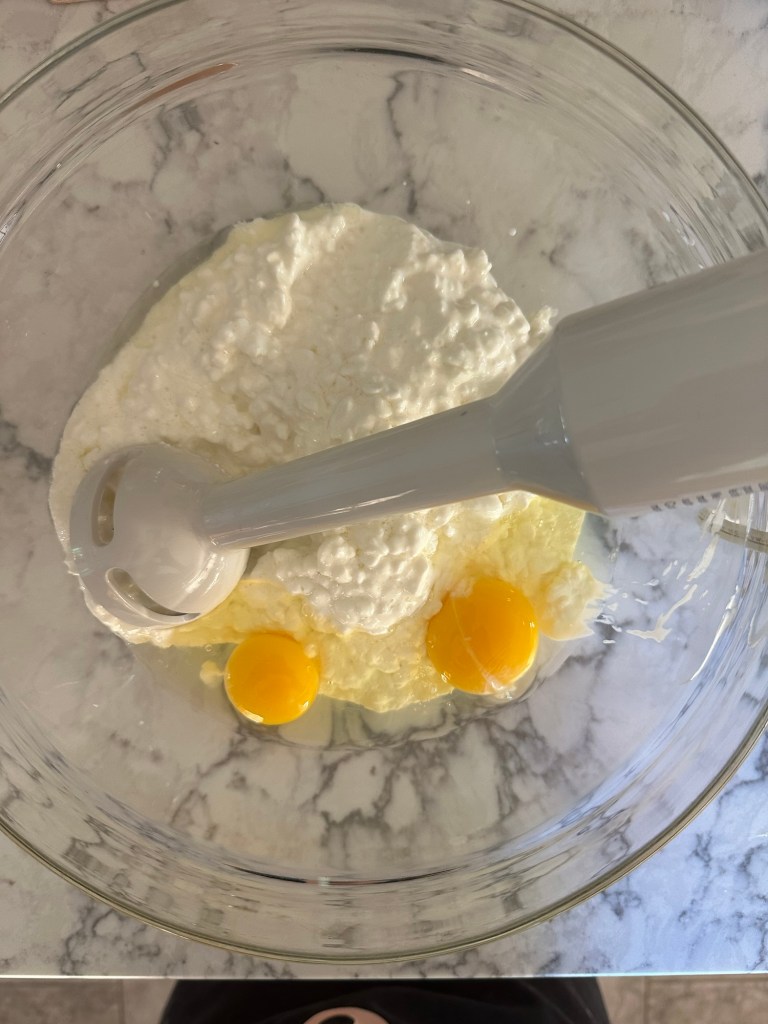
  2. In a large bowl place cottage cheese and 1 egg. Puree until smooth with a stick blender. Or puree in a blender or food processor.
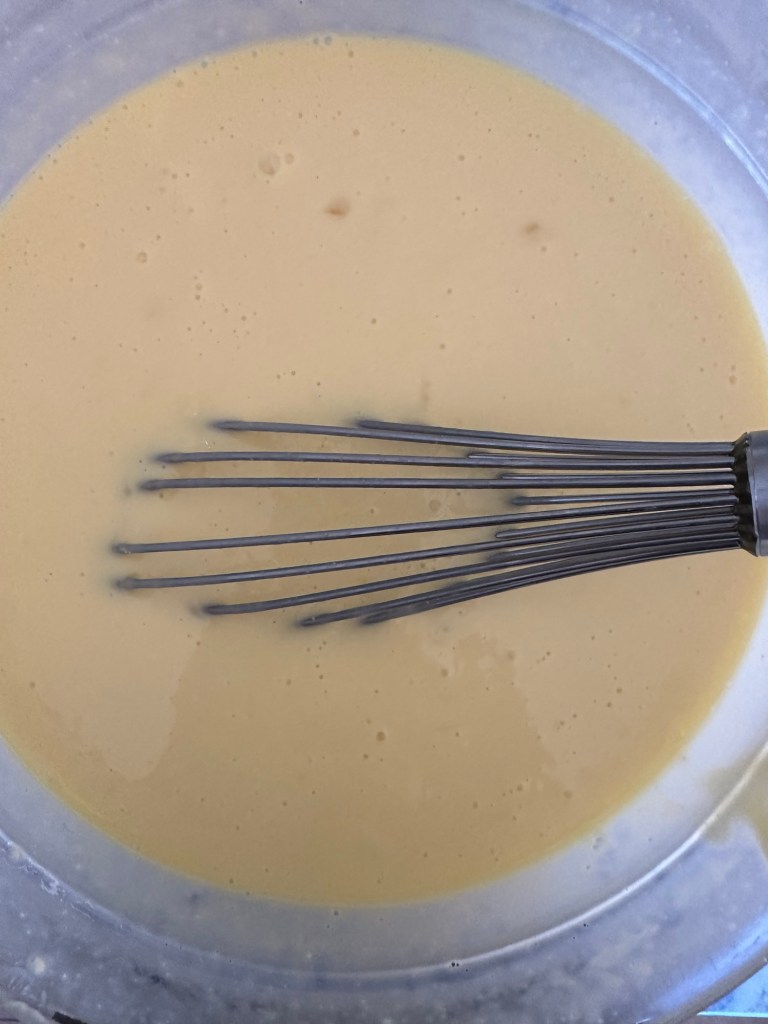
  3. Whisk in the remaining 11 eggs. Do not blend. It will toughen the eggs.
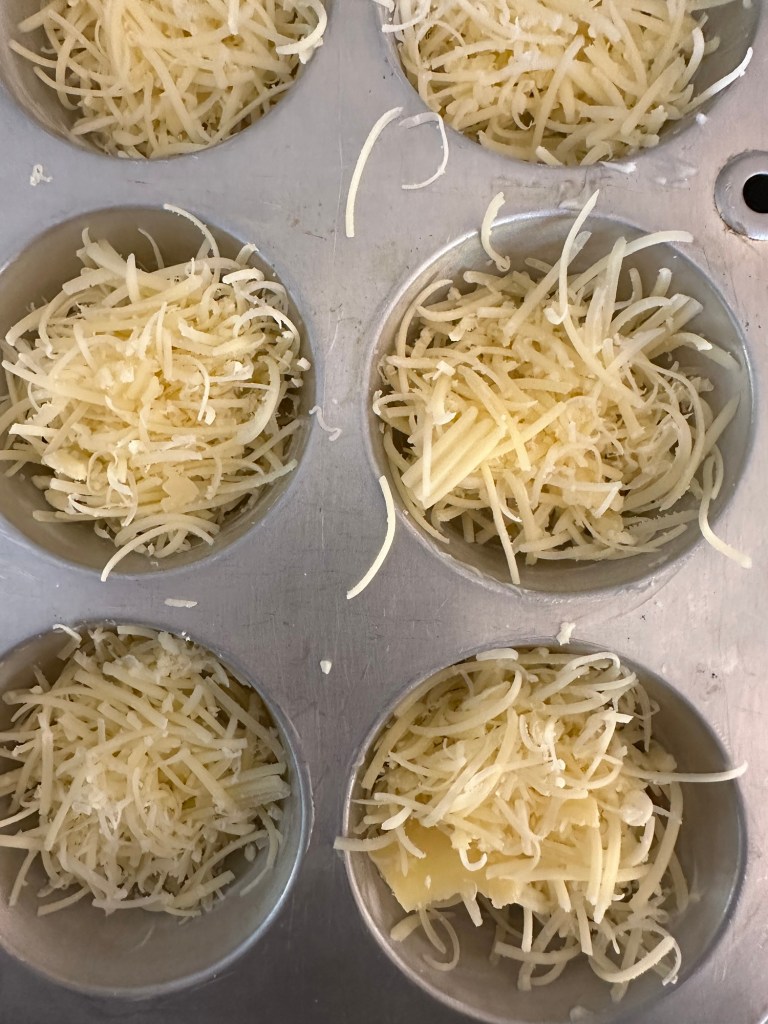
  4. Place grated cheese in each muffin cup. Divide the cheese evenly.
  5. Using a pitcher or pouring container pour the egg mixture over the cheese. Fill just to under the top.
  6. Using a wooden skewer gently stir each cup.
  7. Place 2 shallow trays filled with hot water in the oven.
  8. Place 1 muffin pan in each tray
  9. Bake at 325 degrees until internal temperature of egg bites reads 170-175 degrees. About 20 minutes.
  10. Remove pans from water baths. Cool 10 minutes in baking pans.
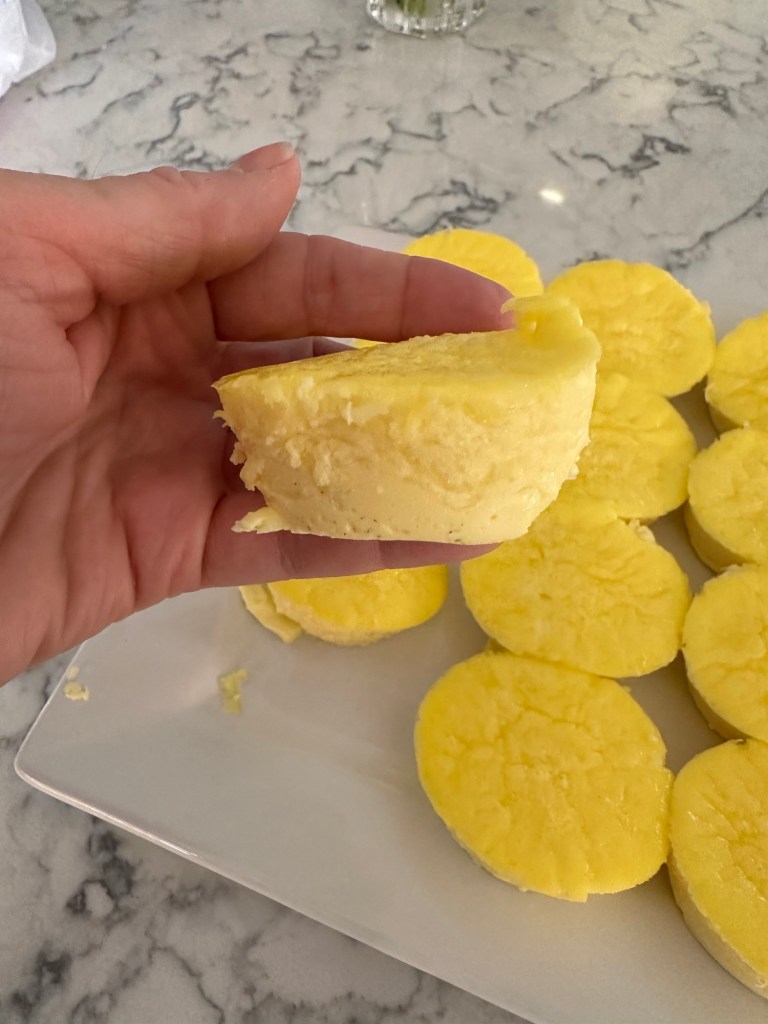
  11. Using a sharp knife seperate egg bites from the pans.
  12. Store in frig or freezer. To reheat, microwave 2 bites for 15 seconds. Don’t over cook The Mini size reheat much quicker.
  13. Voila!
Eggs, cottage cheese & Gruyere cheese

Double recipe here: cottage cheese & 1-2 eggs
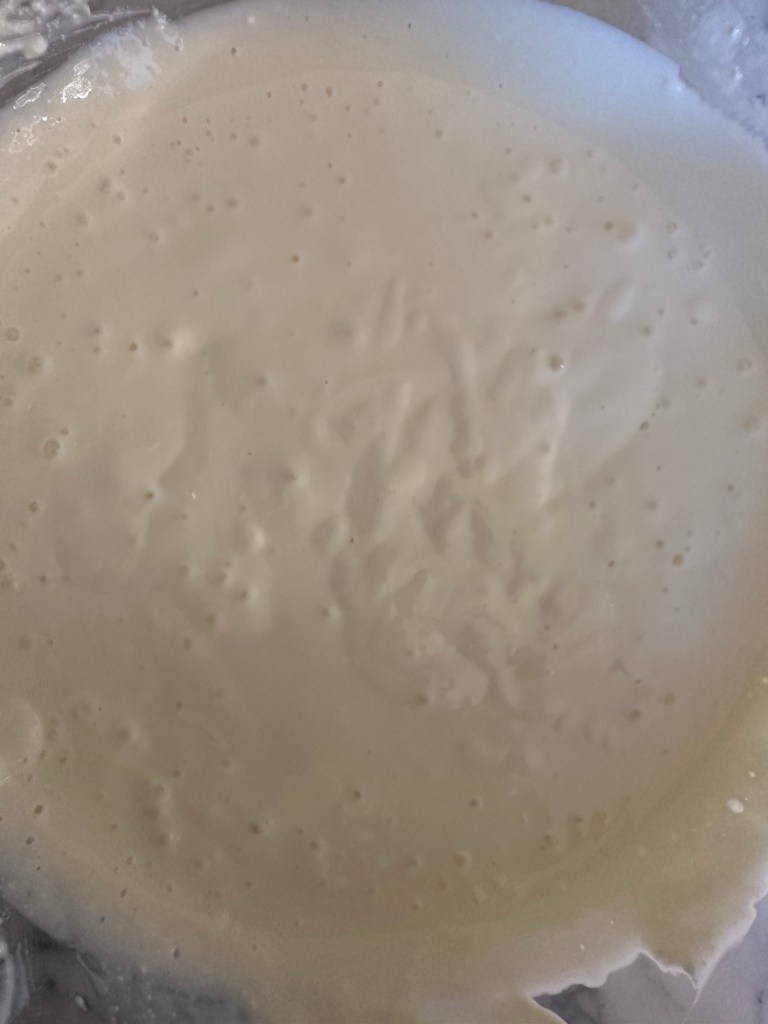
12 oz Cottage cheese and 1 egg
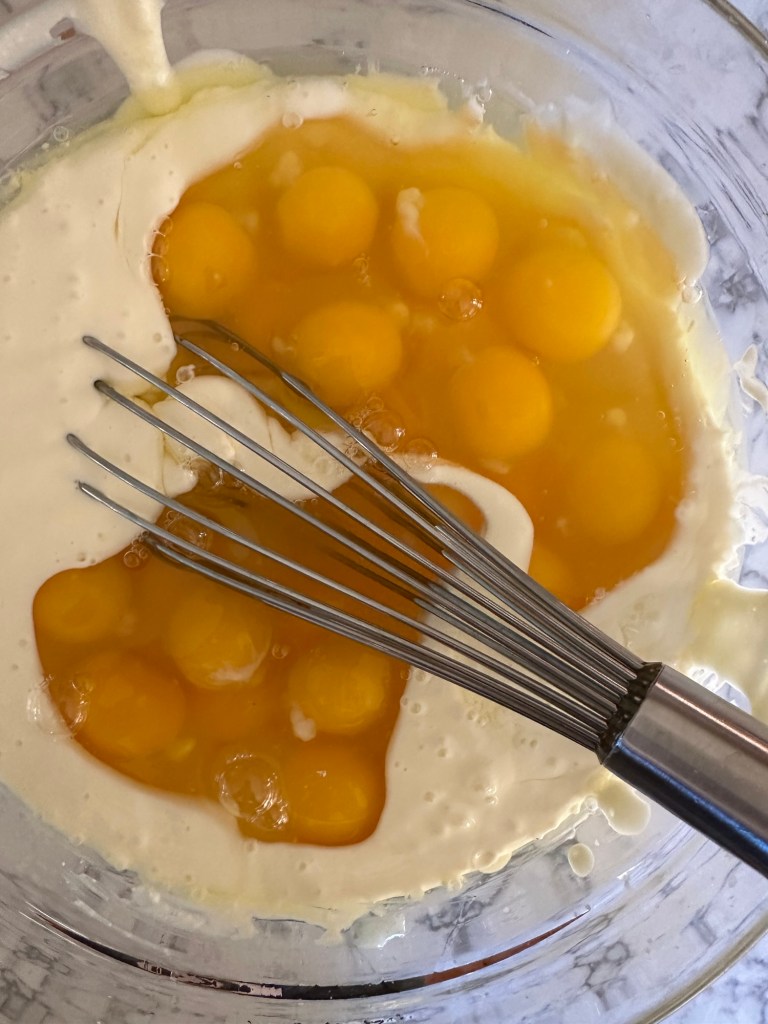
Double recipe: whisk in remaining eggs
All eggs whisked in
Add fixins to muffin pan: Gruyere
Egg Bites in Water Bath

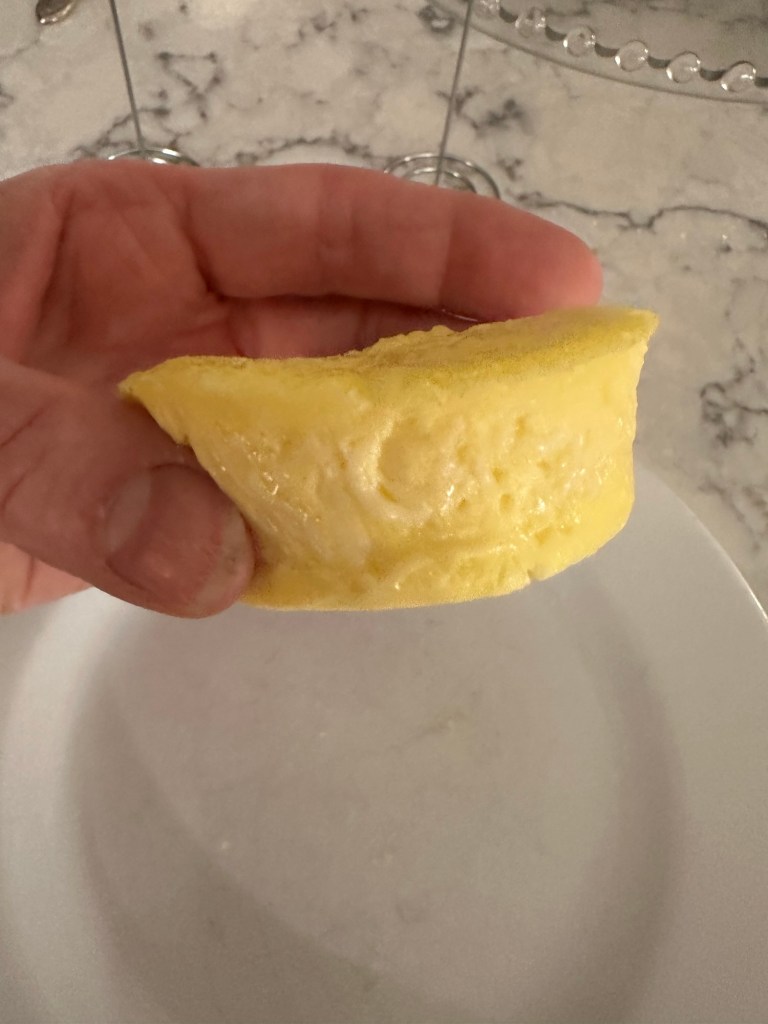
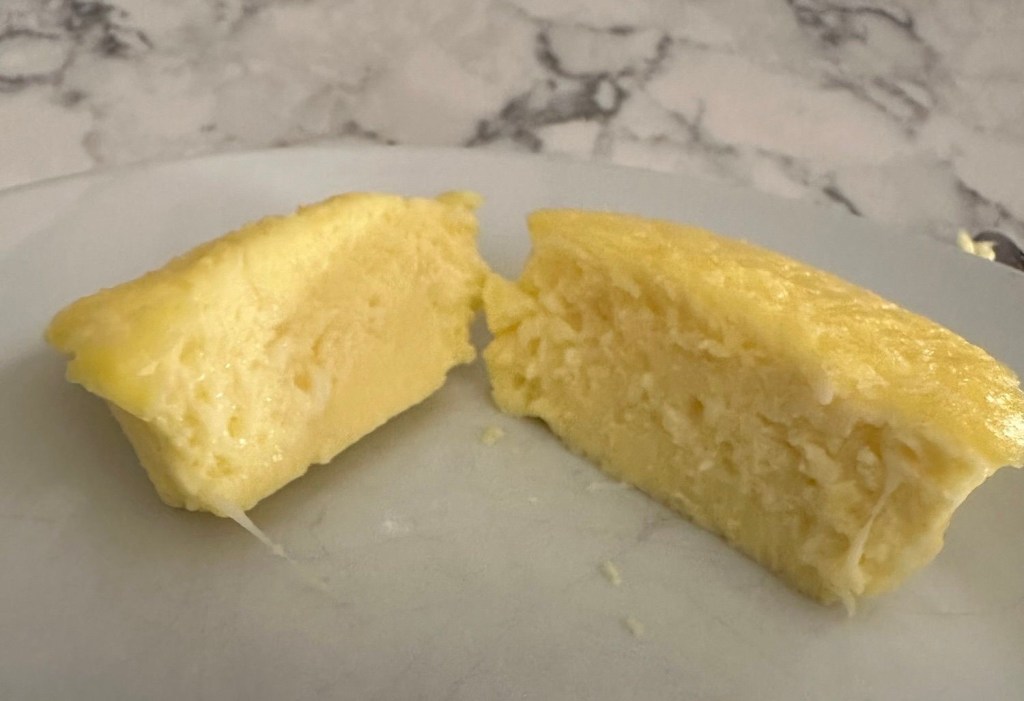
Egg Bites

You can make them in mini muffins too!
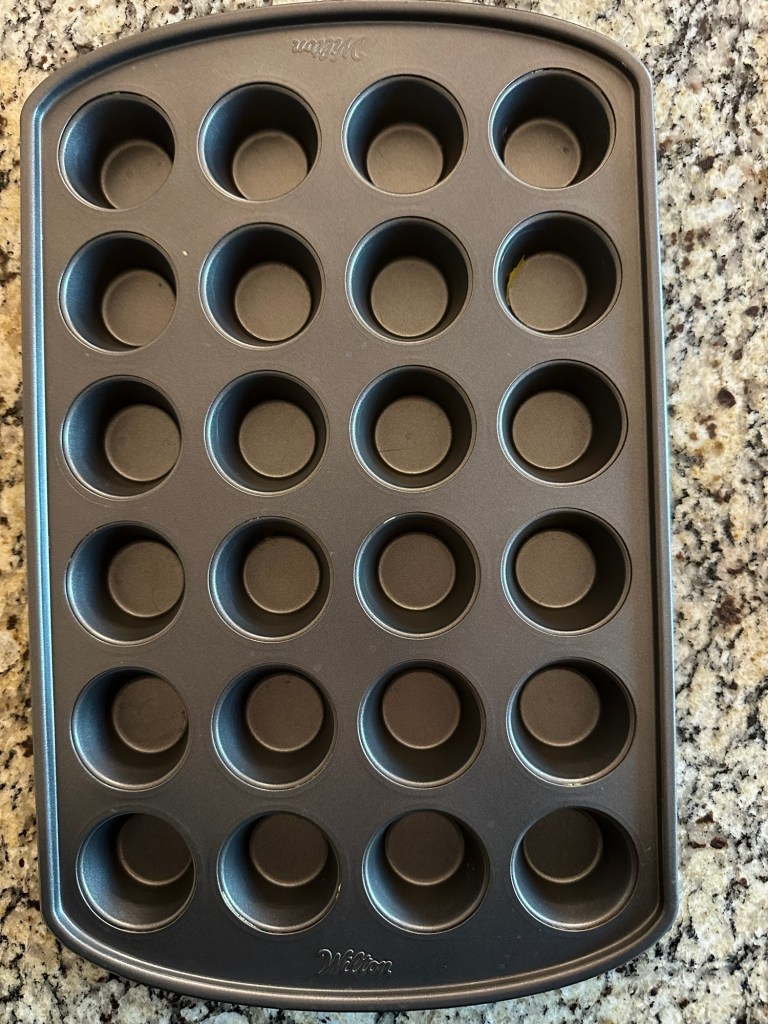
This pan is silicon coated and makes popping the Cheesy Egg Bites out and cleaning so much easier!
Overnight Oats with Lemon

Overnight Oats with Lemon
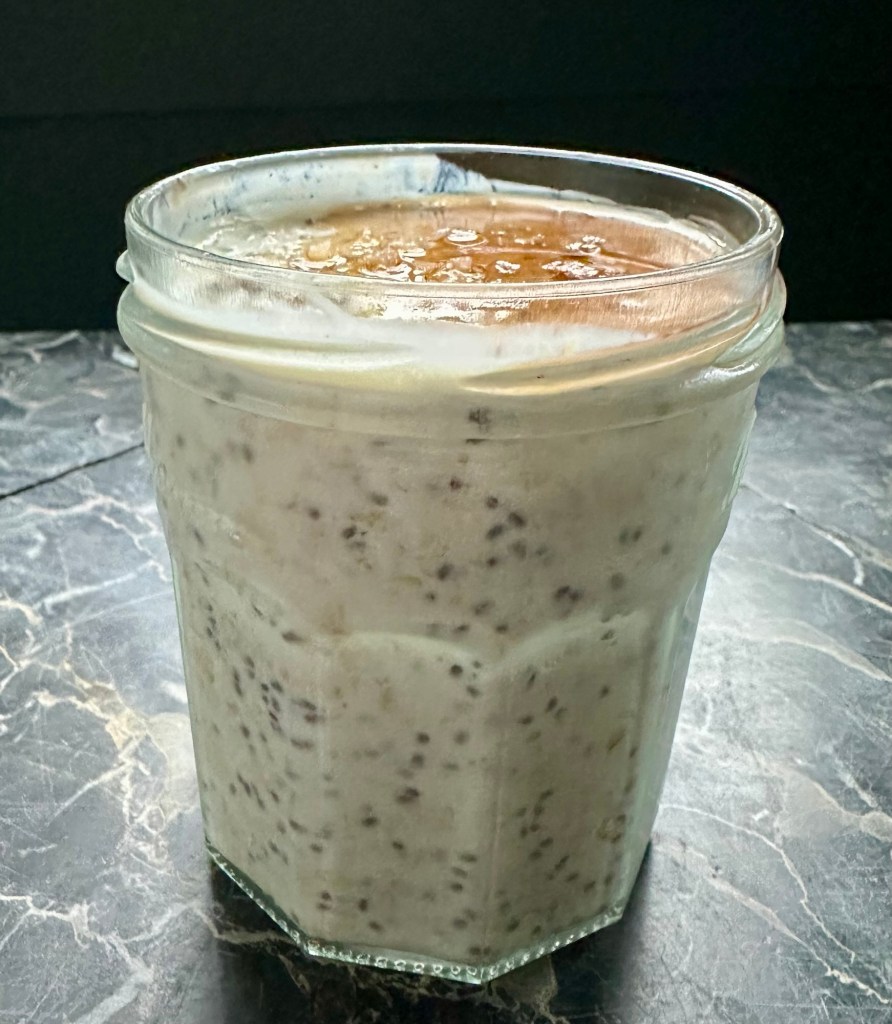
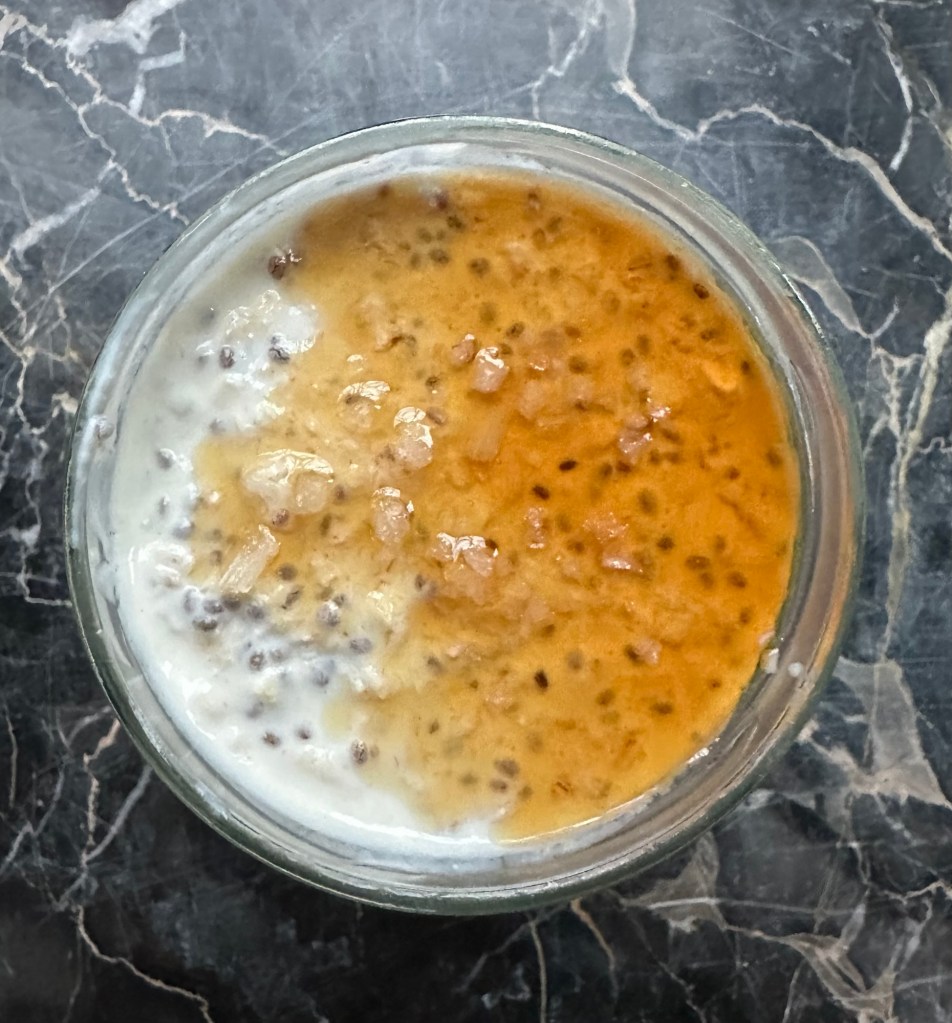
Maple Syrup and Flaked Sea Salt Top This Lemon Overnight Oats
Overnight Oats
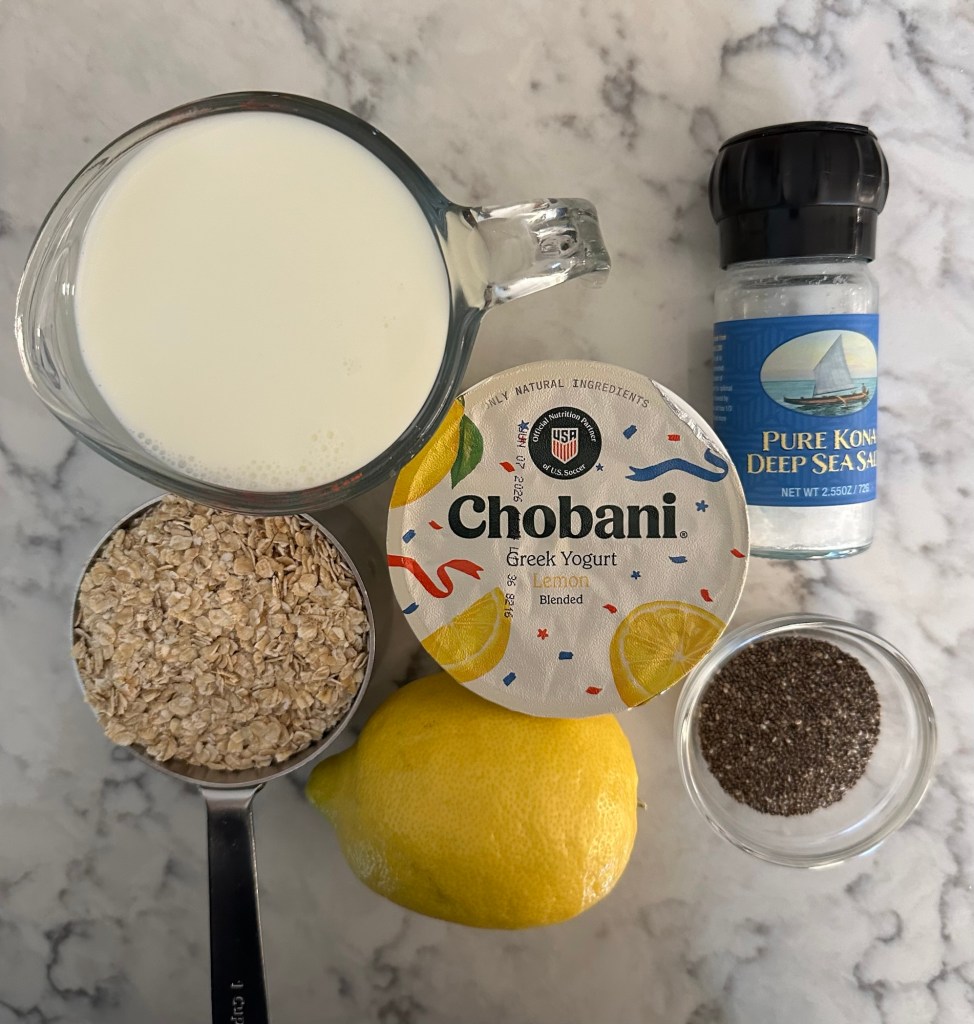
All the Ingredients Here

This quick breakfast is super easy & uses my favorite Chobani Yogurt flavor…lemon. You can change up the flavorings to use your favorite…. pineapple, strawberry, blueberry, coffee…..

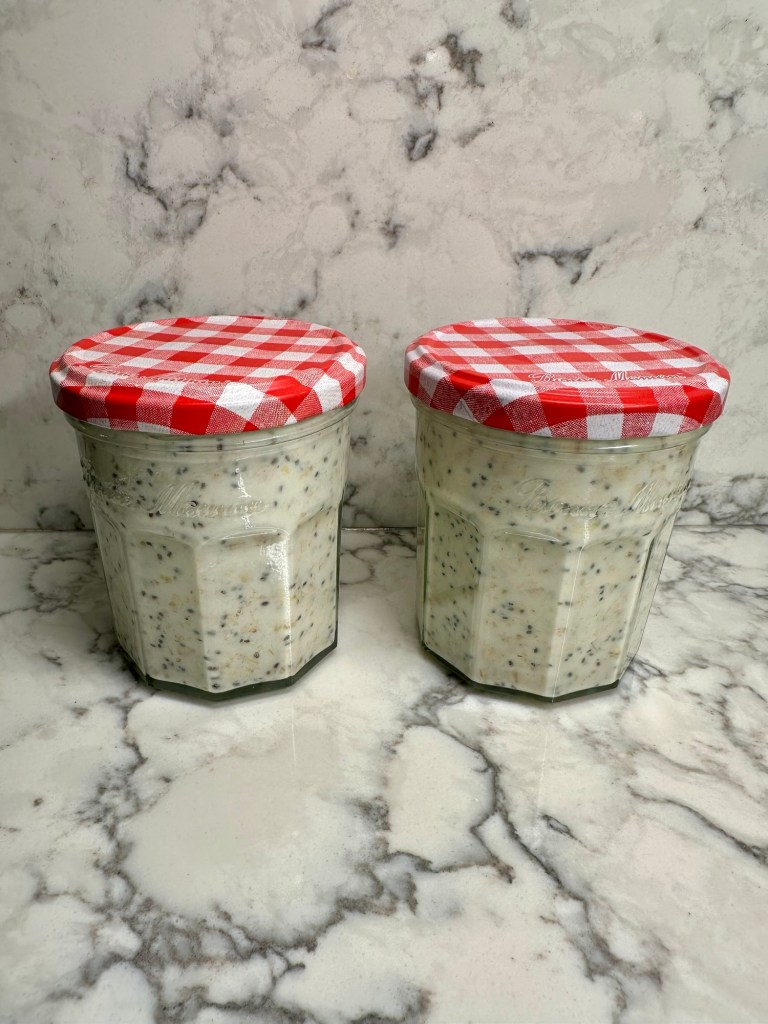
I mix it all up in a 4 cup measuring cup & then pour it into 2 glass jars. I save my Bonne Maman jam jars… my fav is cherry preserves. The lids are so cute!

Refrigerate overnight & you’re ready for two breakfasts.

There’s a lot of calcium & protein in milk, yogurt & chia seeds. One serving of this overnight oats has 330 mg of calcium & 14 grams of protein. The chia seeds add fiber too. Adding the 4 grams fiber in the oatmeal, one serving of the overnight oats contains 9 grams.

Ingredients

  • 1 cup rolled oats, I use quick style
  • 2 tablespoons chia seeds
  • Grated rind of 1/2 large lemon or 1 small lemon
  • 2 tablespoons lemon juice, fresh
  • 1-5.3 ounce container Chobani lemon yogurt or plain Greek yogurt
  • 1 1/8 cups milk
  • A big pinch of salt
  • 1-2 teaspoons real maple syrup or honey, optional
  • Flaked Sea Salt or another chunky salt, optional

Directions

  1. In a 4 cup measuring cup or bowl combine & mix oats, chia, lemon zest & juice, yogurt, milk & salt.
  2. Give it a good stir & pour into 2 storage/serving containers & cover with lids.
  3. Refrigerate overnight.
  4. If you like, pour some real maple syrup or honey over the top & maybe some flaked sea salt just before you eat it. I like the crunch of flaked sea salt.
  5. Voila!

Chicken Salad with Dill and Chickpeas

Shredded Chicken Salad

This is a very forgiving flexible recipe. Dill and chickpeas are optional. Even the celery is optional. You can cube the chicken if you prefer. I think most important is to not overcook the chicken. I think an instant read digital thermometer is extremely helpful to prevent overcooking.

I poach it in a pot of water with salt and a few herbs and veggies for added flavor. Bring it to a boil and then turn the heat off until done. I’ll give you more specifics below

Ingredients ready to go

Ingredients

  • 3 chicken breasts, boned and skinless and cut in half crosswise
  • 2 teaspoons salt for water
  • 1 medium onion, quartered , optional
  • 2 sticks celery, halved, optional
  • 5 whole peppercorns, optional
  • 1 bay leaf, optional
  • 2 cups diced celery
  • 2 handfuls of fresh dill, chopped fine
  • 1 can chickpeas, drained
  • 1/3 cup mayonnaise
  • 1/3 cup nonfat Greek yogurt
  • 1/3 cup sour cream
  • 1 teaspoon salt
  • 1/4 teaspoon pepper
  • 2 tablespoons white balsamic vinegar

Directions

  1. Fill a large pot with water and add onion, celery sticks, 2 teaspoons salt, peppercorns and bay leaf. Bring to a boil.
  2. Add chicken breasts. Try to make sure they’re all about the same size so they cook evenly.
  3. Bring to a boil, cover and turn off the heat. If you have a gas stove turn the heat on as low as possible. An electric stove will maintain a low heat for some time.
  4. Using an instant read digital thermometer check the temperature of the breasts every 5 minutes. When it reaches 155 remove from hot water and place in a colander to drain. The chicken will continue cooking as it cools. All the breast halves may not get to the 155 degrees at the same time.
  5. When it’s cooled start shredding the chicken into a large bowl
  6. In a medium bowl combine mayonnaise, yogurt, sour cream, dill, salt, pepper, and white balsamic vinegar. Taste the dressing and add seasonings if you think it’s needed.
  7. Add chickpeas to the dressing and smash them against the side of the bowl with a fork. Smash as many as you like. They all don’t need to be smashed.
  8. Add the dressing to the chicken and mix well. Then add the celery and mix again.
  9. That’s it! Ready to serve or store in the frig. This keeps about 4 days.
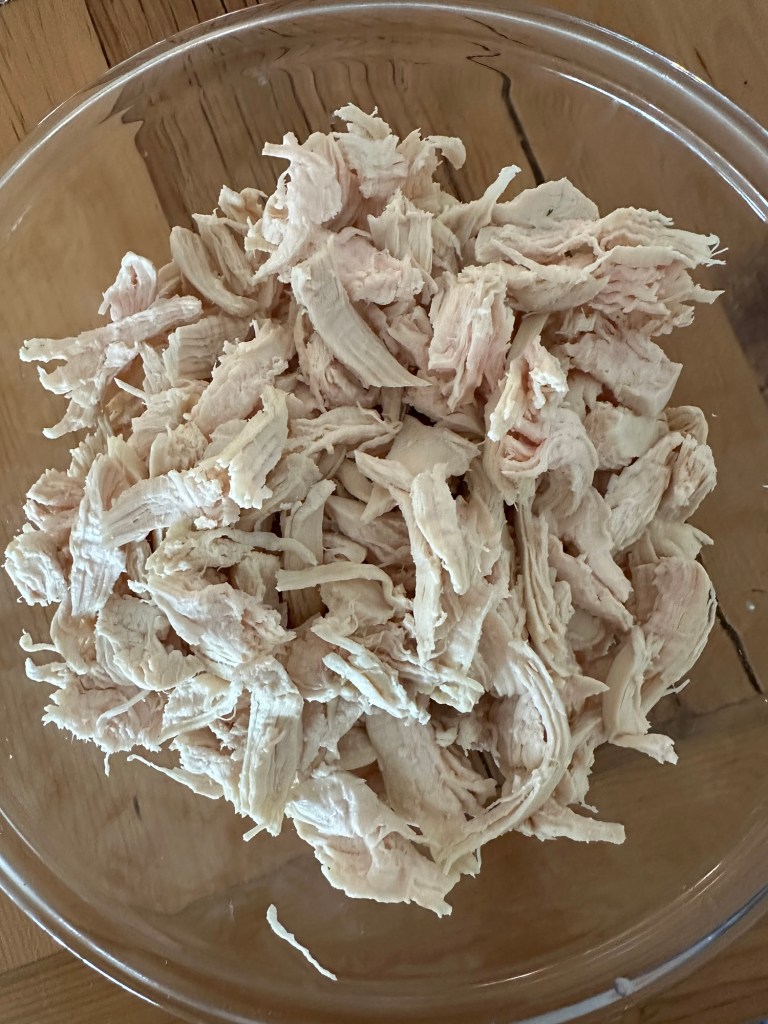
Shredded chicken

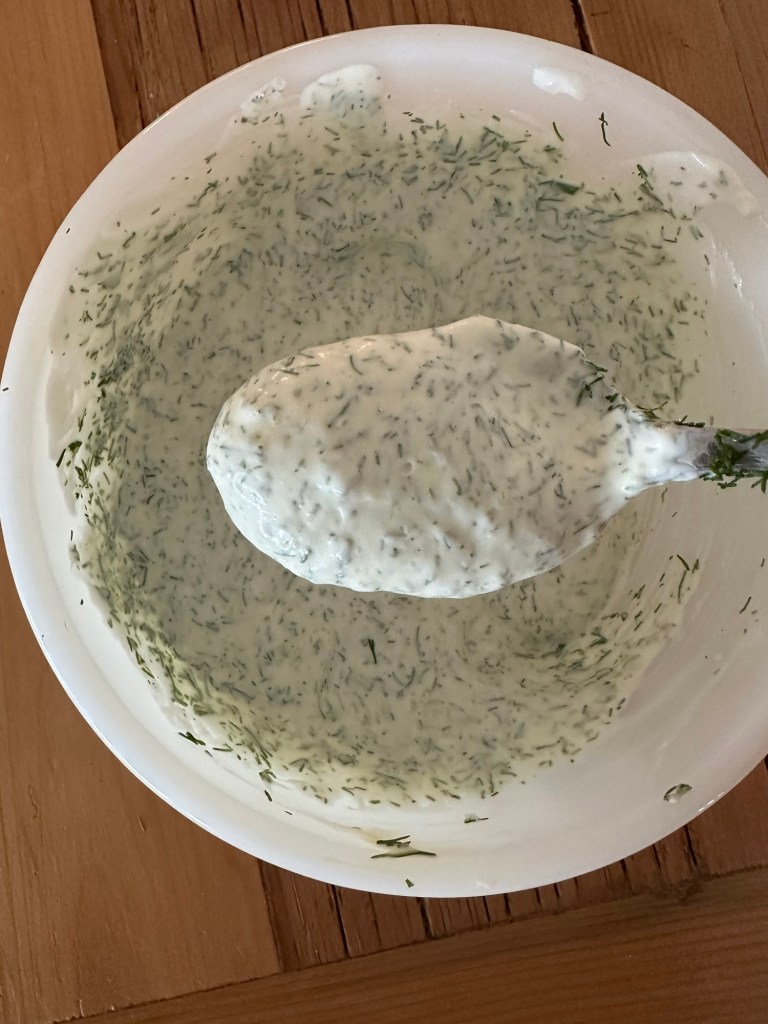
Dressing with Dill

Dressing

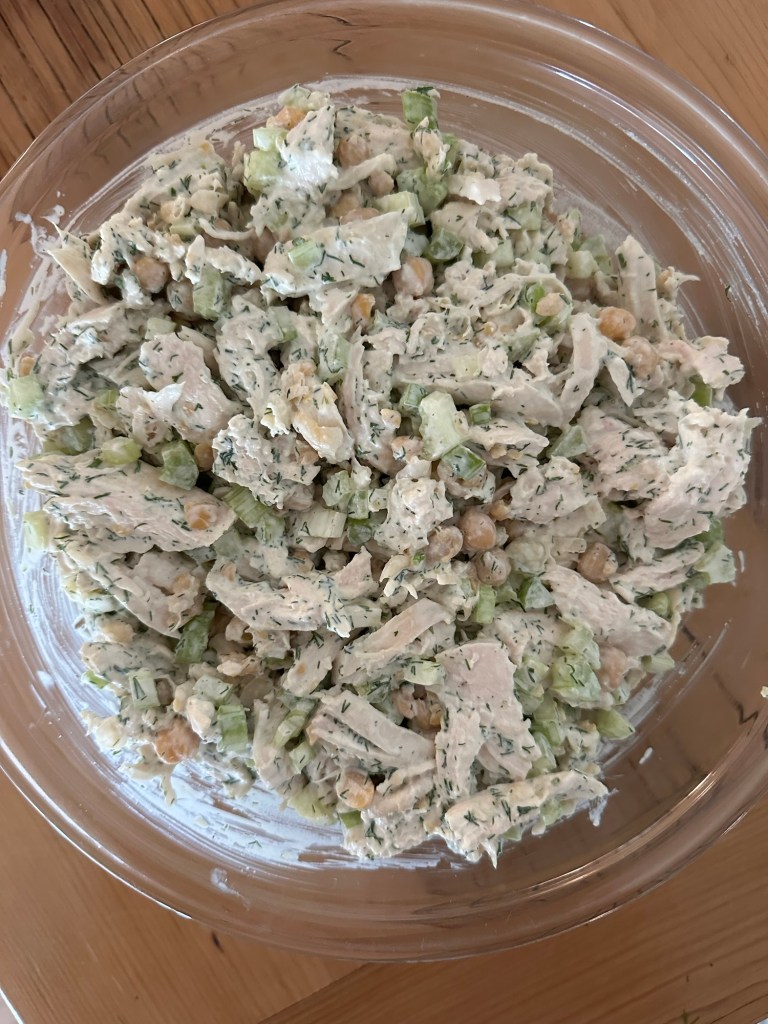
Chicken Salad with Dill and Chickpeas

Voila!