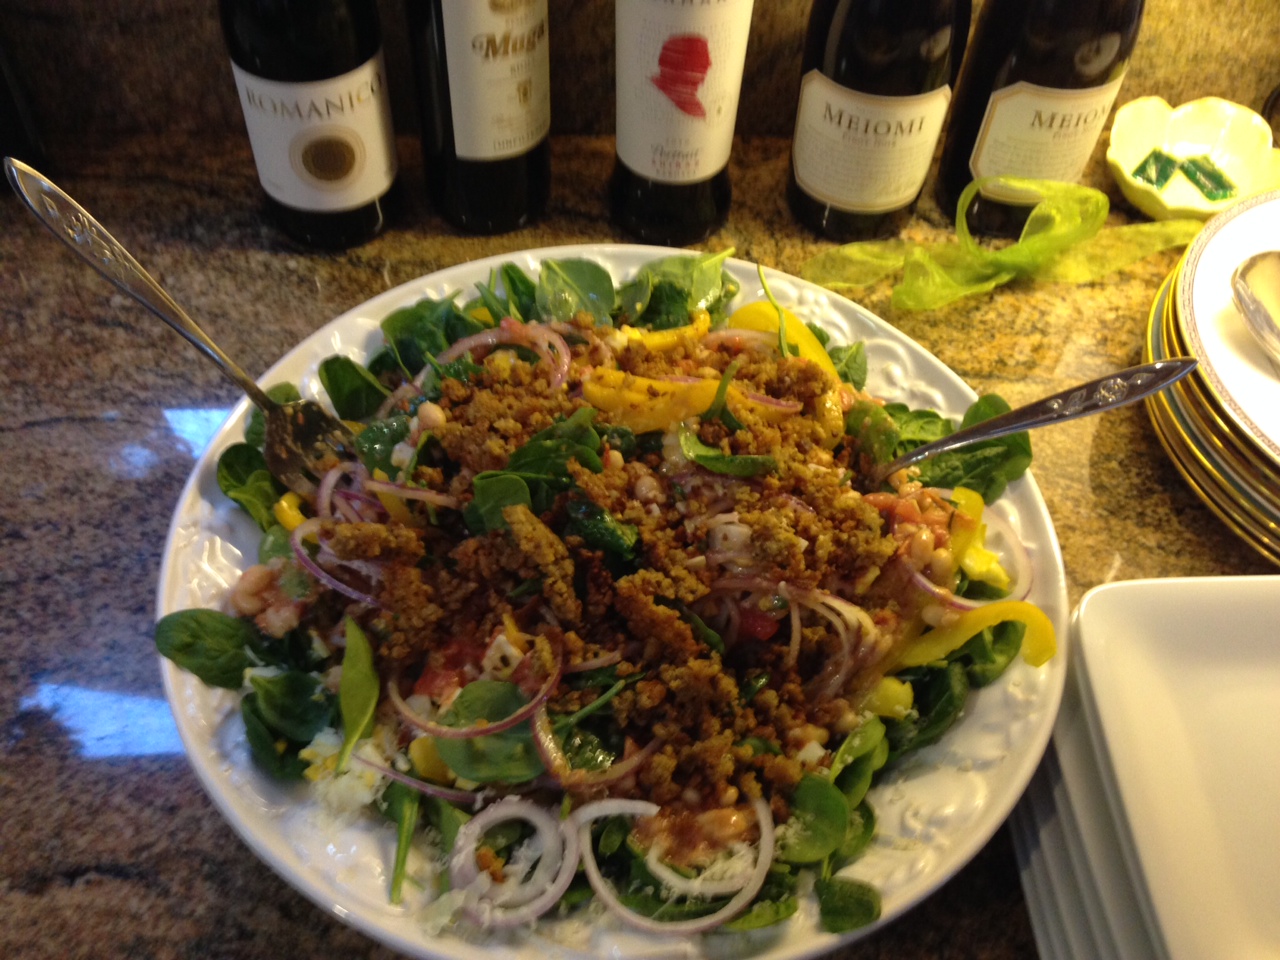
Spinach Salad Topped With Parmesan Crumble

Spinach Salad Before Adding the Amazing Crumble
This spinach salad is reminiscent of the 1970s version which includes red onion, chopped egg, bacon pieces and a red wine vinaigrette. The Fusion 1 Café recipe goes beyond this, adding northern beans to the dressing. Bacon is substituted with a crumbly mix of toasted whole grain bread crumbs and parmesan cheese. I used a very hearty whole grain bread which is my favorite choice Kroger Private Selections Artisian Multi- Grain Boule.
This is a hearty salad which can be a nice lunch or light dinner.
2 slices multi-grain bread (the larger middle slices of a round boule)(dry overnight on a rack on the counter)
1 cup grated parmesan cheese, high quality such as Parmigiano-Reggiano
2 tablespoons olive oil
1 teaspoon black pepper
1/2 teaspoon salt
10 cloves garlic, peeled and roughly chopped (use generous size cloves)
Salt and pepper
3/4 cup olive oil
2 tablespoons fresh chopped rosemary
1 pound great northern beans, (I used 1-15 ounce can, slightly drained.)
4 Roma tomatoes, seeded and chopped
6 tablespoons red wine vinegar
3 tablespoons Dijon mustard
1 pound baby spinach (I used 10 ounces for 8 people)
1 medium red onion, thinly sliced and soaked in ice water for 5 minutes
1 yellow bell pepper, thin julienned sliced
Shredded Parmigiano-Reggiano cheese as needed
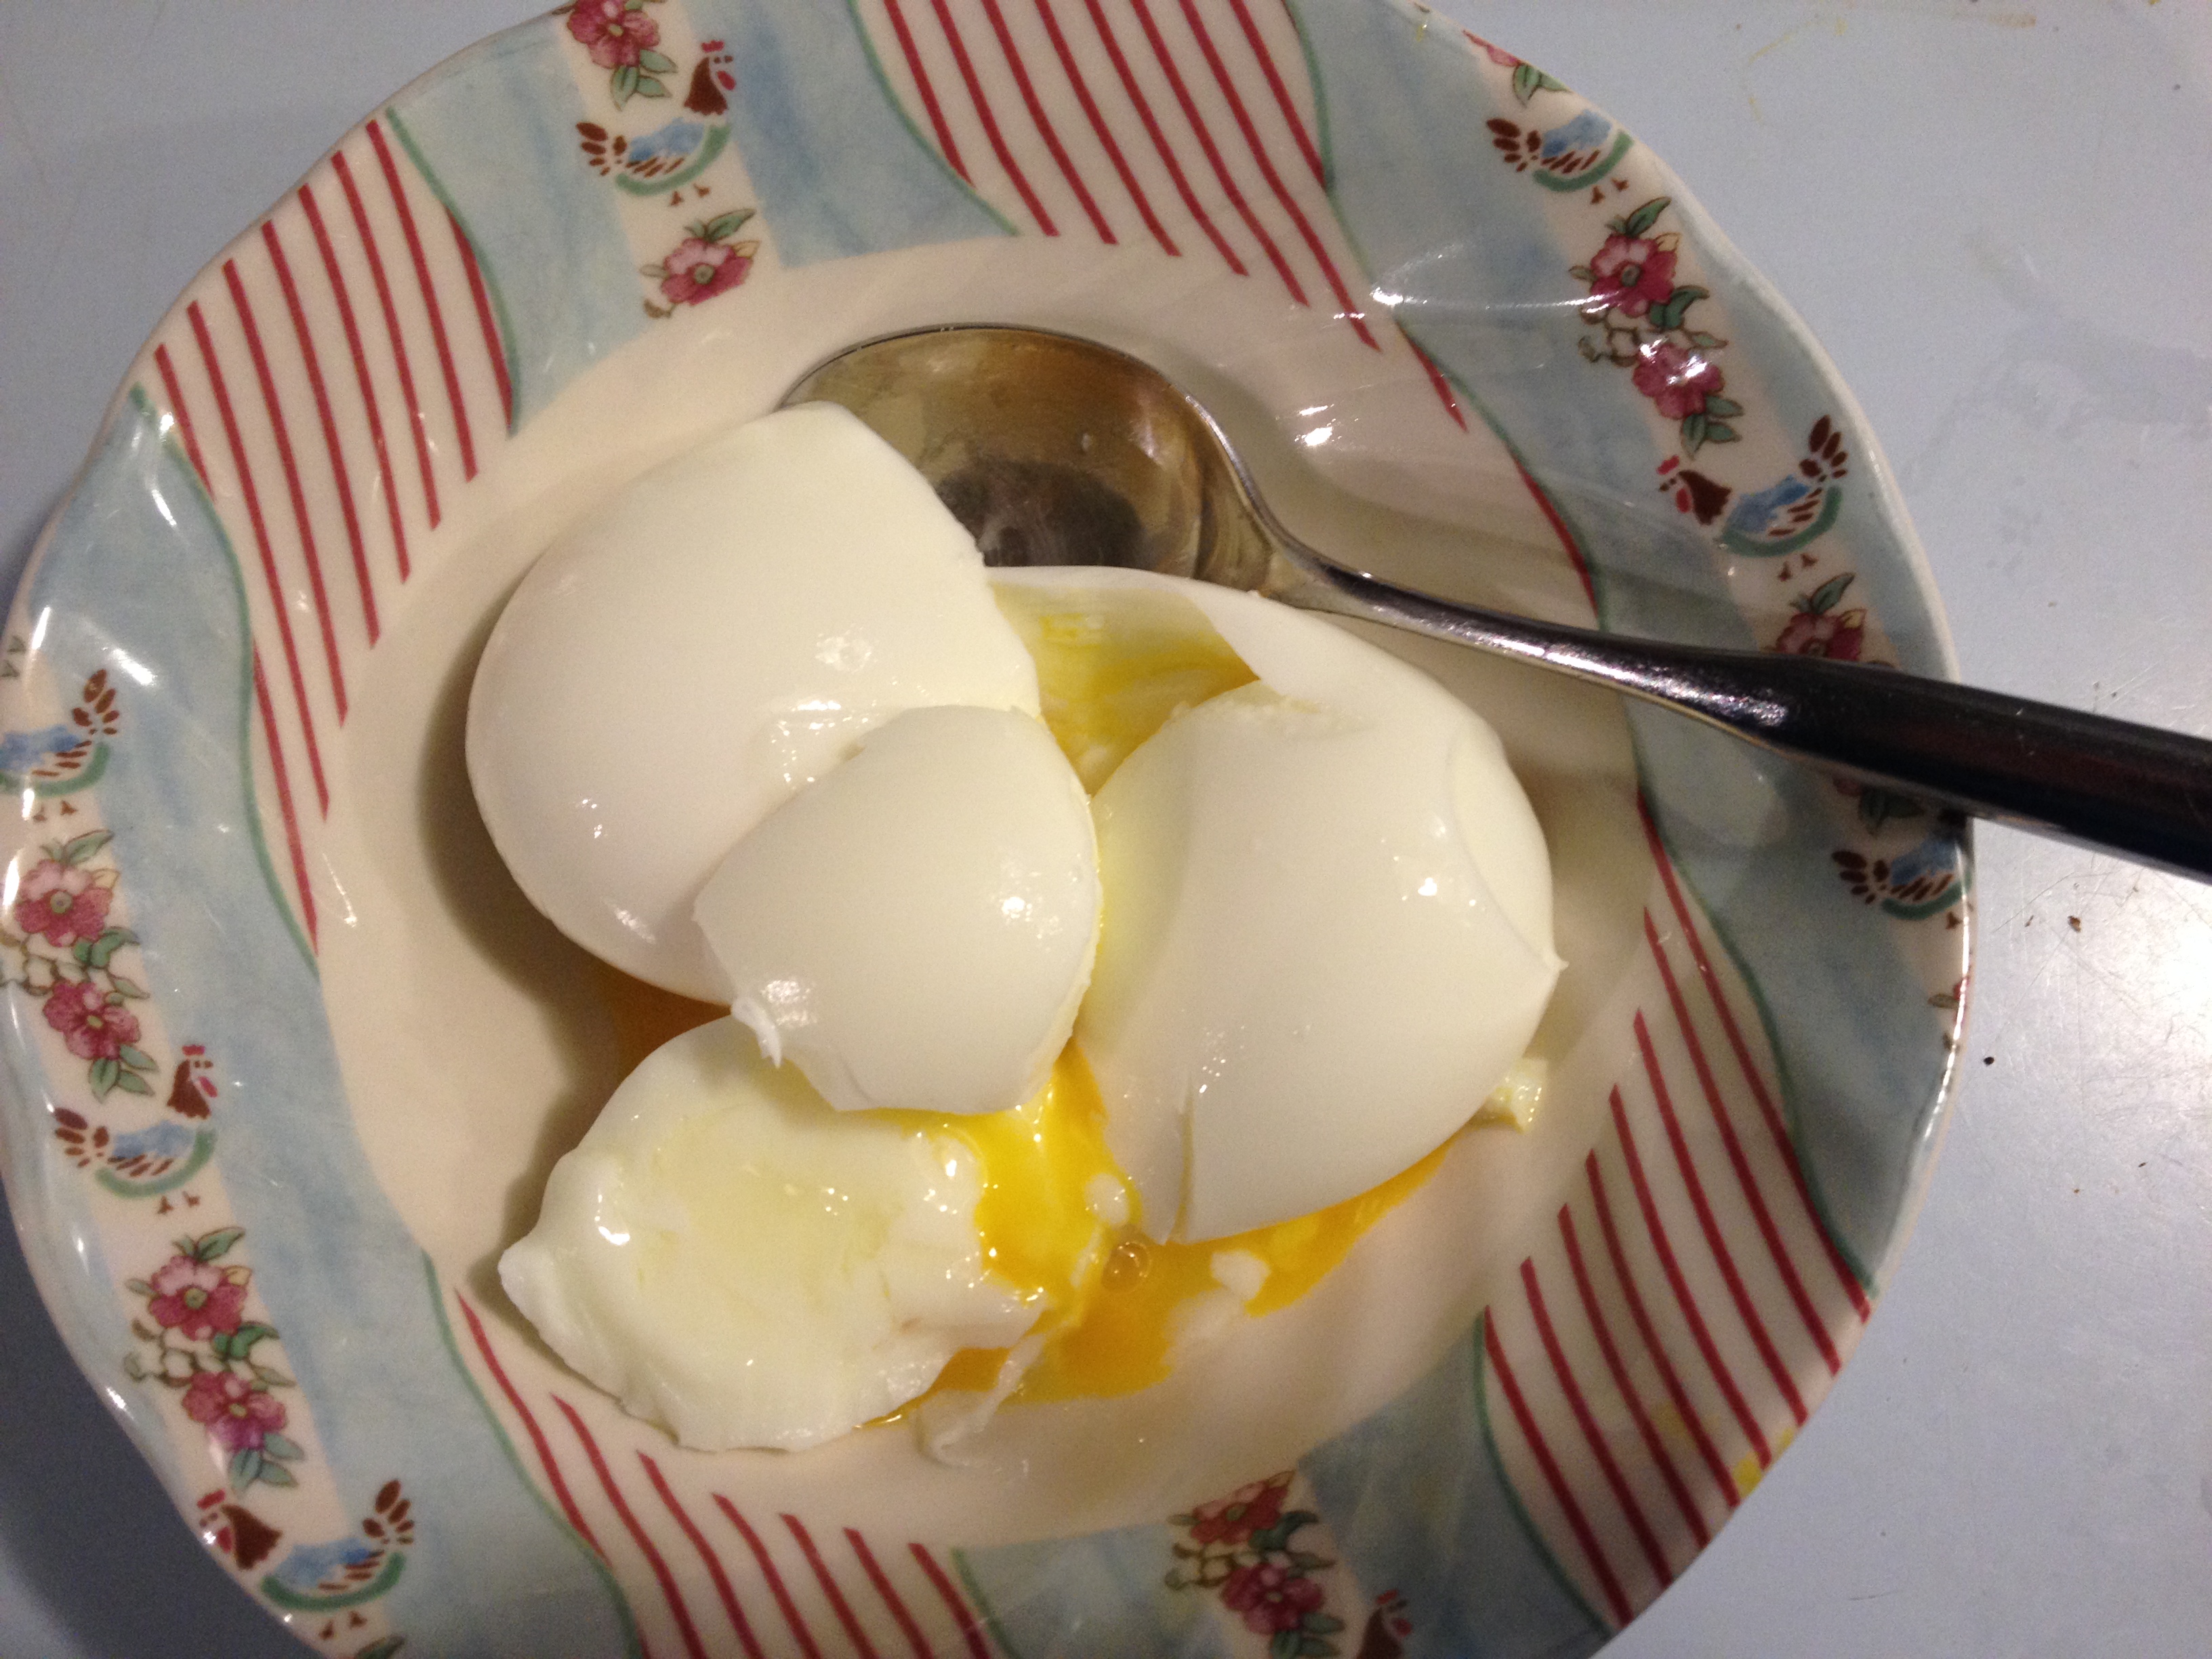
2 hard boiled eggs
- In a food processor place the dried bread, parmesan, 2 tablespoons oil, salt and pepper. Pulse until ground and combined.
- Toast the mixture in a 400 degree oven for 10 minutes, stirring frequently. Set aside.
- Place a skillet over medium heat.
- Add the 3/4 cup olive oil and heat. Add the garlic and rosemary.
- Cook only 1 minute or less. Do not brown.
- Add beans and cook on low for 7 minutes.
- Stir in tomatoes, vinegar and Dijon. Remove from heat.
- In a large salad bowl place spinach, onion and sliced pepper.
- Pour bean mixture over all. Add the cheese and sprinkle with salt and pepper.
- Shred the eggs over all and top with bread crumb mixture.
- Present at the table and toss slightly to serve.