Almond biscotti brushed with dark chocolate and dusted with gold
Carrie Teglia was a friend to my mom. They worked together as fur finishers in downtown Chicago at all the upscale fur salons. Bermans, Evans, Bonwit Teller, I. Magnin’s. They shared much, including recipes. Carrie was from Florence, Italy. I imagine this is an authentic recipe from that region. I have adapted it by brushing one end of the baked cookie with dark chocolate and then dusting with gold.
- Preheat oven to 350 degrees.
- In a large mixer, whisk together until lemony color:
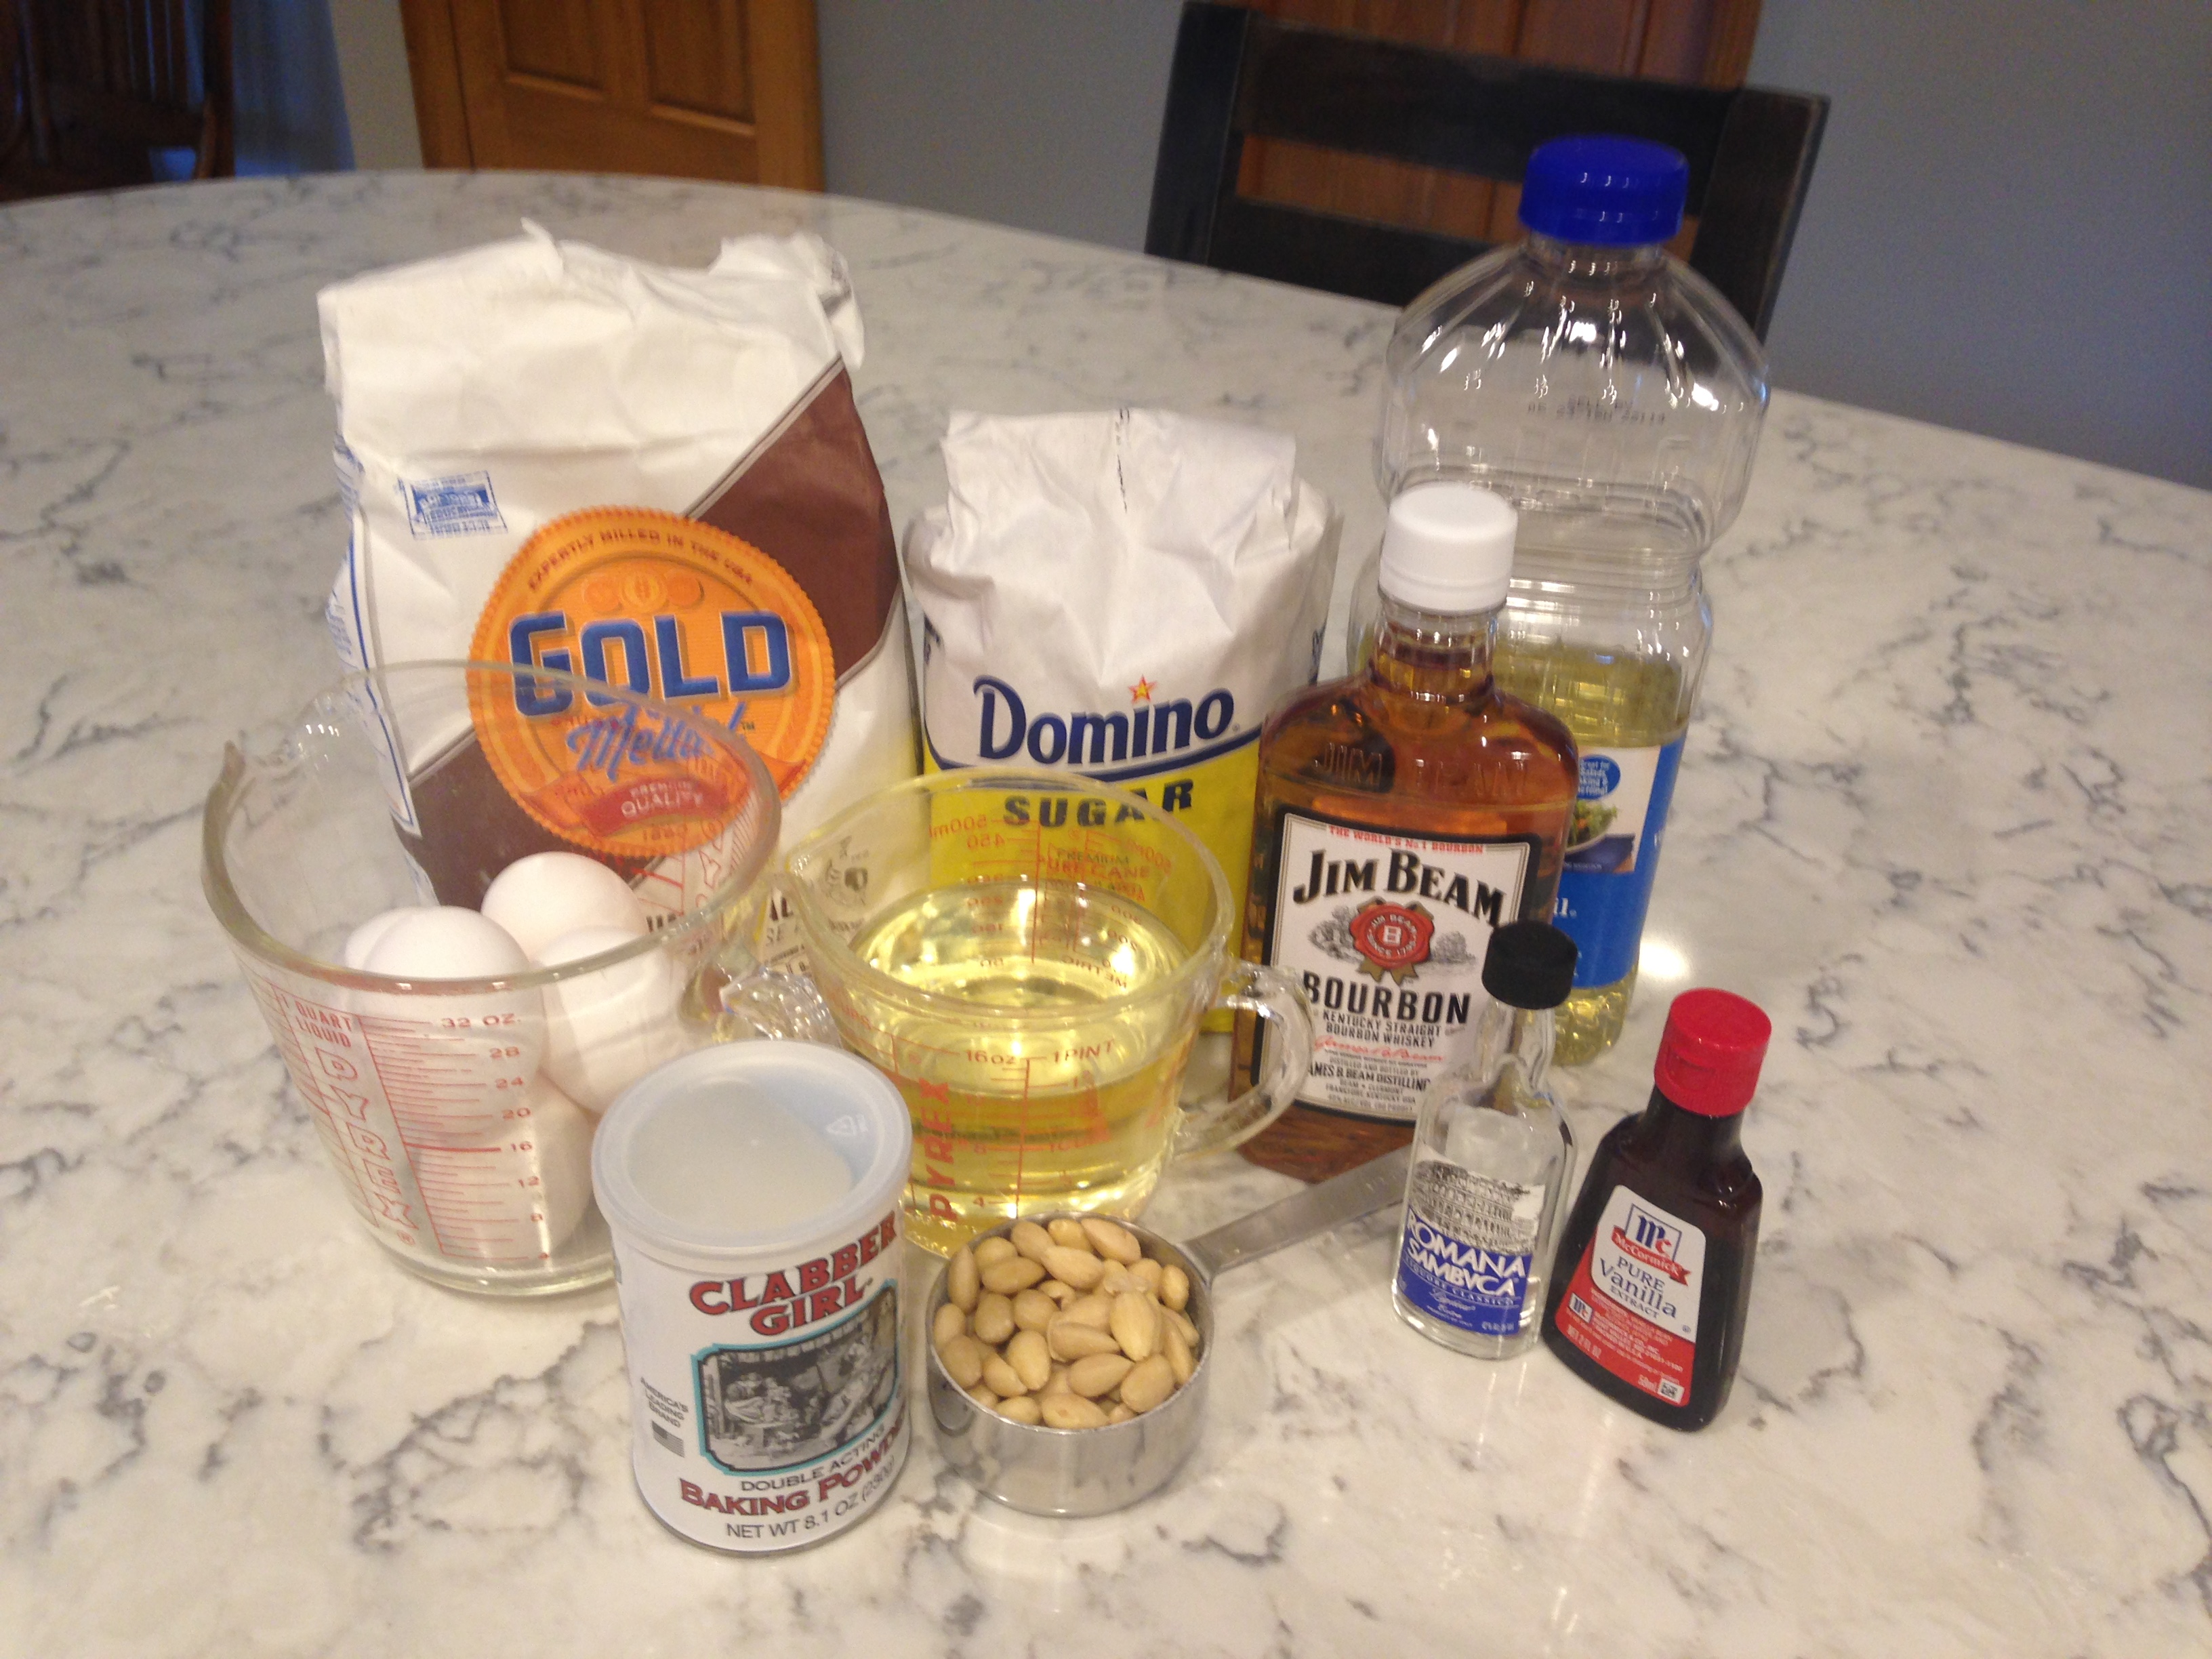
7 large eggs
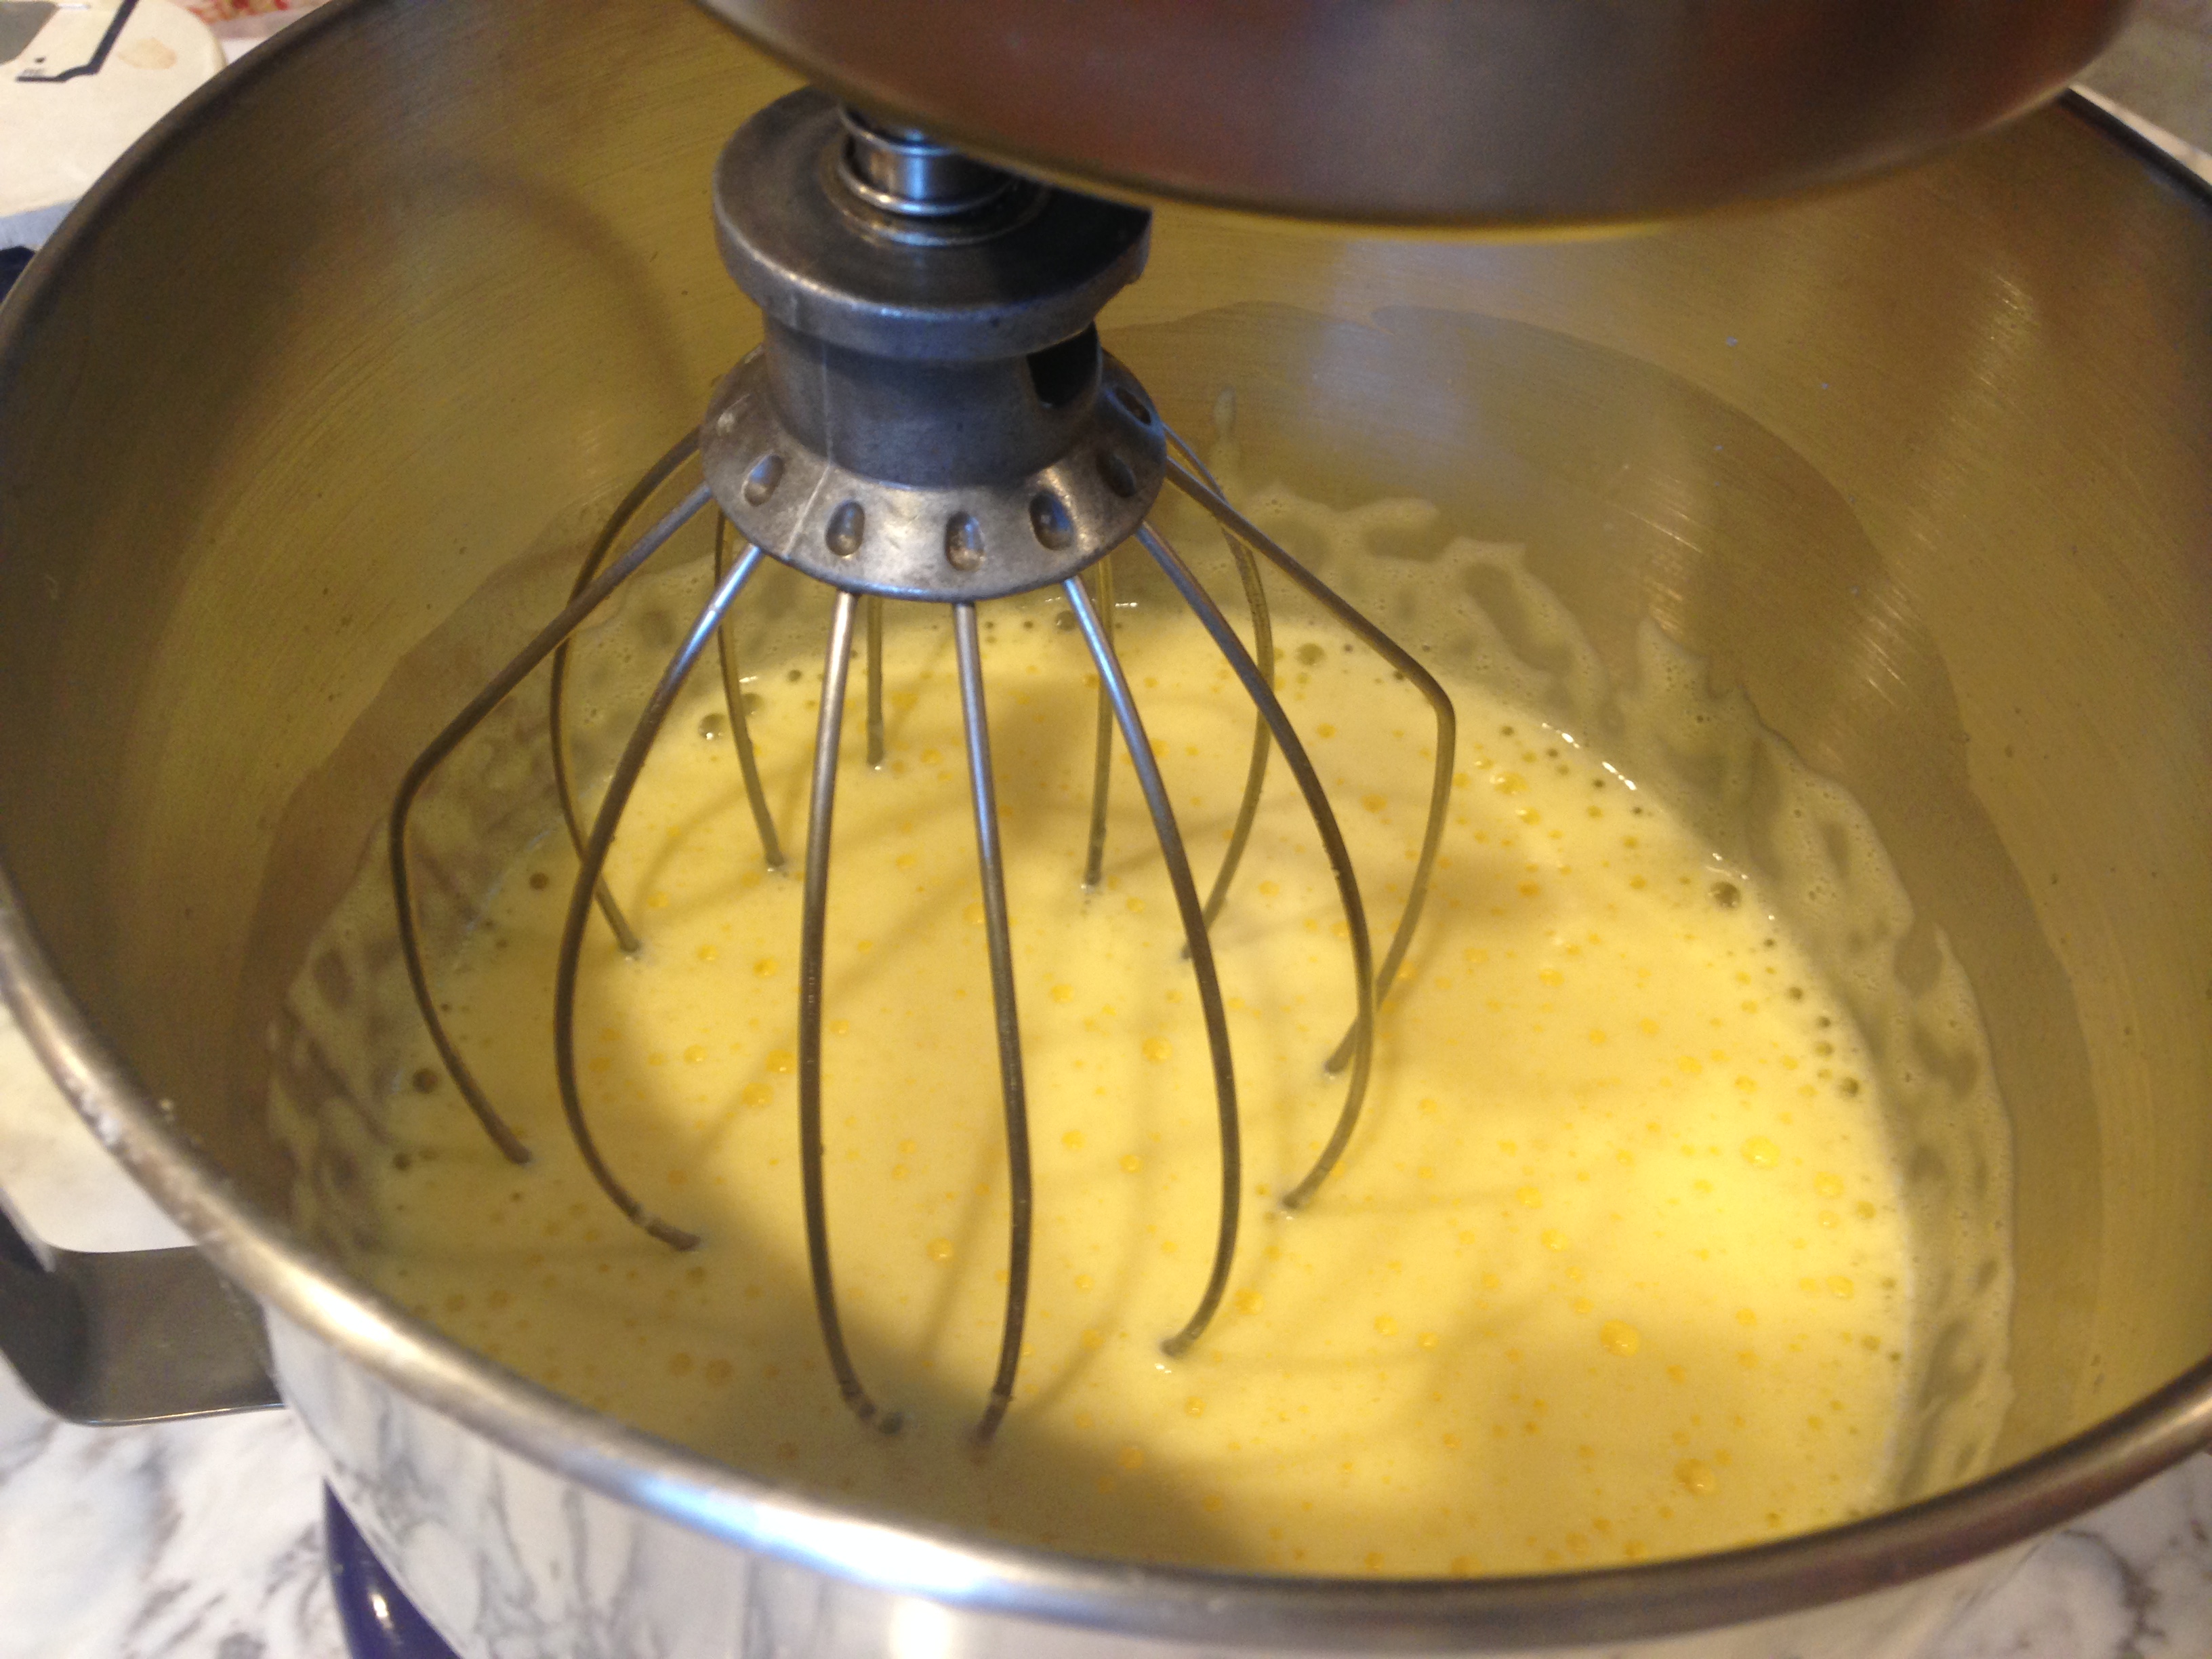
Lemony Eggs
- Whisk in
1 and 1/2 cups vegetable oil
Pinch of salt
- In a medium bowl combine with a clean hand whisk:
5 cups flour
1 1/2 cups sugar
2 teaspoons baking powder
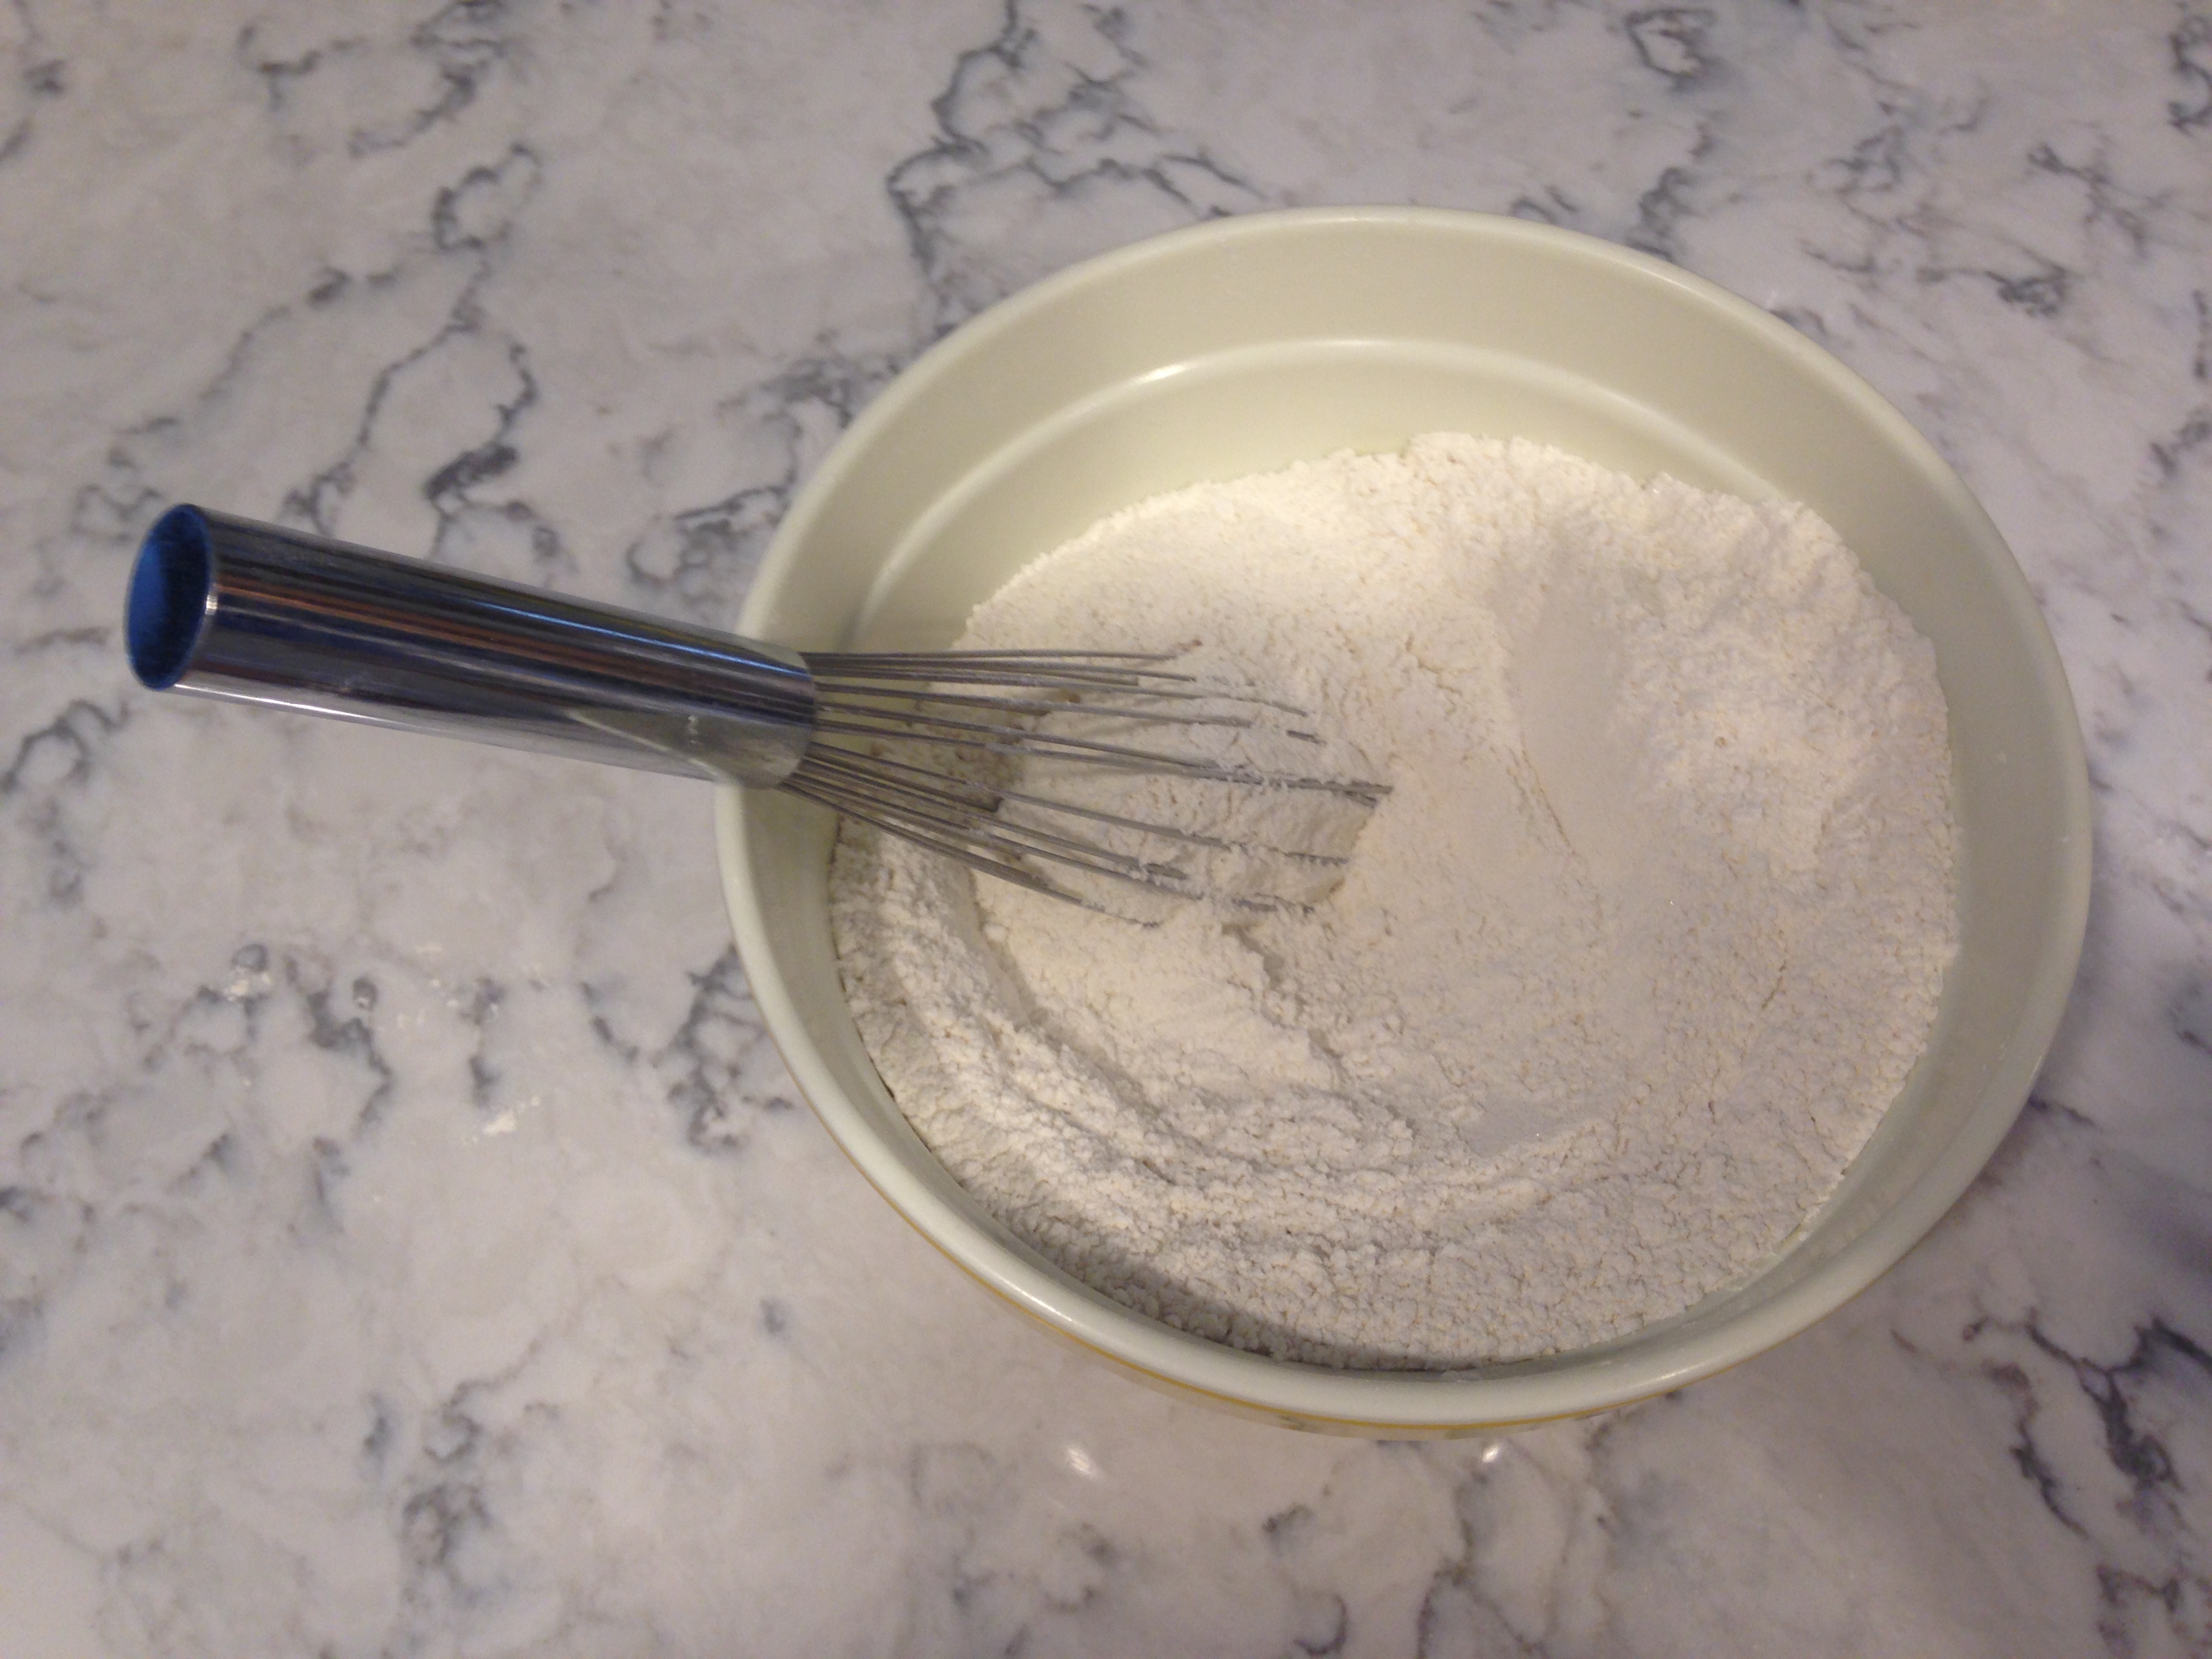
Dry ingredients whisked together
- Add dry ingredients to the egg mixture with the mixer whisk
- Add the following to the batter until combined:
3 tablespoons anisette or other licorice liquor
3 tablespoons whiskey or bourbon
1/2 cup or more finely chopped blanched almonds
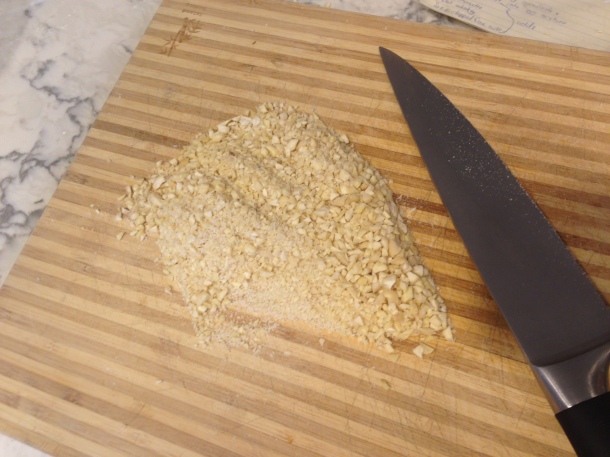
Finely chopped almonds

Almond biscotti batter
- Line 2 large baking sheets with parchment paper.
- Pour the batter into 4 long logs onto the parchment.

Poured batter with uneven edges
- Use a bread knife to form even edges to the logs. This is a very wet batter.

Even edges with bread knife
- Brush entire area of logs with a slightly beaten egg white.

Brush with lightly beaten egg white
- Bake 20 minutes or until light brown.

Baked loaves of biscotti
- Slice in 1/2 inch sections while warm. For larger cookies cut on an angle.
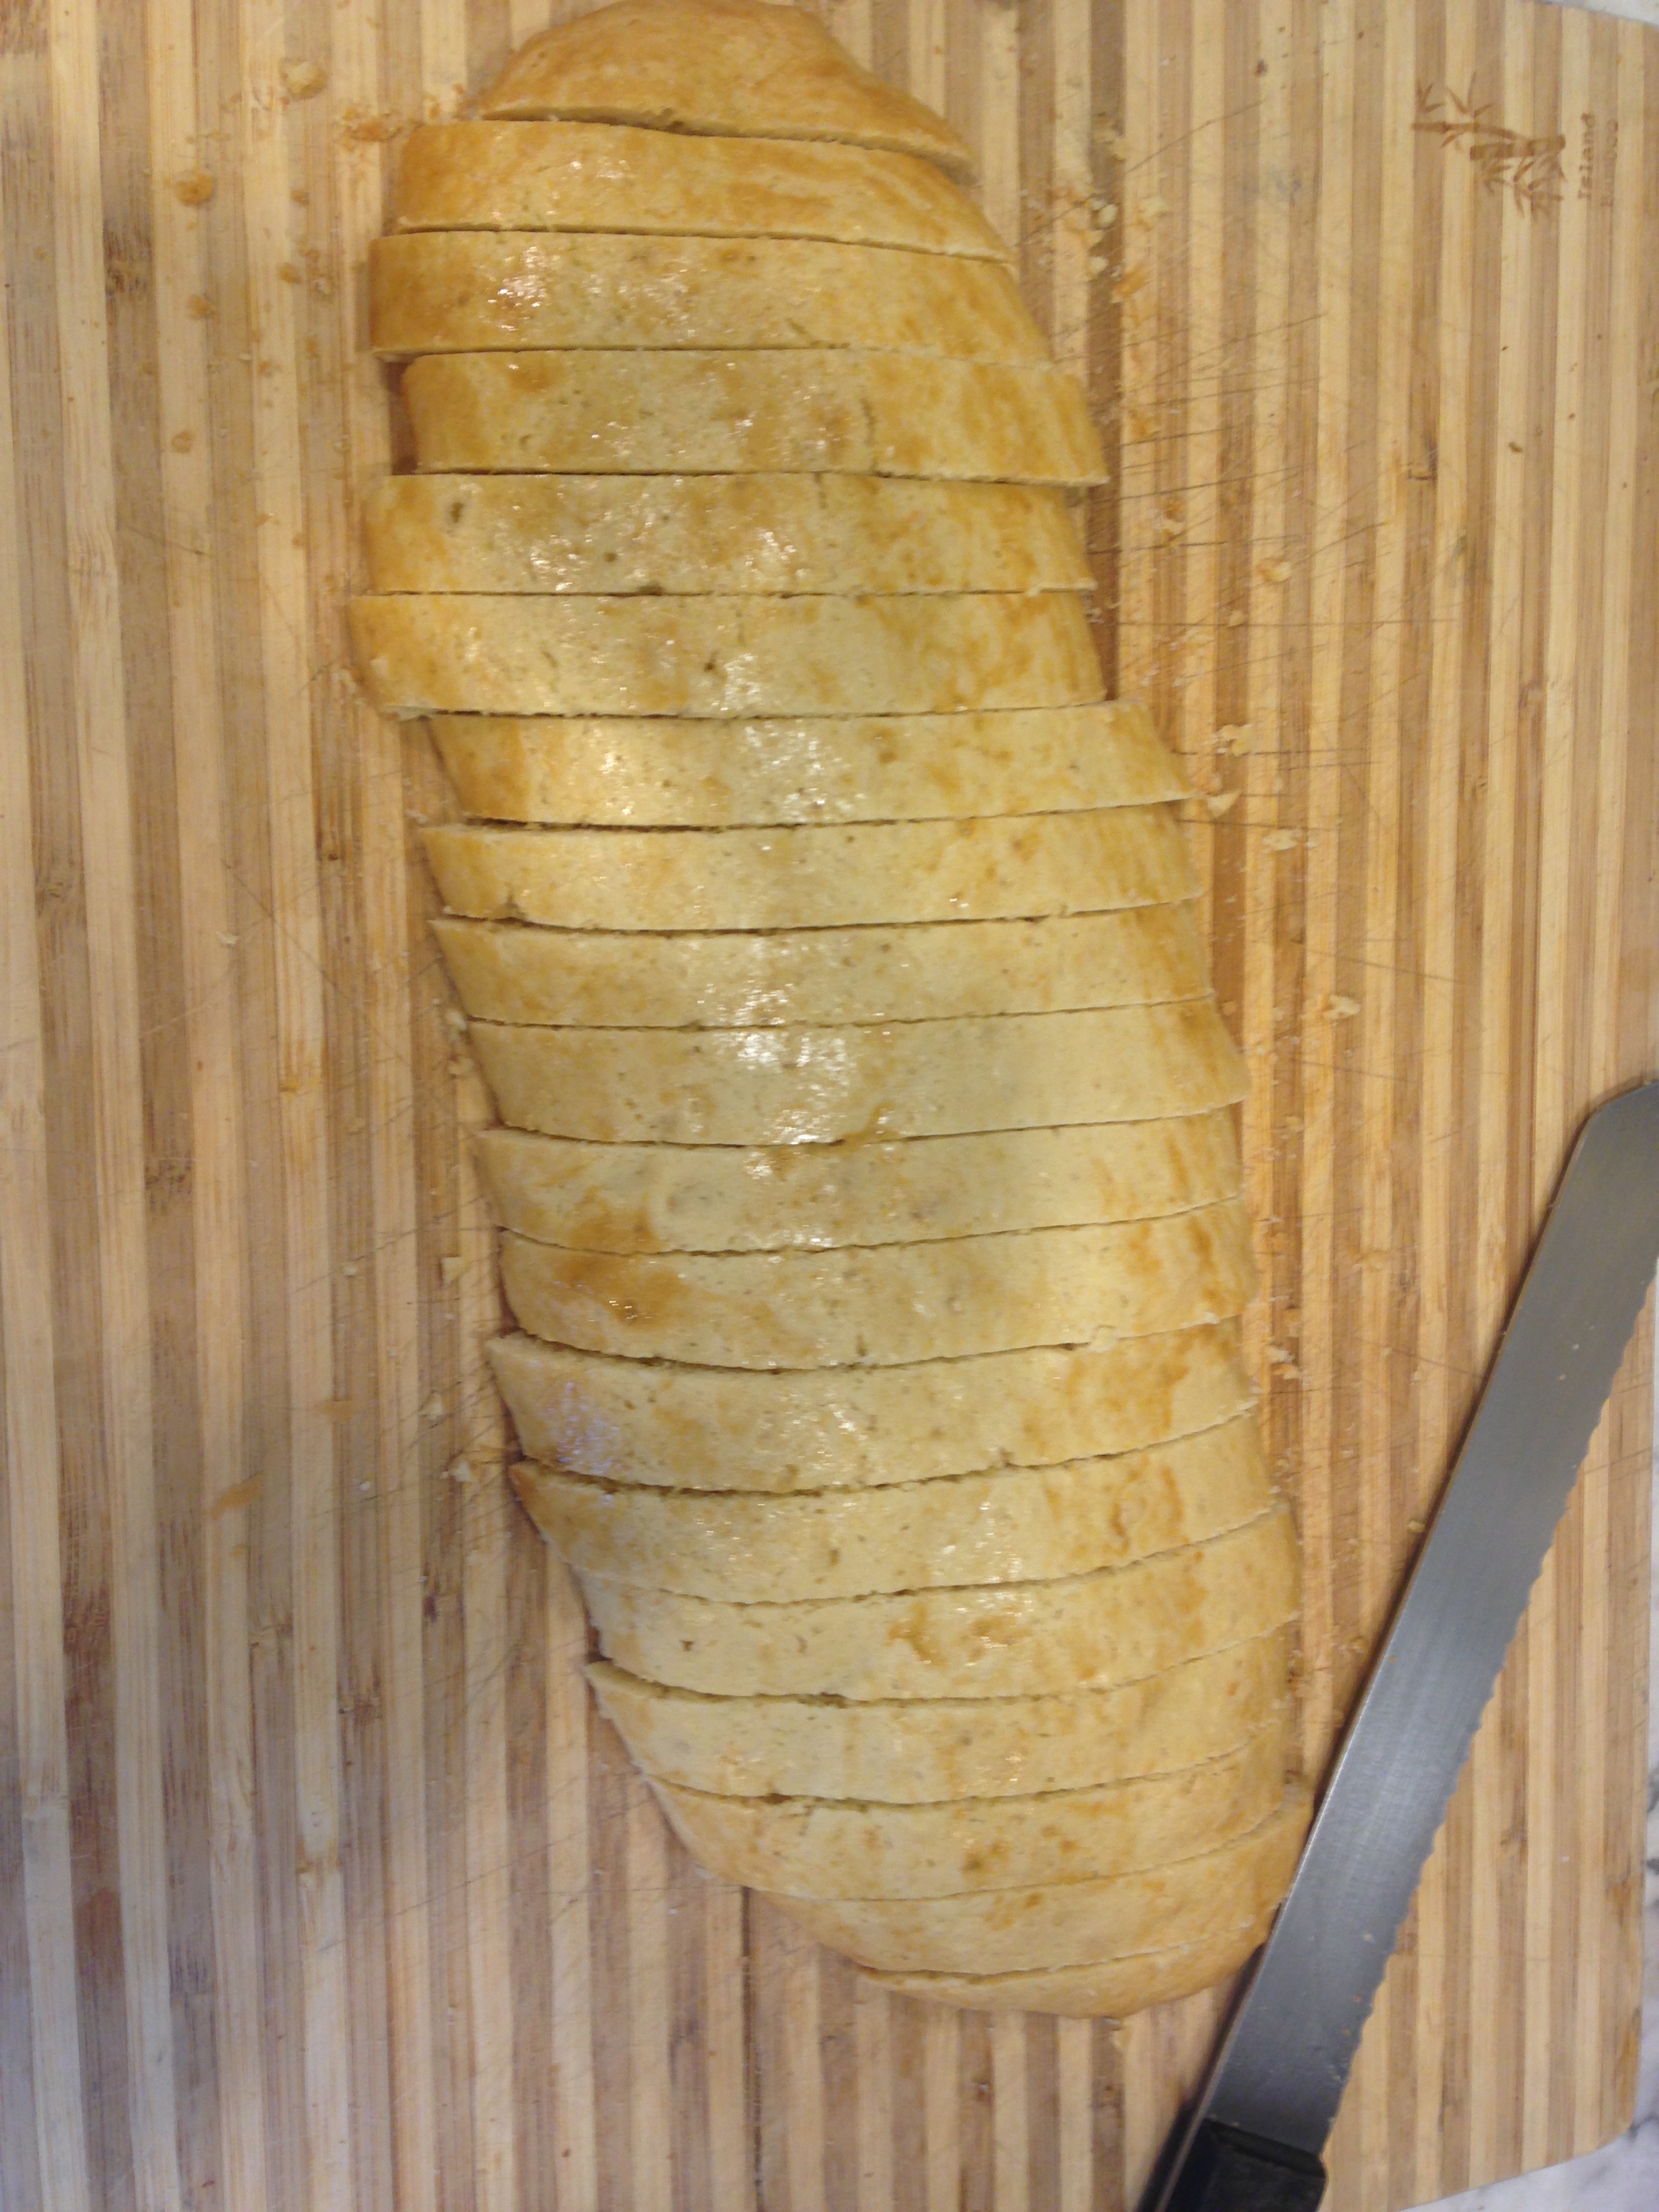
Straight slices cut with a serrated knife
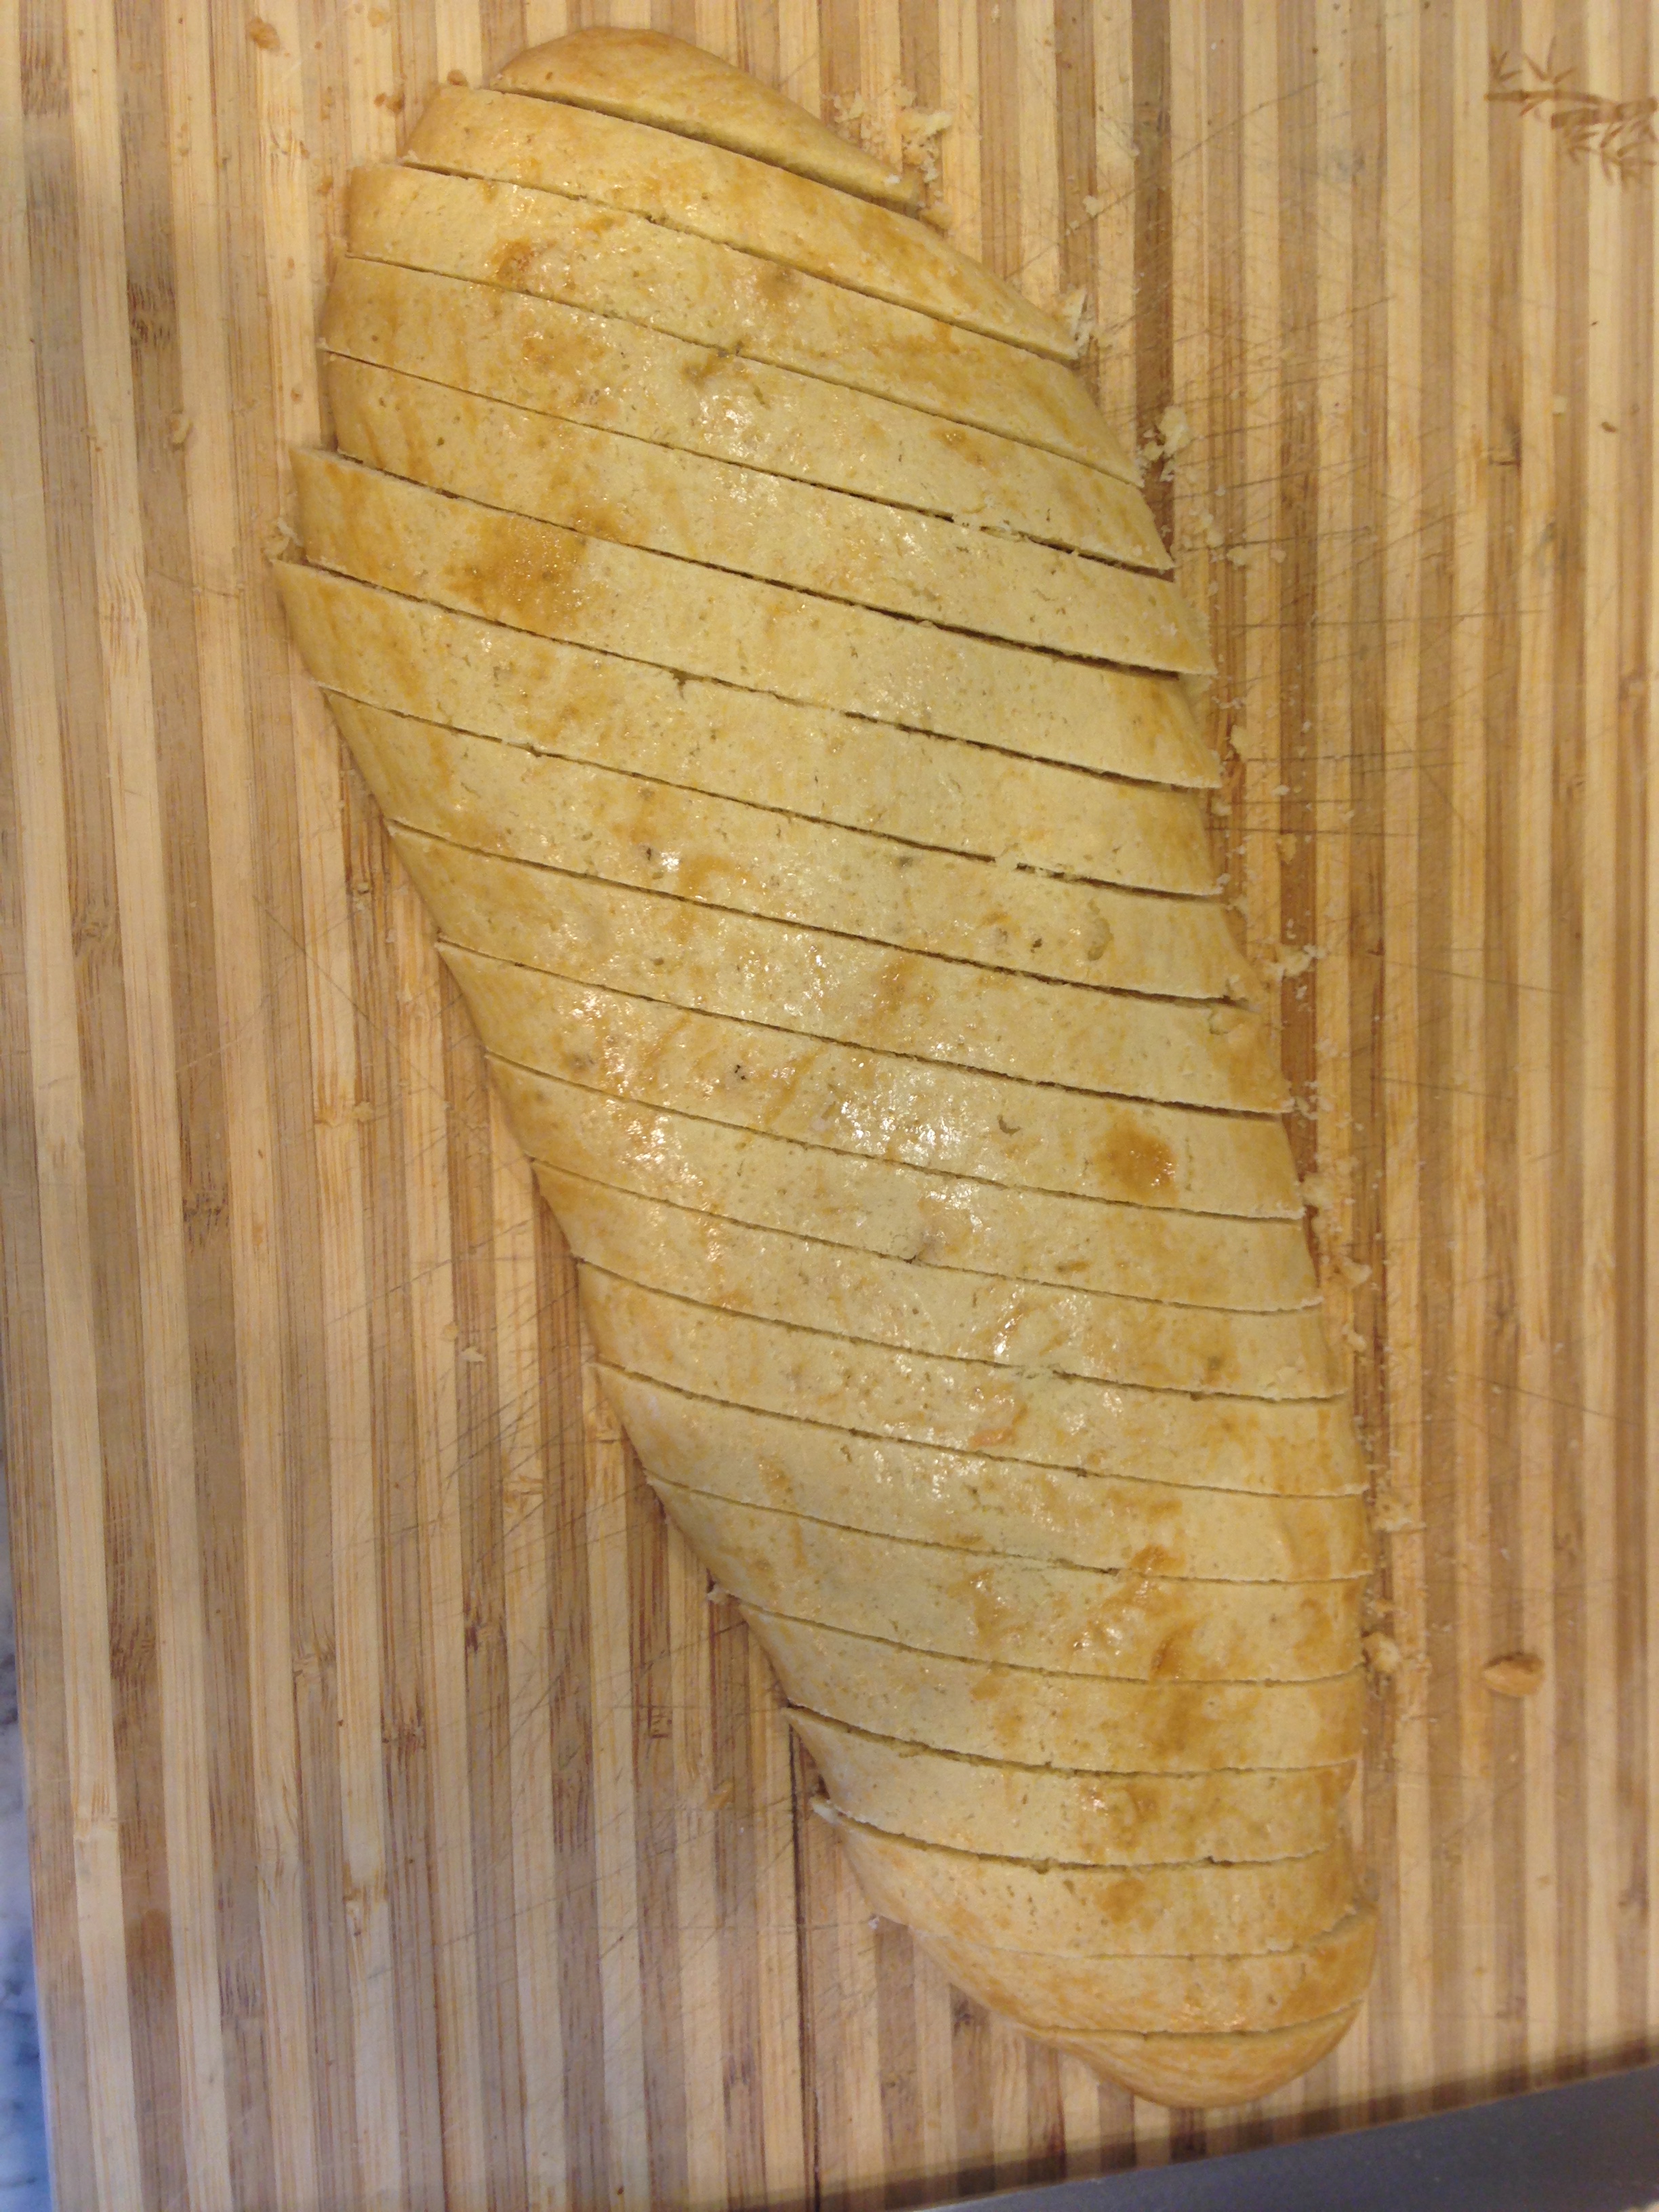
Angled cuts for longer cookies
- Place cookies on their sides. Bake each side 10 minutes or until lightly browned or as desired.

Toasting the Biscotti
- When cool, melt dark chocolate. Use a brush to paint one end. Place on clean parchment.
- Using a toothpick and gold dust, tap the side of the toothpick to dust the chocolate as soon as it is brushed with chocolate.

Brush with melted chocolate and dust with gold
Cool and dry thoroughly on parchment. Store in air tight containers.
Makes about 5 dozen.