Tomato Sauce with a Halved OnionPasta with Tomato Sauce and Grated Parmesan with Meatballs
This Marcella Hazan recipe from the New York Times is my new favorite way to make pasta now!! It’s quick and delish! Easy and fast. Slice an onion in half and simmer it in a can of tomatoes or tomato sauce with 5 tablespoons butter! That’s it. Here’s the details
Ingredients
1-29 oz can Marzano whole tomatoes without skins or tomato sauce, or any other canned tomato
1 onion cut in half
5 tablespoons butter
Pinch or two of salt
Directions
In a saucepan or frypan combine tomatoes, onion, butter and salt
Bring to a simmer for 30-45 minutes, covered at least partially. Stirring occasionally. I try to keep it covered.
Break any tomato pieces with a spoon on the side of the pan.
Remove onion and add 1/2 to 1 pound cooked and drained pasta. It depends how saucy you like your pasta. I like mine saucy so I add only 1/2 pound or so of pasta.
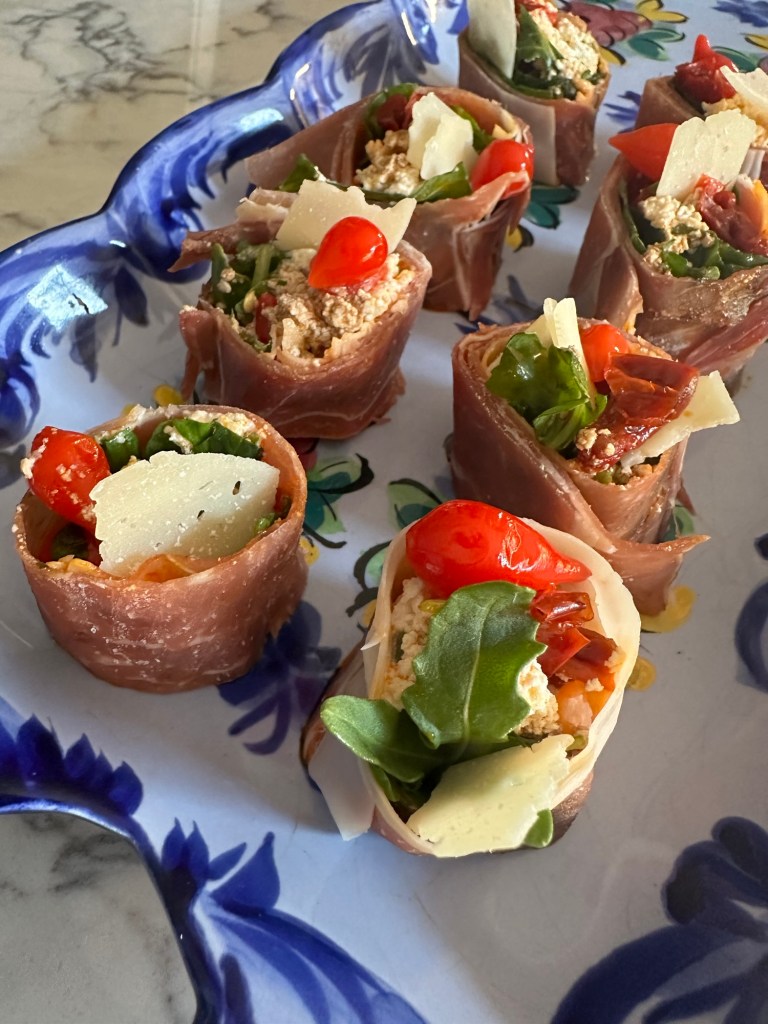
This easy appetizer or snack is from Giada De Laurentiis. It’s very popular on her website and super easy to make. There’s a lot of flexibility in the ingredients you choose too. You can come up with your own ideas of Italian food items to add such as tiny mozzarella balls or dried tomatoes in oil.
Giada uses marinated artichokes which I did not. I found these tiny Pepper Drops by Delallo. They’re a sweet and spicy marinated tiny red pepper. She adds truffle pearls which I did not, but another time I definitely will! I found Balsamic Drops which are super! I also do not use the dipping sauce. I think it’s flavorful enough without it. And less messy.
Giada’s Ingredients
6 slices Italian prosciutto
Arugula
Lemon juice
Marinated roasted peppers, sliced
Marinated artichokes
Fresh ricotta cheese
Olive oil
Aged balsamic vinegar
Fresh grated Parmesan for topping
Truffle pearls for topping
Olive oil and aged balsamic vinegar for dipping
Nina’s Ingredients
6 slices Italian prosciutto
Arugula
Delallo sun dried red peppers marinated in oil, sliced
Fresh ricotta cheese
Delallo Sweet n Tangy Pepper Drops
Extra Virgin Olive Oil
Thick Aged Balsamic Vinegar
Balsamic Drops
Grated Romano Cheese
Shaved Parmesan Cheese
Sushi ready to roll
Directions
On a cutting board layer prosciutto next to each other so they overlap
Layer each of the ingredients in the order listed with the balsamic as the last ingredient
Roll up the sushi as tight as you can and cut them in 1 inch bite size pieces
Place them cut side down on a serving tray to look like sushi. Maybe in 2 straight lines
On the top of the cut sushi place individual pieces of various toppings like the shaved Parmesan, Pepper Drops and/or Truffle Pearls
This recipe is super quick, especially if you use a prepared tomato sauce. My sauce is from a combination of a red pepper sauce I made and a store bought Italian tomato sauce. This recipe here is from Food 52 and includes their sauce.
Everything is made in one skillet. The ravioli is frozen cheese ravioli. It is cooked in the sauce. Then part of the pasta is removed from the pan. Cheeses are layered and the ravioli is returned to the skillet, topped with more cheese and baked in the oven. Easy!
Ingredients
2 tablespoons extra virgin olive oil
2 large garlic cloves, sliced
2 tablespoons tomato paste
Pinch or so dried red pepper flakes
1 28 ounce can tomatoes
2 large fresh basil leaves plus more for garnish
1 teaspoon sugar
1 teaspoon coarse kosher salt
1/4 teaspoon fresh black pepper
1 1/2 pounds frozen cheese ravioli
8 ounces or 2 cups mozzarella, preferably fresh
2 tablespoons or so shaved or grated Parmesan cheese
Directions
Preheat oven to 450 F and place a rack in center of oven.
Pour your sauce into a large oven proof skillet or make it as follows in the same size skillet. Add 1 cup water to your sauce.
To make this sauce: Heat the oil over medium heat. Add garlic and stir 1-2 minutes until softened but not browned. Add tomato paste stirring until darkens slightly, about 1-2 minutes.
Add red pepper flakes, tomatoes, basil, sugar, salt, pepper and 1 cup water. Increase heat and bring to a boil.
Add frozen ravioli to sauce and cook over medium heat, stirring gently, until the sauce is very thick and the ravioli just tender, about 15 minutes.
Spoon half the ravioli and sauce into a bowl.
Arrange the remaining ravioli in an even layer. Sprinkle with half the mozzarella. Arrange remaining ravioli and sauce on top and sprinkle with remaining mozzarella and Parmesan.
Bake the lasagna until bubbly and cheese is lightly browned, 10-12 minutes. Use your broiler if it doesn’t brown in that time frame. Scatter extra basil leaves on top and let rest 10 minutes before serving.
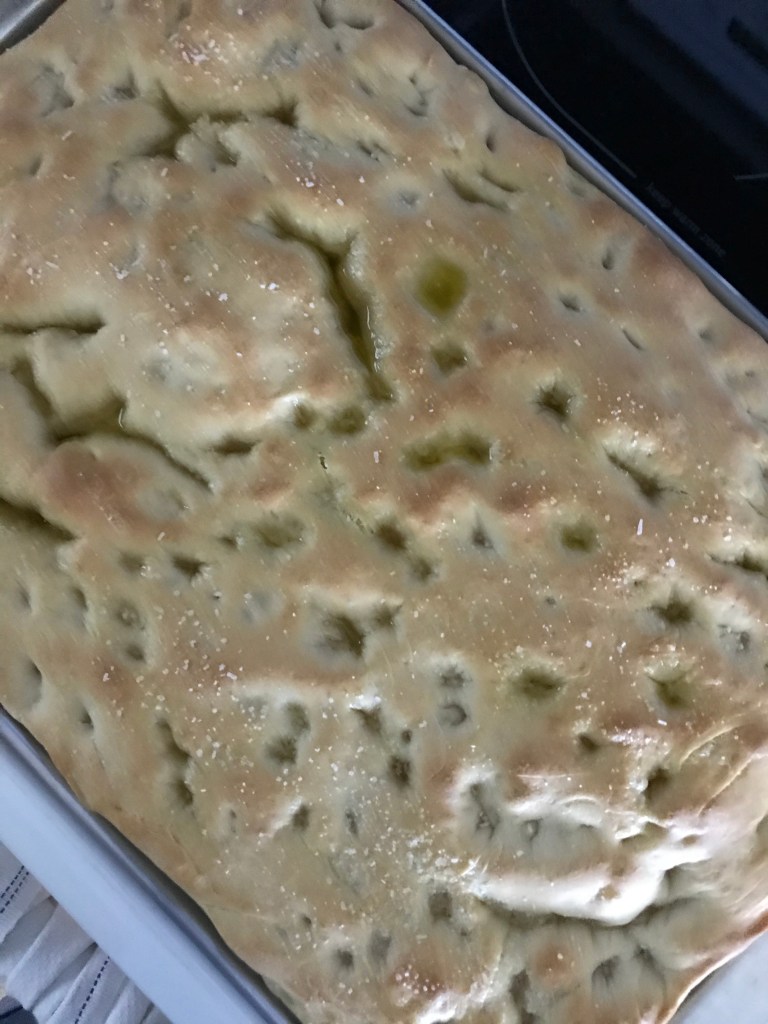
This focaccia combines olive oil, wine and water to make a haunting flavor, light porous texture and crispy crust. CarolField published the cookbook Focaccia in 1994 which includes this recipe and it’s a classic!
Ingredients
SPONGE
2 1/2 teaspoons active dry yeast (1 package)
2/3 cup warm water (105-115 degrees F)
1 cup unbleached all-purpose flour
DOUGH
1/2 cup water, room temperature
1/3 cup dry white wine or sherry
1/3 cup extra virgin olive oil
Sponge, above
2 1/2 cups plus 2 teaspoons unbleached all- purpose flour, plus 1-2 tablespoons as needed
2 teaspoons sea salt
TOPPING
About 2 tablespoons extra virgin olive oil
3/4-1 teaspoon sea salt or flaked salt
1 cup ice and water for a separate pan in the oven
Instructions
Sponge: In a large heavy duty mixer bowl sprinkle the yeast over the warm water, whisk it in and let stand until creamy, about 10 minutes. Stir in flour and beat until smooth. Cover and let rise until puffy and bubbling, about 30 minutes.
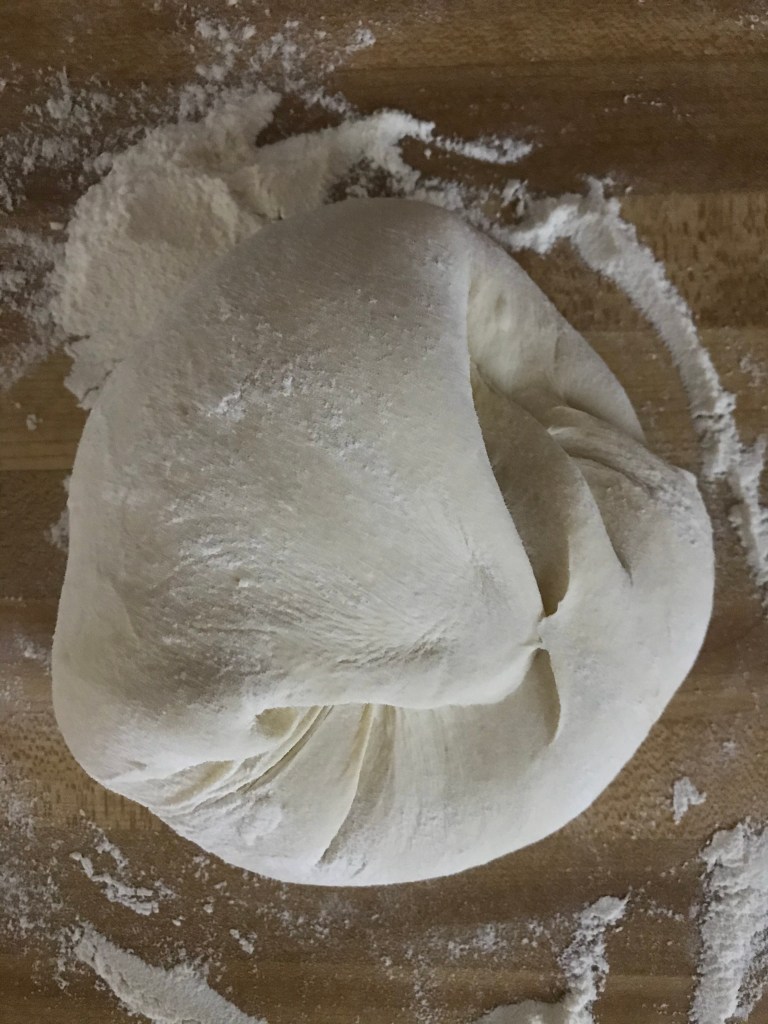
Dough: Place sponge bowl and mixer paddle in place in the mixer. Add the water, wine and olive oil to the sponge. Add the flour and salt and mix until the dough comes together. Change to the dough hook and knead for 3 minutes at medium speed, stopping to press the dough into a ball. Use the 1-2 tablespoons extra flour to finish kneading by hand briefly on a smooth surface.
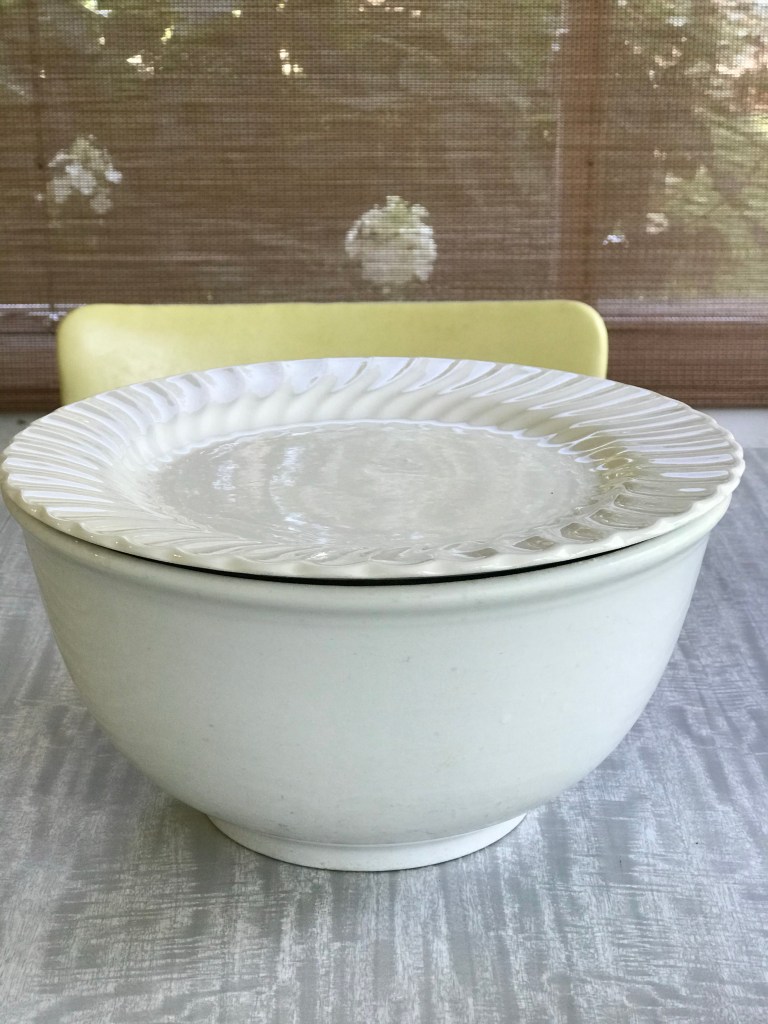
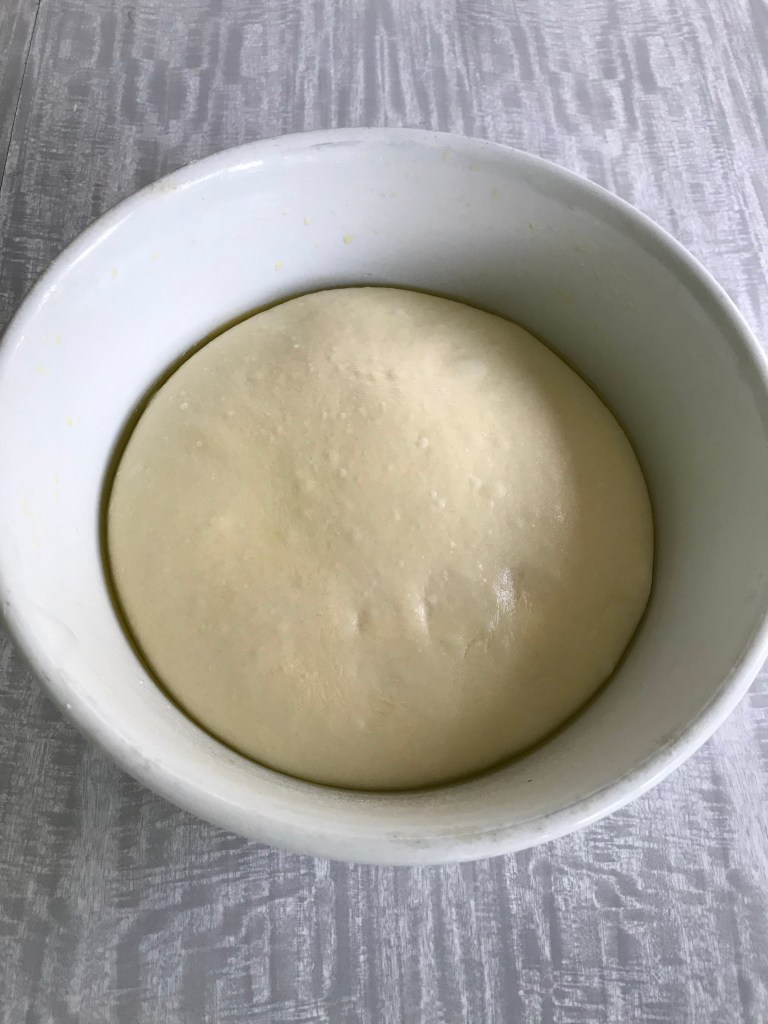
FIRST RISE: Place the dough in a large lightly oiled bowl. Cover and let rise until doubled, about 1 hour.
SHAPING AND SECOND RISE: The dough will be soft, full of air bubbles and stretch easily. Press into a lightly oiled 10 1/2 x 15 1/2 inch pan. Dimple it well with your fingertips or knuckles, cover with a towel, and let rise until puffy and doubled, about 45 minutes.
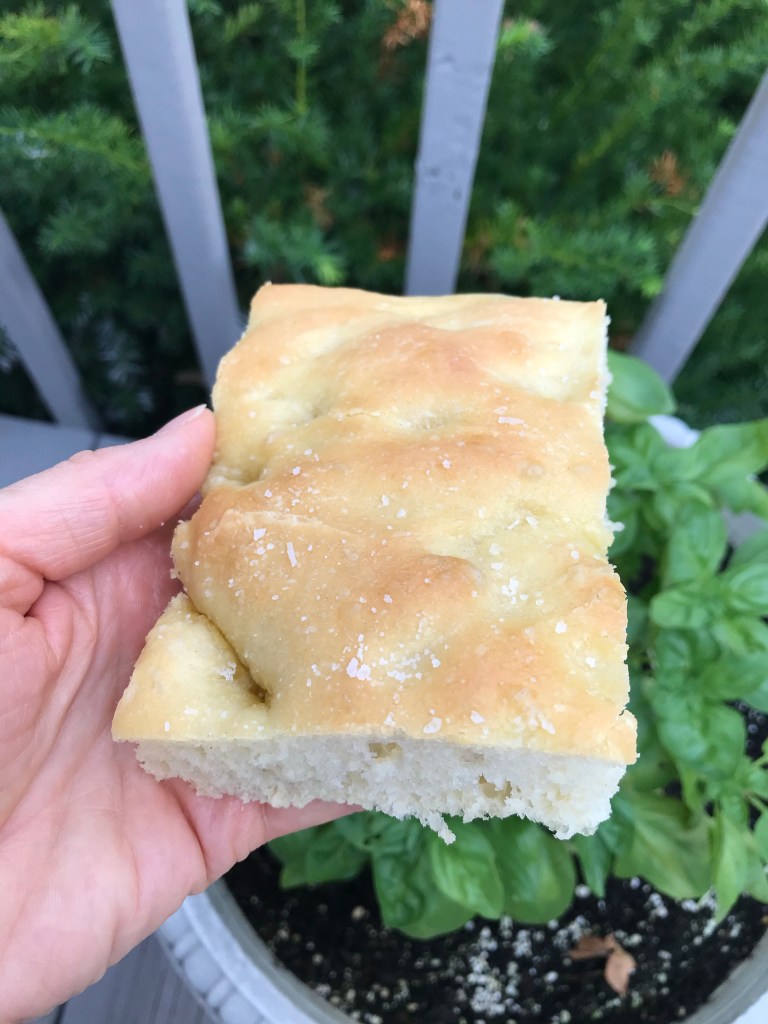
BAKING: Preheat oven to 425 F. On the bottom rack place a large shallow baking pan. Also place a baking stone if you have one on the middle rack. When all are hot, again dimple the dough. Drizzle olive oil so it pools in the indentations and sprinkle with sea or flaked salt. Place the focaccia on the stone. Pour 1 cup cold water and ice into the bottom rack pan. Quickly shut the oven door and turn temperature down to 400 F. Bake 25-30 minutes or until golden. Immediately remove from the pan and cool on a rack. Cut into large squares or rectangles. Serve warm or room temperature.
Finish kneading by hand briefly on a smooth work surface Place dough in a large oiled bowlCover and let riseDough rises to double in sizeSpread dough into pan with your fingers and dimple too!Cover with a towel and let rise until puffy and doubledDimple again and drizzle with olive oilHot out of the oven!So delicious!
Voila!
Thank you Carol Field, author of Focaccia Simple Breads from the Italian Oven!
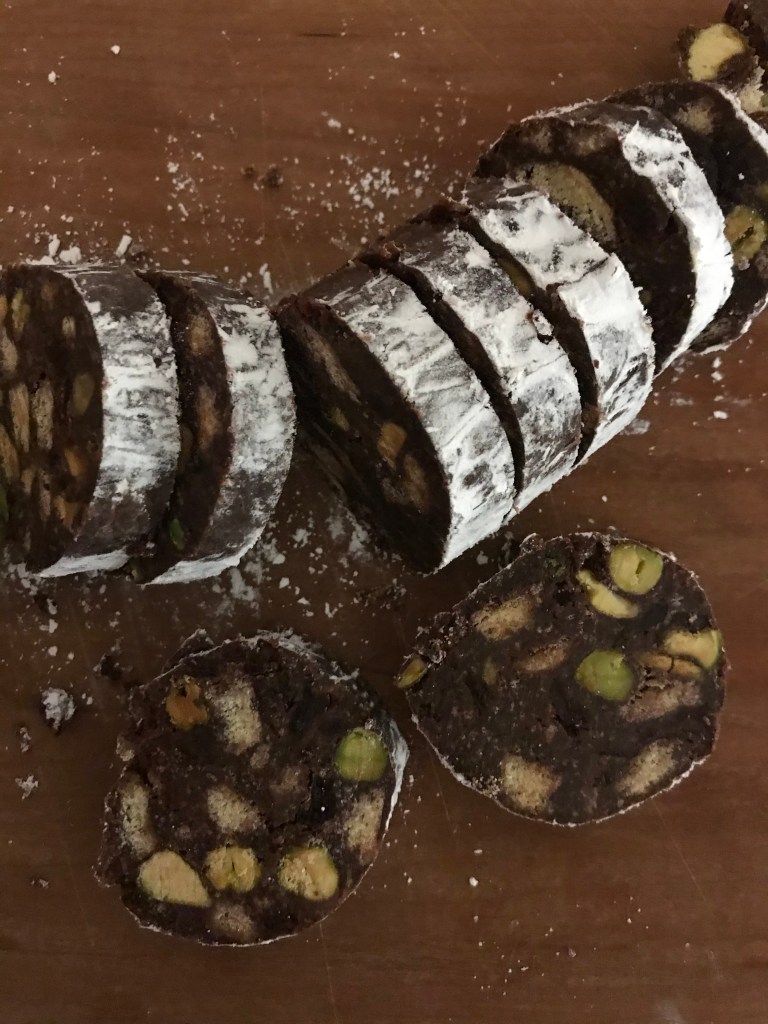
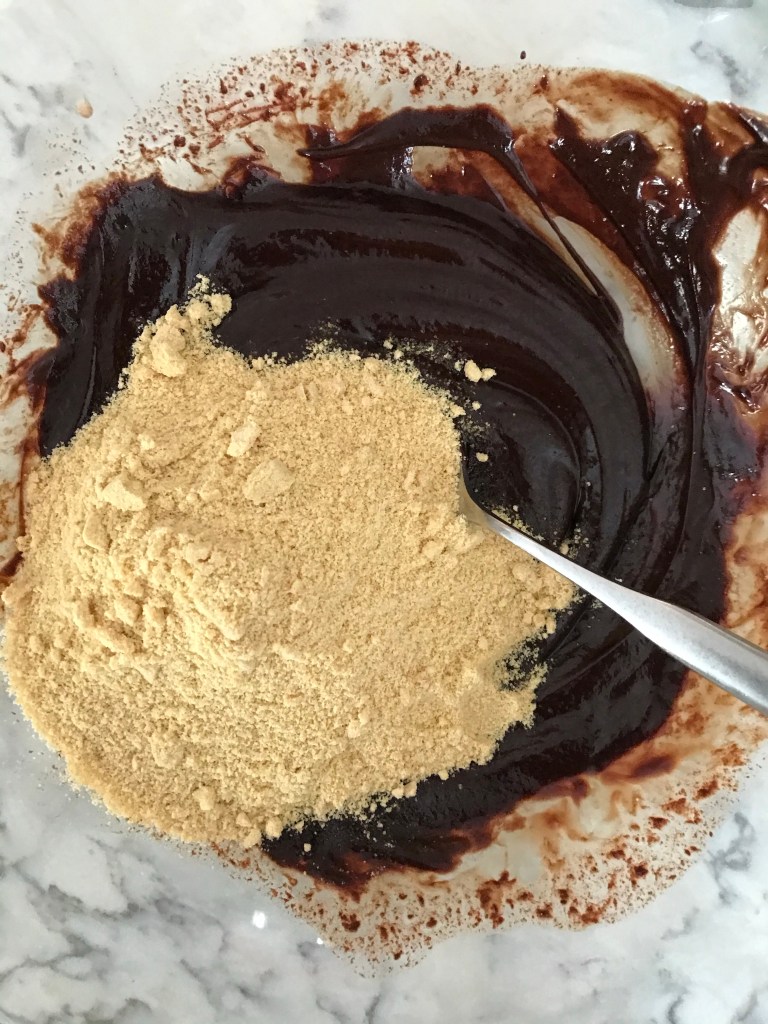
My new favorite cookie! No baking needed and it’s full of antioxidants! It looks like an Italian salami but it’s made with chocolate, chewy dried cherries, crunchy pistachios and plain cookies.
My Italian friend Giovanna Nebuloni from Milan Italy first introduced Chocolate Salami to me. She called it Salame di Cioccolato. Her recipe was much different than this, but the concept is the same. Pieces of cookie chunks resembling salami fat in a dark chocolate cookie, rolled in a light colored ingredient resembling the white powdery dusting of the benign mold of some salamis.
This recipe is adapted from America’s Test Kitchen cookbook The Perfect Cookie. I soaked the chopped dried cherries in whiskey instead of Grand Mariner. Also I think more lady fingers are needed. It’s a forgiving recipe, so you can easily add more cookie crumbs. I kept it at 3/4 cup cookie crumbs, but 1 cup would work too. I used Stella D’oro Margherite cookies because they are dried ladyfingers and taste yummy, but vanilla wafers or savoiardi would work too, or any biscuit like cookie.
Here’s all your ingredients plus a little powdered sugarMelt chocolate and heavy cream in microwave Slice ladyfingers into 1/4 inch chunksProcess some of the cookie pieces into crumbsMix crumbs into melted chocolate Sir in the pistachios, cherries and cookie pieces Divide cookie dough in halfPlace each half on a piece of plastic wrap. Roll into 6-7 inch logs. Twist ends After chilling, roll in powdered sugar and slice.
Ingredients
1/2 cup dried cherries, chopped coarse
2 tablespoons whiskey, bourbon or Grand Marnier
6-8 ounces dried lady fingers (Stella D’oro Margherite cookies)
1 cup/6 ounces bittersweet chocolate chips
1/3 cup heavy cream
Pinch or more salt
2/3 cup pistachios, toasted
1/2 cup confectioners sugar
Instructions
1. In a small bowl combine cherries and whiskey. Microwave 30 seconds. Cool
2. Slice lady fingers into 1/4 inch pieces with a bread knife. Reserve 1 cup of the biggest chunks. Process the remaining lady fingers so you have 3/4 cup crumbs or a bit more
3. In a medium bowl microwave chocolate and heavy cream just until melted and smooth, about 30 seconds or so.
4. Add salt and ladyfinger crumbs to chocolate and mix well.
5. Add cherry mixture, pistachios and ladyfinger chunks. Stir until a thick dough forms.
6. Divide dough in half and place each piece on a sheet of plastic wrap.
7. Use the plastic to roll each piece into a 6-7 inch log. Twist the ends tight. Refrigerate about 3 hours until firm, but check them to re-roll and insure their shape during that time.
8. When ready to serve, place confectioners sugar in a shallow dish. Unwrap the logs and roll until well coated. Cut into 1/2 inch slices. Serve chilled.
This recipe is from an Italian-French cooking school called The Antoinette Pope School. It was in downtown Chicago and my mom took lessons there in the 1940’s. This recipe is straight from their cook book.
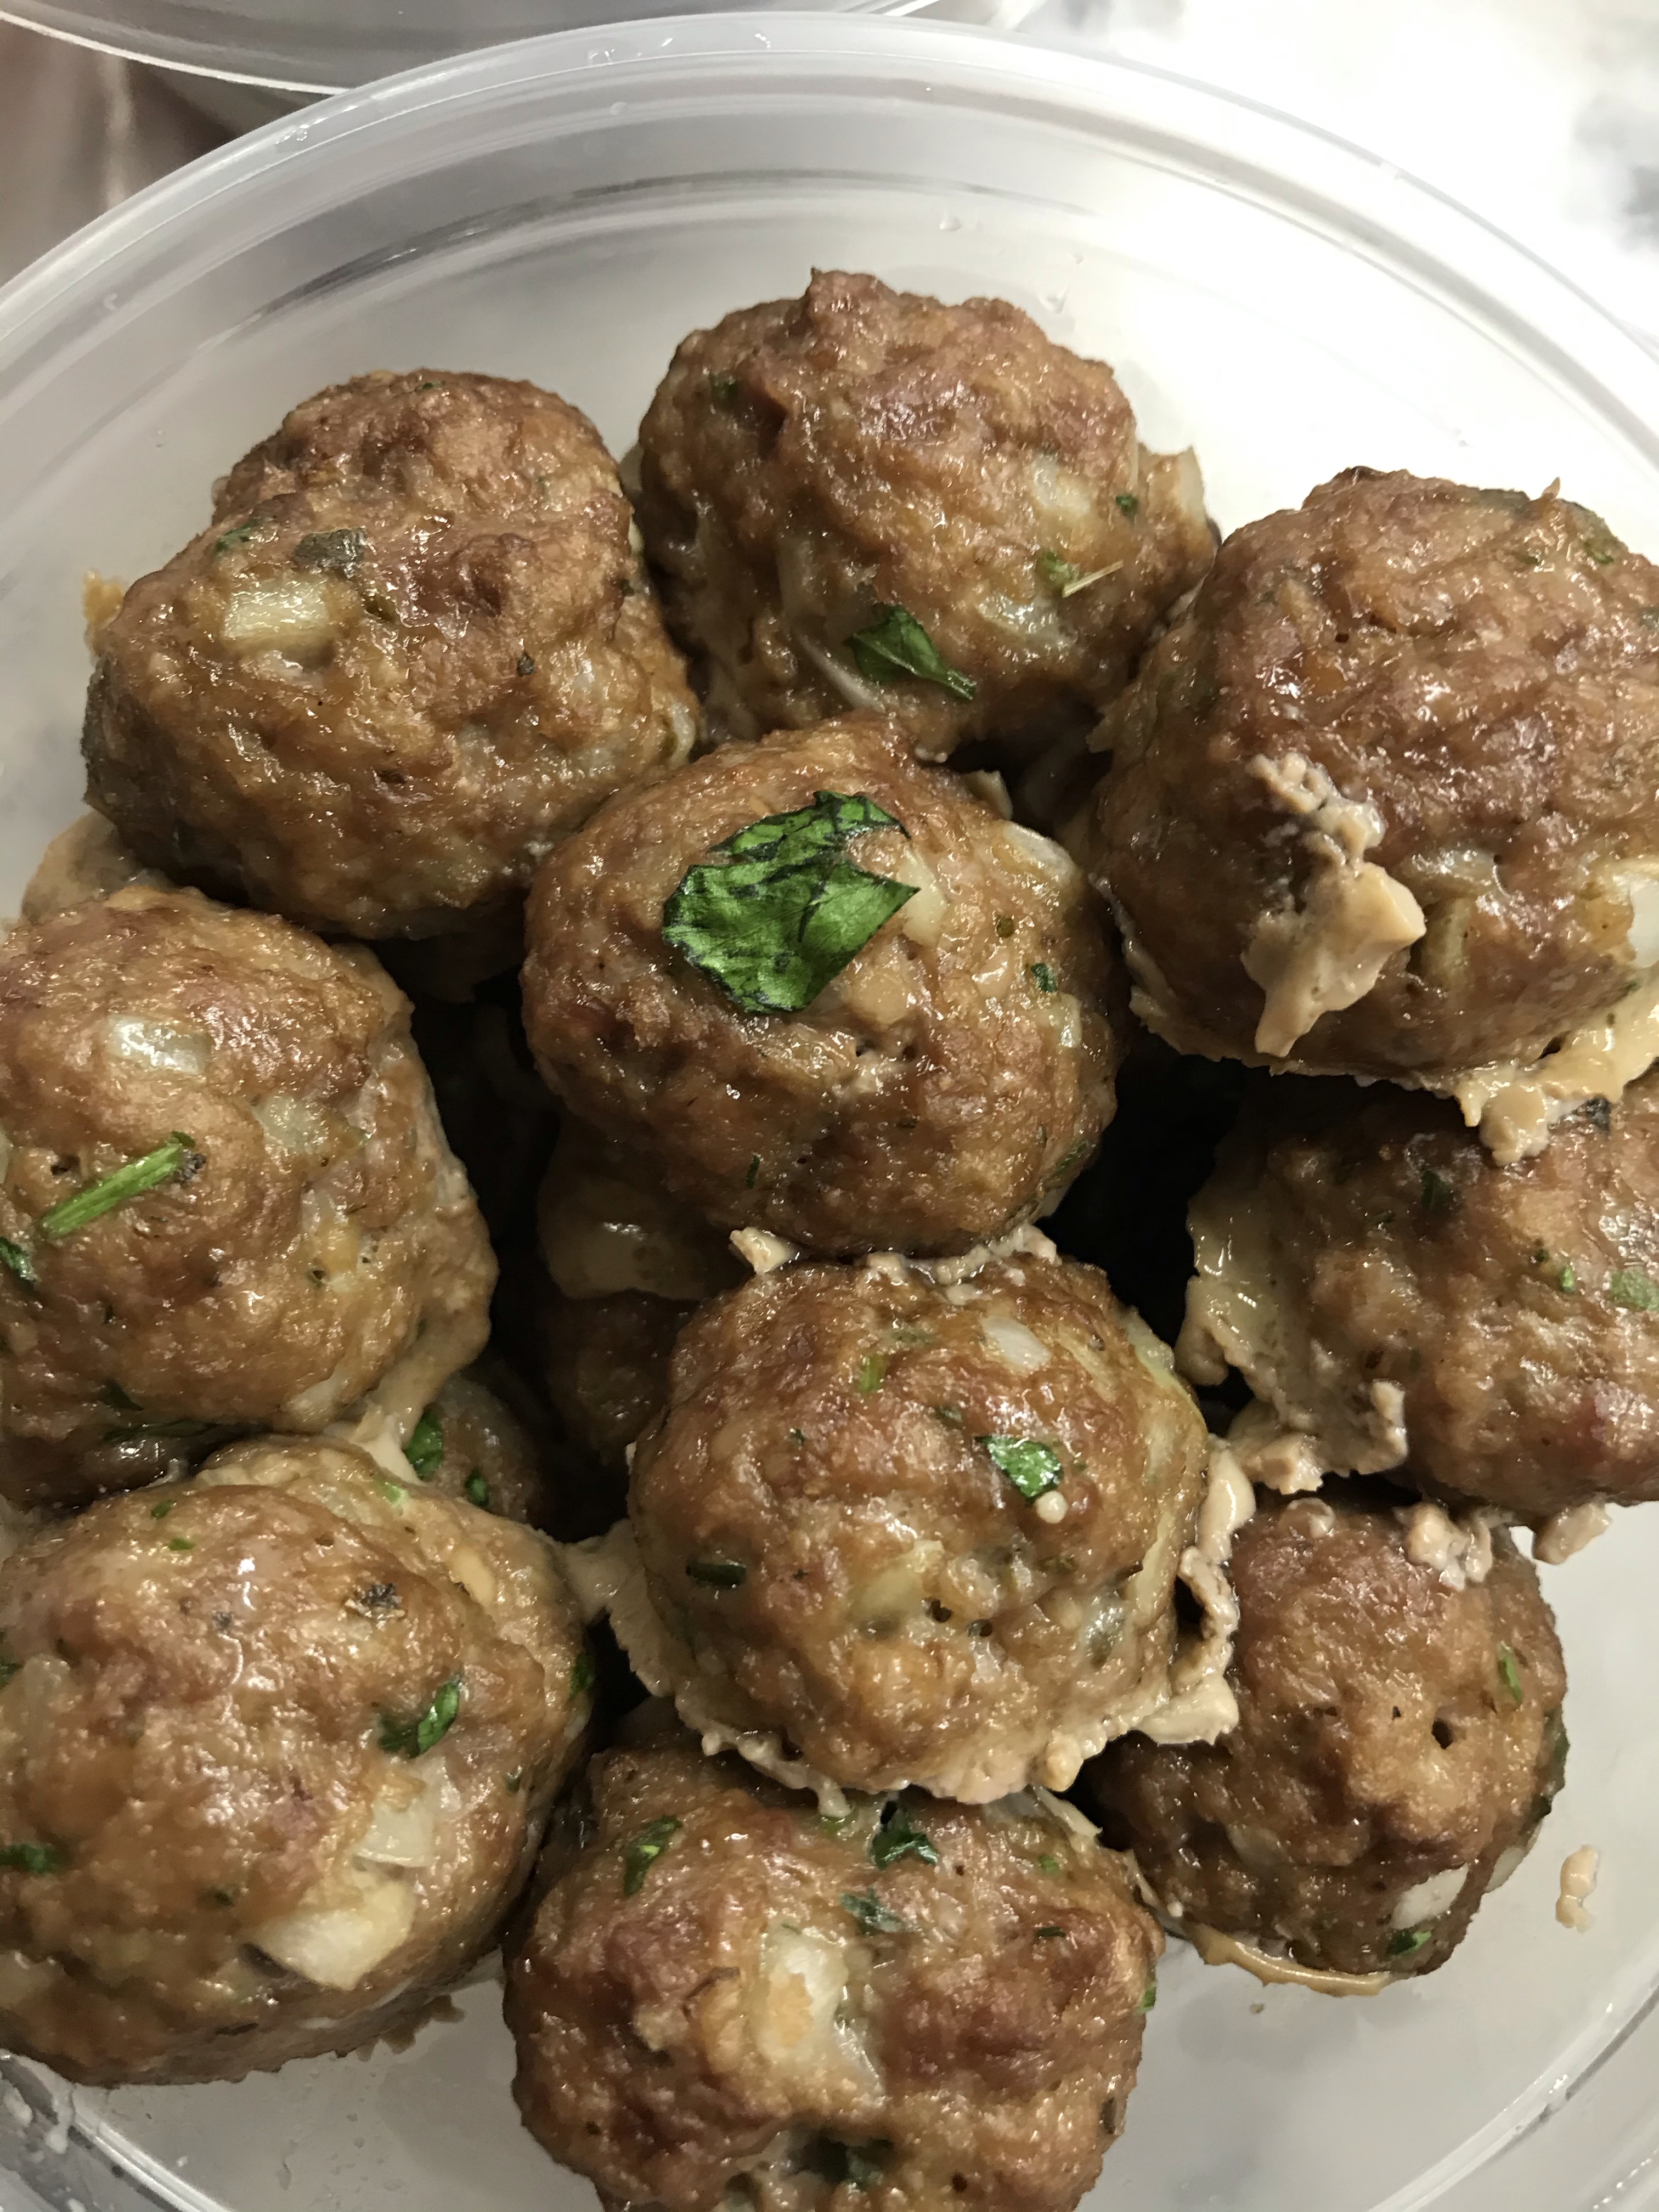
I always make a large quantity of these meatballs because they freeze well and everyone loves them. They’re great plain or with Italian tomato sauce. Usually I’ll make the 3 lbs of beef but sometimes even 6 lbs. the recipe always turns out great
Here’s a head of garlic minced for 6 lbs of beef
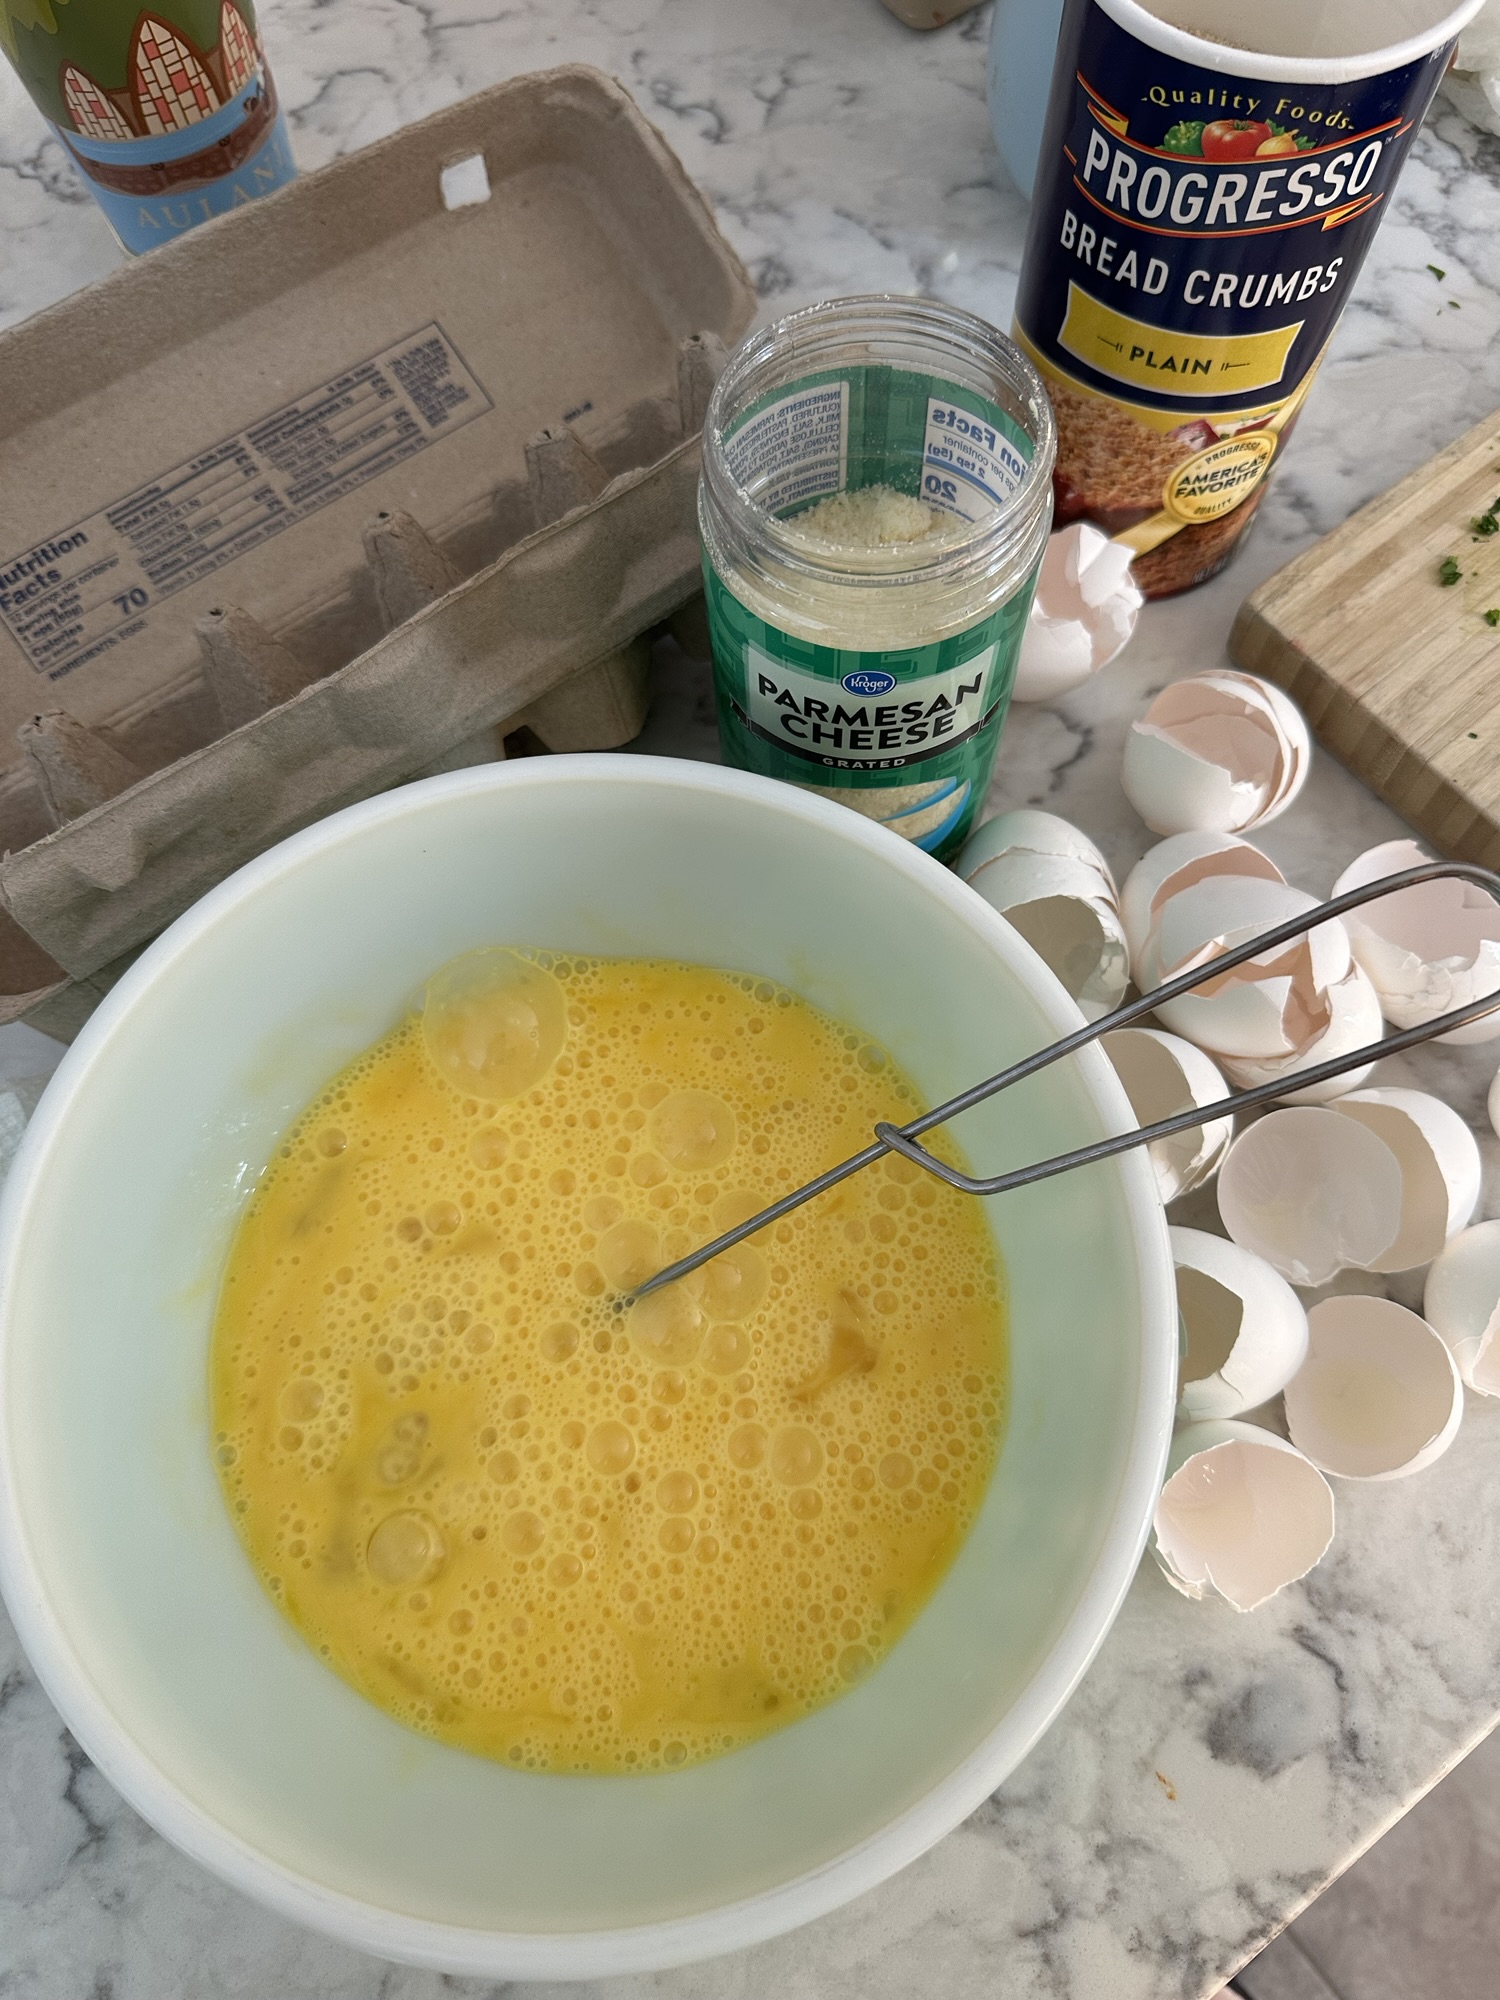
Beat the eggs in a separate bowl
Mix in all the seasonings
Add the eggs and mix well before adding the breadcrumbs, Parmesan and milk
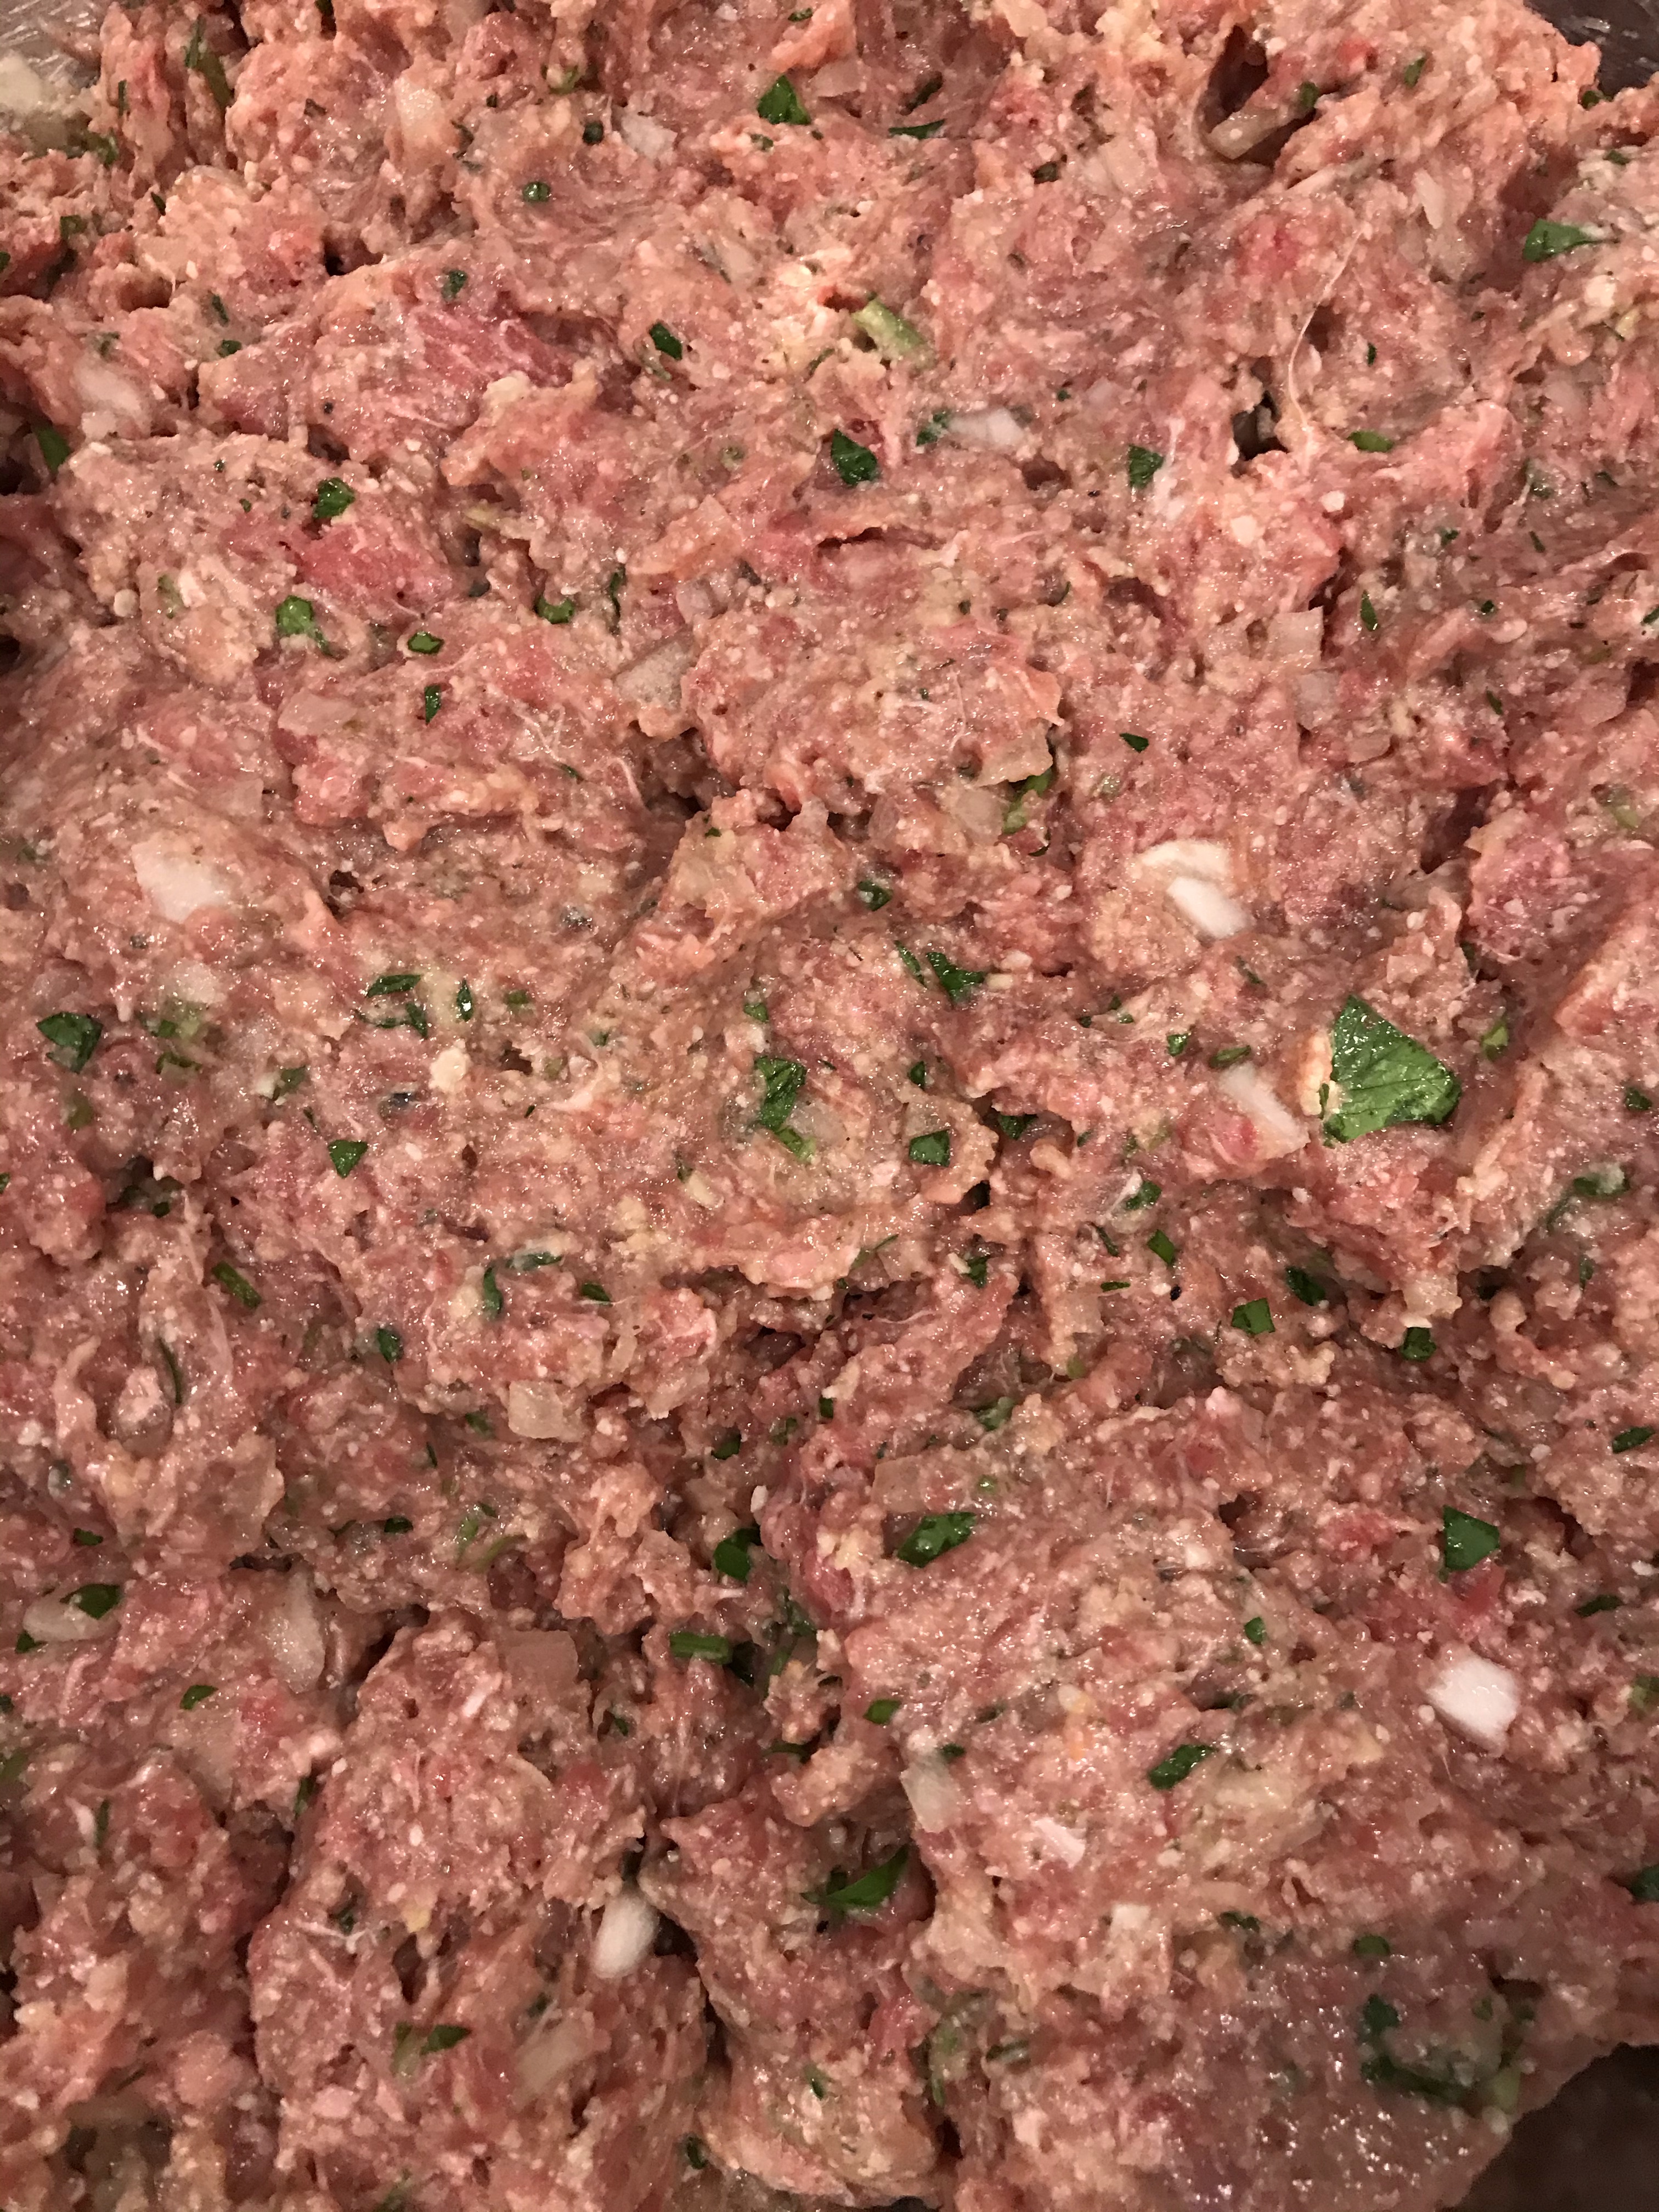
Here is the mixture which needs to set for 30 minutes
These meatballs are ready to bake to 165 degrees F. Parchment paper is a better liner than foil for baking
Ingredients
3 pounds 90% -95% lean ground beef
2 cups finely chopped onion
1 tablespoon or more dried oregano
2 teaspoons salt
1 teaspoon black pepper
6 cloves garlic, minced
1 cup chopped flat leaf parsley
6 eggs, beaten with a fork
1 and 1/2 cups cool milk or water
1 cup grated Parmesan cheese
1 and 1/2 cups dry bread crumbs
Directions
Preheat oven to 350 degree F
In a very large bowl place beef
Add the above ingredients in the order listed and mix well into beef after each addition
Now let the mixture stand for 30 minutes.
Form into 1 1/2 inch size balls using a scoop if possible. It makes it easier. I use a Noropro scoop that holds about 2 tablespoons. Also keep a small bowl of cold water nearby to keep your hands wet. This will help you more smoothly roll the meatballs in your hands.
Place on baking sheets lined with parchment paper. Do not crowd the meatballs.
This recipe makes 80-90 meatballs
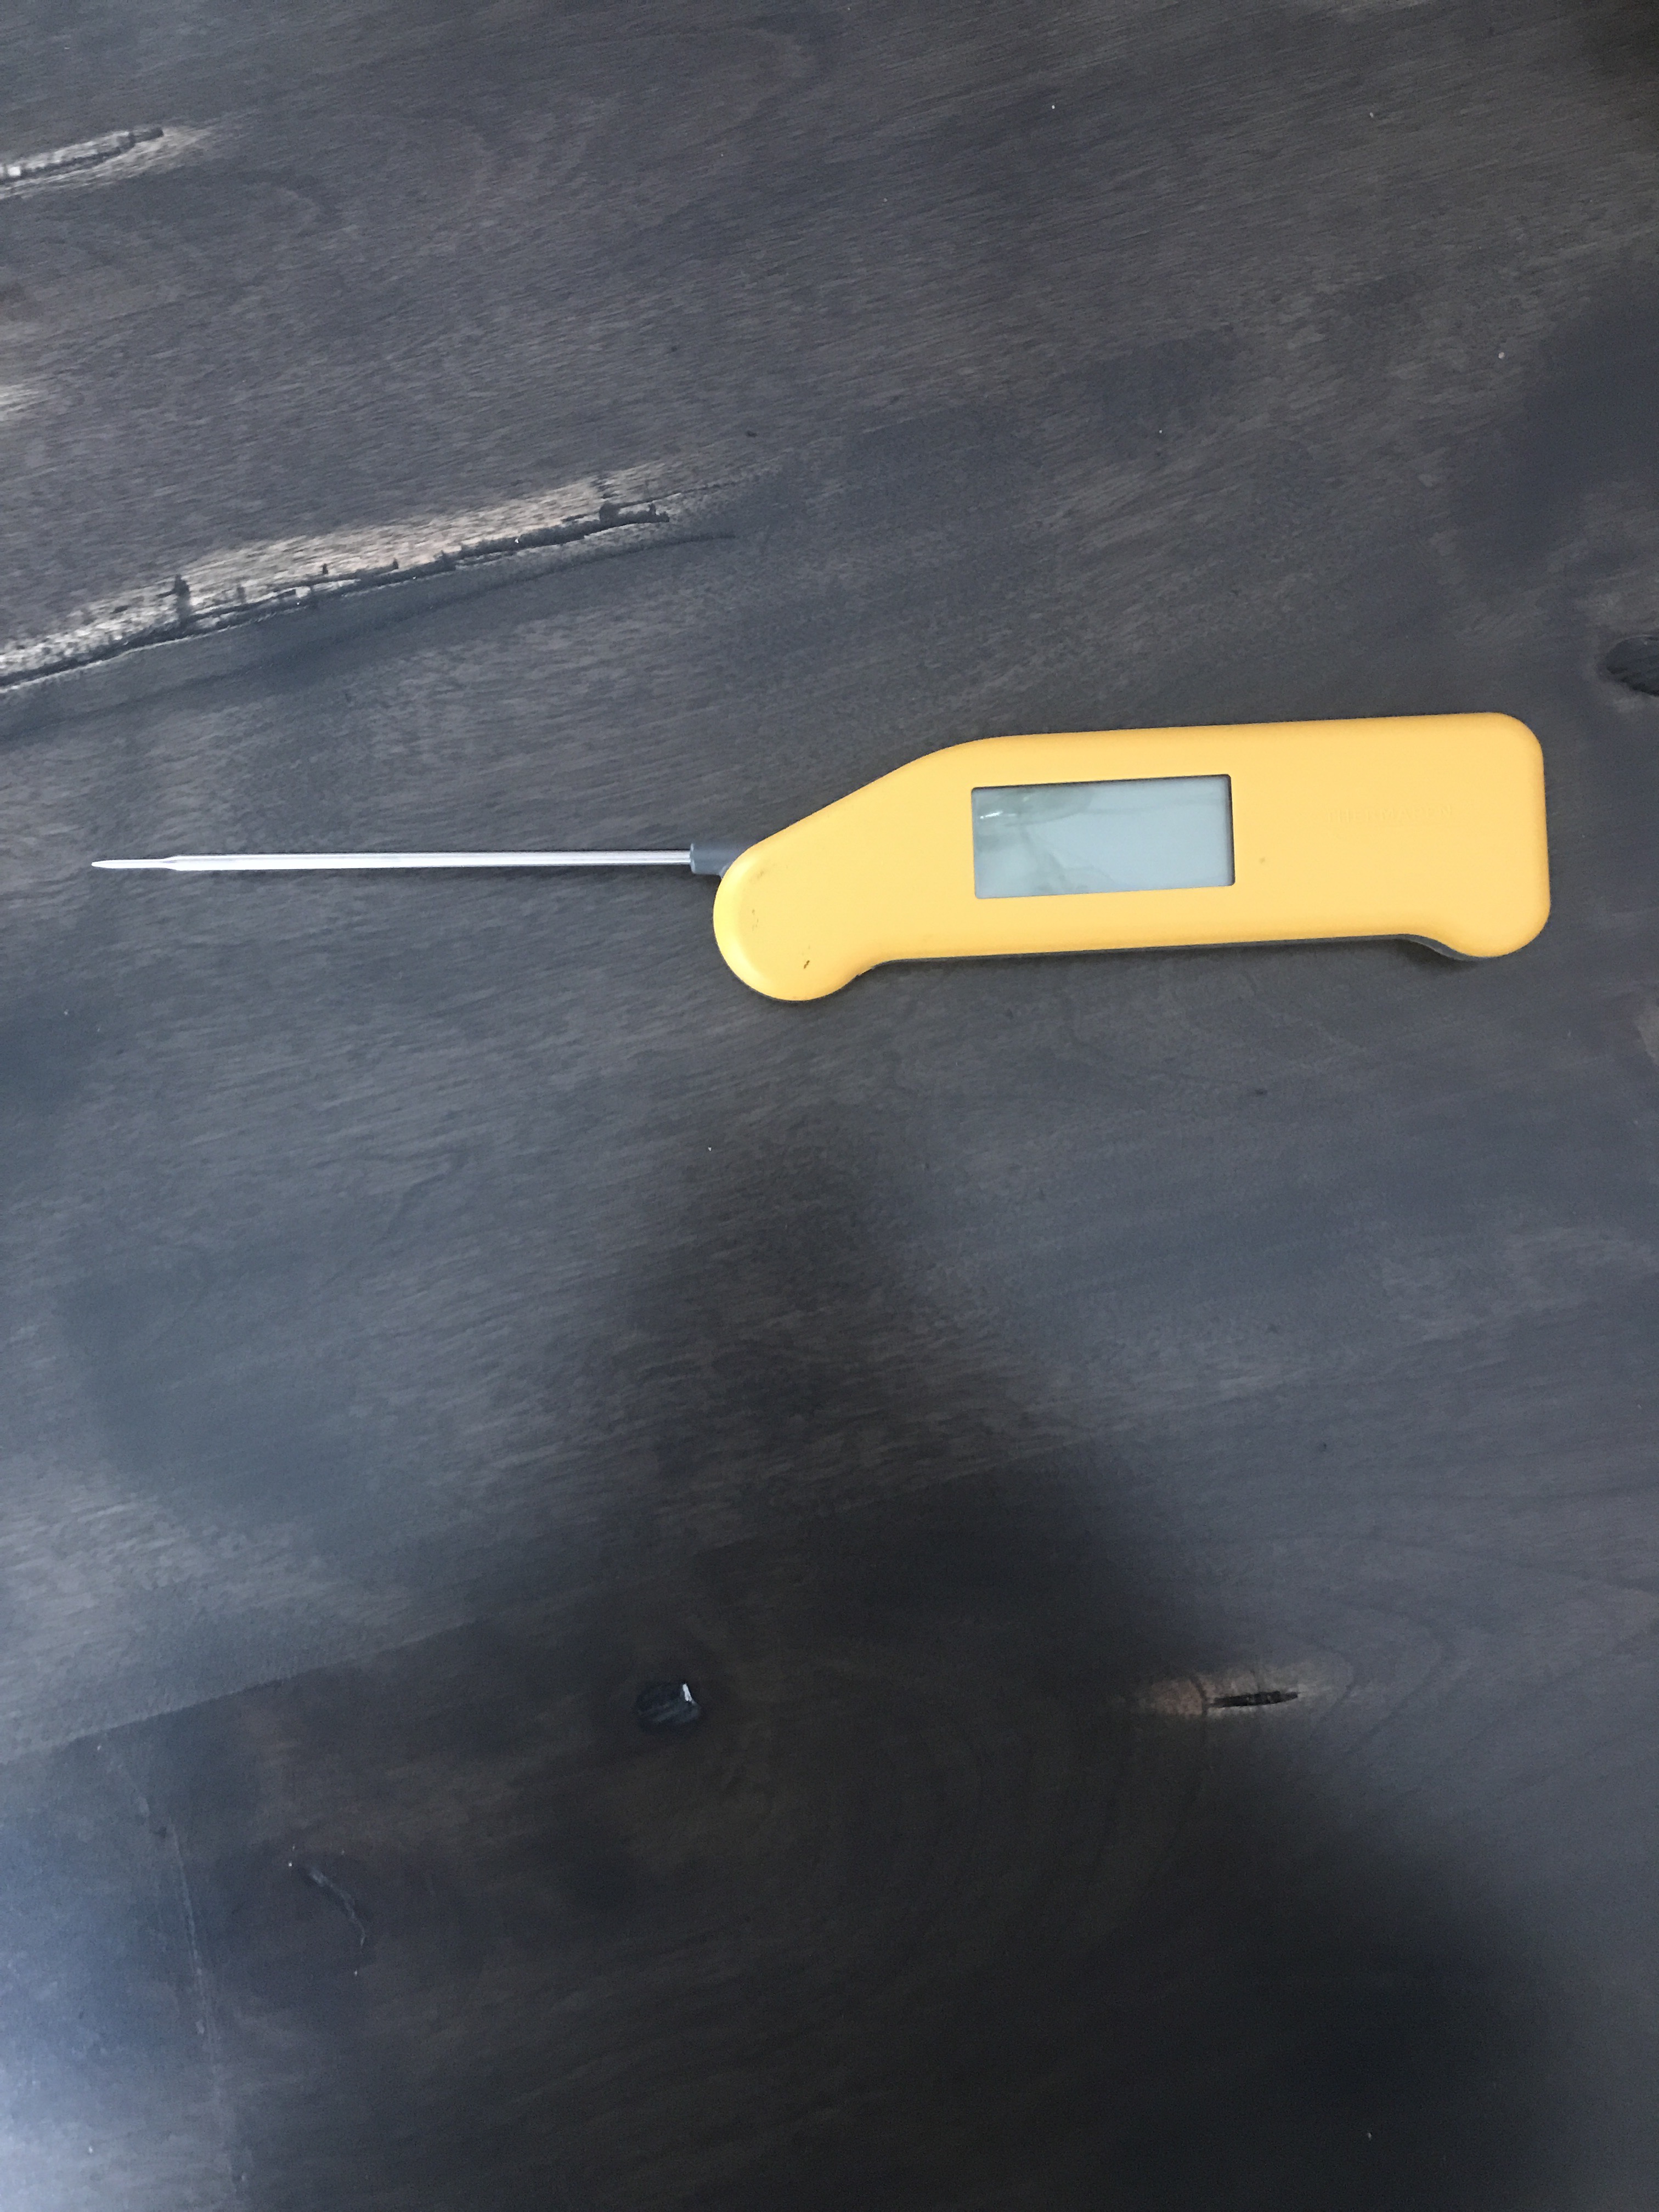
Bake 15-18 minutes or until internal temperature reaches 165 degrees F. Try not to go much higher than 165. The meatballs will get dry if cooked too long. Use an instant read thermometer. I like the Classic Thermapen.
Cool thoroughly before freezing.
Serve as is or with an Italian tomato sauce.
Mix and work in each ingredient into the beef with your hands
Let mixture sit for 30 minutes before making meatballs
I like my Noropro scoop for measuring out the meatballs. Notice the bowl of water and the parchment paper too!
Love my Classic Thermapen for quickly taking food temperatures!
Pasta and Marinara Sauce with Italian Turkey Sausage and Grated Parmesan
Pasta alla Marinara is an Italian dish from the Campania area around Naples Italy. All of the ingredients are available in this region. These people immigrated to the US in large numbers and gave us our current love of Italian pizza and tomato sauce.
We have broken some rules with this recipe as you can see above. #1 We served meat with the pasta. #2 Sauce was served on top of the pasta. #3 Grated parmesan was added to the final dish. We did eat the green salad after the pasta though 🙂
Yes food is a religion in Italy and the rules are endless. As the New York Times articles inform us, the meat is served after the pasta on a clean dish; the pasta is not left to drain in a colander, but is lifted out of the cooking pot and then added to the marinara sauce for final cooking; parmesan is not added to marinara. We did combine the pasta with most of the sauce in the skillet. Otherwise, we followed the specifics of this recipe and Lidia Bastianich’s recommendations.
Attencion! Pay attention to the following points of advice from Lidia Bastianich and Julia Moskin:
Make sure the garlic is not yellow or sprouted and is firm and white
Only peel and slice the garlic. Mincing the garlic breaks down the cells and releases the sulfurous molecules which give the strong flavor and odor.
Look for Cento brand or other San Marzano certified D.O.P. whole plum tomatoes, though this special tomato authenticity is questionable. The San Marzano tomato is only grown near Mt. Vesuvius (think Pompeii) and is only a 60 square mile area. That’s a pretty small area for the millions of cans of “San Marzano certified” tomatoes sold every year. A domestic brand recommended is Redpack.
Taste test several canned tomatoes to discover a favorite. Look for tomatoes that are fleshy and juicy, ripe from end to end, naturally ripened with few seeds and with a taste balance of acid and sweet. Whole tomatoes with added water/juice may be better than tomatoes canned with added sauce. The added sauce may make a Marinara too thick, but it is all about the taste!
Again, I will only add water to the tomatoes, no stock or wine which “muddies” the taste.
I will again only use a small dried whole red chile!
Fresh basil only, though I do have the dried oregano on the branches purchased in Greek Town Chicago, which is an intriguing alternative. I will pay attention to look for the fresh basil with smaller leaves such as the small potted plants available.
A new additional ingredient to this Marinara is seaweed and sea salt. Alla Marinara means “of the sailor”. The historical references are many, but one is the sailor’s trick for deepening the flavor: Their tomato sauce contained seaweed and sea salts which contain glutamates and produce umami, an element that adds a a rounded satisfying and savory flavor.
Look for a lightweight pasta pot with a perforated lid such as the Barilla pasta pot Lidia Bastianich uses. She drains the hot water into the sink, but reserves some water in the pasta pot to prevent sticking. If not, I will cook the pasta al dente and then lift it out of the pasta pot and hold it above the hot steam for a moment before adding it to the simmering sauce for final cooking. “Never, never leave pasta sitting around in a colander. In Italy you could go to jail for that.”
Never serve Marinara on top of plain pasta. This is the most important rule! Add the al dente pasta to the sauce to heat through and complete the cooking. Serve the sauce coated pasta on the serving plate.
No cheese with Marinara! Never serve cheese with fish or seafood either!!!!
The meat will be served after the pasta, though for me, this is not a big deal to combine them at serving. I won’t cook the sausage in the sauce. Marinara can be cooked with fish and seafood, added at the last moments of cooking.
The following is written by Julia Moskin, The New York Times. Adapted from Lidia’s Commonsense Italian Cooking by Lidia Bastianich. Click the link below for a cool video.
Homemade marinara is almost as fast and tastes immeasurably better than even the best supermarket sauce — and it’s made with basic pantry ingredients. All the tricks to a bright red, lively-tasting sauce, made just as it is in the south of Italy (no butter, no onions) are in this recipe. Use a skillet instead of the usual saucepan: the water evaporates quickly, so the tomatoes are just cooked through as the sauce becomes thick.
TOTAL TIME
25 minutes
Ingredients
1 28-ounce can whole San Marzano tomatoes,certified D.O.P. if possible
1/4 cup extra-virgin olive oil
7 garlic cloves, peeled and slivered
Small dried whole chile, or pinch crushed red pepper flakes
1 teaspoon kosher salt
1 large fresh basil sprig, or 1/4 teaspoon dried oregano, more to taste
Preparation
1. Pour tomatoes into a large bowl and crush with your hands. Pour 1 cup water into can and slosh it around to get tomato juices. Reserve.
2. In a large skillet (do not use a deep pot) over medium heat, heat the oil. When it is hot, add garlic.
3. As soon as garlic is sizzling (do not let it brown), add the tomatoes, then the reserved tomato water. Add whole chile or red pepper flakes, oregano (if using) and salt. Stir.
4. Place basil sprig, including stem, on the surface (like a flower). Let it wilt, then submerge in sauce. Simmer sauce until thickened and oil on surface is a deep orange, about 15 minutes. (If using oregano, taste sauce after 10 minutes of simmering, adding more salt and oregano as needed.) Discard basil and chile (if using).
YIELD: Makes about 3 1/2 cups, enough for 1 pound of pasta
My husband Dave looks for recipes like the research scientist he is. This Marinara Sauce he found scrolling through the New York Times. Here are the two links which have all the info.
Strawberry Balsamic Vinegar is Delicious as an Apertif
As an after dinner drink to settle the stomach, balsamic vinegars have long been a favorite. This week I discovered Strawberry Balsamic Vinegar at Peggy Finger’s oil & vinegar shop in Midland. It is addicting! The color is so beautiful and bright and it has a perfect combo of tart and fruitiness!
After drinking a few glasses of wine at a dinner party, an alcohol free digestive like the original and flavored balsamic vinegars we have today are a welcome change to the high alcohol limoncello, grappa, brandies and cordials usually served. They settle the stomach and give us a chance to use our fancy cordial glasses tucked away in our cabinets! Enjoy!
For info about the craft of making balsamic vinegar:
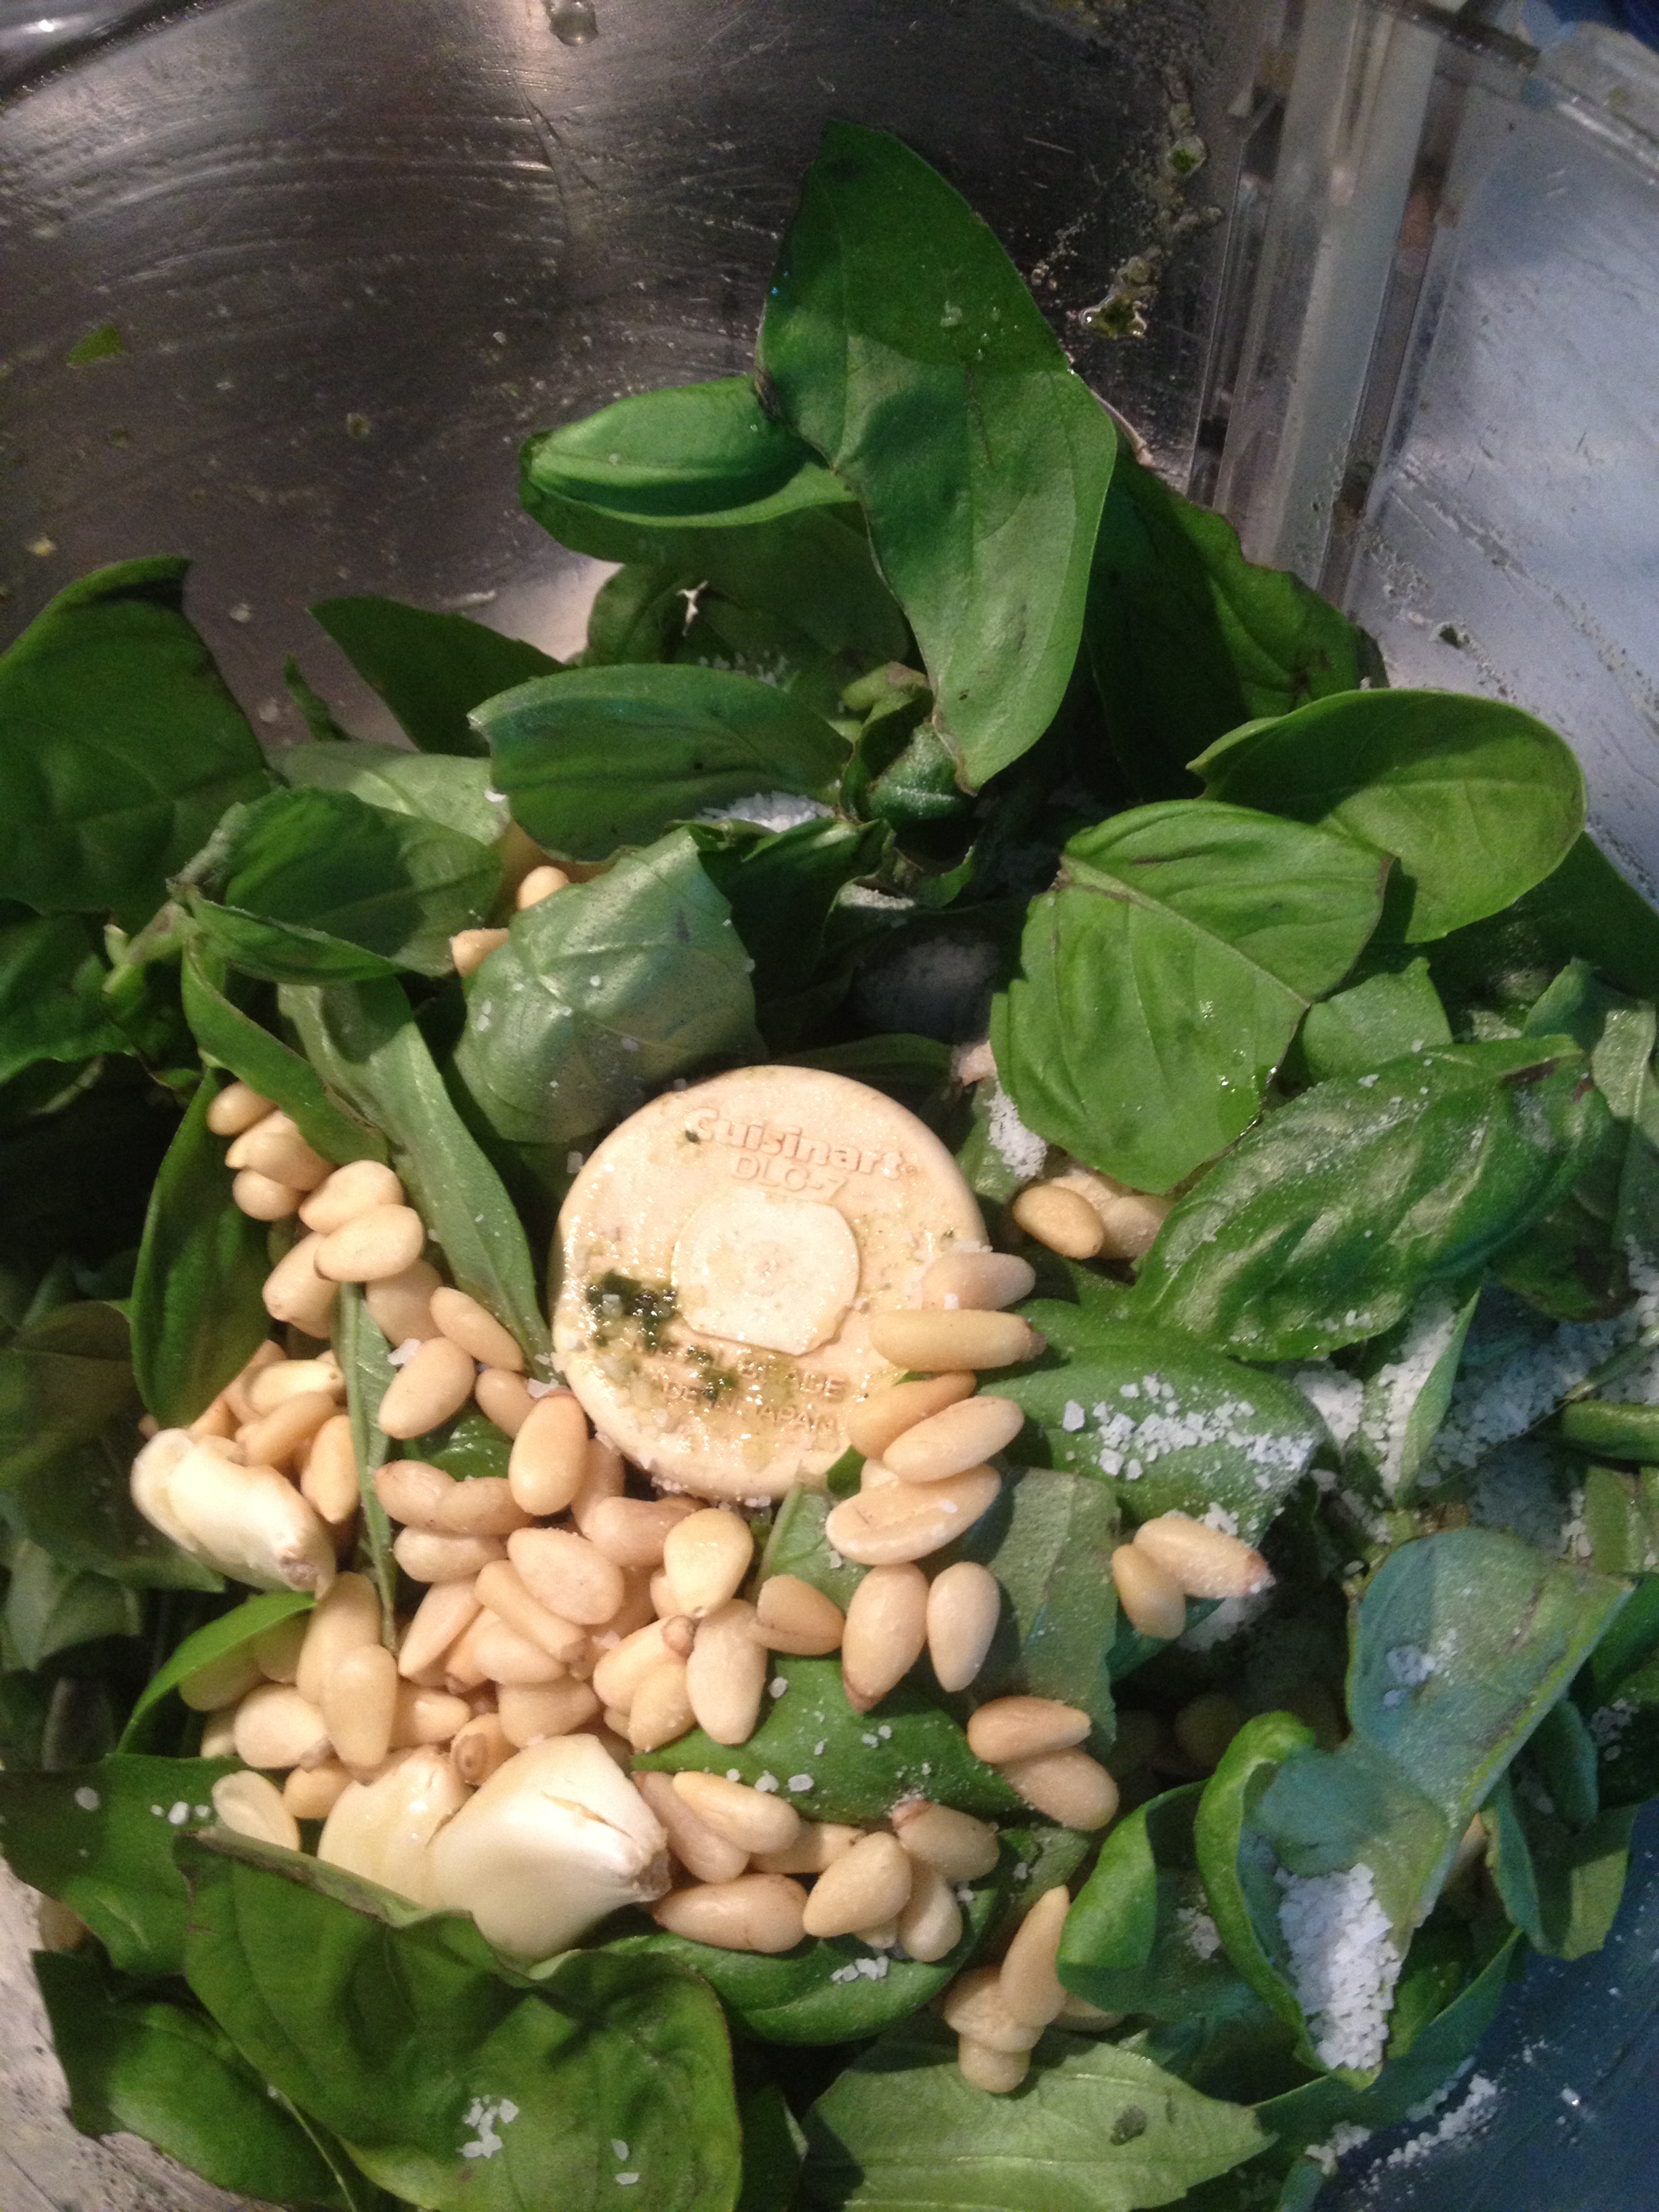
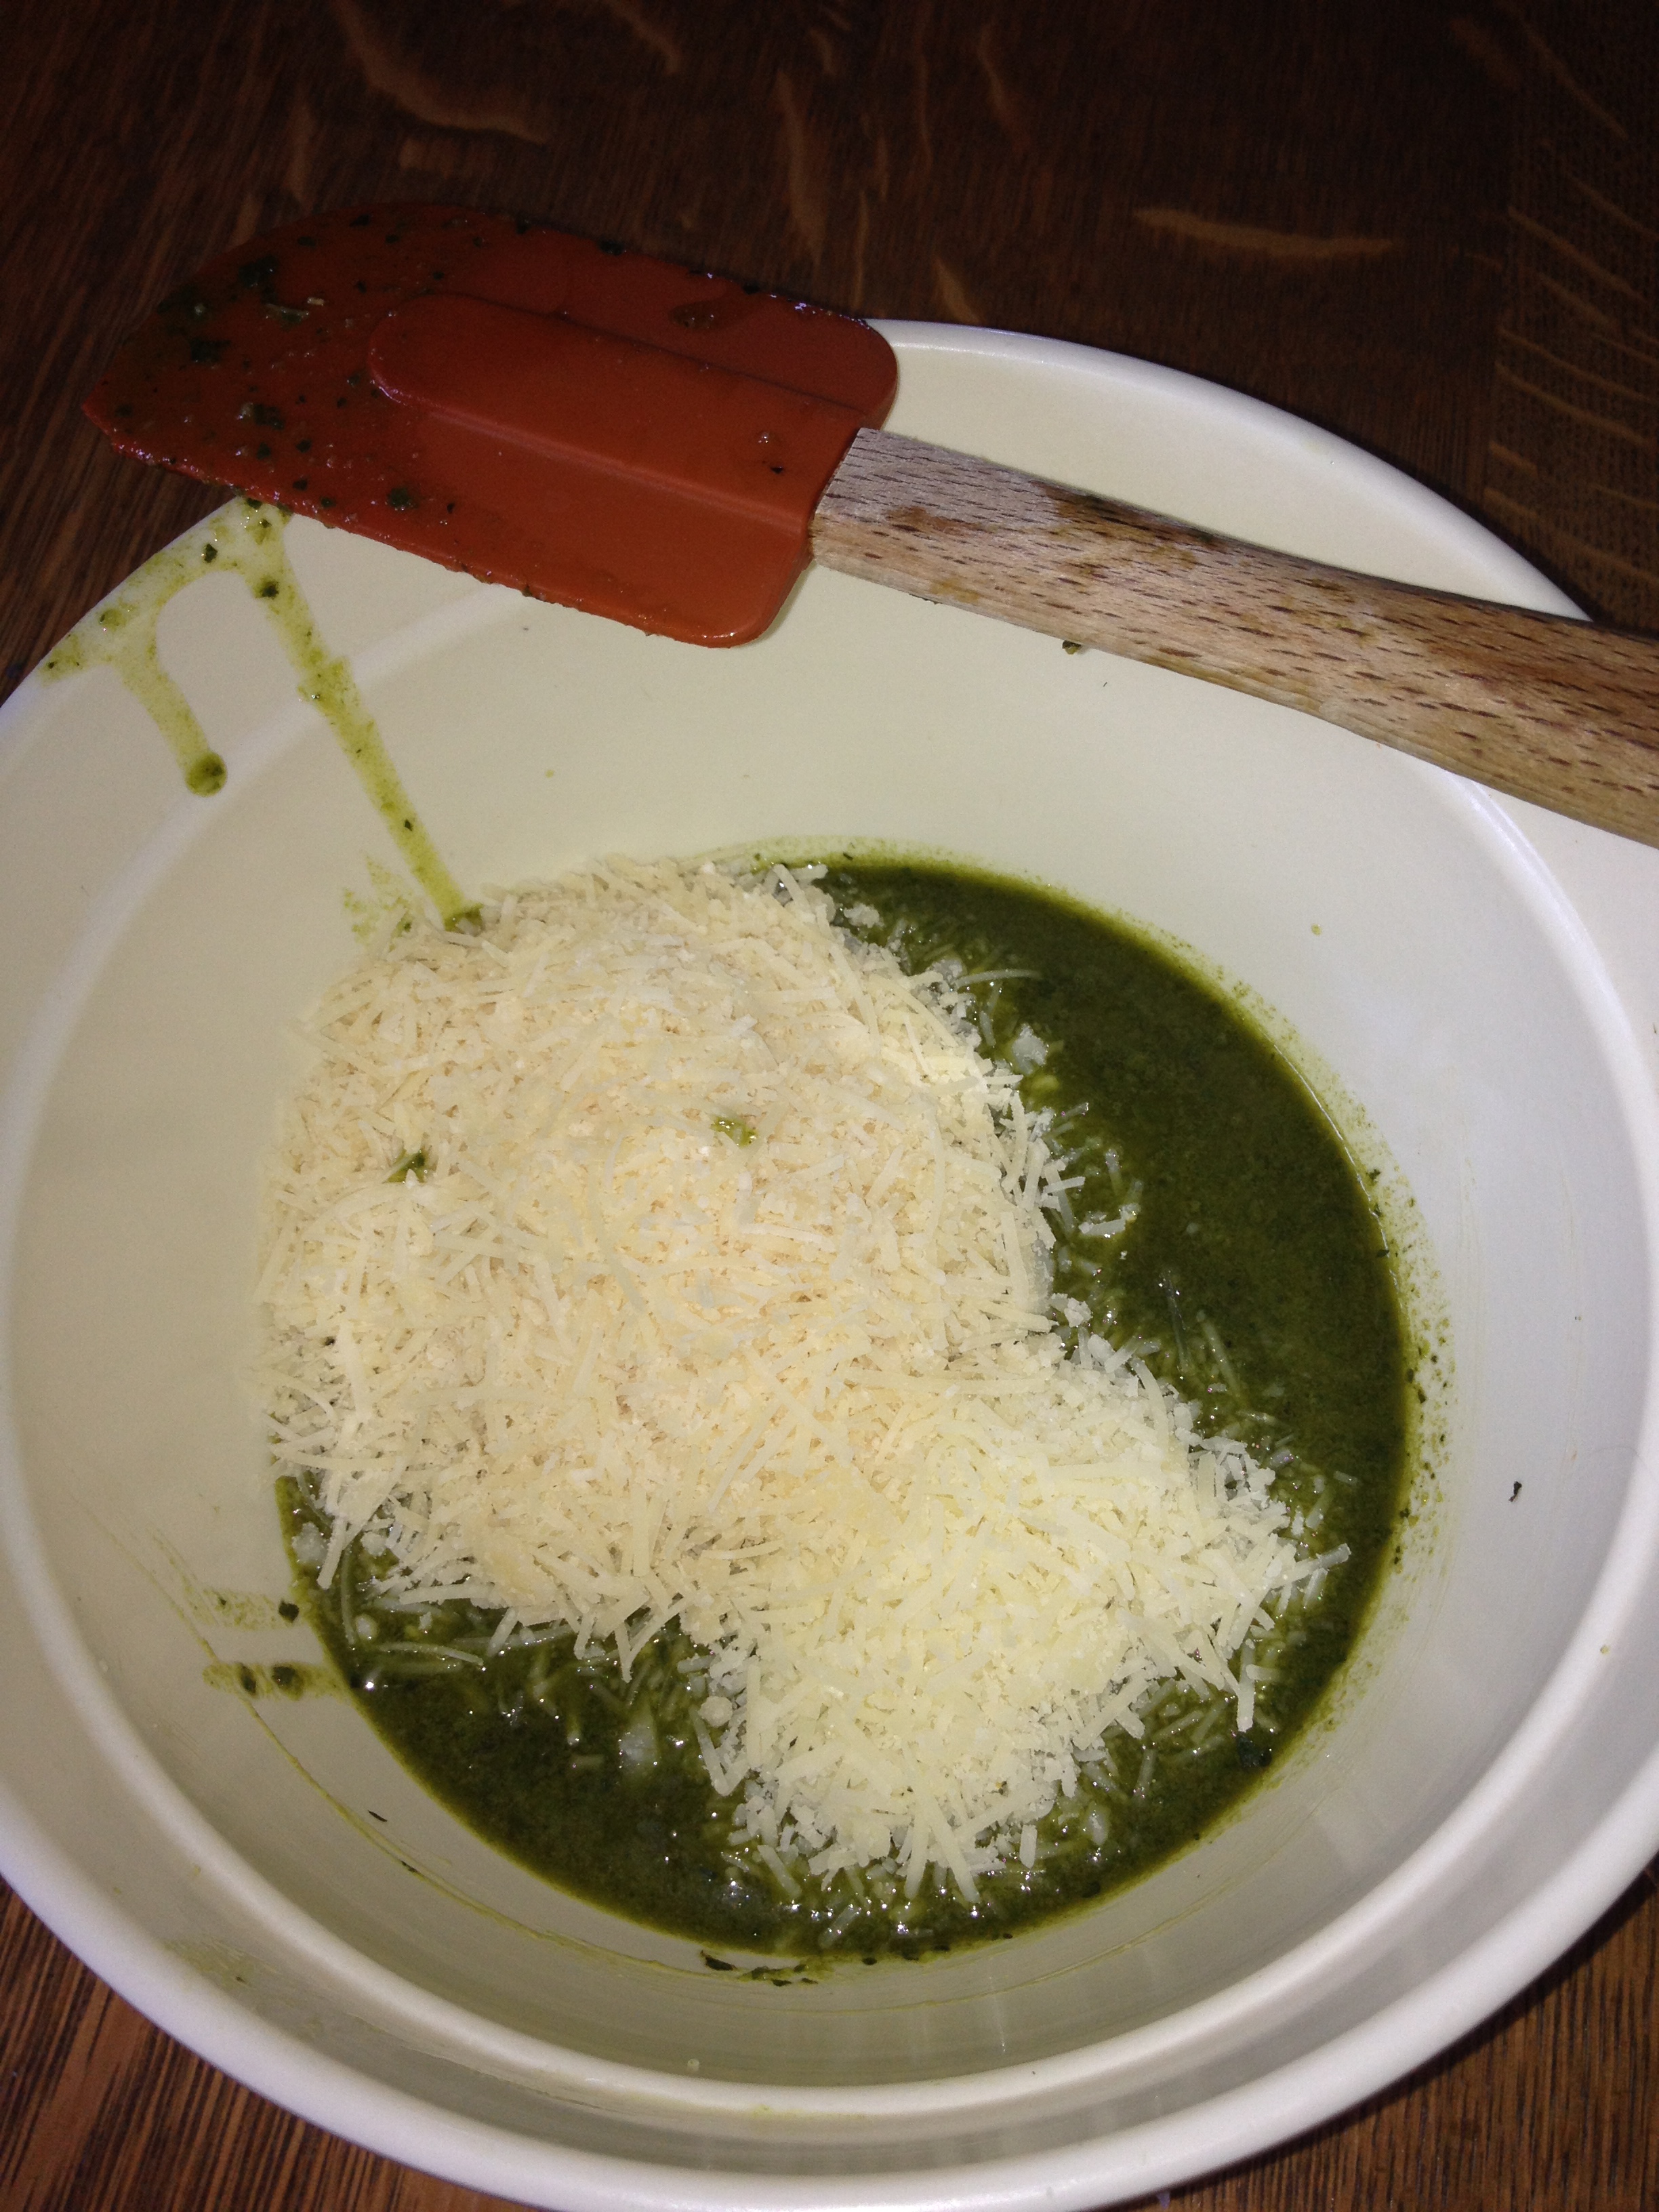
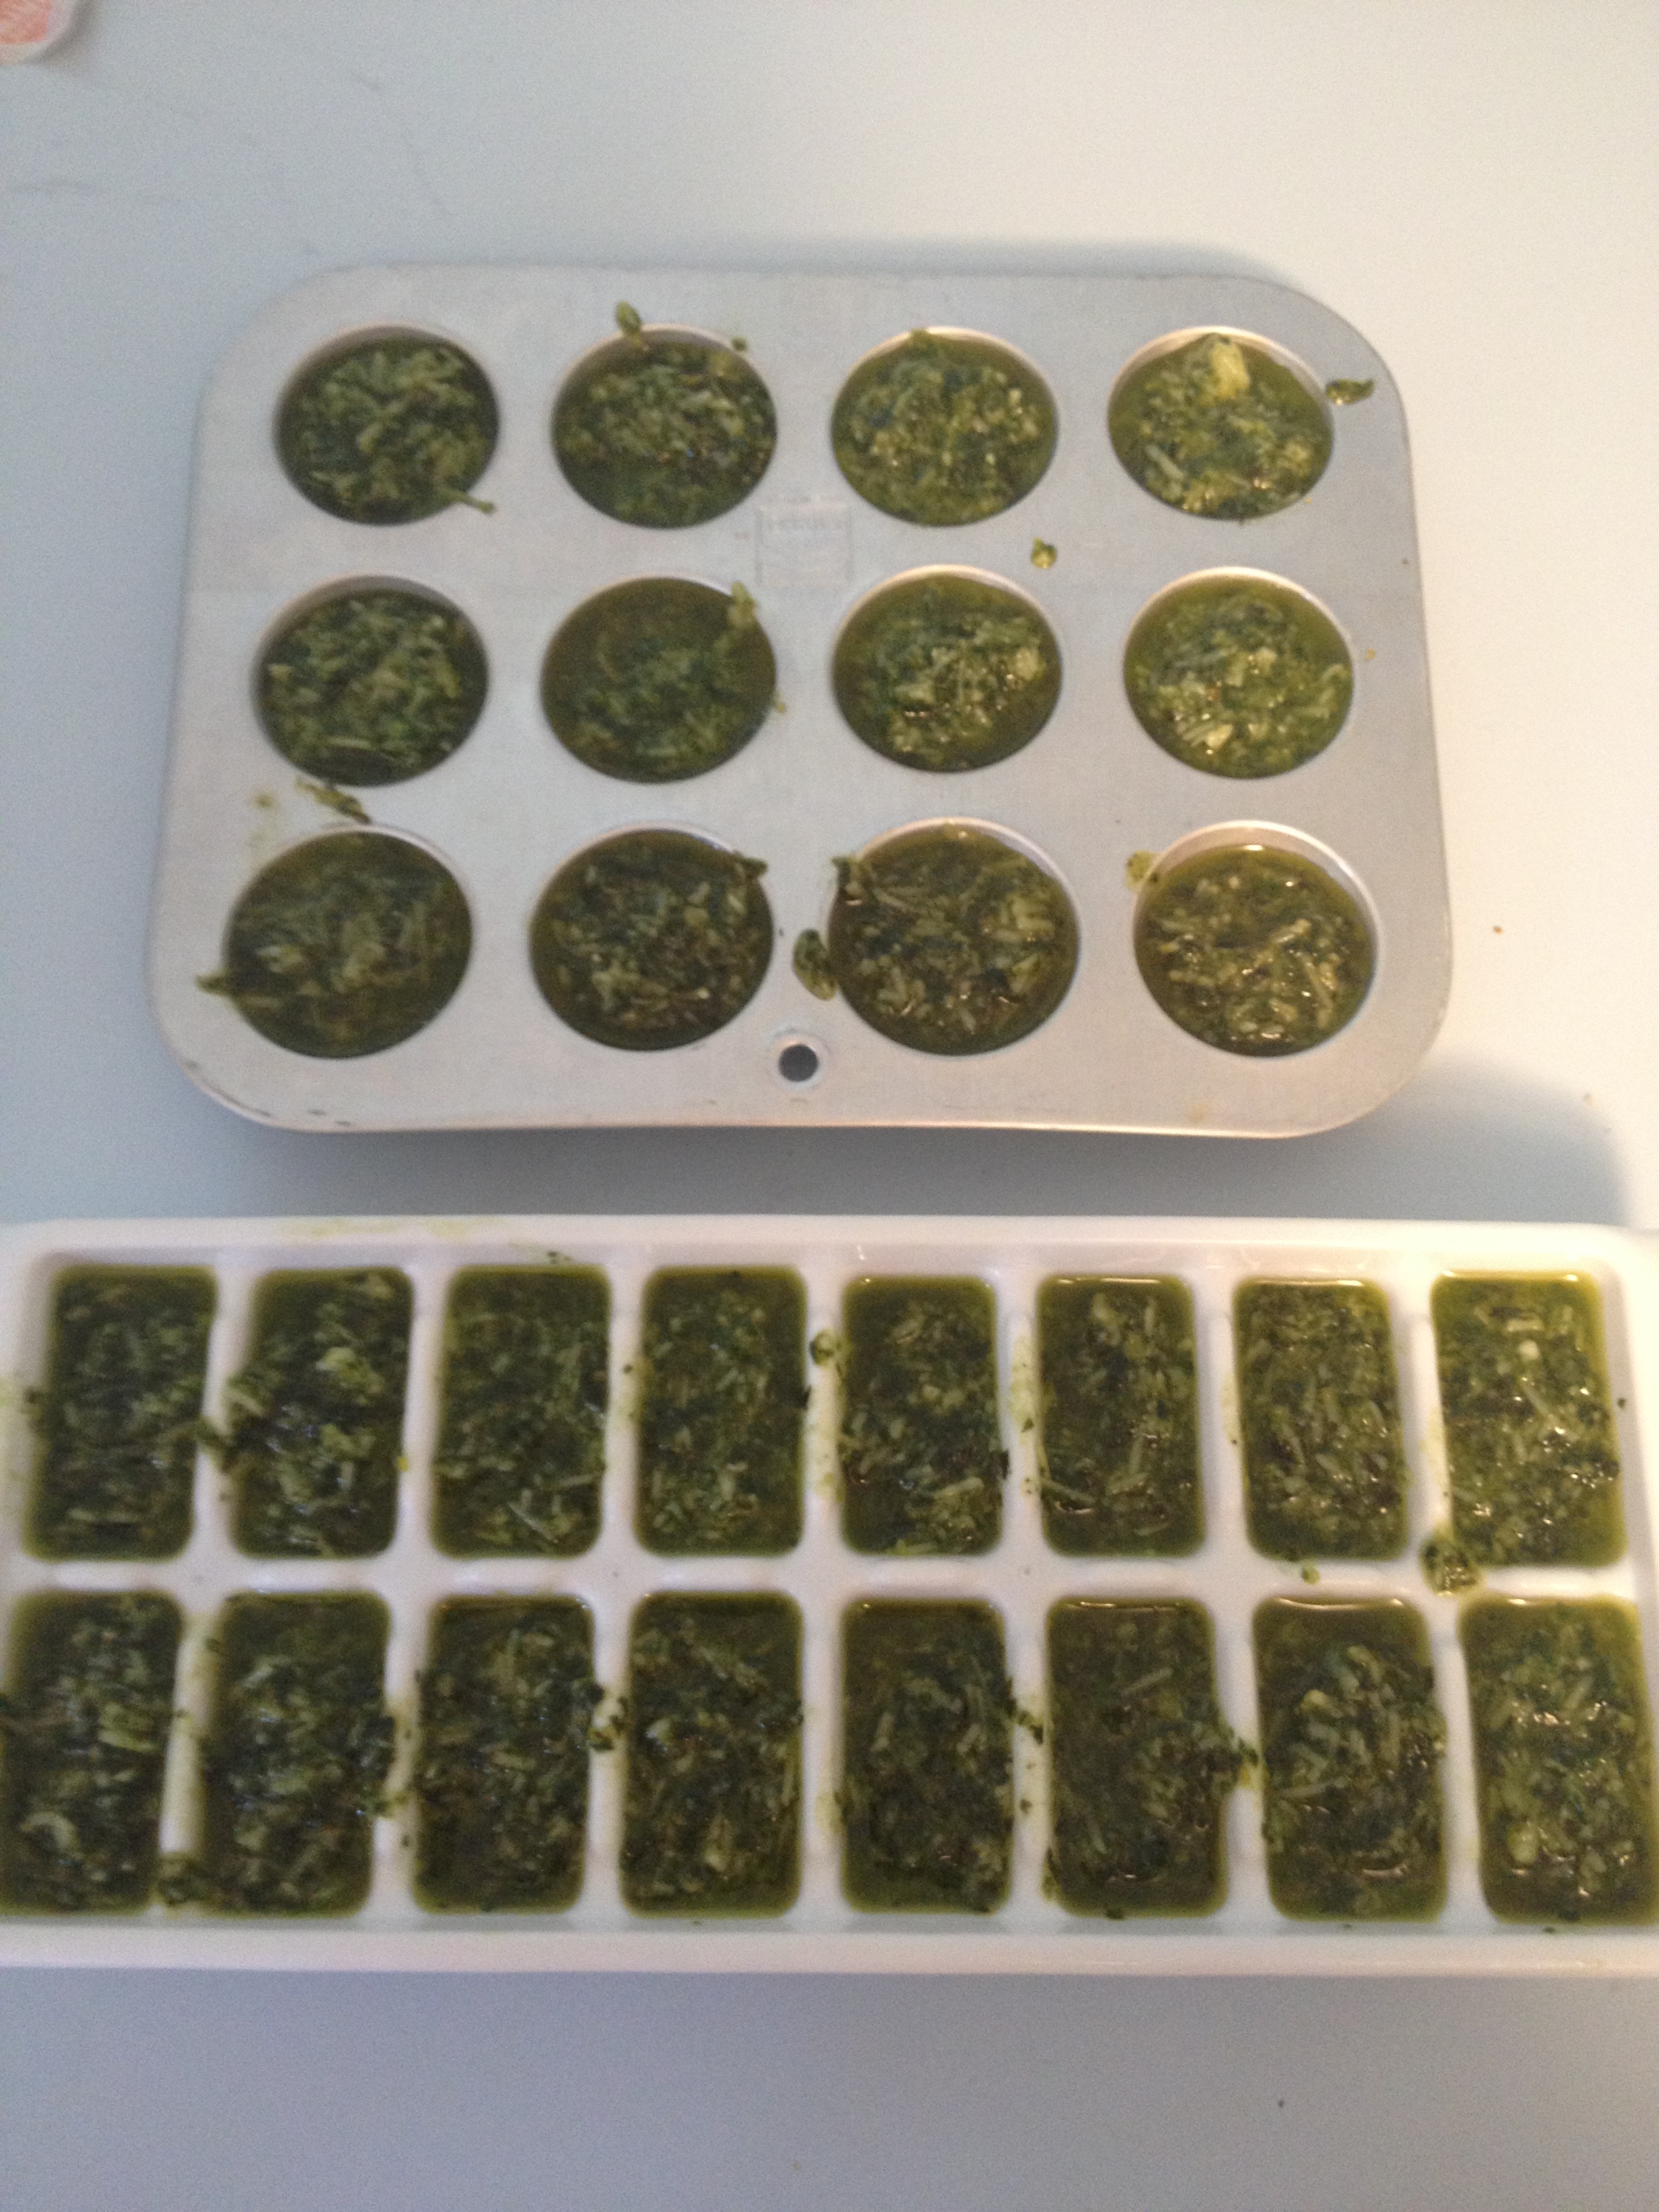
All the ingredients you need to make pesto! Take a stem of leaves in one hand and wipe the leaves with the other using a damp paper towel Add to the food processor the basil, pine nuts, garlic, salt and olive oil Pureed ingredients before adding the cheese. You can freeze the sauce at this point and add the cheeses at a later date when you are ready to serve the Pesto. Pour the pureed mixture into a mixing bowl Add the Parmesan and Romano cheeses Pesto ready for freezing in the ice cube trays and mini muffin tins. When frozen, pop them out and store in Ziploc freezer bags or cartons in the freezer
Pesto ready for the frig!Dave’s basil was bountiful this year. He filled two large garden pots with 4 plants each. The leaves were not huge and since the plant was beginning to flower, I cut it all down and made five batches of pesto today. That’s about 20 cups of fresh basil leaves!
I have two other Pesto recipes posted on my blog. Today’s recipe is closest to the traditional Genoese Basil Sauce. Genoa is the city where Pesto originates. Christopher Columbus was Genovese and he carried pesto on his ships to the New World, the Nina, the Pinta and the Santa Maria. I wonder why I remember all this?
This recipe is to be made in a standard size food processor. It is an adaption of Marcella Hazan’s from her cookbook, The Classical Italian Cookbook. A well-rounded pesto is never made with all Parmesan or all Romano. Marcella and I use 4 parts Parmesan to 1 part Romano in this recipe.
Ingredients
4 cups fresh basil leaves, lightly wipe the leaves with a damp paper towel to clean. Basil does not like to be wet and will brown quickly. I grab a stalk with one hand and then with a damp paper towel wipe the leaves. Then gently tear leaves into two or more small pieces. Be careful not to crush the basil. The purpose is to make fairly even sized pieces for uniform measuring. I prefer the traditional green leaf basil. It makes a nice bright green pesto. The purple basil produces a darker brown-green pesto.
1 cup olive oil
4 cloves garlic, lightly crushed with a heavy knife and peeled (don’t over do the garlic; a very large clove counts as 2 cloves)
2 teaspoons Kosher salt
1/4 cup pine nuts, (about 1-1.5 ounces)
1/4 cup freshly grated Locatelli brand Romano cheese (other brands are fine, but this is my favorite)
1 cup (about 1/4 pound) freshly grated Parmigiano-Reggiano cheese
Instructions
1. In a food processor place the basil, olive oil, pine nuts, garlic cloves and salt. Process with the knife blade until pureed. Do not overprocess or allow the basil to heat up. Scrape the sides of the bowl during processing.
2. Pour the sauce into a medium size bowl and stir in the cheeses.
3. Freeze pesto in ice cube trays or tiny muffin tins and when frozen, place the cubes in a freezer carton or bag for storage in the freezer. You can also store the pesto in a jar in the refrigerator by keeping a layer of olive oil on the surface and covering with a lid. Presto!
4. Serve with pasta as the original recipe. Use as a spread on tomatoes and fresh mozzarella or sandwiches and bruschetta. Add as a flavoring to soups, sauces and stews. Use as a marinade for chicken.
OPTIONAL: Instead of freezing with the cheese, omit the cheese and add it instead after thawing the cubes. This will give a fresher flavor, but is another step in your preparations.