
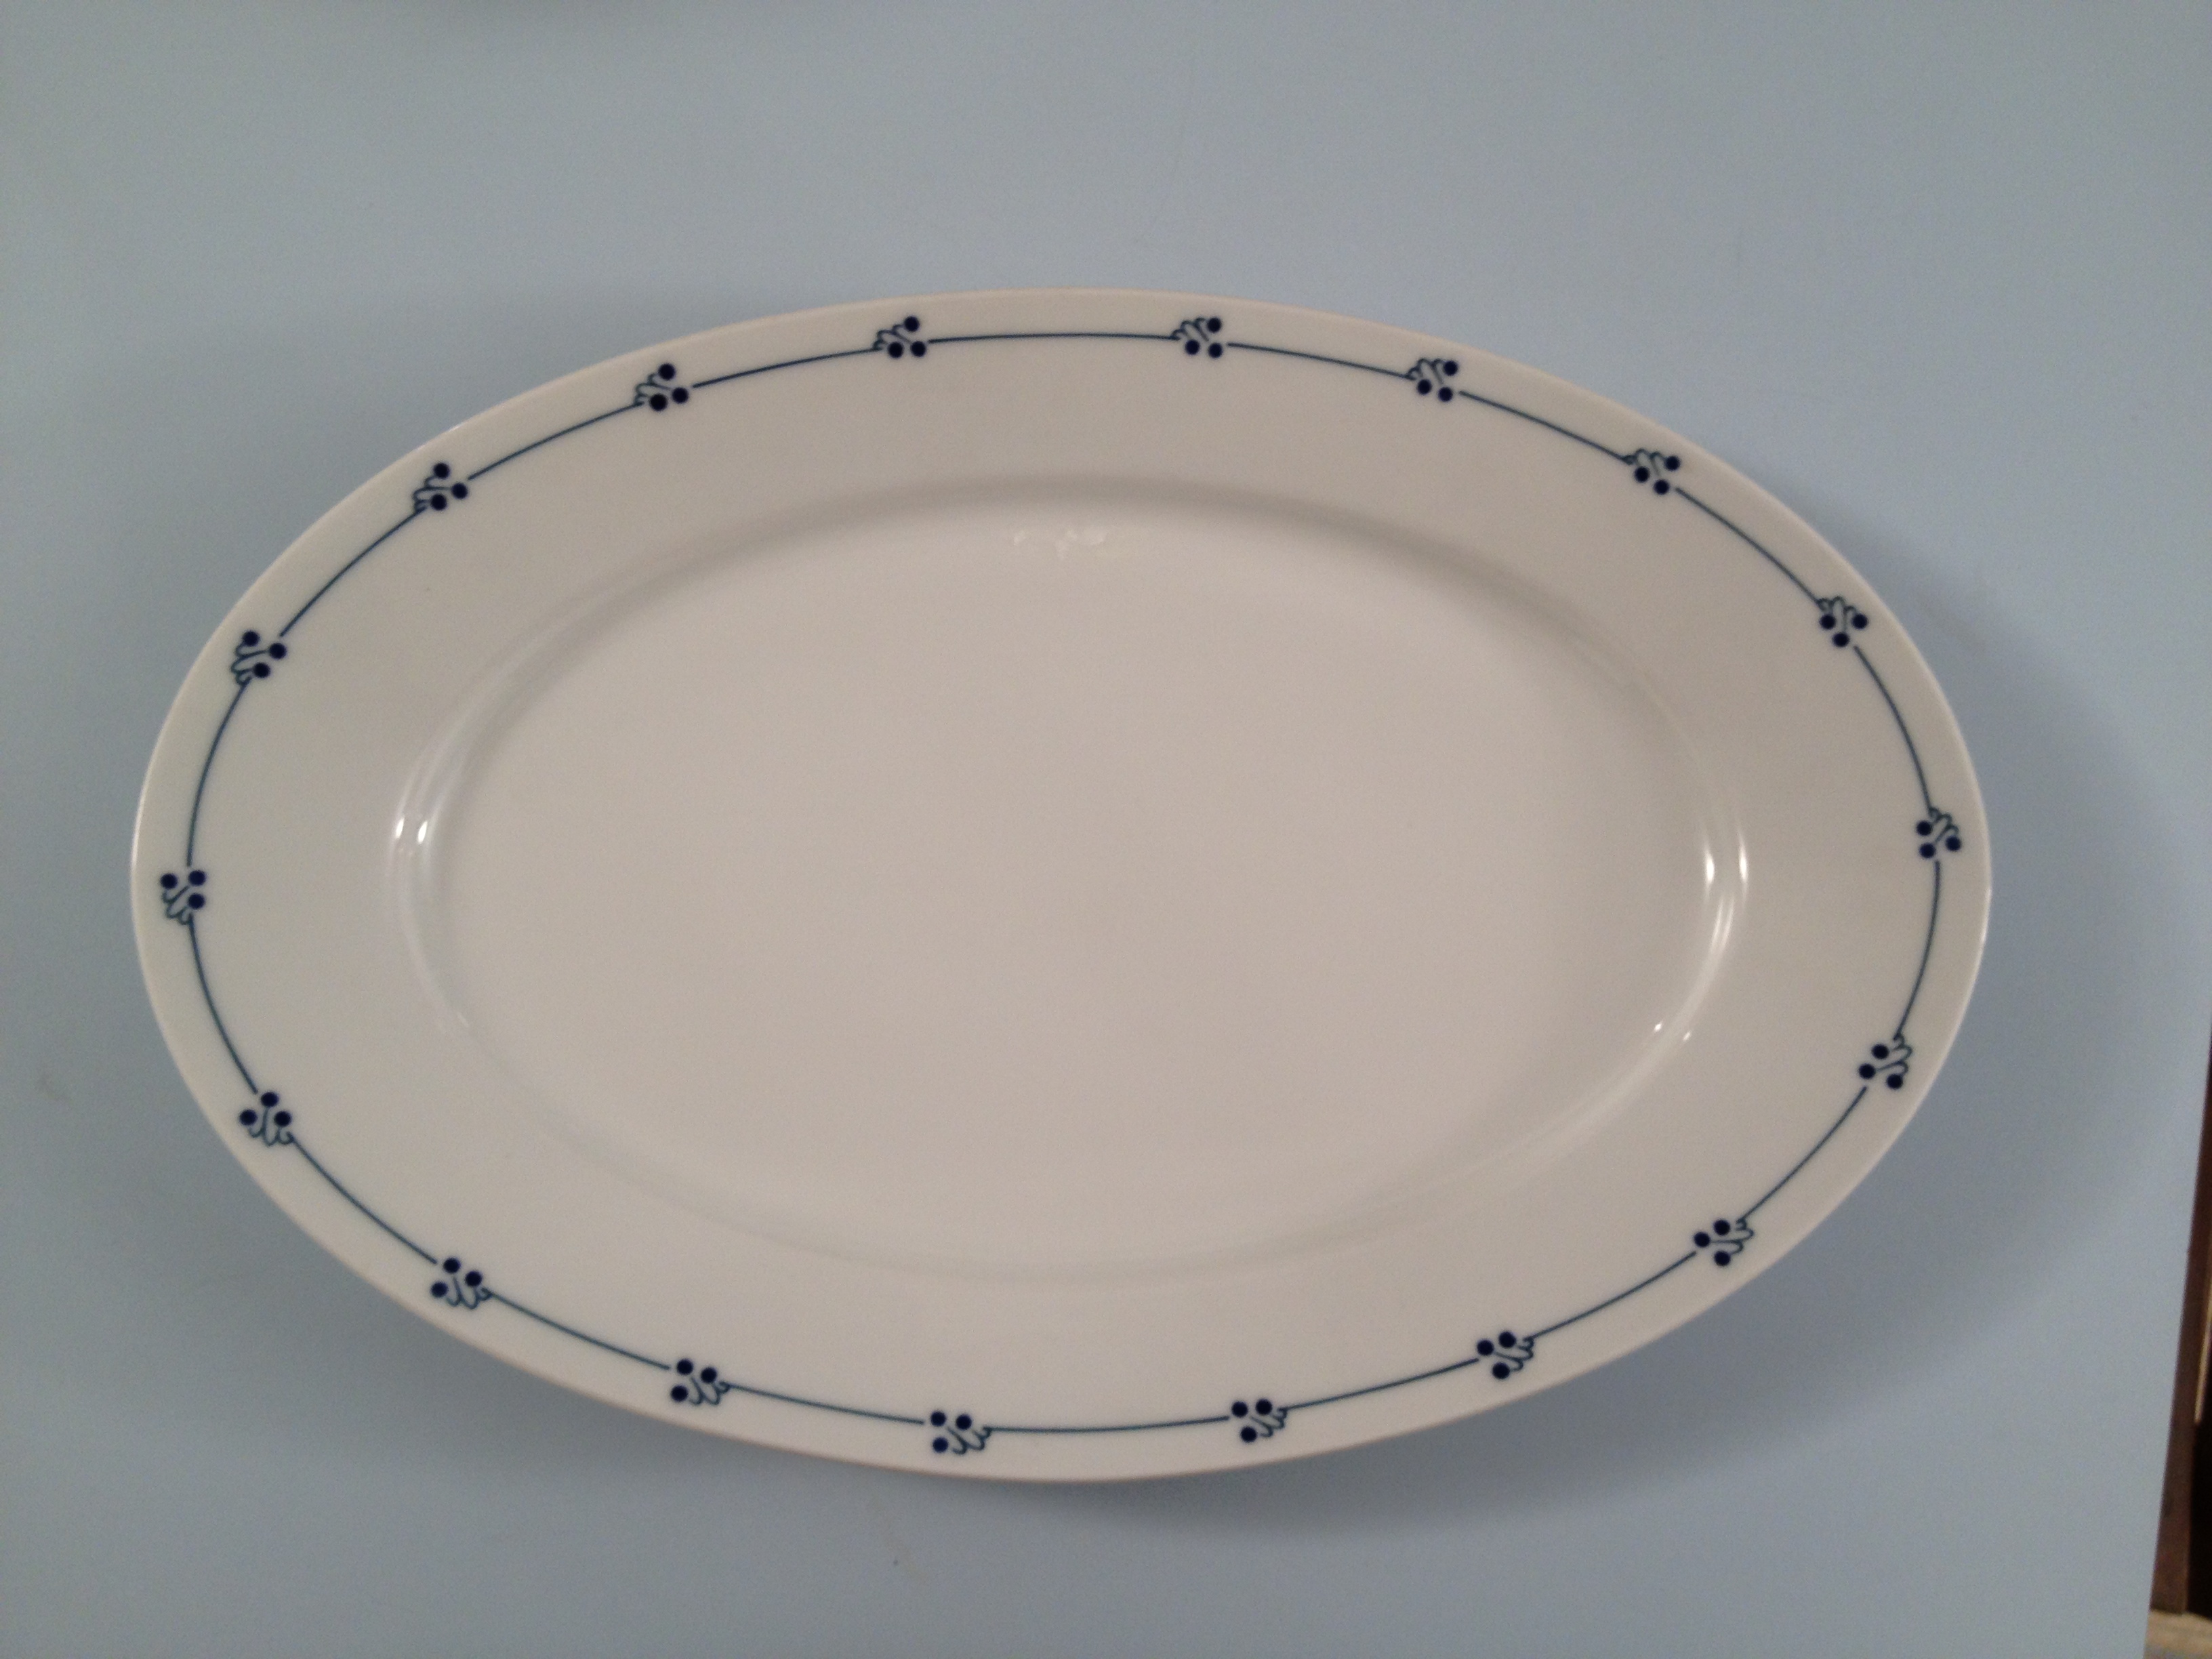
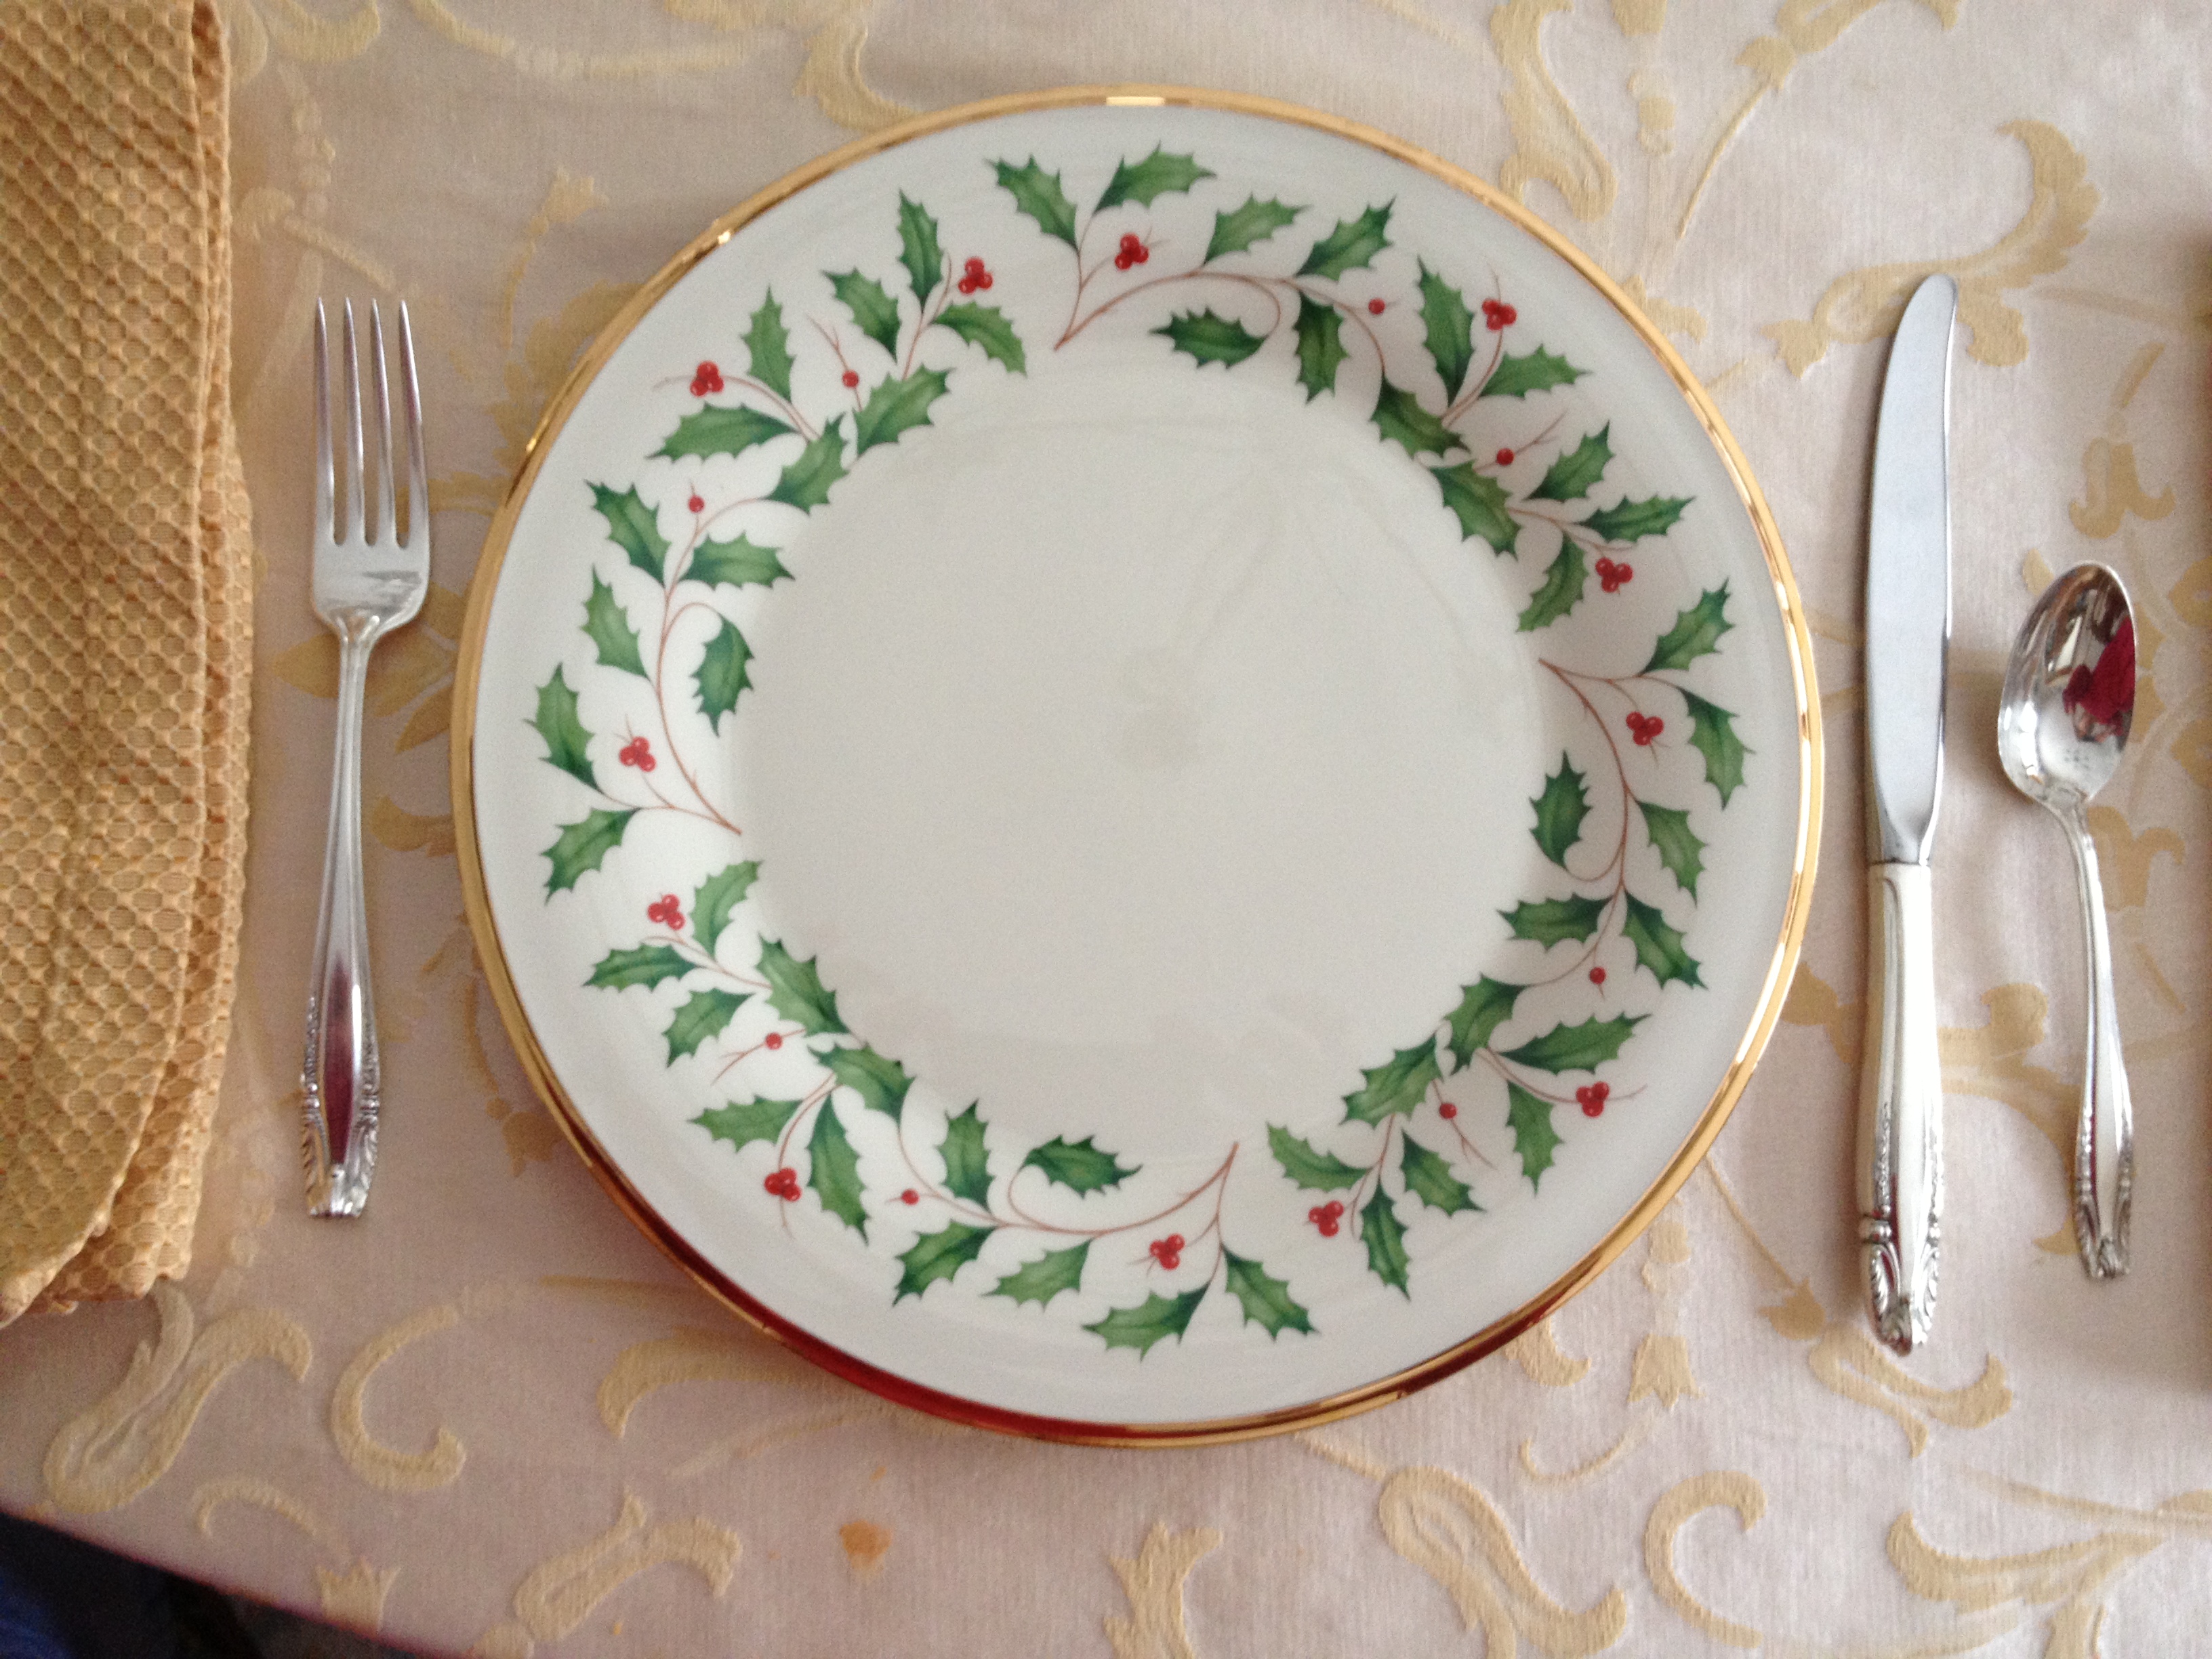
Setting the Christmas Table
This past Christmas week we gathered our family of six plus baby Julianna all together in our small town Michigan home. It was blissful! The menus were planned and ingredients purchased before they arrived. The recipes can be found at
CookingLight.com ,
CooksIllustrated.com, or
NinaintheKitchen.com, and the listed cookbooks. I would make all the recipes again except I would not use the Black Pepper crust on the tenderloin. The recipe for roasting was perfect, but the pepper flavor was over powering.
Our pattern is to have a brunch around 11am, snacks and grab your own lunch mid afternoon and dinner at 7 or 8pm. One of my piano families gave me a beautiful middle eastern cookbook called The Arab Table which is a treasure. Delish! Brunches were traditional eggs, bacon and toast, omelettes or Blueberry Pancakes (with a blueberry in every bite)! We use the Joy of Cooking recipes for Buttermilk Pancakes and Buttermilk Waffles which are perfect with our Vitantonio Premier Belgium Waffler and our supersized electric grill!
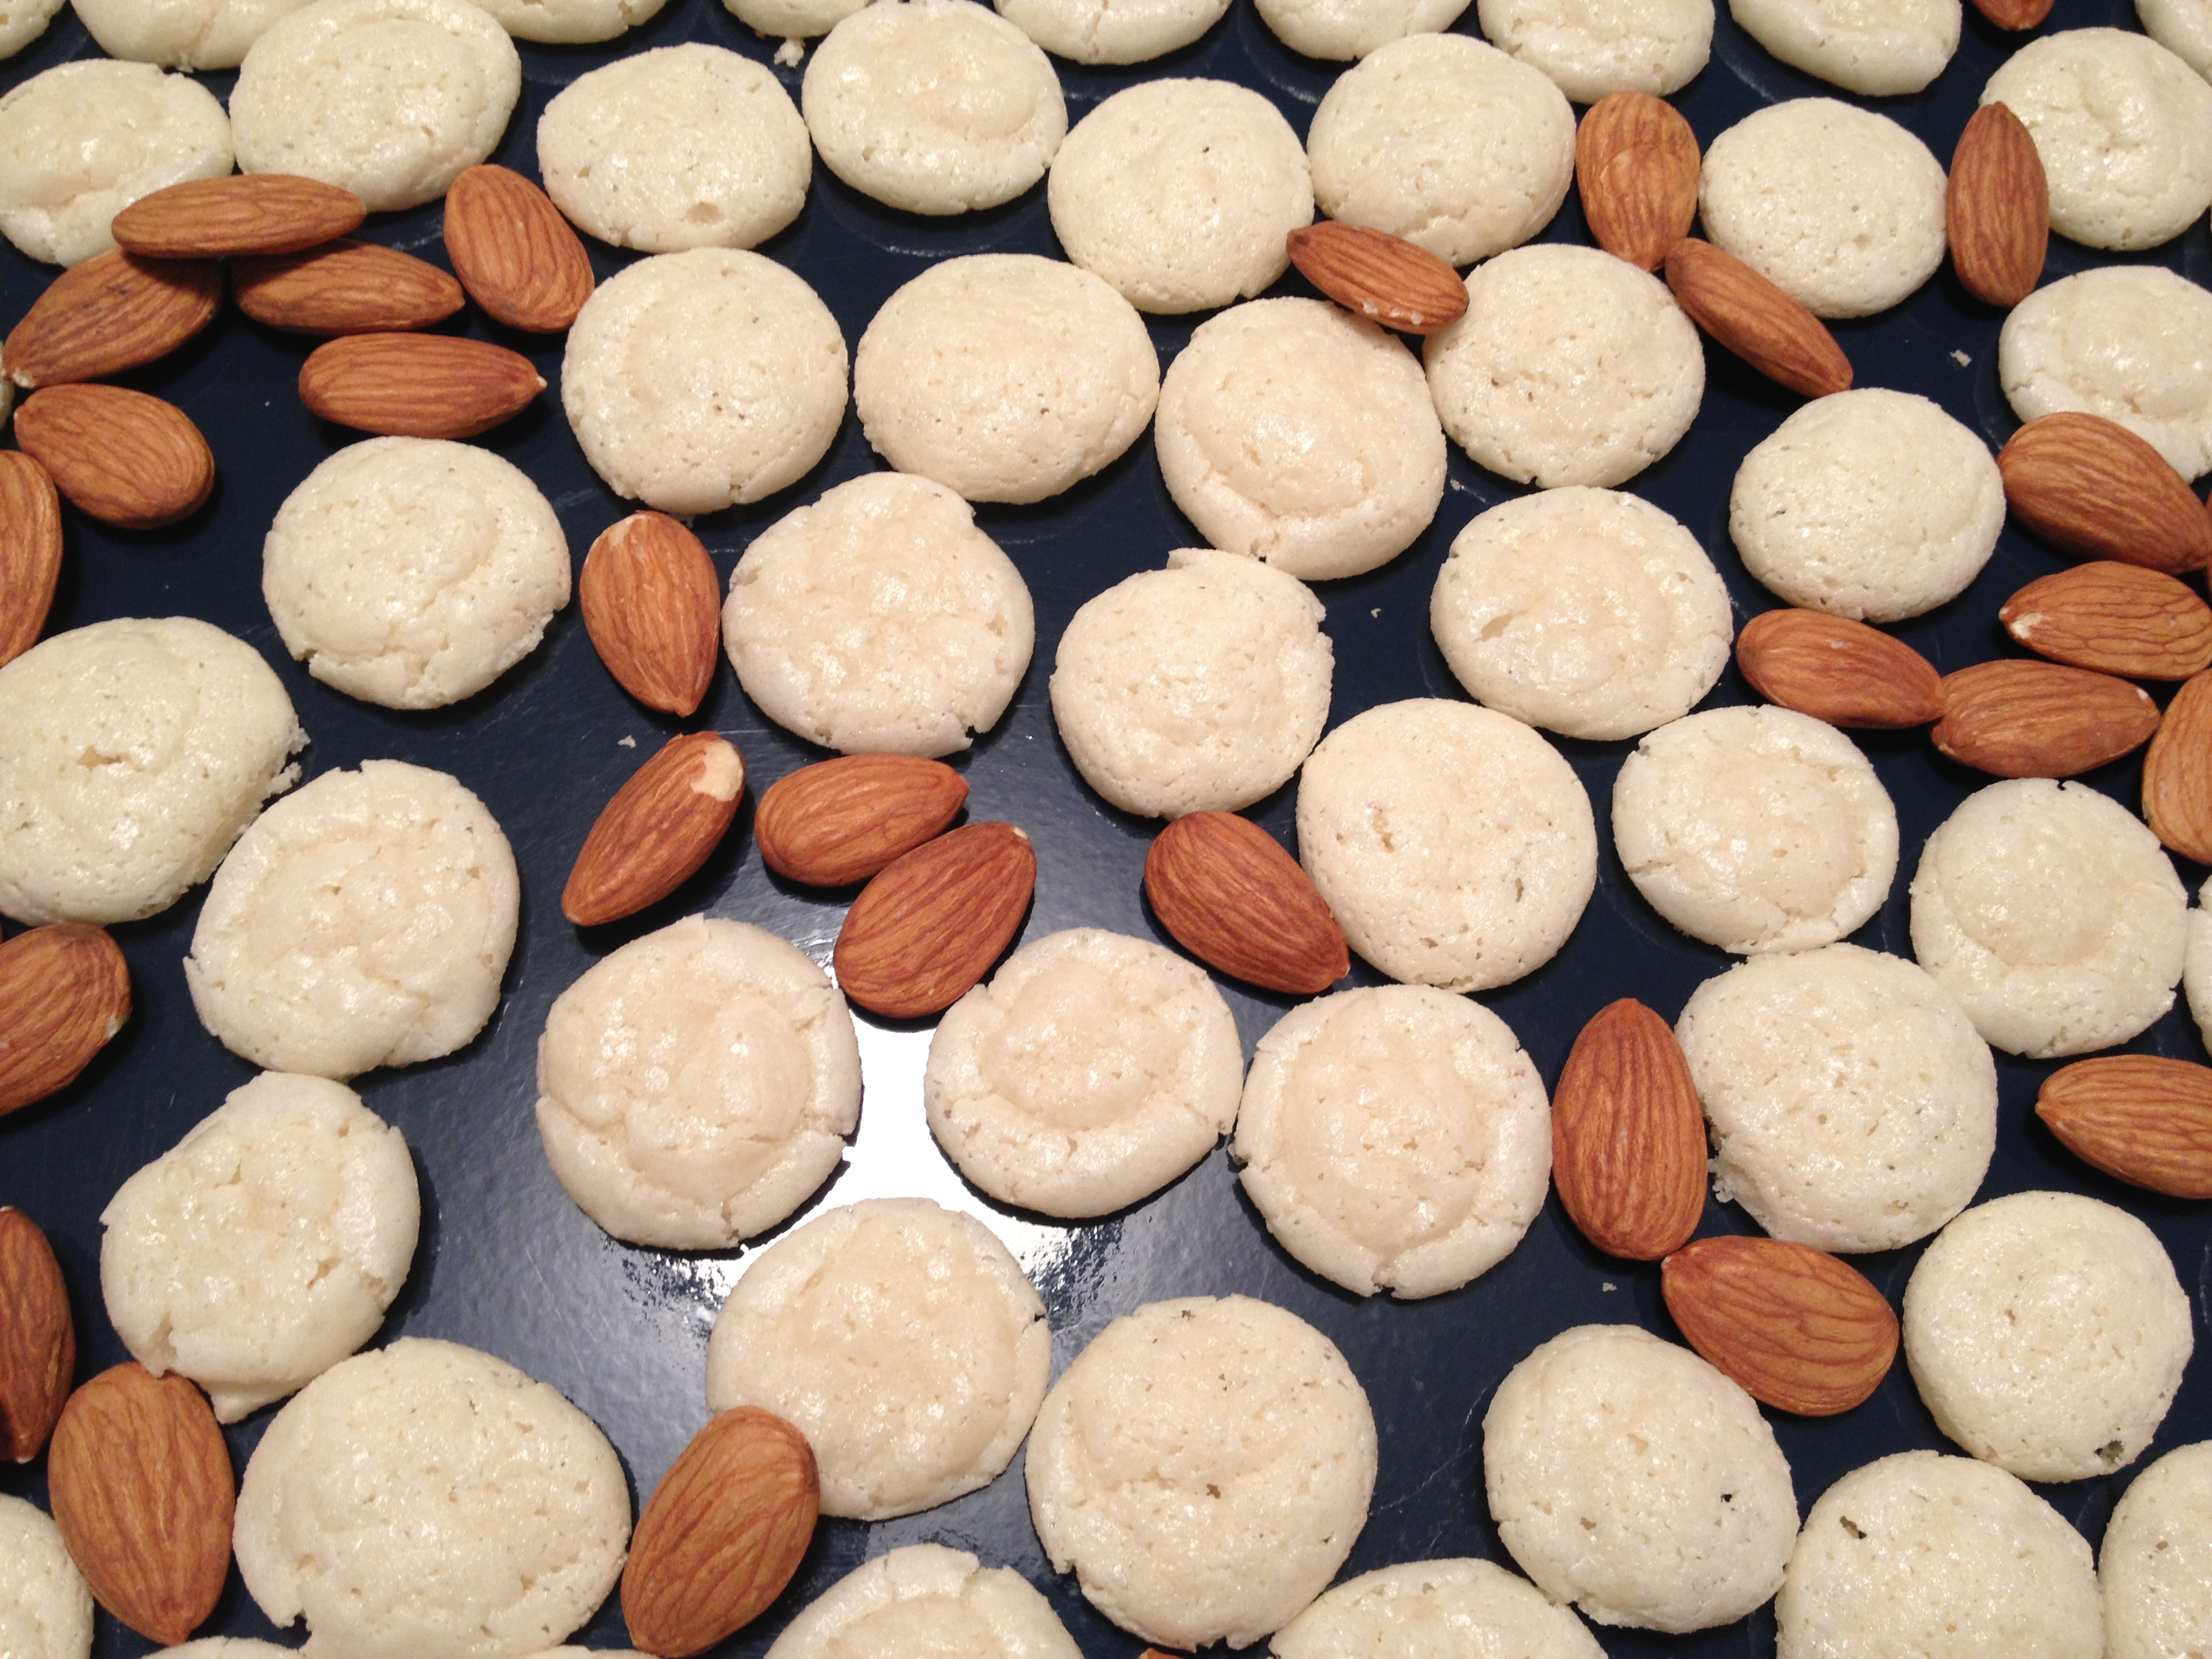
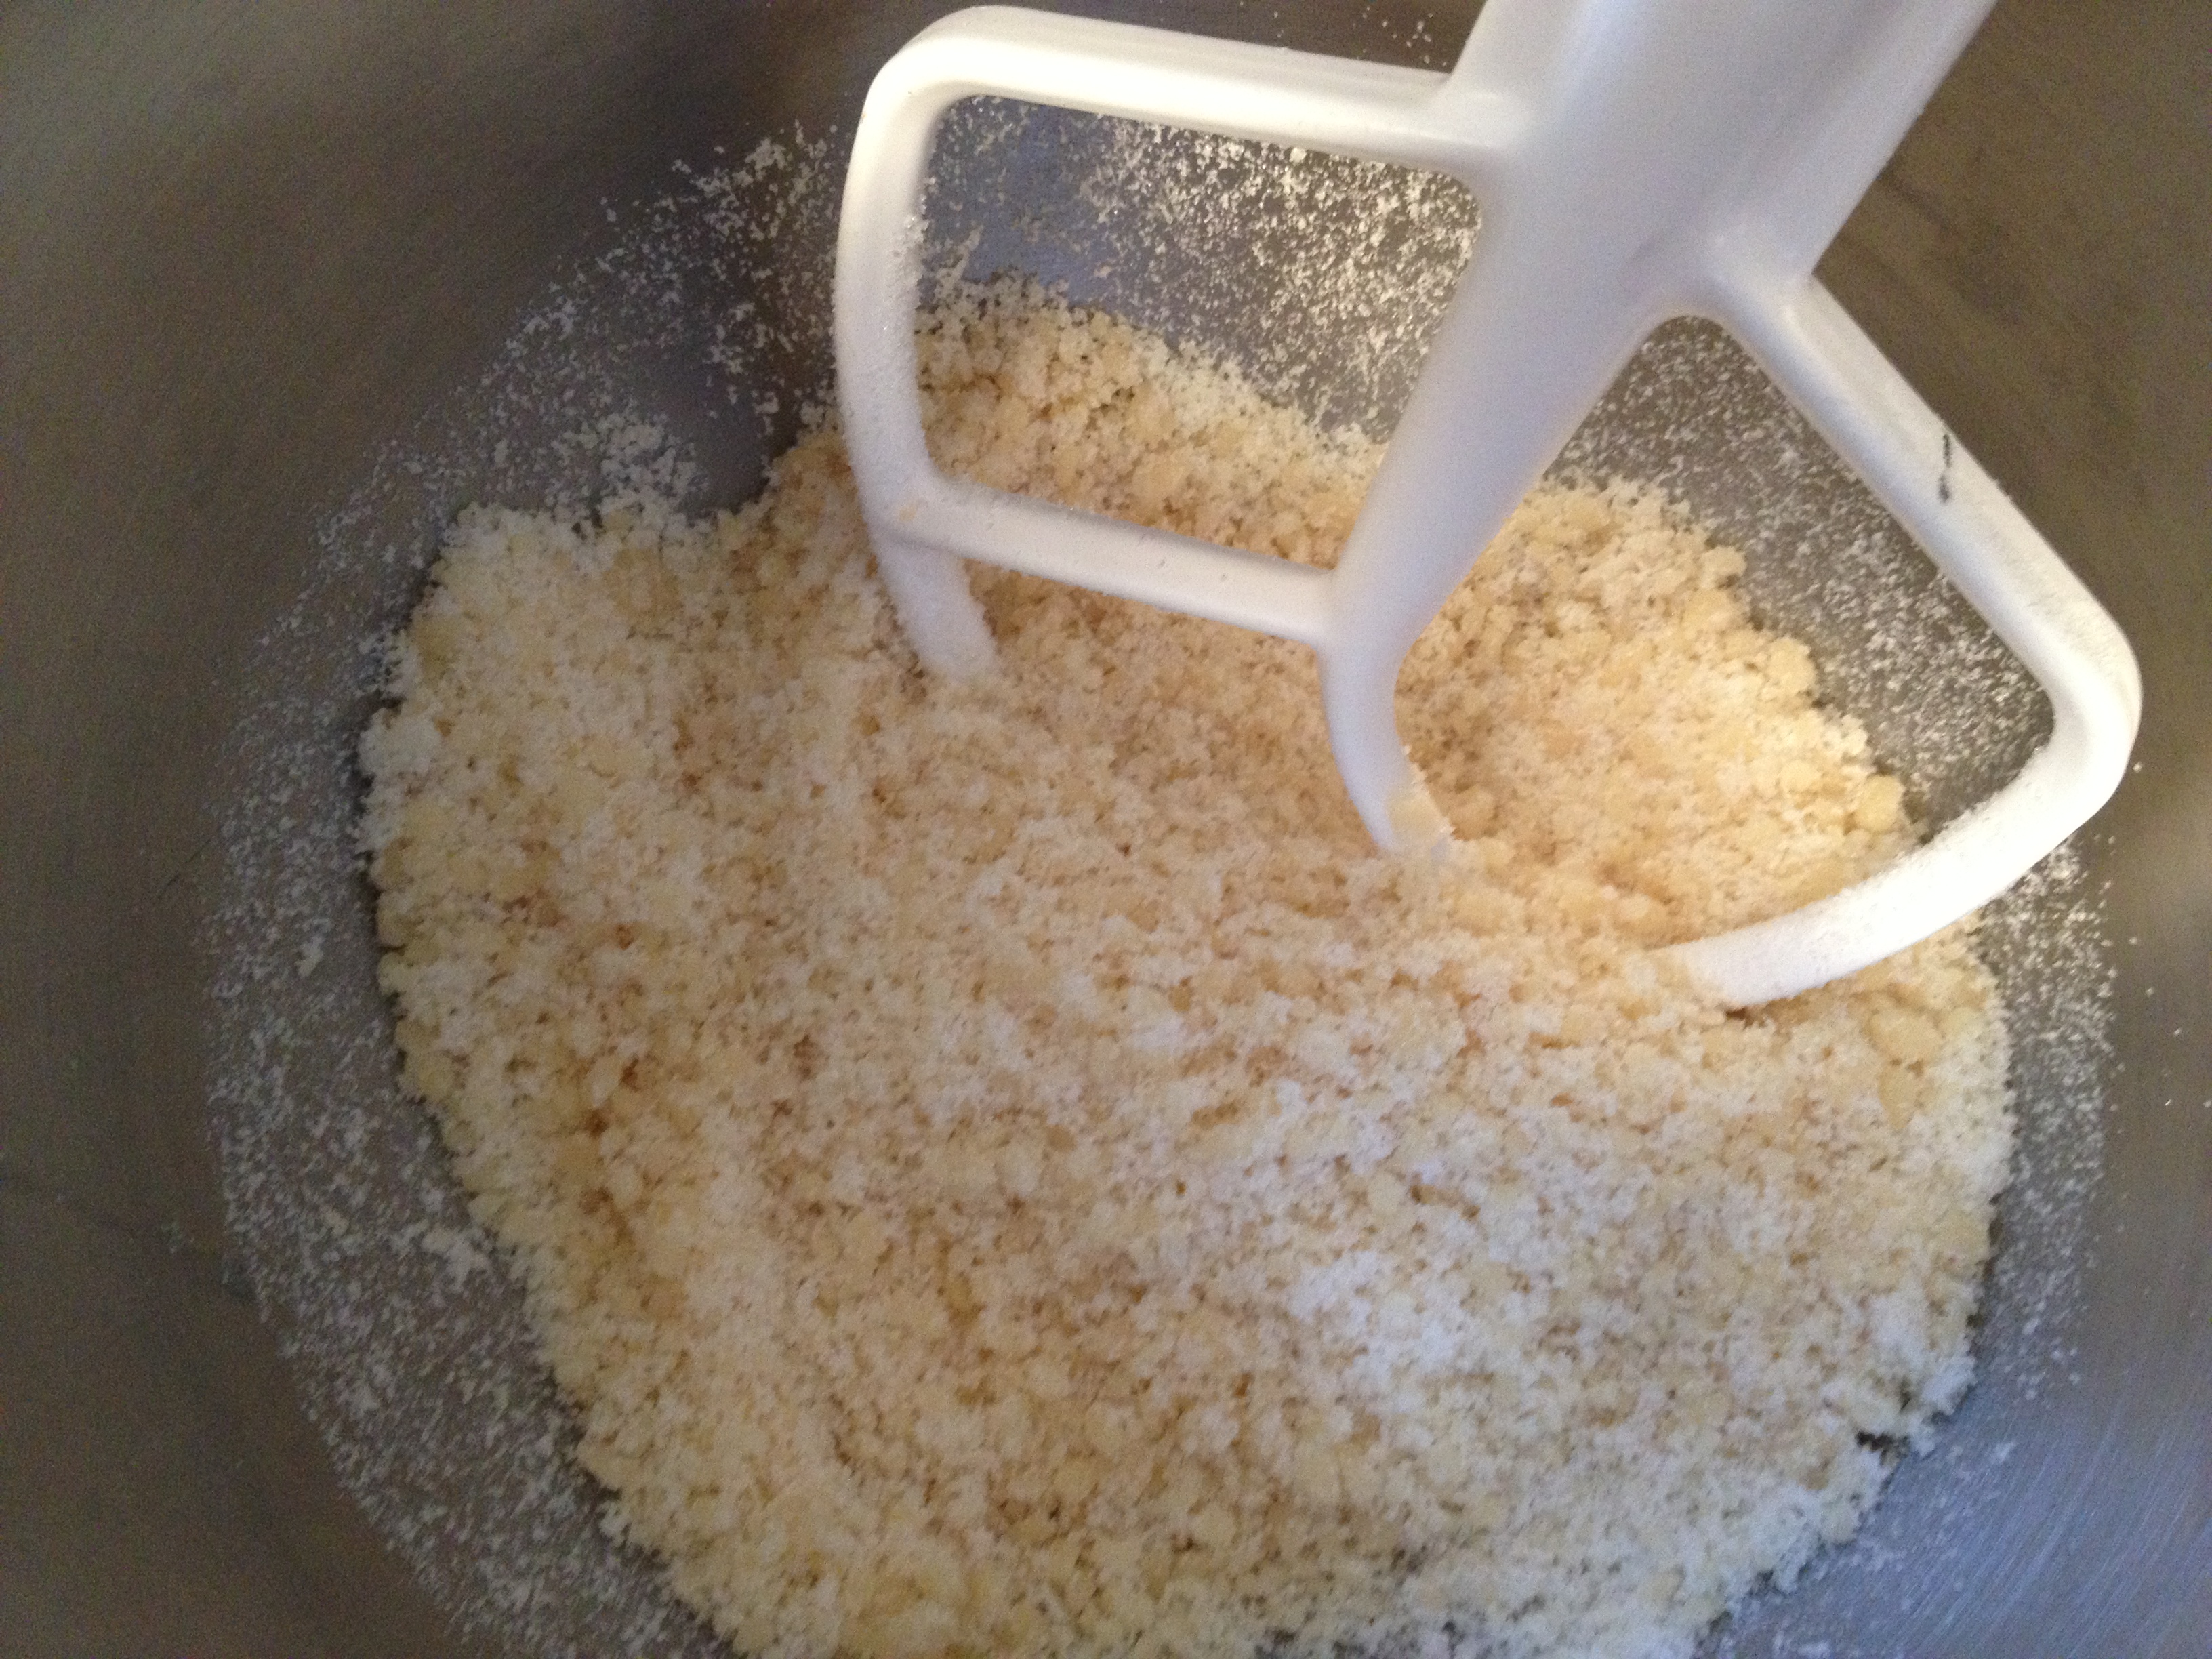
Cookies: A few of our favorites! I baked before everyone arrived and kept them cold in the garage stored in cookie tins (the Michigan second frig). We enjoyed these desserts through the Holidays. The recipes are from Baking with Julia and some are here at Ninainthekitchen.com
Saturday Dinner
Grilled Jerk Chicken (Cooks Illustrated 7/2012)
Baked Sweet Potatoes
Asian Cabbage Slaw
Sunday Late Lunch Buffet
Baked Burrata (Cooking Light 12/12)
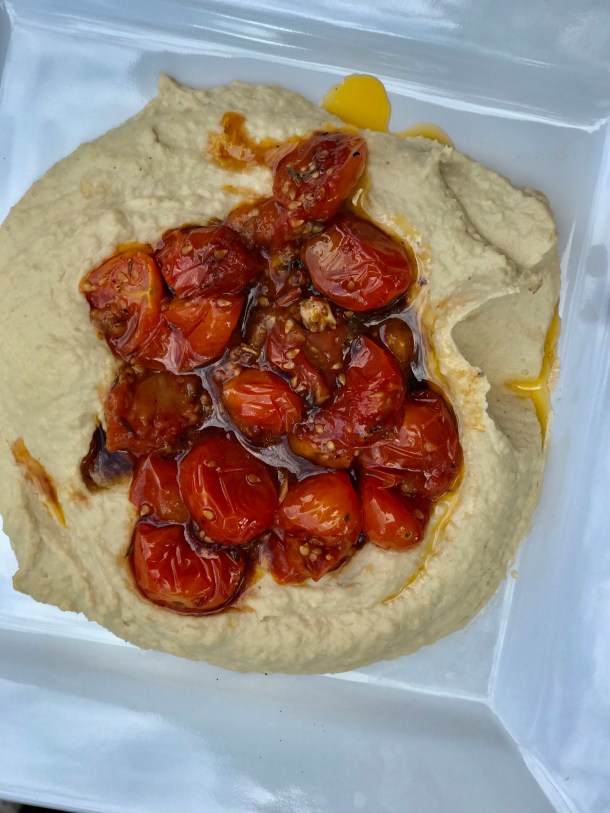
Hummus/Chickpea Dip and Pita Chips (The Arab Table and Cooks Illustrated)
Cucumber and Yogurt Salad/Khiyar bi Laban (The Arab Table)
Mixed Vegetable Salad/Fattoush (The Arab Table)
Pineapple/Orange/Grapefruit Salad with Pomegranate (Cooking Light)
Greek Lamb Sausage/Loukaniko (honest-food.net)
Brown Rice with Roasted Red peppers and Onion
Arab Flatbread (purchased locally from Detroit)
Cookies
Hungarian Shortbread /Raspberry Bars (Baking With Julia), Ninainthekitchen.com
Almond Lemon Squares (a Dutch recipe from South Holland, IL )
Double Chocolate Cookies (Baking With Julia)
Tuiles (Baking with Julia)
Monday, Christmas Eve Early Dinner
Thai Pork Lettuce Wraps (Cooks Illustrated 9/2009)
South East Asian Spring Rolls (Cooks Illustrated 1/2002)
Peanut Dipping Sauce (Cooks Illustrated)
Christmas Eve Evening Snacks
Nina’s Cheeseball and Crackers (NinaintheKitchen.com)
Specialty Cheeses
Shrimp and Cocktail Sauce
Hummus with Pita Chips and Red Pepper Strips
Christmas Day Dinner
Cracked Black Pepper Crusted Beef Tenderloin (Cooks Illustrated 12/2012)
Pomegranate Port Sauce (Cooks Illustrated 12/2012 online)
Mashed Yukon Gold Potatoes
Brussel Sprouts with Pecans ( Cooking Light online)
Mixed Vegetable Salad (leftover from Sunday’s brunch)
Post New Years Menus
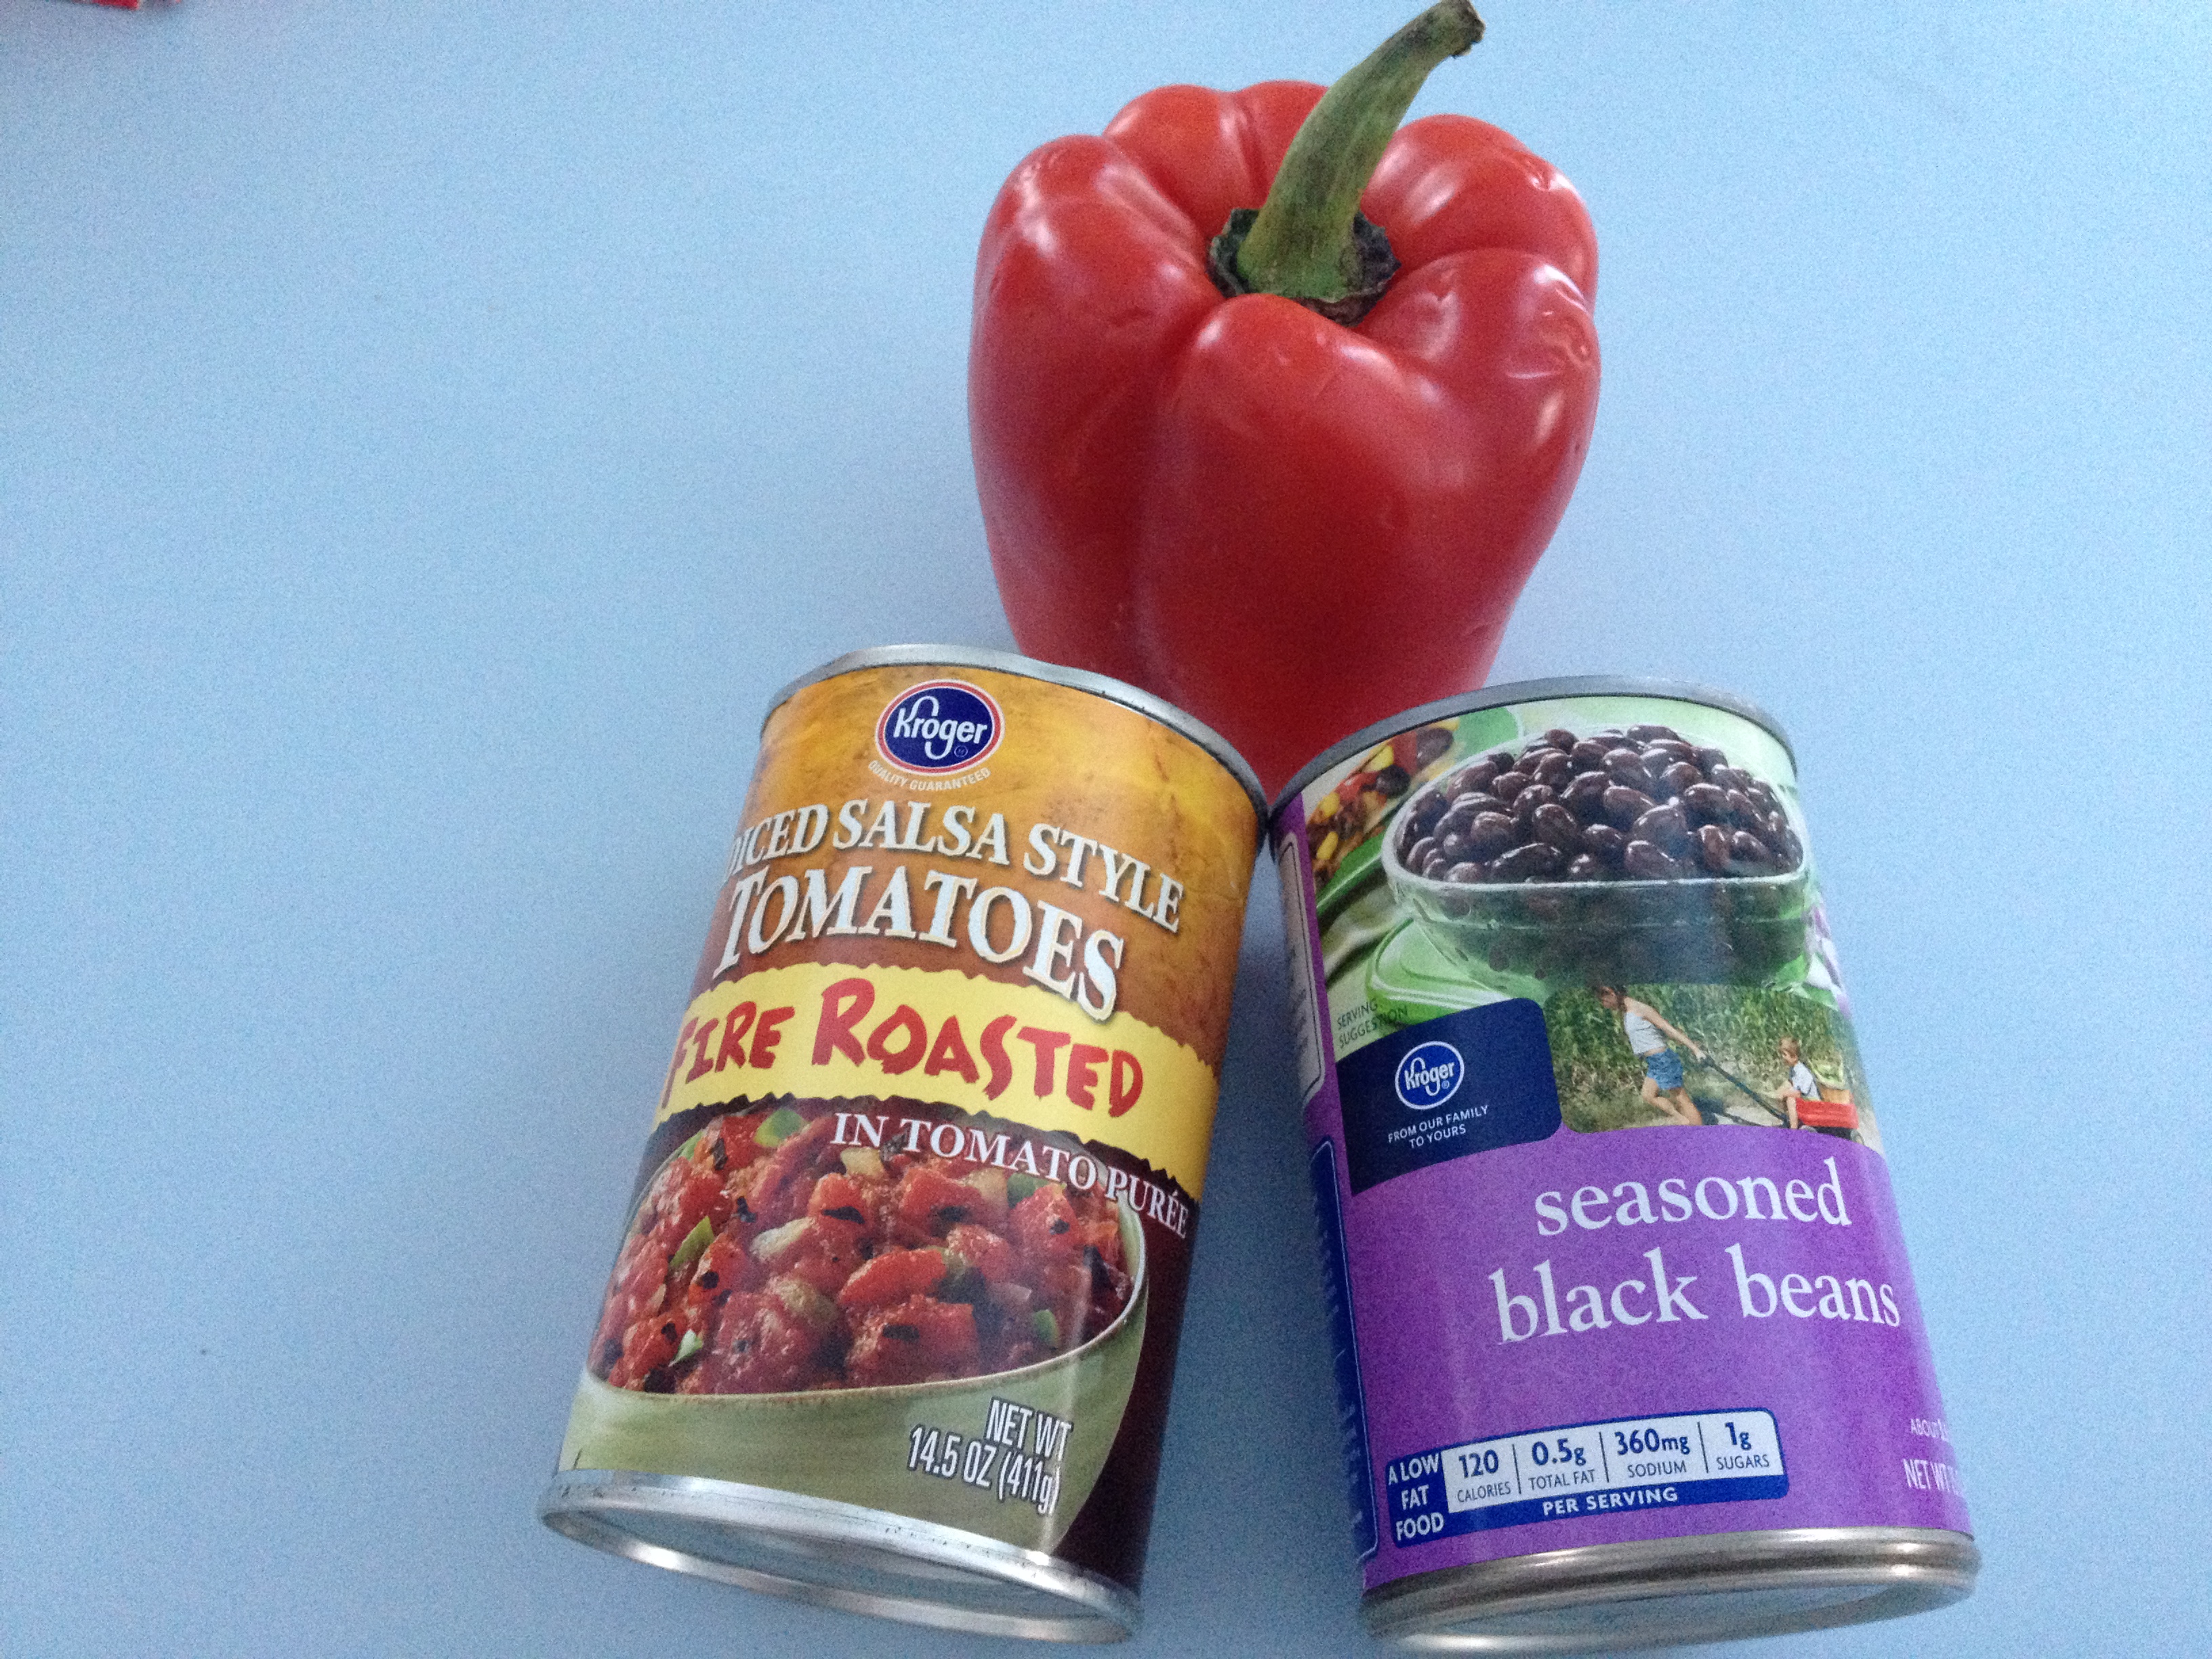
Chinese BBQ Pork (Cooks Illustrated)
Brown Rice with Roasted Red Peppers and Onion
Bok Choy
and
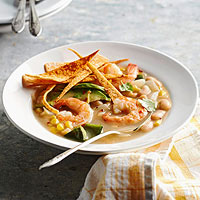
Fideua (Spanish Style Toasted Pasta with Shrimp) (Cooks Illustrated 7/2012)
Live Fresh Lettuce with Balsamic Dressing
French Bread


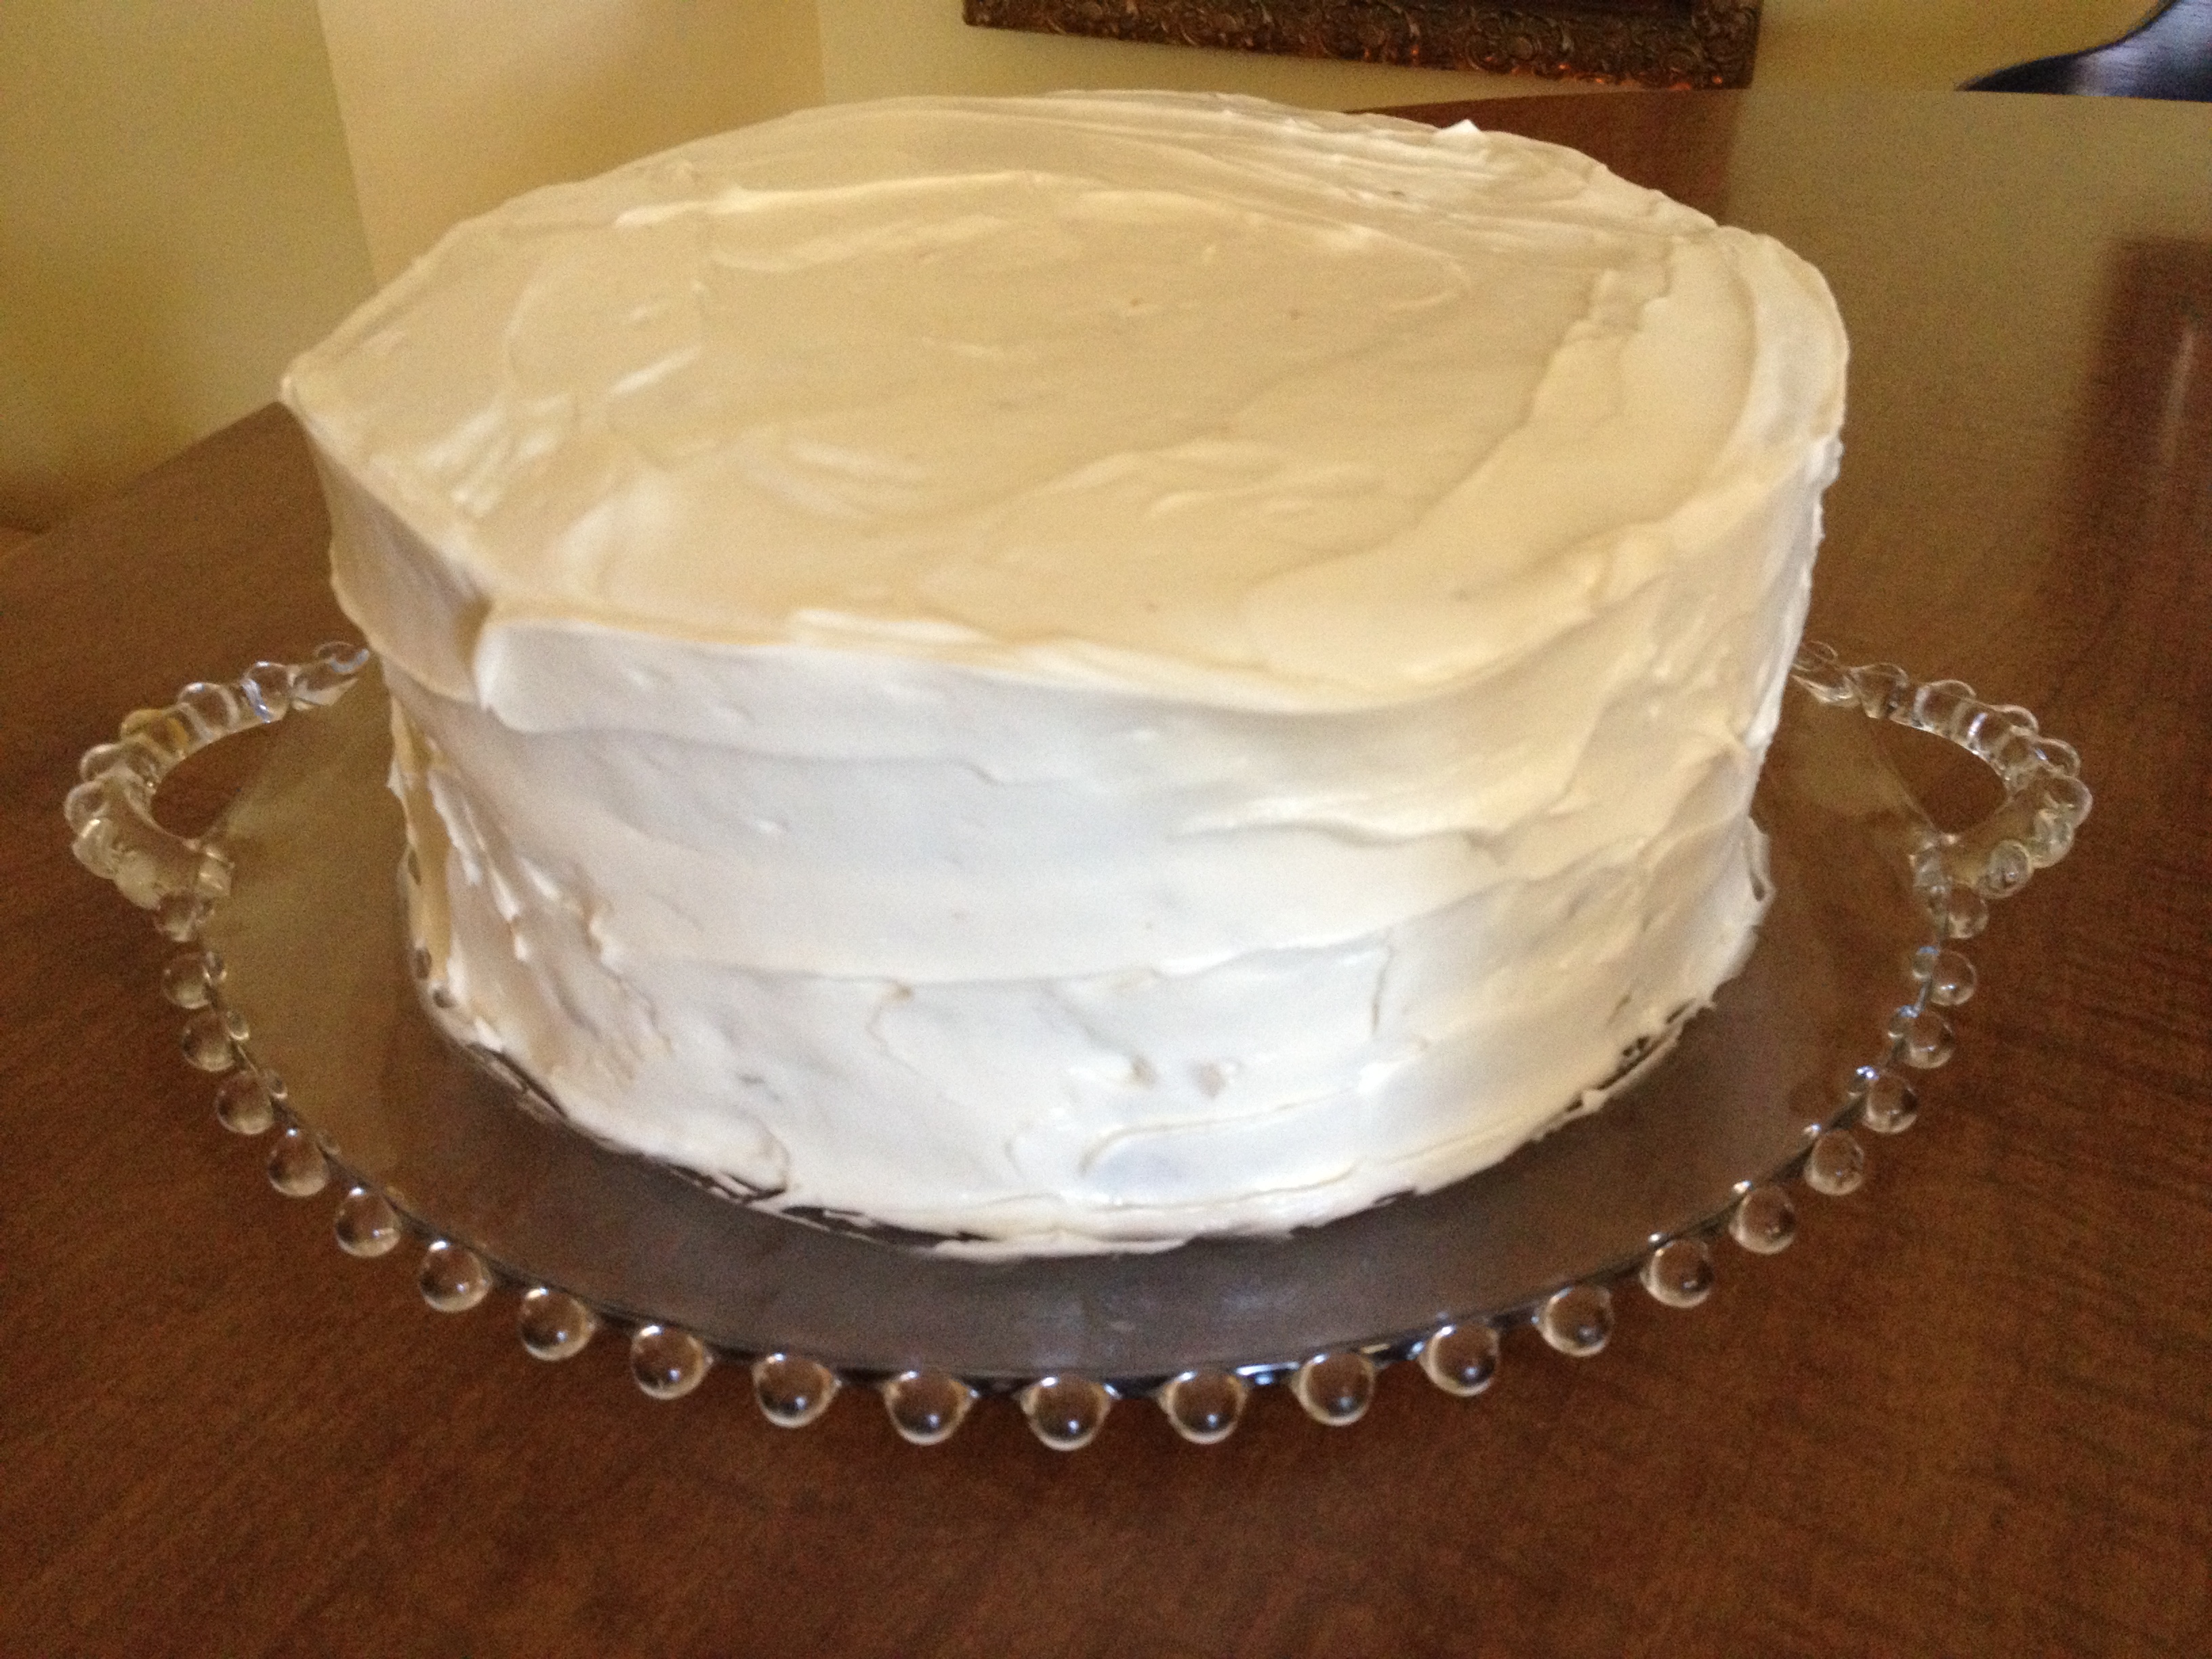


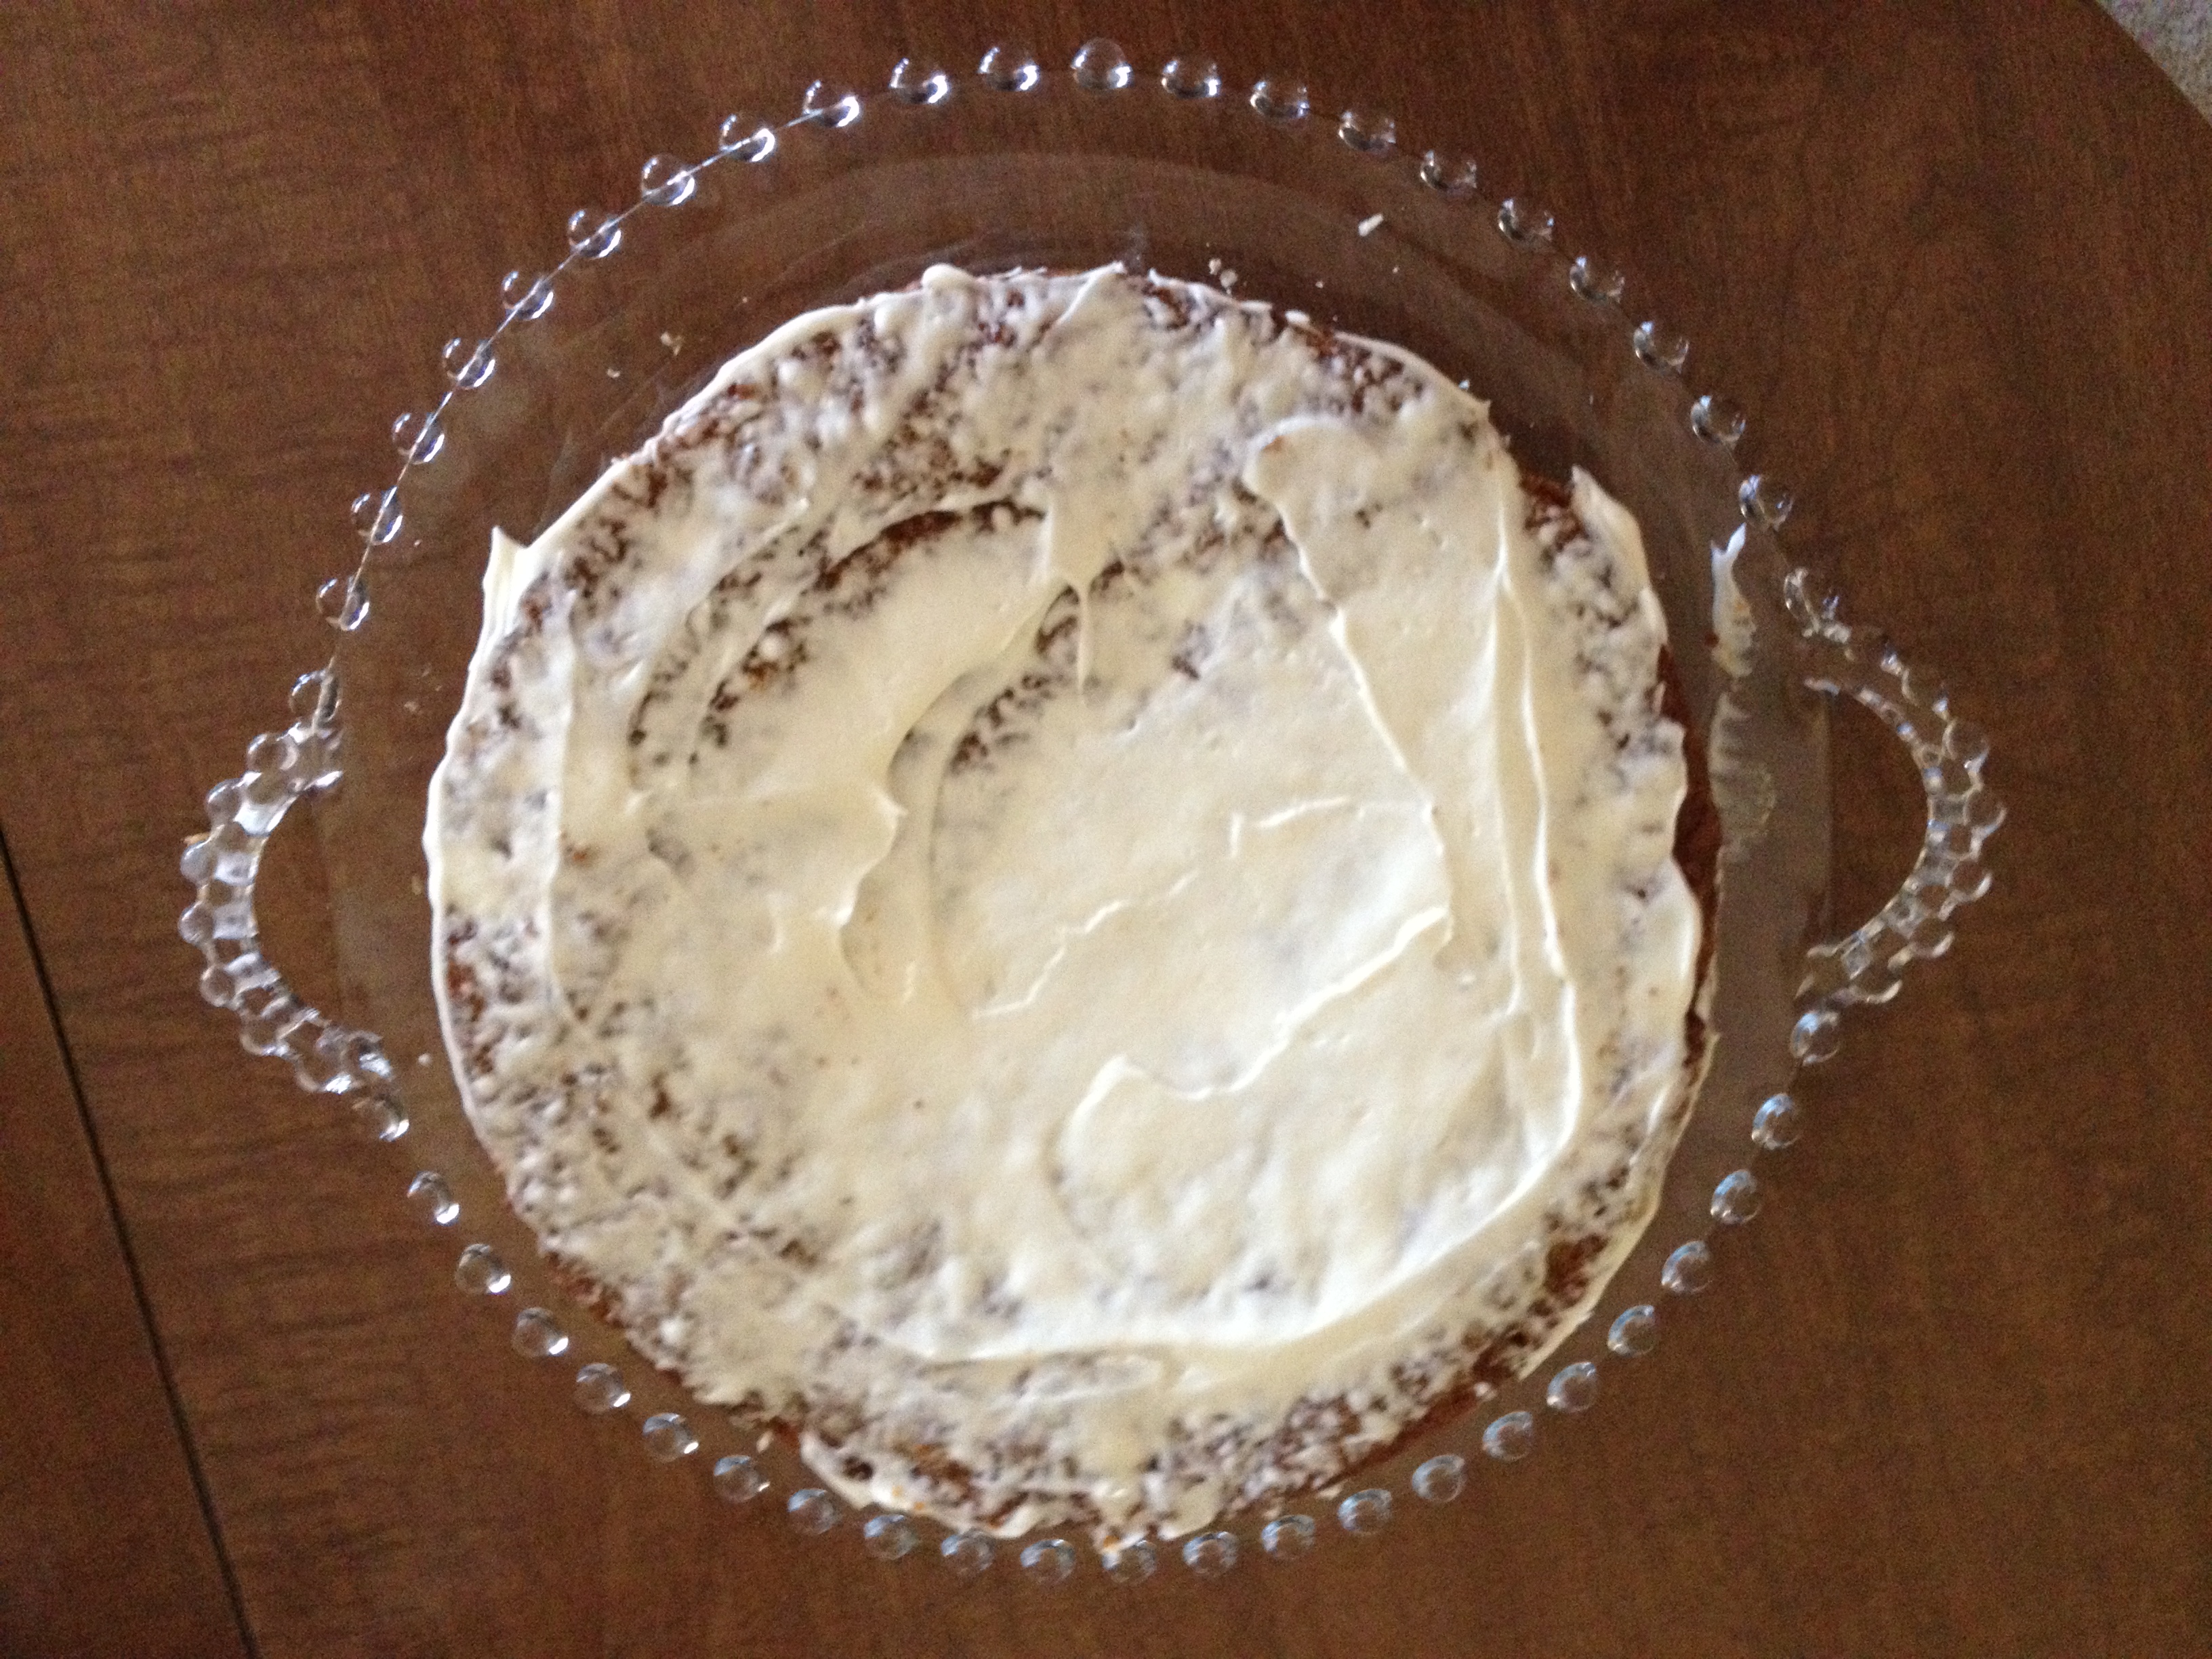


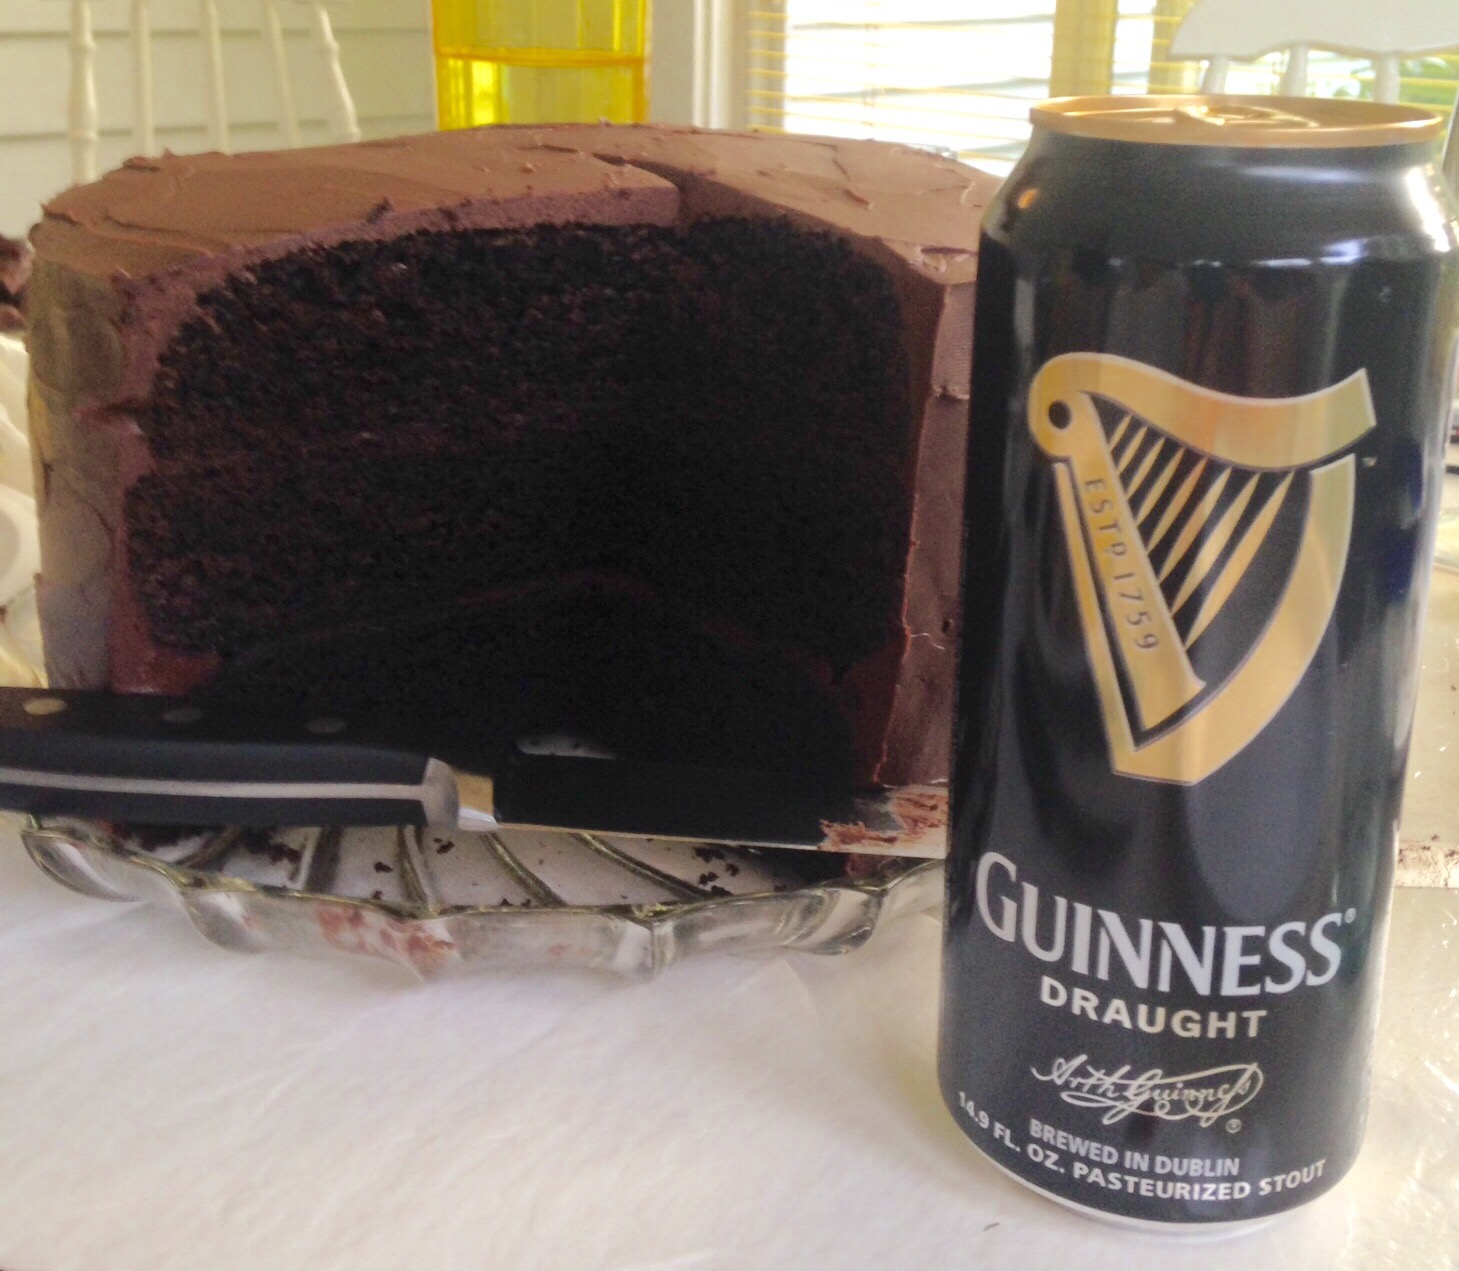

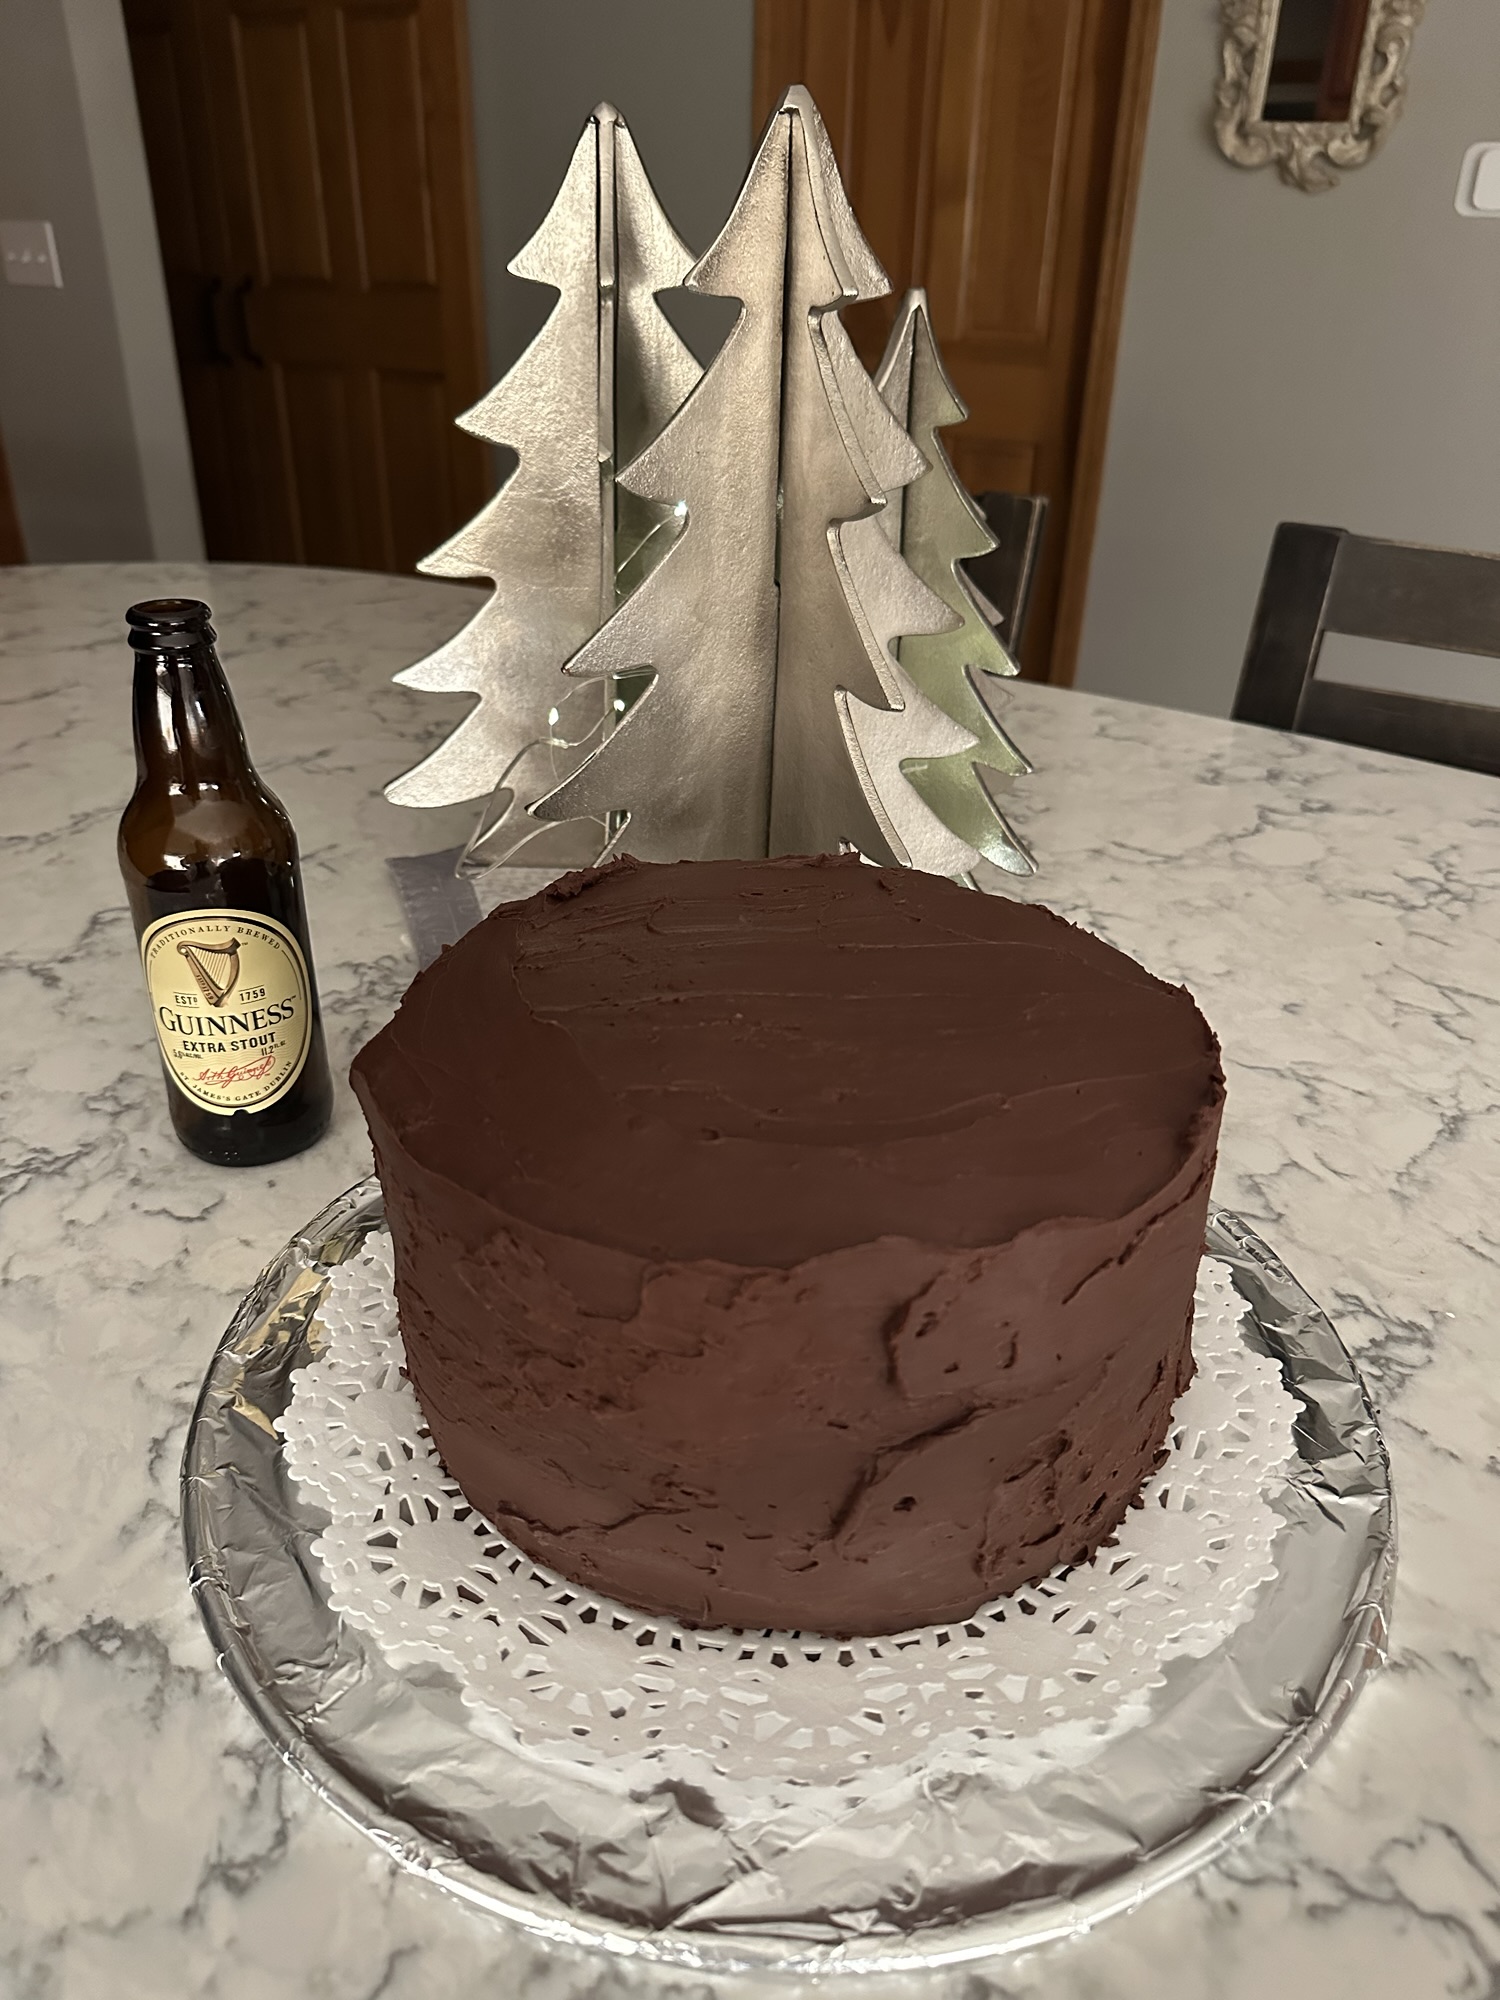 The finished product! Bellisima!


